
Are you dealing with uneven floors in your home? Whether they’re caused by age, shifting foundations, or other problems, you’ll likely be looking for a practical solution that will help hide the issue without having to replace the flooring altogether.

Covering an uneven floor with carpet is one of the most cost-effective options out there – it won’t break the bank and it can make a huge difference aesthetically!
In this blog post on how to cover uneven floors, we’ll go over everything you need to know about covering an uneven floor with carpet and provide tips to help you get started. Read on for all of our best advice!
Why Do You Need to Cover Uneven Floors?
The most important reason to cover an uneven floor with carpet is that it can make the whole room look better. Not only does the carpet give you a softer, more comfortable surface to walk on, but it also helps mask any lumps or bumps in the underlying flooring.
As well as improving aesthetics, covering an uneven floor with carpet can also help reduce noise levels in the room by absorbing sound waves. This is especially beneficial if you have tile or hardwood floors, as this type of flooring can often be quite loud and echo-y.
Needed Materials
Given below are the materials that you will need to cover your uneven floor with carpet:
- Carpet of Your Choice
- Padding
- Carpet Knife
- Carpet Tape
- Carpet Seaming Iron
- Staple Gun
- Knee Kicker (Optional)
11 Step-by-step Easy Guidelines on How to Cover Uneven Floors
Step 1: Assess the Area
Before you get started, it’s important to assess the area that needs to be covered. Make sure to measure the room and check for any areas that might need special attention or extra padding. This will help you decide what type of carpet and padding to purchase for the task. But before you go shopping, it’s also a good idea to figure out the exact measurements of your space so that you can purchase the correct amount of material.
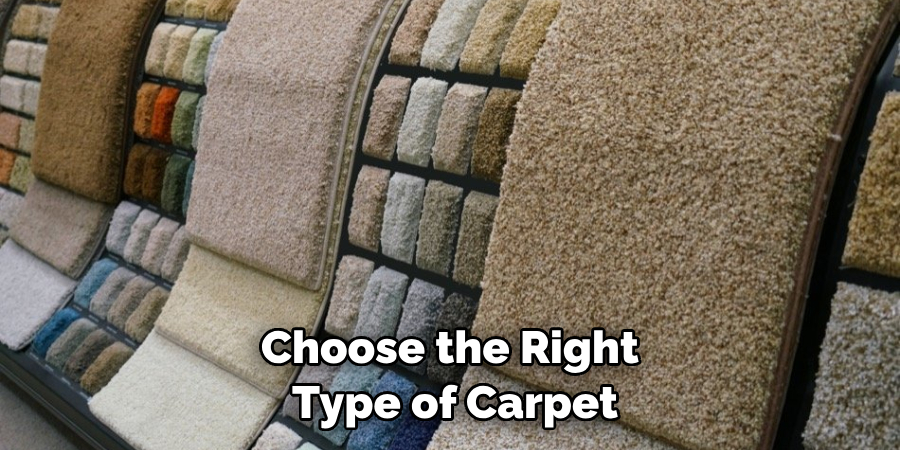
Step 2: Choose Your Carpet
Once you’ve measured the area, it’s time to choose the right type of carpet for your project. Think about factors like color, texture, and pile height when selecting your carpet – this will help ensure that you get a product that suits your needs and looks great in the room. It’s also important to make sure that the carpet is rated for heavy traffic, as this will help it stand up to wear and tear over time.
Step 3: Install Padding
Next, install the padding on top of the flooring. Make sure to measure carefully and trim pieces if necessary so that they fit perfectly into place. Once all sections are laid down, use staples or glue to secure them in place. It’s important to use good quality padding, as this will help ensure that your carpet lasts longer.
But also make sure that the padding isn’t too thick – this can be uncomfortable to walk on and can even contribute to lumps in the carpet. If the padding is too thin, however, it won’t provide enough cushioning and protection for your carpet.
Step 4: Lay the Carpet
The next step is to lay the carpet. Start by unrolling it and placing the edge at one side of the room, then carefully unrolling it towards the other side. Make sure that you leave enough material on each end for trimming later. But be sure not to stretch the carpet too much as this can cause wrinkles and bumps.
Step 5: Trim and Secure
Once the carpet is laid down, use a carpet knife or scissors to trim any excess material from the edges of the room. Then use a staple gun or carpet tape to secure it into place. Pay attention to seams and make sure they’re tightly secured so that they don’t come undone over time. Whatever your choice of attachment, always make sure that it’s strong enough to handle the weight of the carpet.
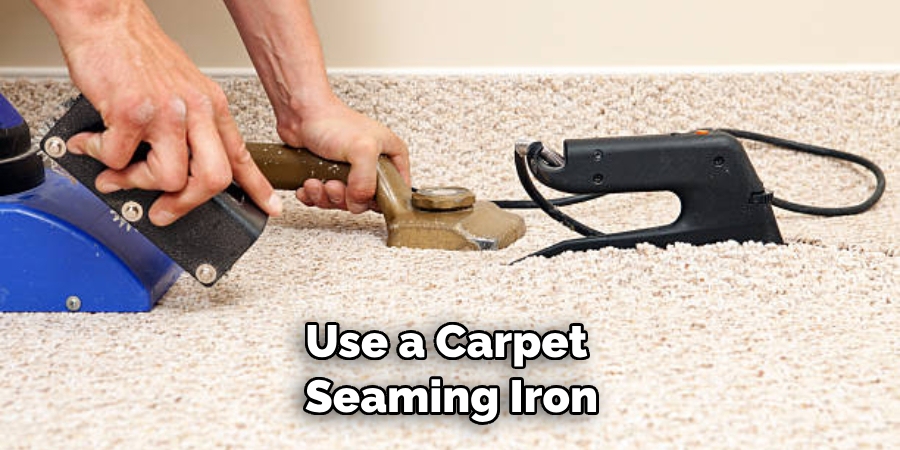
Step 6: Attach Seams
If your carpet has any seams, use a carpet seaming iron to heat the edges and fuse them together. This will help create a strong bond that will ensure the seam stays secure over time. It’s important to take your time when attaching the seams, as any mistakes can be difficult (and expensive) to fix. However, if you don’t feel confident doing this yourself, it’s best to hire a professional.
Step 7: Use Knee Kicker (Optional)
To get an extra-smooth finish, you can use a knee kicker to stretch the carpet into place. Be careful not to overstretch it, as this could cause damage or rippling in the material. It’s best to practice on a scrap piece of carpeting first so that you can get the hang of how much pressure to use.
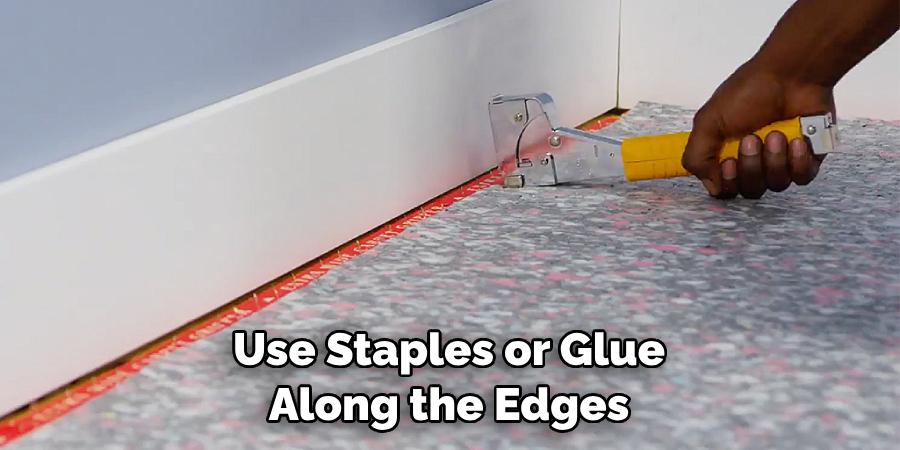
Step 8: Secure Edge
When everything is in place, use staples or glue along the edges of the room to keep the carpet securely attached to the flooring below. Pay close attention to corners and areas where the carpet meets walls or doorways. This will help ensure that the carpet doesn’t start to come loose over time.
Step 9: Remove Bumps and Lumps
Once all of the edges are secured, take a look at the overall surface of the carpet. If there are any bumps or lumps, you can use a combination of knee kicker and weights to help flatten them out. It’s important to do this slowly and carefully so that you don’t cause any damage. This process can also involve some trial and error, so be prepared to spend some time smoothing out any issues.
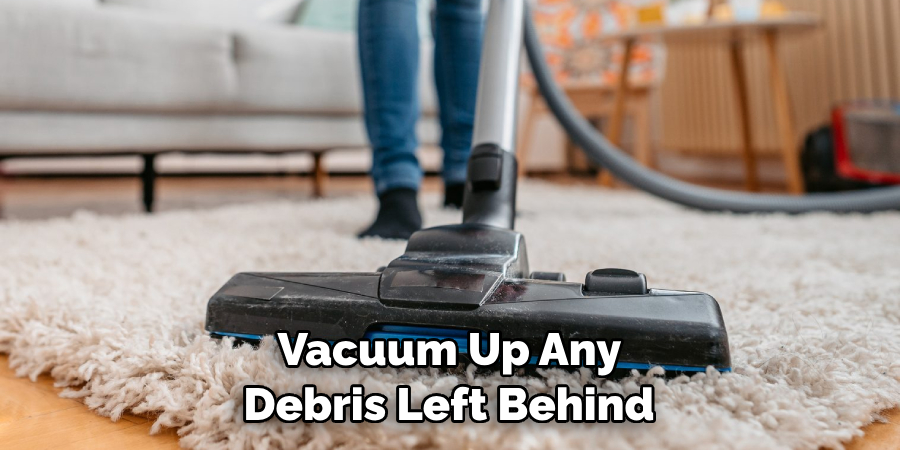
Step 10: Vacuum & Clean Up
When everything is done, vacuum up any debris left behind by the installation process. Check for loose seams or corners that need to be re-secured before moving on to the next step. If necessary, use a damp cloth to clean any residues or stains left behind by the installation process. But make sure to check the manufacturer’s instructions for your carpet to ensure that you don’t use any cleaners or chemicals that could damage the material.
Step 11: Check Quality
Finally, check all areas of your newly installed carpeting to make sure it looks great and is properly secured. Pay special attention to seams and corners, as these areas are the most likely to come undone over time. Always make sure that the carpet is firmly attached to the flooring below, as this will help keep it in place for years to come.
By following these easy steps on how to cover uneven floors, you’ll be able to cover an uneven floor with carpet quickly and easily. It’s a great way to improve the look of any room while also making it quieter and more comfortable for everyone who uses it. Good luck with your project!
Do You Need to Hire a Professional?
Although it is possible to do the job yourself, it may be wise to hire a professional carpet installer if you are dealing with particularly uneven floors. A professional will have the experience and tools needed to ensure that the job is done properly and safely. However, this could end up costing more than doing the job yourself – so weigh your options carefully before making any decisions!
Covering an uneven floor with carpet can seem like a daunting task, but with these tips and tricks, you’ll be able to get the job done in no time.
Frequently Asked Questions
Q: How Do I Make Sure That the Carpet Is Laid Securely?
A: The best way to ensure a secure fit is to use staples or glue along the edges of the room. Make sure to pay attention to corners and areas where the carpet meets walls or doorways, as these are often overlooked when installing carpet.
Q: What Kind of Carpet Should I Choose?
A: The kind of carpet you choose will depend on factors like color, texture, and pile height. Think about how much traffic your room typically sees in order to decide whether a thicker pile is necessary for durability.
Q: Is It Necessary to Use a Knee Kicker?
A: While it isn’t strictly necessary, using a knee kicker can help create an extra-smooth finish by stretching the carpet into place. Be careful not to overstretch it though – as that could cause damage or rippling in the material.
Conclusion
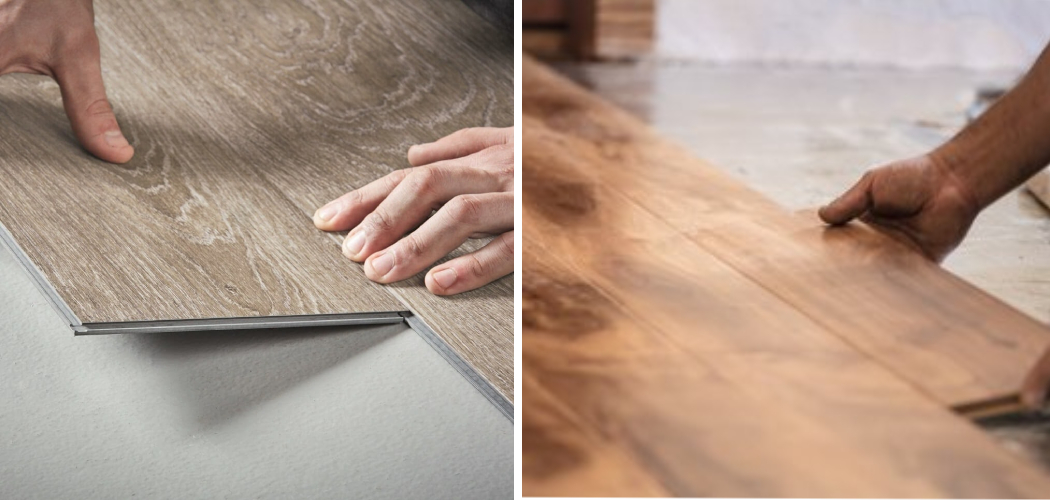
Taking on the challenge of covering uneven floors can be intimidating but with a little preparation and research it doesn’t have to be. Whether you choose to go with vinyl sheeting, LVT tiles, or even carpet for your project make sure you get the right materials for your specific application.
Don’t forget to double check your doorways as well as make sure that the flooring is a safe and comfortable walking surface. As with any big renovation project, always hire professionals whenever necessary to get proper guidance and the best results.
The advice of an expert on the job can really pay off in added longevity or unique, custom touches that could provide extra value down the line should you decide to move or make changes later. Take pride in making your space look its best and never forget how transformative a good floor can be! Thanks for reading this article on how to cover uneven floors.