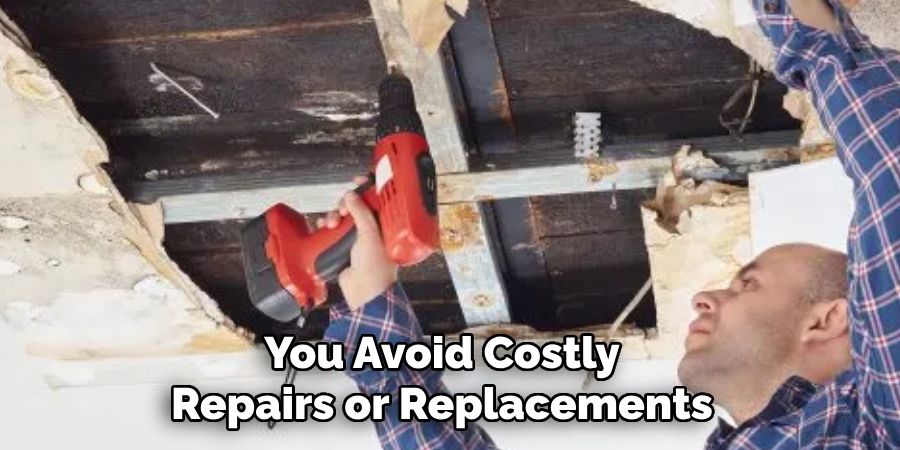
There are a few reasons why knowing how to fix a water bubble in your ceiling can be beneficial. First and foremost, fixing the problem as soon as possible can prevent further damage to your ceiling and potentially save you money on costly repairs.

Furthermore, having the knowledge and skill to fix a water bubble in your ceiling can also give you a sense of independence and self-reliance. Instead of having to hire someone else to fix the issue, you can take care of it yourself.
The main advantage of knowing how to fix a water bubble in your ceiling is the cost-saving aspect. If you are able to identify and repair the issue yourself, you can avoid hiring a professional and paying for their services. This not only saves you money, but it also allows you to have control over the quality of the repair. Read this blog post to learn how to fix water bubble in ceiling.
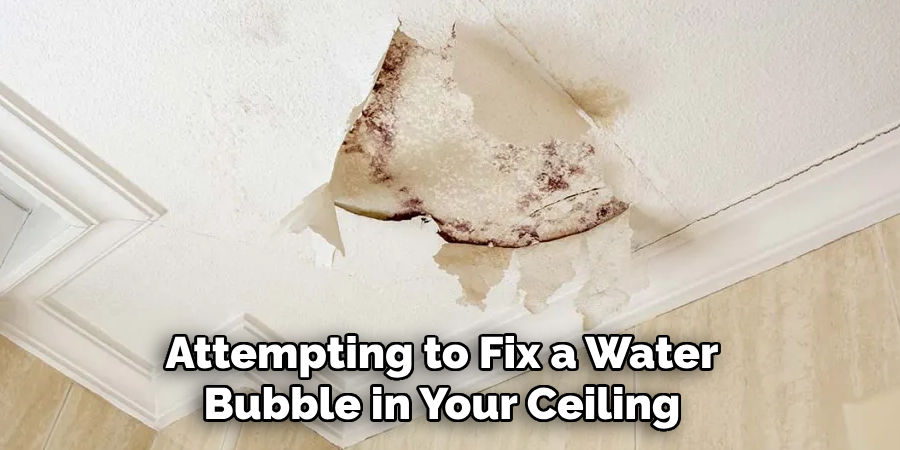
Step-by-step Instructions for How to Fix Water Bubble in Ceiling
Step 1: Identifying the Cause of Water Bubbles:
Before attempting to fix the water bubble in your ceiling, it is important to first identify the cause of the problem. This will help ensure that you address the root issue and prevent future occurrences.
Water bubbles in ceilings are often caused by water leaks from either a plumbing issue or roof damage. Check for any visible signs of water leakage, such as wet spots or staining on the ceiling. If you are unable to locate the source yourself, it may be necessary to call a professional plumber or roofer.
Step 2: Fix Plumbing Issues
If the water bubble is caused by a plumbing issue, such as a leaky pipe, it is important to fix this problem first before attempting to fix the bubble in your ceiling. This will prevent any further damage and ensure that your ceiling remains dry.
Step 3: Repair Roof Damage
If the water bubble is caused by roof damage, it is important to have a professional roofer assess and repair the issue. Attempting to fix the bubble without addressing the underlying roofing problem may lead to more serious issues in the future.
Step 4: Gather Necessary Materials
Before starting any repairs, make sure you have all the necessary materials on hand. This may include a ladder, drywall repair kit, paint, and any other tools or supplies needed to fix the water bubble in your ceiling. To avoid making a bigger mess, it is important to prepare the area before attempting to fix the water bubble. Lay down a tarp or drop cloth and move any furniture or belongings out of the way.
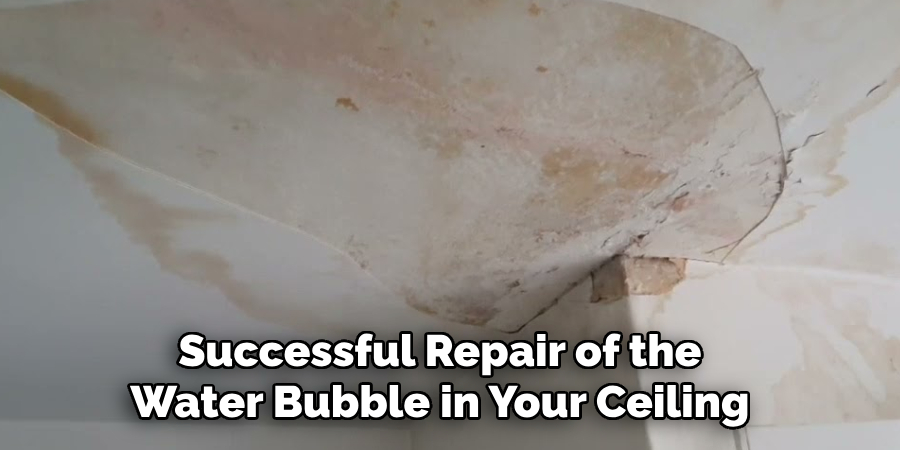
Step 5: Create a Hole in the Bubble
Using a utility knife, carefully create a small hole in the center of the water bubble. This will release any trapped air and allow the water to drain out. Place a bucket or container underneath the hole and gently press on the bubble to drain out as much water as possible. You may need to repeat this process several times until no more water is coming out.
Step 6: Patch Up the Hole
Once all of the water has been drained, patch up the hole using drywall tape and spackle. Follow the instructions on your drywall repair kit for best results. Once the spackle has dried, sand it down and paint over it to blend in with the rest of the ceiling. If necessary, you may need to repaint the entire ceiling for a more seamless finish.
By following these step-by-step instructions, you can successfully fix a water bubble in your ceiling and prevent any further damage to your home. Remember to always address the root cause of the issue and take necessary precautions to protect yourself and your belongings during the repair process.
Safety Tips for How to Fix Water Bubble in Ceiling
- Always turn off the water source before attempting any repairs to avoid further damage or accidents.
- Use caution when climbing a ladder and make sure it is sturdy and secure before beginning work.
- Wear protective gear, such as gloves and goggles, to protect yourself from any potential hazards during the repair process.
- If you are uncertain about the cause of the water bubble or do not feel comfortable fixing it yourself, seek professional assistance.
- Make sure the area is well ventilated to avoid any potential health hazards from mold or mildew.
- Use caution when draining the water from the bubble, as it may be hot and could potentially cause burns.
- Follow all instructions and safety precautions on any products or materials used during the repair process.
By following these safety tips, you can ensure a safe and successful repair of the water bubble in your ceiling. Remember to always prioritize your safety and seek professional help if needed. Overall, proper identification of the cause and taking necessary precautions are key factors in fixing a water bubble in your ceiling effectively.
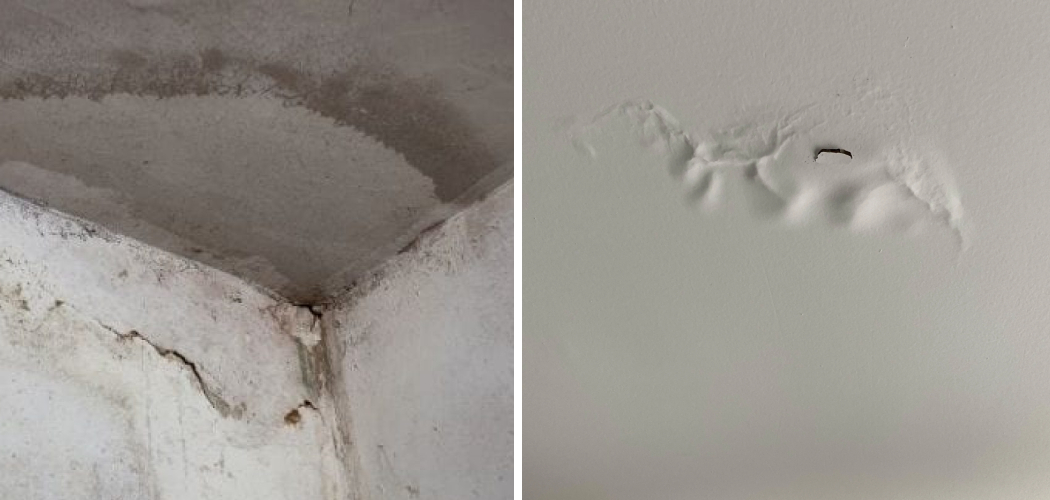
Signs of Water Damage in Ceilings
Water damage in ceilings can be a serious issue if left untreated. It not only compromises the structural integrity of your home, but it can also lead to health hazards such as mold growth. Therefore, it is important to identify and address any signs of water damage in your ceiling as soon as possible. Here are seven common signs that may indicate water damage in ceilings:
- Water Stains or Discoloration on the Ceiling:This is often the most obvious sign of water damage in ceilings. Look for any yellow, brown, or dark spots on your ceiling.
- Sagging or Bulging Areas: These can be caused by excess moisture trapped in the ceiling material, causing it to sag or bulge.
- Dripping Sounds or Visible Leaks: If you notice any dripping sounds or see water coming through your ceiling, it is a clear indication of water damage.
- Peeling or Bubbling Paint: When moisture seeps into the ceiling, it can cause the paint to peel or bubble.
- Musty Odor: Water damage can lead to mold growth, which produces a musty smell that may indicate water damage in your ceiling.
- Warping or Buckling of the Ceiling: This is a sign of significant water damage that may require immediate attention from a professional.
- Increased Energy Bills: If you notice a sudden increase in your energy bills, it could be due to water damage in your ceiling causing insulation to become less effective.
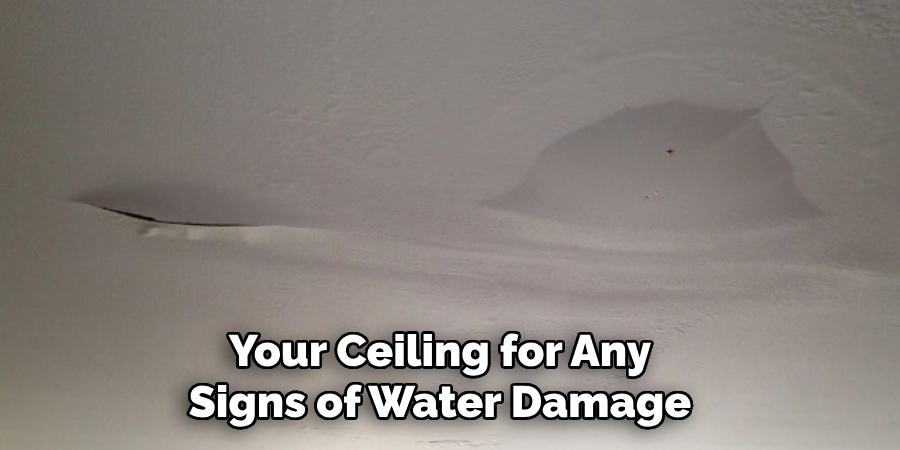
If you notice any of these signs, it is important to address the issue promptly to prevent further damage and potential health hazards. It is always better to be proactive and regularly inspect your ceiling for any signs of water damage, rather than waiting for a noticeable problem to arise.
Importance of Addressing Water Bubbles Promptly
Water bubbles may seem like a small and harmless issue, but they can actually have some serious consequences if left unaddressed. Here are reasons why it is important to address water bubbles promptly:
1. Safety
Water bubbles can create a slippery surface, increasing the risk of accidents and injuries. This is especially dangerous in high-traffic areas where people may be walking, running or playing. By addressing water bubbles promptly, you can prevent accidents and ensure the safety of those around you.
2. Aesthetics
Water bubbles can be unsightly and ruin the appearance of your flooring or pavement. Whether it’s in a residential driveway or a commercial parking lot, addressing water bubbles promptly can help maintain the overall aesthetics of the area.
3. Damage Prevention
Water bubbles can cause damage to your flooring or pavement over time. As they expand and contract with changing temperatures, they put pressure on the surrounding areas and weaken the surface. By addressing them promptly, you can prevent further damage and save yourself from costly repairs.
4. Mold Growth
Stagnant water trapped under a bubble can create the perfect environment for mold growth. Not only is this unsightly, but it can also pose health risks for those exposed to it. By addressing water bubbles promptly, you can prevent mold growth and safeguard the health of your family or customers.
5. Structural Integrity
In some cases, water bubbles can indicate a bigger underlying problem such as poor drainage or improper installation. By addressing them promptly and identifying the root cause, you can prevent further damage to the structure and ensure its stability.
6. Cost Savings
Addressing water bubbles promptly can save you money in the long run. By preventing accidents, damage, and mold growth, you avoid costly repairs or replacements that may be necessary if the issue is left unaddressed.
7. Environmental Impact
Water bubbles can also have negative effects on the environment. Stagnant water can attract pests and insects, and if left untreated, it may seep into nearby soil or bodies of water, causing contamination. By addressing the issue promptly, you can prevent potential harm to the environment.
In addition to these reasons, addressing water bubbles promptly also shows responsibility and consideration for others. It is important to be proactive when it comes to maintaining your property and ensuring the safety and well-being of those around you.
Do You Need Any Professional Help?
If you find yourself struggling to manage your daily tasks and responsibilities, it may be time to seek professional help. Many people are hesitant to reach out for support, but there is no shame in seeking assistance when it is needed.
Professional help can come in many forms, such as therapy, coaching, or consulting services. These professionals have the knowledge and experience to assist you in identifying and addressing any underlying issues that may be hindering your progress.
Seeking professional help is not a sign of weakness, but rather a courageous step towards self-improvement. It shows that you are willing to invest in your well-being and growth. So if you are feeling overwhelmed or stuck, do not hesitate to seek the support of a professional. They can provide valuable tools and insights to help you overcome any obstacles and reach your full potential. Remember, asking for help is a strength, not a weakness.
Insurance Considerations for Fixing Water Bubble in Ceiling
1. Check Your Homeowner’s Insurance Policy
Before attempting to fix a water bubble in your ceiling, it’s important to check your homeowner’s insurance policy. Some policies may cover water damage caused by sudden and accidental events, while others may only cover certain types of damage or have specific exclusions. It’s always better to know what is covered before starting any repair work.
2. Determine the Cause of the Water Bubble
The first step in fixing a water bubble in your ceiling is to determine the cause of the problem. Common causes include roof leaks, plumbing issues, and condensation build-up. It’s important to address the root cause of the issue before attempting any repairs or filing an insurance claim.
3. Take Pictures for Documentation
In case you need to file an insurance claim for the water bubble in your ceiling, it’s important to document the damage. Take pictures of the affected area and any surrounding damage that may have occurred as a result of the water bubble. This will help support your claim and ensure that you receive proper compensation from your insurance provider.
4. Consider Hiring a Professional
Fixing a water bubble in your ceiling may seem like a simple task, but it can actually be quite complex. If you are not experienced in home repairs or dealing with water damage, it’s best to hire a professional to handle the job. Not only will they have the necessary expertise and equipment to properly fix the issue, but they can also help navigate any insurance claims that need to be filed.
5. Be Mindful of DIY Repairs
If you do decide to fix the water bubble in your ceiling yourself, be mindful of potential risks. Improper repairs can lead to further damage and may not be covered by your insurance policy. It’s important to research and follow proper repair techniques, as well as take appropriate safety precautions.
6. Keep All Receipts and Records
Whether you hire a professional or choose to DIY, it’s important to keep all receipts and records related to the repair of the water bubble in your ceiling. This includes any materials purchased, as well as labor costs if applicable. These will be necessary for filing an insurance claim and may also be used for tax purposes.
7. Consider Water Damage Coverage
If your homeowner’s insurance policy does not cover water damage, it may be worth considering adding this coverage. While it may come at an additional cost, having coverage for unexpected water damage can save you from potentially costly repairs in the future.
8. Regularly Maintain Your Home
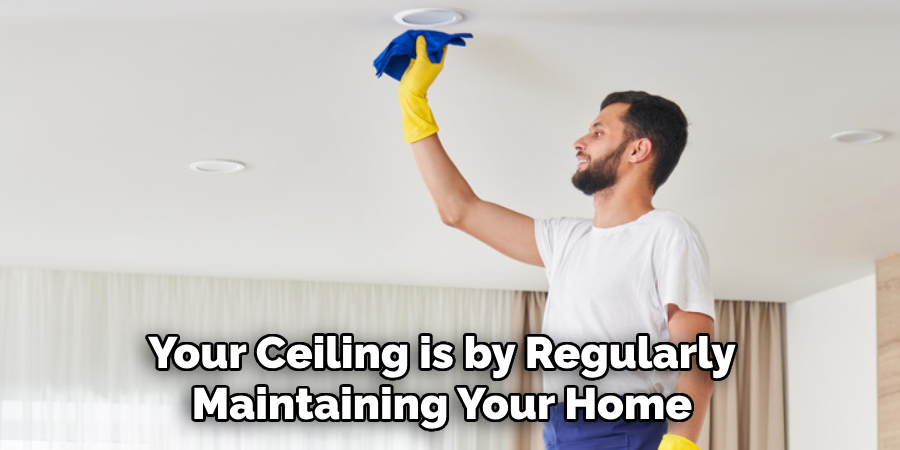
One of the best ways to prevent water bubbles in your ceiling is by regularly maintaining your home. This includes checking for any leaks or potential issues, as well as addressing them promptly.
Regular maintenance can help catch problems early on and prevent them from escalating into major damages that may not be covered by insurance. It also shows your insurance provider that you are taking proper care of your home, which may benefit you in the long run.
Overall, fixing a water bubble in your ceiling can be a stressful and costly experience. By considering these insurance considerations, you can ensure that you are prepared for any potential damages and have the proper coverage in place. Remember to always consult with your insurance provider and a professional if you are unsure about how to proceed with repairs.
DIY and Budget-friendly Tips for Fixing Water Bubble in Ceiling
1. Use a Needle or Pin to Release Trapped Air
If the water bubble in your ceiling is small and has not caused major damage, you can try using a needle or pin to release the trapped air inside. This will help reduce the size of the bubble and prevent it from bursting and causing further damage.
2. Utilize Household Items for Temporary Fixes
In emergency situations where a professional cannot be immediately hired, you can use household items as temporary fixes for the water bubble. For example, placing a bucket or bowl to catch any dripping water and using towels or a tarp to cover the affected area can help prevent further damage.
3. Invest in Waterproof Sealant
If the cause of the water bubble is due to a leak or crack in the ceiling, invest in waterproof sealant to fix the issue. This can be a temporary or permanent solution depending on the severity of the damage and can prevent future water bubbles from forming.
4. Use a Dehumidifier to Prevent Condensation
If condensation is the cause of your water bubble, using a dehumidifier can help reduce moisture levels and prevent future issues. This is especially important in areas with high humidity levels.
5. Be Careful When Painting Over the Affected Area
If you plan on painting over the affected area after repairs have been made, be careful not to use water-based paint as it can reactivate any remaining moisture and cause the bubble to reappear. Opt for oil-based or mold-resistant paint instead.
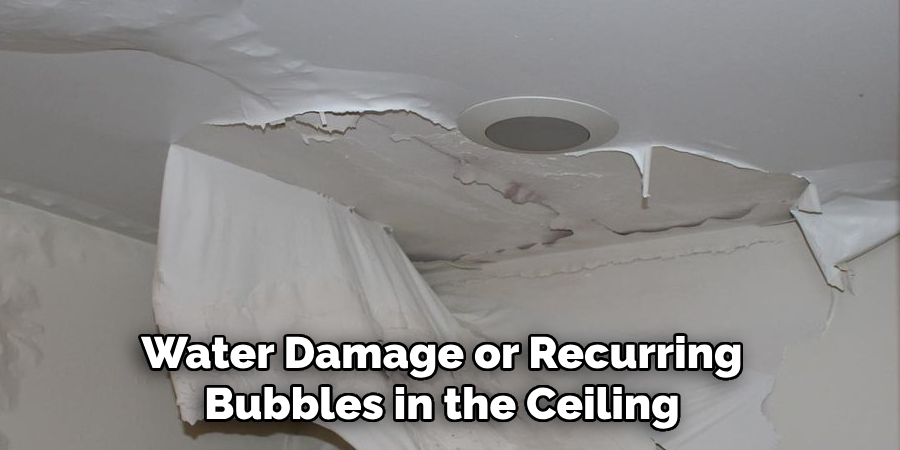
6. Regularly Check for Water Damage
Even after repairs have been made, it’s important to regularly check for any signs of water damage or recurring bubbles in the ceiling. Catching issues early on can prevent them from becoming major problems and save you from costly repairs in the future.
With these DIY and budget-friendly tips, you can effectively handle a water bubble in your ceiling and minimize any potential damages. However, remember to always prioritize safety and consult with a professional if you are unsure about the best course of action.
Conclusion
In conclusion, a water bubble in the ceiling can be a sign of an underlying issue that needs to be addressed immediately. Ignoring it or trying to cover it up will only lead to further damage and potential safety hazards. To fix a water bubble in the ceiling, it is important to first identify the source of the leak. This can be done by checking for any visible signs of leakage such as water stains or drips.
If the source of the leak is not immediately apparent, it may be necessary to call a professional plumber for further inspection. Once the source of the leak has been identified and fixed, it is important to address any water damage that may have occurred.
This can include removing any damaged drywall or insulation and thoroughly drying out the affected area. I hope reading this post has helped you learn how to fix water bubble in ceiling. Make sure the safety precautions are carried out in the order listed.