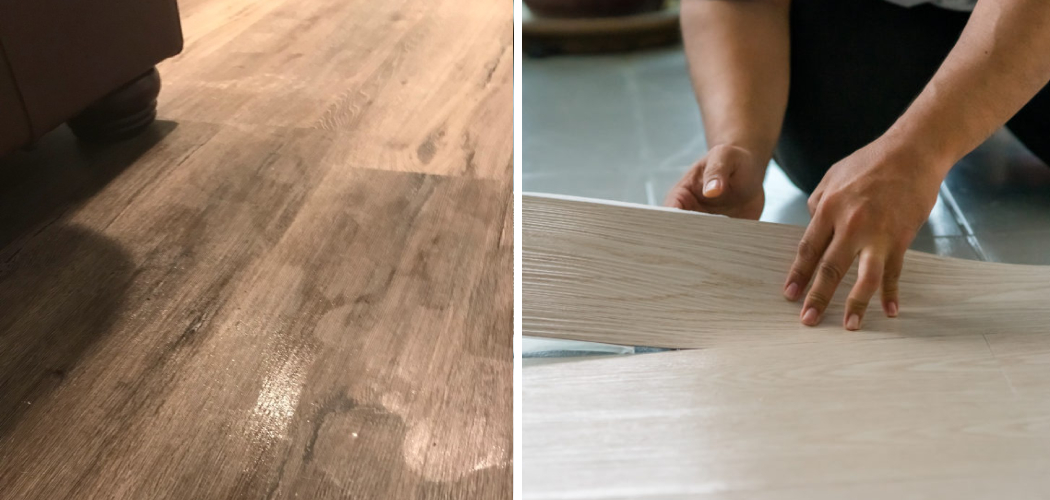
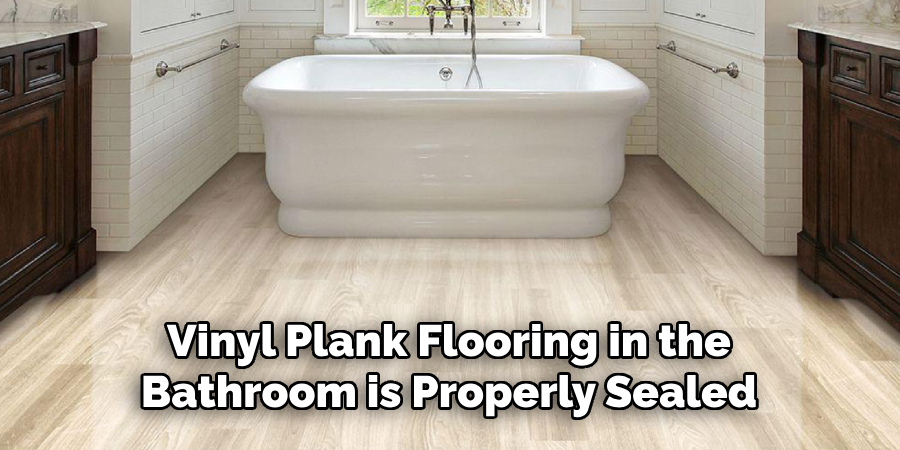
Vinyl plank flooring has become a popular choice for bathrooms due to its durability, water resistance, and easy maintenance. However, to ensure the longevity of your vinyl plank flooring, it is important to properly seal it. Sealing your vinyl plank flooring will not only protect it from moisture and humidity in the bathroom but also enhance its appearance.

In this guide, we will walk you through the steps on how to seal vinyl plank flooring in a bathroom. Whether you are installing new vinyl plank flooring or looking to refresh your existing one, this guide will provide you with all the necessary information. So, let’s get started!
Materials and Tools You Will Need to Seal Vinyl Plank Flooring in a Bathroom
- Vinyl plank sealer
- Microfiber cloth or mop
- Mild detergent cleaner
- Bucket
- Soft-bristled brush or sponge
- Clean water
- Vacuum cleaner
- Painter’s tape
- Paintbrush or foam roller
Step-by-step Guidelines on How to Seal Vinyl Plank Flooring in a Bathroom
Step 1: Clean the Floor
Before sealing your vinyl plank flooring, it is crucial to make sure that it is clean and free from any dirt, dust, or debris. Use a vacuum cleaner to remove any loose particles from the floor surface. Next, mix mild detergent with water in a bucket and use a microfiber cloth or mop to thoroughly clean the floor. Cleaning the floor will ensure that the sealer adheres properly and creates a smooth finish.
Step 2: Rinse and Dry the Floor
After cleaning, use a clean damp cloth to rinse off any soap residue from the floor. Then, use a dry microfiber cloth or mop to completely dry the floor. It is important to remove all excess moisture before sealing as it can affect the adhesion of the sealer.
This step is especially important in a bathroom where there is high humidity and moisture levels. If necessary, use a fan or open windows to help speed up the drying process.
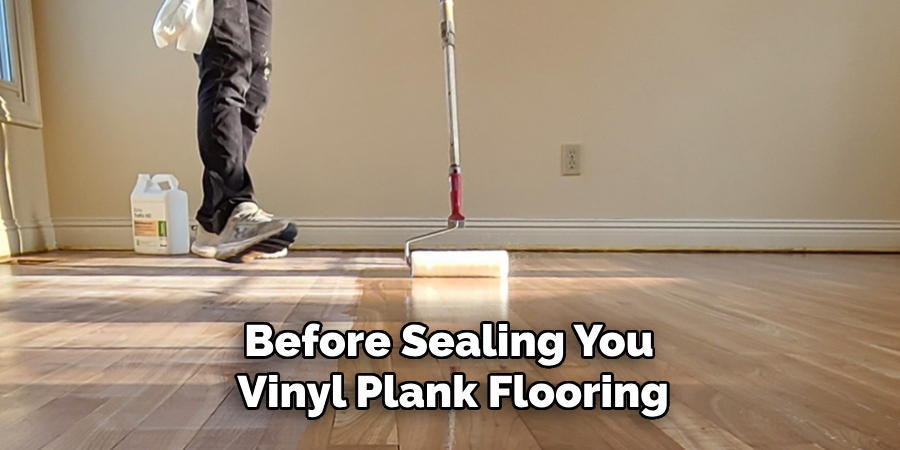
Step 3: Prepare for Sealing
Use painter’s tape to cover any edges or areas that you do not want to seal, such as the baseboard. This will protect them from accidental sealer drips and ensure a clean finish. Also, make sure the room is well-ventilated by opening windows or using a fan. Preparing the room before sealing will make the process smoother and help avoid any mistakes.
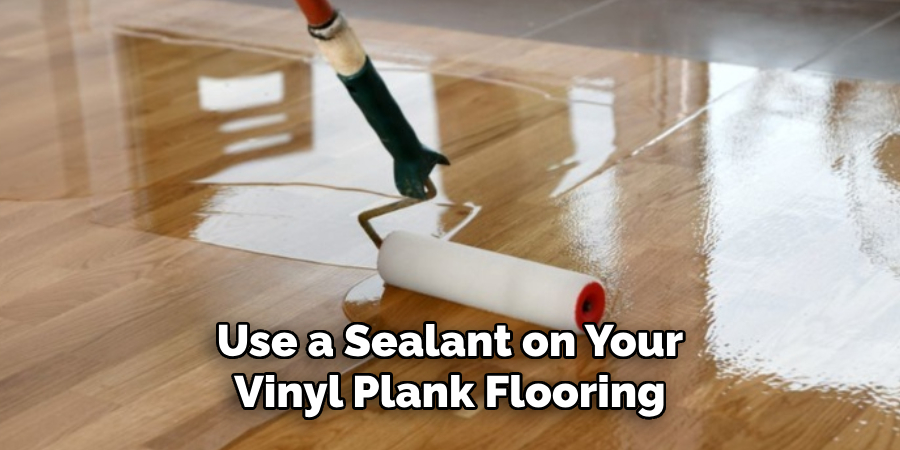
Step 4: Apply the Sealer
Shake the vinyl plank sealer well before opening. Then, using a paintbrush or foam roller, apply an even coat of sealer onto the floor surface. Make sure to work in small sections at a time for better control and coverage. Avoid over-applying the sealer as it can lead to a cloudy or streaky finish. If you notice any bubbles, smooth them out with a brush or roller. While the sealer is still wet, wipe off any excess with a clean cloth.
Step 5: Allow the Sealer to Dry
The drying time for vinyl plank sealer can vary depending on the product. Read the manufacturer’s instructions and allow the sealer to dry completely before applying a second coat. This usually takes around 2-3 hours but can also take longer in high humidity or low-temperature conditions.
Step 6: Apply a Second Coat (Optional)
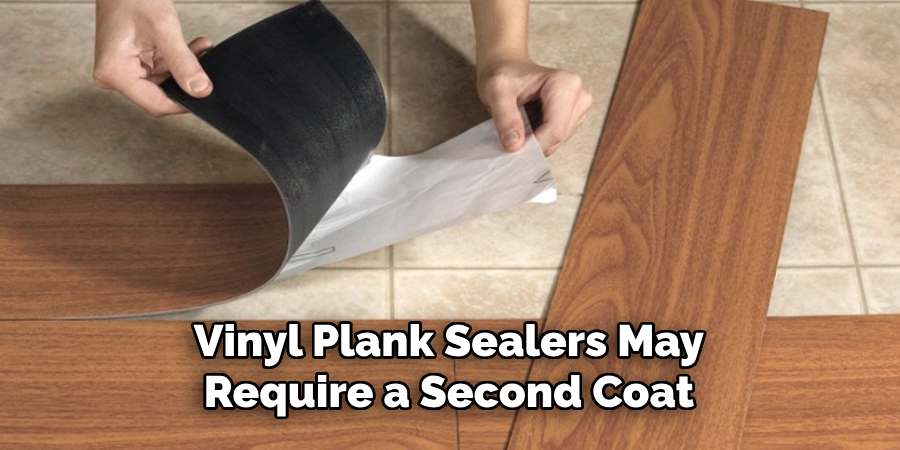
Some vinyl plank sealers may require a second coat for added protection. If this is the case, follow the same steps as before, allowing the sealer to dry completely between coats. If you notice any visible streaks or bubbles after the first coat has dried, lightly sand the surface before applying the second coat. If you are unsure if a second coat is needed, consult the manufacturer’s instructions or do a small patch test in an inconspicuous area.
Step 7: Remove Painter’s Tape and Clean Up
Once the final coat of sealer has dried completely, remove the painter’s tape carefully. If there are any drips or smudges on the baseboards or walls, use a damp cloth to clean them up. Dispose of any used materials and let the floor cure for at least 24 hours before walking on it or replacing furniture. Make sure to follow the manufacturer’s instructions for specific curing times.
Following these steps will ensure that your vinyl plank flooring is properly sealed and protected from moisture, spills, and wear. It is recommended to reseal your vinyl plank flooring every 2-3 years or as needed depending on the traffic and usage in your bathroom. With proper maintenance and regular sealing, your vinyl plank flooring will continue to look beautiful for years to come. Happy sealing!
Additional Tips and Tricks to Seal Vinyl Plank Flooring in a Bathroom
1. If you are planning to use a sealant on your vinyl plank flooring, make sure to purchase one that is specifically designed for vinyl floors. Using the wrong type of sealant can cause damage and void any warranty on your flooring.
2. Before applying the sealant, thoroughly clean and dry the surface of your flooring. Any dirt or moisture left behind can affect the adhesion of the sealant.
3. Use a high-quality brush or roller to apply the sealant evenly across the surface of your flooring. Be sure to follow the manufacturer’s instructions for application and drying times.
4. Consider using multiple coats of sealant for added protection, especially in areas with heavy foot traffic or exposure to water. Just be sure to allow each coat to fully dry before applying the next.
5. After sealing your vinyl plank flooring, avoid using harsh chemicals or abrasive cleaners. These can strip away the sealant and damage the floor over time.
6. Regularly sweep and mop your sealed vinyl plank flooring with a mild cleaner to keep it looking its best and extend its lifespan. Avoid using steam cleaners as they can also strip away the sealant.
7. If you notice any damage or wear on your sealed vinyl plank flooring, be sure to address it immediately. This will help prevent further damage and extend the life of your flooring.
8. When moving heavy furniture, use caution and consider using furniture pads to avoid scratching or denting your sealed vinyl plank flooring.
9. If you have pets, keep their nails trimmed to prevent them from scratching and damaging the sealant on your flooring.
10. Lastly, it’s always a good idea to consult with a professional or follow manufacturer recommendations when it comes to sealing vinyl plank flooring in a bathroom.
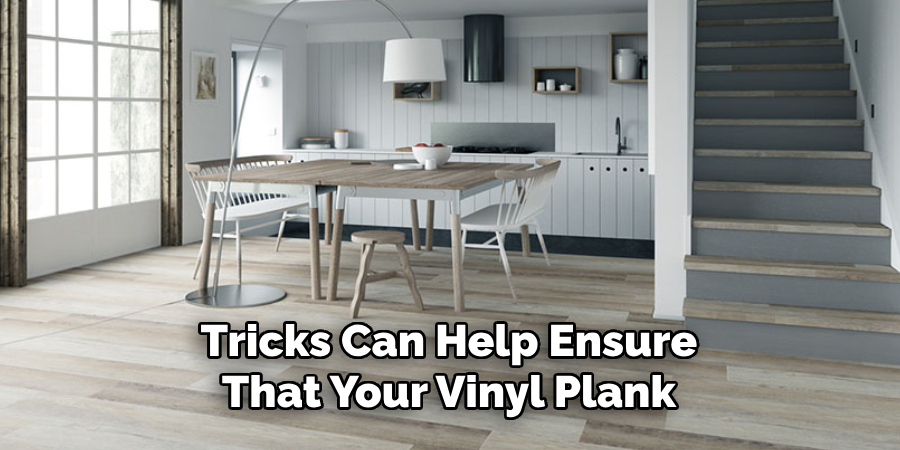
Following these tips and tricks can help ensure that your vinyl plank flooring in the bathroom stays protected, looks great, and lasts for years to come. Remember to always use caution when applying sealant and follow proper maintenance practices to maintain the integrity of your flooring.
With the right care and attention, you can enjoy a beautiful and durable bathroom floor for many years. So, don’t forget to take care of your vinyl plank flooring and keep it looking like new! Happy sealing!
Things You Should Consider to Seal Vinyl Plank Flooring in a Bathroom
1. The first thing to consider when sealing vinyl plank flooring in a bathroom is the type of sealer you will use. There are several options available, including water-based, polyurethane, and acrylic sealers. Each type has its advantages and disadvantages, so it’s important to do your research and choose the one that best fits your needs.
2. Before applying any sealer, it’s important to thoroughly clean and dry the vinyl plank flooring. Any dirt or moisture left on the surface can affect the effectiveness of the sealer.
3. It’s also important to make sure that your vinyl plank flooring is properly installed and has no gaps or cracks. If there are any imperfections in the flooring, they should be repaired before sealing.
4. When applying the sealer, it’s important to follow the manufacturer’s instructions carefully. Some sealers may require multiple coats or a specific drying time between coats. It’s important to be patient and not rush the process to achieve the best results.
5. In addition to following the manufacturer’s instructions, it’s also important to use the proper tools when applying the sealer. A foam roller or brush is typically recommended for applying water-based and polyurethane sealers, while a mop or sprayer is more suitable for acrylic sealers.
6. It’s important to work in small sections when applying the sealer to ensure even coverage and avoid any missed spots. Start at one corner of the room and work your way towards the opposite corner, making sure to overlap each section slightly for a seamless finish.
7. Once the sealer is applied, it’s important to let it dry completely before walking on the floor or replacing any furniture. This can take anywhere from 24 to 48 hours, so plan accordingly and avoid using the bathroom during this time.
8. After the sealer has dried, it’s important to regularly maintain and clean the vinyl plank flooring. This includes sweeping or vacuuming regularly to remove any dirt or debris, as well as mopping with a mild cleaner designed for vinyl floors.
9. It’s also important to periodically check the condition of the sealant and reapply if necessary. Over time, wear and tear can cause the sealer to break down, so it’s important to stay on top of maintenance to keep your vinyl plank flooring looking its best.
10. Lastly, it’s important to keep in mind that while sealing can help protect your vinyl plank flooring from water damage and scratches, it is not completely waterproof or scratch-proof. It’s important to wipe up any spills or accidents immediately and avoid dragging heavy objects across the floor to prevent damage.
Following these considerations can help ensure that your vinyl plank flooring in the bathroom is properly sealed and maintained, prolonging its lifespan and keeping it looking beautiful for years to come. Remember to do your research, carefully follow instructions, and use the proper tools for the best results.
With proper maintenance, your vinyl plank flooring will continue to be a durable and stylish addition to your bathroom. So go ahead and enjoy your newly sealed flooring with peace of mind. Happy sealing!
Maintaining Tips for Sealant Vinyl Plank Flooring in a Bathroom
1. Regular Cleaning:
Regularly cleaning your vinyl plank flooring is an essential step in maintaining its quality and durability. Dirt, dust, and hair can easily accumulate on the surface of the floor, causing scratches and damage over time. To prevent this, sweep or vacuum the floor at least once a week to remove any debris. You can also use a damp mop with a mild cleaner specifically designed for vinyl floors to remove any stubborn stains or scuffs.
2. Preventing Water Damage:
Since the bathroom is a high-moisture area, it is important to take precautions to prevent water damage on your vinyl plank flooring. Make sure to wipe up any spills immediately and avoid leaving wet items or standing water on the floor. You can also place mats or rugs in areas that are prone to getting wet, such as near the shower or sink, to provide an extra layer of protection.
3. Avoid Harsh Chemicals:
When cleaning your vinyl plank flooring, make sure to use only mild cleaners specifically designed for vinyl. Harsh chemicals and abrasive cleaners can damage the surface of the floor and strip away the protective sealant layer, making it more susceptible to stains and scratches. It is best to stick with gentle, non-abrasive cleaners or natural cleaning solutions to avoid any potential damage.
4. Be Cautious with Heavy Furniture:
Vinyl plank flooring may be durable, but it can still get damaged by heavy furniture. Avoid dragging or sliding heavy items across the floor, as this can cause scratches and dents. Instead, use furniture pads or felt protectors on the bottom of furniture legs to prevent any damage when moving them around.
5. Regularly Inspect for Damage:
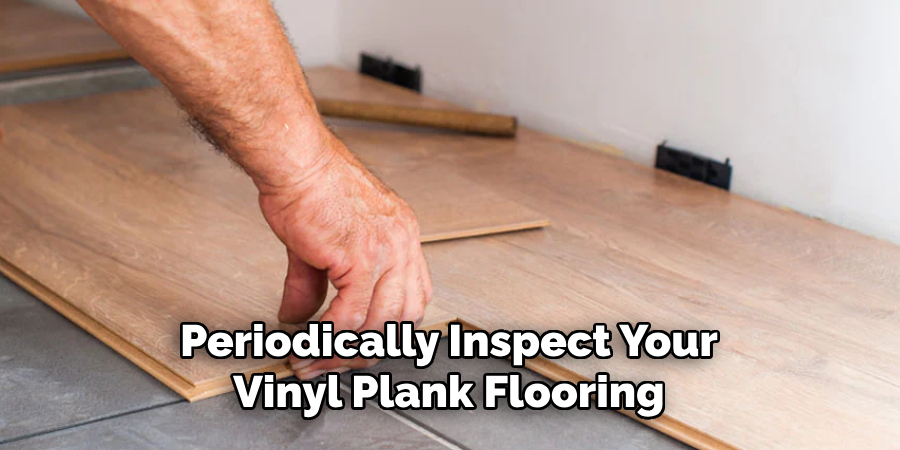
Periodically inspect your vinyl plank flooring for any signs of damage or wear and tear. Look out for any scratches, dents, or peeling of the sealant layer. If you notice any damage, make sure to address it immediately to prevent further deterioration. Small scratches and scuffs can be buffed out with a soft cloth and some warm water, while larger damages may require professional repair.
6. Proper Ventilation:
Proper ventilation is crucial in maintaining your vinyl plank flooring in a bathroom. Moisture build-up can cause the floor to warp, buckle, or even grow mold and mildew. Make sure your bathroom has proper ventilation, such as an exhaust fan or window, to help reduce moisture levels and prevent damage to your flooring.
7. Trim Pet Nails:
If you have pets at home, make sure to regularly trim their nails to prevent any scratches on your vinyl plank flooring. Even small scratches can accumulate and become more noticeable over time, so it is important to keep your pet’s nails short to avoid any potential damage. If your pet has an accident on the floor, make sure to clean it up immediately to prevent any stains or damage.
Following these maintenance tips can help ensure that your sealant vinyl plank flooring in the bathroom remains in good condition and lasts for many years. By regularly cleaning, preventing water damage, avoiding harsh chemicals, being cautious with heavy furniture, inspecting for damage, promoting proper ventilation, and trimming pet nails, you can keep your vinyl flooring looking new and beautiful.
Troubleshooting Common Issues for Sealing Vinyl Plank Flooring in a Bathroom
1. Peeling Sealant:
One common issue with sealant vinyl plank flooring in a bathroom is the peeling of the sealant layer over time. This can be caused by moisture buildup, improper installation, or using harsh chemicals when cleaning.
To troubleshoot this issue, make sure your bathroom has proper ventilation to reduce moisture levels and use only mild cleaners when cleaning the floor. If the peeling is due to improper installation, it may be best to contact a professional for repairs.
2. Warping or Buckling:
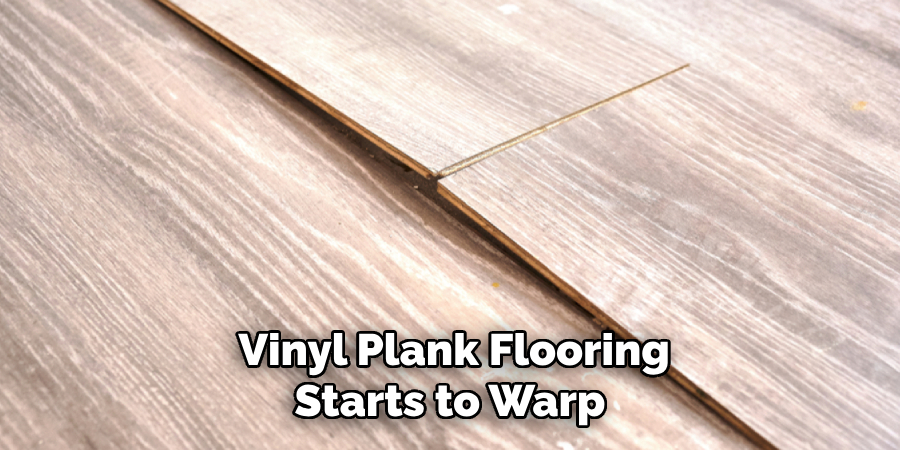
If your vinyl plank flooring starts to warp or buckle, it could be due to excessive moisture in the bathroom. This can also happen if the flooring is not properly acclimated before installation. To fix this issue, make sure to address any sources of moisture in the bathroom and allow the flooring to acclimate properly before installation. If the warping or buckling is severe, you may need to replace the affected planks.
3. Stains and Discoloration:
Stains and discoloration can occur on vinyl plank flooring due to spills or using harsh chemicals when cleaning. To troubleshoot this issue, make sure to clean up spills immediately and avoid using harsh cleaners.
You can also try using a mild solution of warm water and vinegar to gently remove stains and discoloration. If the stains are stubborn, it may be best to contact a professional for advice on how to properly remove them without damaging the floor.
4. Scratches and Dents:
Scratches and dents can be caused by heavy furniture, pet nails, or sharp objects being dropped on the floor. To troubleshoot this issue, make sure to avoid dragging or sliding heavy items across the floor and regularly trim your pet’s nails. For minor scratches, you can use a soft cloth and warm water to buff them out. However, for deeper scratches or dents, it may be best to seek professional repair services.
5. Mold and Mildew Growth:

Excessive moisture in the bathroom can lead to the growth of mold and mildew on vinyl plank flooring. To troubleshoot this issue, make sure your bathroom has proper ventilation and regularly clean any areas prone to moisture with a mild solution of warm water and vinegar. If the mold or mildew growth is severe, it may be necessary to replace the affected planks and address any sources of moisture in the bathroom.
By understanding how to troubleshoot common issues with sealing vinyl plank flooring in a bathroom and taking preventative measures, you can maintain your floor’s durability and aesthetic appeal for years to come.
Remember to regularly inspect and clean your flooring, promote proper ventilation, and be cautious with heavy furniture and harsh chemicals to avoid any potential damage. With proper maintenance, your vinyl plank flooring can continue to provide a beautiful and functional surface in your bathroom for many years.
Conclusion
Now you know how to seal vinyl plank flooring in a bathroom, you can enjoy its waterproof and durable properties for many years to come. Remember, it is important to properly clean and prepare the surface before sealing, and to use a high-quality sealant that is specifically designed for vinyl flooring.
Additionally, regular maintenance and cleaning will help prolong the lifespan of your vinyl plank flooring. Avoid using harsh chemicals or abrasive tools when cleaning, as these can damage the sealant and the flooring itself.
In conclusion, properly sealing your vinyl plank flooring in a bathroom is an essential step to ensure its longevity and maintain its appearance. Follow these steps and tips for a successful and long-lasting seal. Happy renovating!