
Removing the plug from a bathroom sink is a basic yet essential task that may be required for cleaning or maintenance purposes. However, for those unfamiliar with the process, it can seem daunting. In this article, we’ll demystify the steps involved in taking the plug out of a bathroom sink.
From simple manual methods to using specialized tools, we’ll explore various techniques for how to take plug out of bathroom sink. Whether your sink has a pop-up stopper, a lift-and-turn stopper, or a different type of plug mechanism, we’ll provide clear instructions and helpful tips to guide you through the process.
By learning how to take the plug out of your bathroom sink, you’ll gain confidence in handling basic plumbing tasks and maintaining the functionality of your sink.
Importance of Maintaining a Functional Bathroom Sink
Maintaining a functional bathroom sink is crucial for ensuring the hygiene and overall performance of your bathroom. A working sink allows for efficient hand washing, face cleaning, and other personal hygiene activities, which are essential for preventing the spread of germs and maintaining good health.
Furthermore, a properly functioning sink prevents water from accumulating, reducing the risk of mold and mildew development, which can lead to unpleasant odors and potential health hazards.
Regular maintenance also helps to identify and address minor issues before they escalate into expensive repairs, ensuring the longevity and reliability of your bathroom fixtures. In essence, a well-maintained bathroom sink contributes to a cleaner, safer, and more efficient household environment.
Common Issues with Sink Plugs
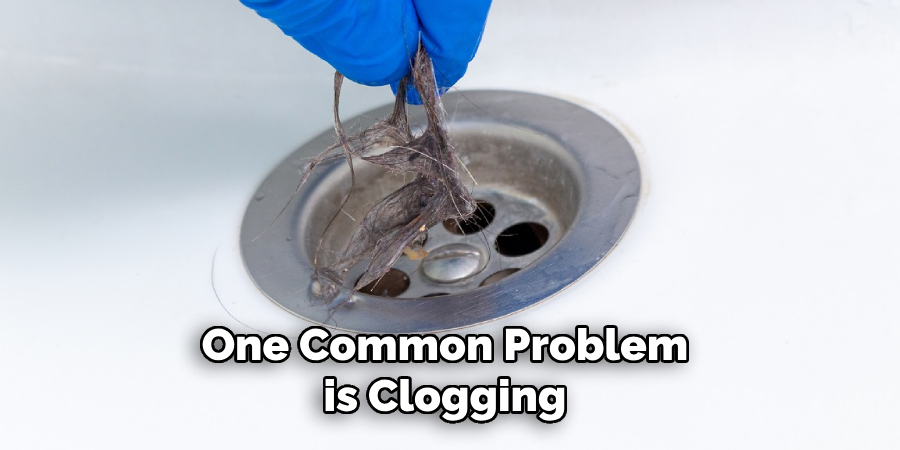
Despite their simple function, sink plugs can encounter several issues that may hinder their performance or even render them useless. One common problem is clogging, which occurs when hair, soap scum, and other debris accumulate around the plug mechanism, leading to slow drainage or complete blockage.
Over time, this buildup can become quite stubborn and require specialized cleaning solutions or tools to remove. Another frequent issue is the malfunction of the plug mechanism itself. For example, pop-up stoppers often suffer from misalignment or broken linkages, preventing them from fully sealing or opening.
Similarly, lift-and-turn stoppers may become difficult to operate due to corrosion or wear and tear. Additionally, rubber seals or gaskets around the plug can deteriorate, leading to leaks or an ineffective seal. Addressing these common issues promptly can help maintain an efficient and functional bathroom sink.
Understanding Sink Plug Mechanisms
To effectively address problems with sink plugs, it’s essential to understand the various types of mechanisms commonly found in bathroom sinks. Each type of plug mechanism operates differently and may require specific methods for removal and maintenance. The most common types include pop-up stoppers, lift-and-turn stoppers, and push-and-pull stoppers.
Pop-up Stoppers
Pop-up stoppers are typically controlled by a lever or rod located behind the faucet. When you lift or push the rod, a linkage mechanism under the sink raises or lowers the stopper. This type of plug is convenient but can be prone to issues like misalignment or broken linkages, which can prevent the stopper from properly sealing or opening.
Lift-and-Turn Stoppers
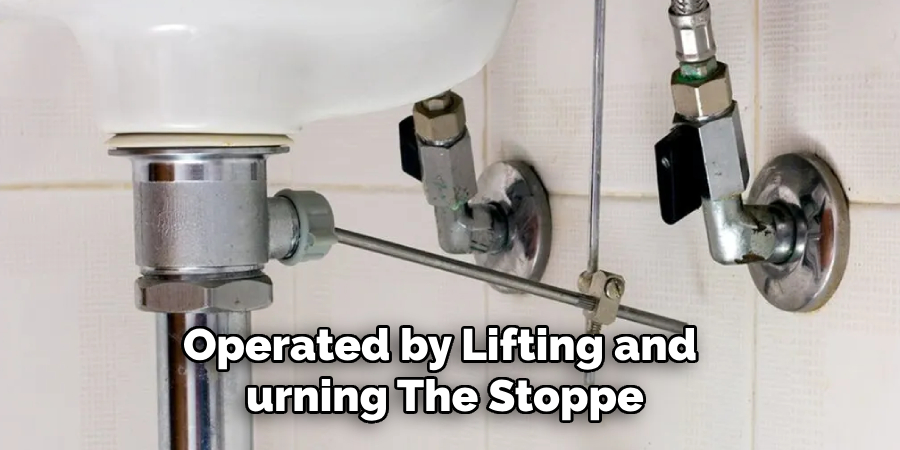
Lift-and-turn stoppers are operated by lifting and turning the stopper itself to open or close the drain. This mechanism is often found in older sinks and relies on basic mechanical rotation. While generally reliable, lift-and-turn stoppers can suffer from wear and tear, making them difficult to operate over time.
Push-and-Pull Stoppers
Push-and-pull stoppers function by pushing down on the stopper to close the drain and pulling up to open it. This simple mechanism is user-friendly and doesn’t require additional levers or rods. However, these stoppers can become jammed or stuck due to debris buildup or deteriorated seals.
By understanding these common sink plug mechanisms, you can more effectively troubleshoot and resolve issues, ensuring your bathroom sink remains functional and efficient.
Components of Sink Plugs
Sink plugs consist of several key components that work together to ensure effective sealing and drainage of water in your bathroom sink. Knowing these components can help you understand how your sink plug functions and aid in troubleshooting problems.
Stopper
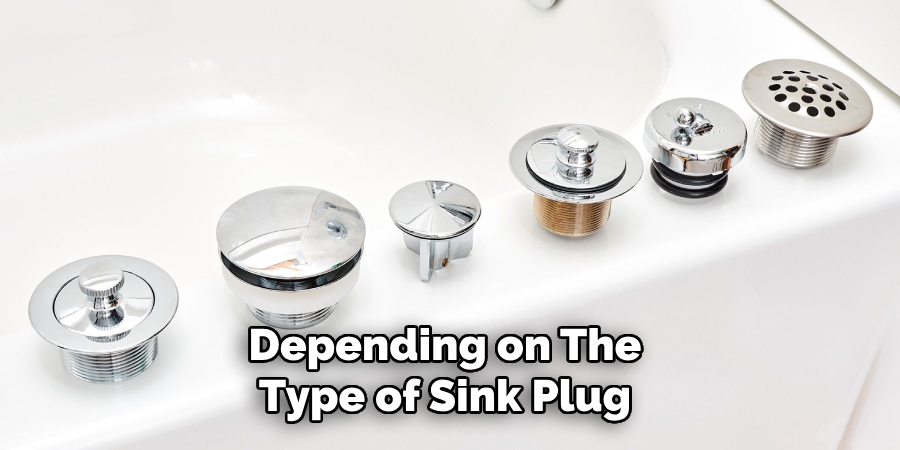
The stopper is the visible part of the sink plug mechanism that fits into the drain hole to block or allow the flow of water. Depending on the type of sink plug, the stopper may be lifted, turned, pushed, or pulled to open or close the drain.
Linkage
For pop-up stoppers, the linkage is the assembly of rods, levers, and pivot points that connect the control mechanism (usually a lift rod located behind the faucet) to the stopper. The linkage allows for the movement of the stopper when the control mechanism is engaged.
Gasket or Seal
A gasket or seal, often made of rubber or silicone, surrounds the stopper and creates a watertight seal when the plug is closed. This component prevents water from leaking through the drain when the sink is filled.
Drain Flange
The drain flange is the uppermost part of the drain assembly that sits flush with the sink’s surface. It provides a mounting point for the stopper and ensures that water flows smoothly from the sink into the drainpipe.
Tailpiece
The tailpiece is the pipe that extends from the drain flange and connects to the P-trap underneath the sink. It carries wastewater away from the sink and into the plumbing system.
Pivot Rod
In sinks with pop-up stoppers, the pivot rod is a horizontal rod that attaches to the stopper’s linkage. When the lift rod is engaged, the pivot rod moves the linkage, causing the stopper to raise or lower.
Spring Clip
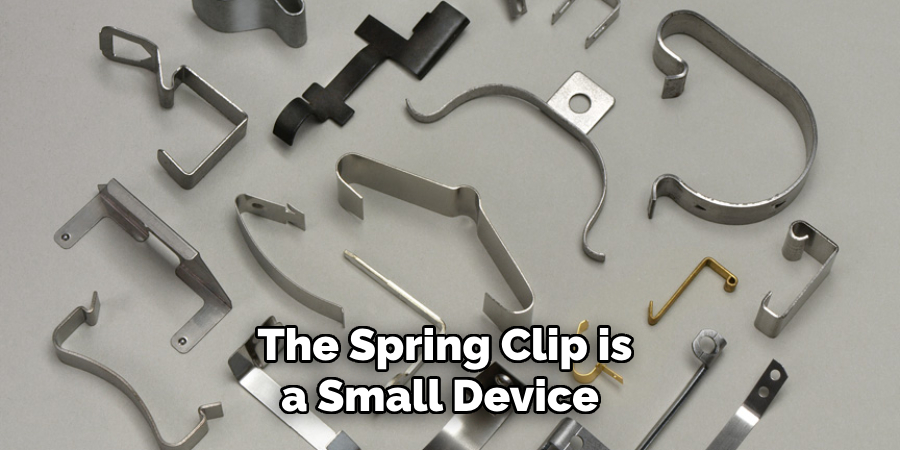
The spring clip is a small device on some pop-up stopper assemblies that securely holds the pivot rod in place, ensuring smooth operation of the stopper mechanism.
Retaining Nut
The retaining nut is used to secure the stopper assembly to the drainpipe. This component helps hold the entire sink plug mechanism together and prevents leaks around the drain flange.
By familiarizing yourself with these components, you can better understand how sink plugs operate and identify any potential issues that may require maintenance or repair.
Common Reasons for Removing Sink Plugs
There are several reasons you might need to remove the sink plug from your bathroom sink. Understanding these reasons can help you maintain a clean and functional sink.
Cleaning and Maintenance
One of the most frequent reasons for removing a sink plug is to perform thorough cleaning and maintenance. Over time, debris such as hair, soap scum, and other residues can accumulate around the plug and within the drain, leading to slow drainage or blockages. Removing the sink plug allows for complete access to the drain, enabling you to clear out any build-up and ensure smooth water flow.
Repairing or Replacing Components
Sink plugs and their mechanisms can wear out or break over time. When parts such as the linkage, stopper, or seals become damaged, it may be necessary to remove and repair or replace these components to restore proper function. For example, broken linkages or misaligned stoppers in pop-up mechanisms often require disassembly for repair.
Upgrading the Sink
Sometimes, homeowners choose to upgrade their bathroom fittings, including the sink plug, to enhance the aesthetic appeal or efficiency of their sinks. Removing the old sink plug is the first step in installing a new one. Newer models may offer improvements such as better sealing, more durable materials, or user-friendly designs.
Resolving Stubborn Clogs
In cases where standard unclogging methods (like using a plunger or chemical drain cleaner) fail to clear a blockage, it might be necessary to remove the sink plug to get direct access to the clog. This allows for the use of tools like a drain snake or pliers to physically remove the obstruction.

Inspecting the Plumbing
Periodic inspection of your sink’s plumbing system can help catch potential issues before they become major problems. Removing the sink plug allows you to check for signs of wear, corrosion, or leaks in the drain assembly. Early detection of such issues can prevent costly repairs and water damage in the future.
By understanding these common reasons for removing sink plugs, you can keep your bathroom sink in optimal condition and avoid common drainage and functional problems.
10 Methods How to Take Plug Out of Bathroom Sink
1. Manual Removal
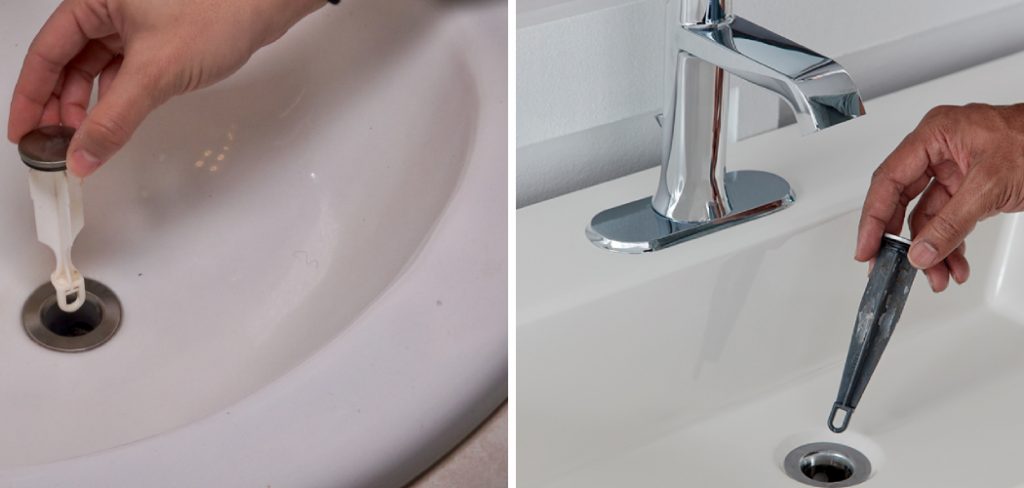
The simplest method for removing the plug from a bathroom sink is to do it manually. Depending on the type of plug mechanism your sink has, you may be able to twist, lift, or unscrew the plug by hand. Look for a knob or handle near the drain opening and try turning or lifting it to release the plug. If the plug is stuck, use a pair of pliers or a wrench to grip and loosen it.
2. Pop-Up Stopper
If your bathroom sink has a pop-up stopper, you can remove it by accessing the linkage mechanism beneath the sink. Locate the pivot rod connected to the back of the drainpipe and unscrew the retaining nut to release the rod. Then, pull the pivot rod out of the drainpipe to detach the stopper from the linkage. With the stopper disconnected, you can lift it out of the sink and clean or replace it as needed.
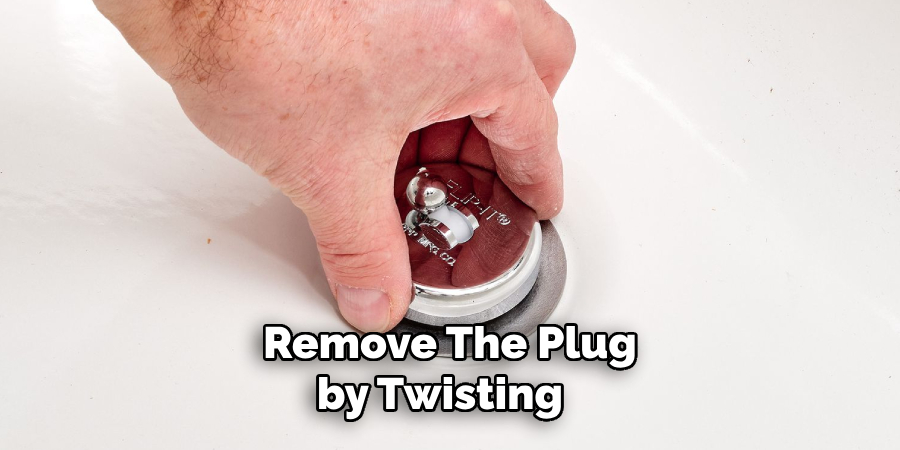
3. Lift-and-Turn Stopper
For sinks with a lift-and-turn stopper, you can remove the plug by twisting and lifting it out of the drain opening. Look for a small knob or tab on the stopper and twist it counterclockwise to unlock the stopper. Once unlocked, lift the stopper out of the drain opening and set it aside. This type of stopper is typically easy to remove without the need for tools.
4. Push-Pull Stopper
To remove a push-pull stopper from a bathroom sink, start by pulling the stopper up to open the drain. Then, locate the set screw on the knob or lever attached to the stopper and loosen it using a screwdriver. Once the set screw is loosened, you can pull the knob or lever off the stopper assembly, allowing you to lift the stopper out of the drain opening.
5. Toe-Touch Stopper
If your bathroom sink has a toe-touch stopper, you can remove it by accessing the stopper assembly beneath the sink. Look for the horizontal rod connected to the back of the drainpipe and unscrew the retaining nut to release the rod. Then, pull the horizontal rod out of the drainpipe to detach the stopper from the linkage. With the stopper disconnected, you can lift it out of the sink and clean or replace it as needed.
6. Using a Plunger
In some cases, a clogged sink may prevent you from removing the plug using manual methods alone. In such situations, you can use a plunger to help dislodge the plug and clear the blockage. Place the plunger over the drain opening and pump it up and down vigorously to create suction. This action can help loosen the plug and allow it to be removed more easily.
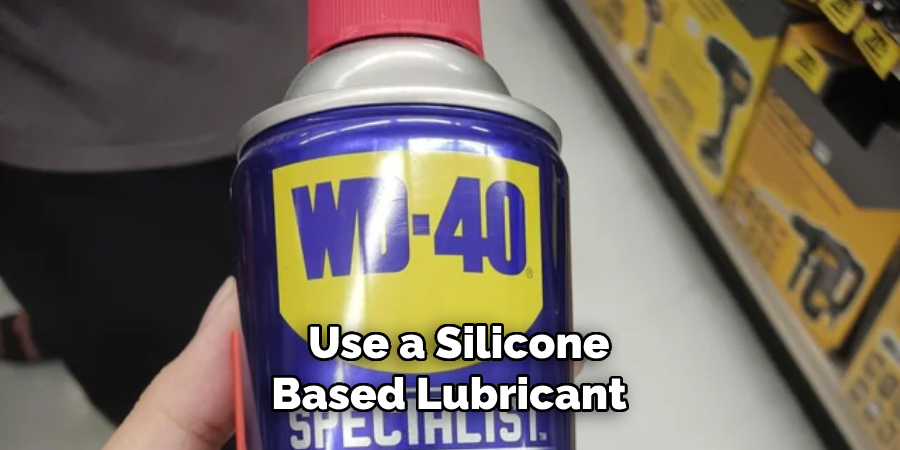
7. Applying Lubricant
If the plug is stuck due to corrosion or mineral buildup, applying a lubricant can help loosen it and make it easier to remove. Use a silicone-based lubricant or penetrating oil and apply it around the edges of the plug. Let the lubricant sit for a few minutes to penetrate the buildup, then try removing the plug again using manual methods or tools.
8. Using a Drain Snake
If manual methods and plunging fail to remove the plug, you can use a drain snake to help dislodge it. Insert the end of the drain snake into the drain opening and push it through the pipe while rotating the handle. The snake’s flexible cable can navigate through bends and obstructions in the pipe, allowing you to break up and remove any blockages causing the plug to stick.
9. Removing the P-Trap
In some cases, you may need to remove the P-trap beneath the sink to access and remove the plug. Place a bucket or basin underneath the P-trap to catch any water or debris, then use a pipe wrench to loosen the slip nuts on either side of the trap. Once the nuts are loosened, carefully remove the trap and inspect it for any obstructions or buildup. Clear any blockages, then reassemble the trap and test the drain.
10. Seeking Professional Help
If you’re unable to remove the plug using DIY methods or if you encounter any difficulties, it may be best to seek professional help. A licensed plumber will have the tools, expertise, and experience to diagnose and resolve any issues with your bathroom sink drain. They can quickly and efficiently remove the plug and address any underlying problems to ensure your sink functions properly.
Identifying the Type of Sink Plug
Identifying the type of sink plug in your bathroom sink is essential for effective maintenance and troubleshooting. Here are some common types of sink plugs and how to recognize them:
Pop-Up Stopper
Pop-up stoppers are typically operated by a lift rod located behind the faucet. When the lift rod is pulled up, the stopper rises to open the drain; when the rod is pushed down, the stopper lowers to close the drain. You can identify a pop-up stopper by the presence of the lift rod and the linkage mechanism that connects it to the stopper.
Push-and-Pull Stopper
Push-and-pull stoppers do not have an external control mechanism. Instead, you open and close the drain by manually pushing the stopper down or pulling it up. These stoppers have a simple, streamlined appearance and are usually found in modern bathroom designs.
Flip-It Stopper
Flip-it stoppers feature a toggle lever integrated into the stopper itself. To open or close the drain, you flip the lever to one side or the other. These stoppers are easily recognizable by the small lever on top of the stopper.
Toe-Touch Stopper
Toe-touch stoppers are similar to push-and-pull stoppers but are designed to be operated with your foot. To close the drain, you press the stopper down with your toe; to open it, you press down again. These stoppers are typically found in bathtubs but can also be used in bathroom sinks.
Lift-and-Turn Stopper
Lift-and-turn stoppers require you to lift the stopper and turn it to open or close the drain. These stoppers often have a small knob on top that you use to twist the stopper. They are typically found in older sink and bathtub designs.
Conclusion
Removing and maintaining sink plugs can be a straightforward process when you understand the type of stopper in your bathroom sink. Whether you’re dealing with a pop-up stopper, push-and-pull stopper, lift-and-turn stopper, or another type, following the appropriate steps can help you keep your sink functioning smoothly.
If you encounter difficulties or persistent blockages, don’t hesitate to use additional tools like plungers, lubricants, or drain snakes. In some cases, accessing the P-trap or seeking help from a professional plumber may be necessary.
Thanks for reading, and we hope this has given you some inspiration on how to take plug out of bathroom sink!