Welcome to our latest blog post! Today, we’ll discuss a topic that can cause frustration and inconvenience for many homeowners – a malfunctioning hot water thermostat. As the temperature drops and the holiday season approaches, access to hot water is essential for comfortable living. However, if your hot water isn’t heating up properly, the culprit could be a faulty thermostat.

Don’t worry, though; with some essential tools and knowledge on how to replace a hot water thermostat, you can easily replace your hot water thermostat yourself without having to resort to costly repairs or service calls. So sit back and get ready to learn how to become your handyman (or handywoman!) as we guide you through this step-by-step process in today’s blog post.
Necessary Items
Before jumping into the process, let’s ensure you have all the necessary items and tools to replace your hot water thermostat successfully. You will need:
- A new hot water thermostat (make sure it is compatible with your current system)
- Screwdriver
- Pliers
- Electrical tape
- Wire cutters/strippers
- Multimeter (optional but recommended)
10 Steps on How to Replace a Hot Water Thermostat
Now that you have all your items let’s begin the process. Follow these steps to replace your hot water thermostat:
Step 1: Turn Off the Power
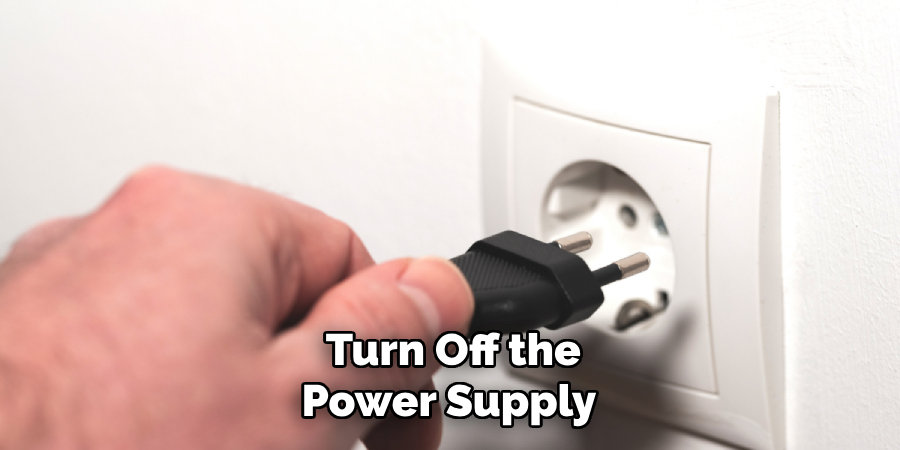
First and foremost, turn off the power supply to your water heater. This is a crucial safety step to prevent accidents or electrical shocks while working.
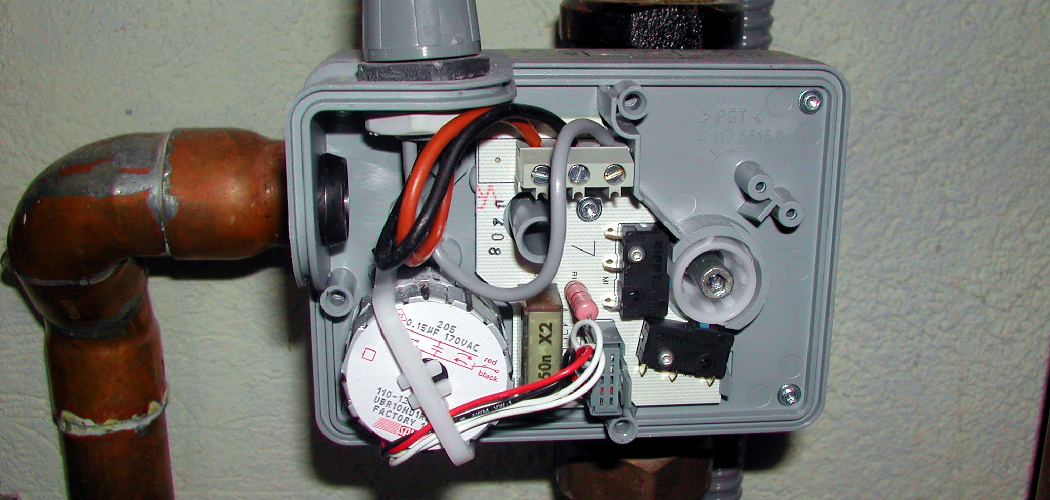
Step 2: Locate the Thermostat
The thermostat is usually near the top of your hot water tank, connected to the heating element. If you need clarification, consult your water heater’s manual.
Step 3: Remove the Old Thermostat
Using a screwdriver, remove the cover plate of the old thermostat. Then, carefully disconnect the wires from their corresponding terminals using pliers. Label or take a picture to remember where each wire goes.
Step 4: Test the Wires
If you have a multimeter, test the wires for any electrical current before proceeding. This is a crucial safety step as it ensures that no live wires could cause harm.
Step 5: Remove the Old Thermostat Completely
Once you have confirmed no electrical current, remove the old thermostat from its mounting bracket. You may need to use pliers to loosen any screws or bolts.
Step 6: Install the New Thermostat
Using the same mounting bracket, carefully install the new thermostat in its place. Make sure it is securely attached and that the wires are easily accessible.
Step 7: Connect the Wires
Connect the wires to their corresponding terminals on the new thermostat, following your labeled/picture reference. Use pliers to tighten any screws or bolts if necessary.
Step 8: Test the New Thermostat
Turn on the power supply and test the new thermostat by adjusting its temperature. Ensure it accurately reads the temperature and turns the heating element on/off accordingly.
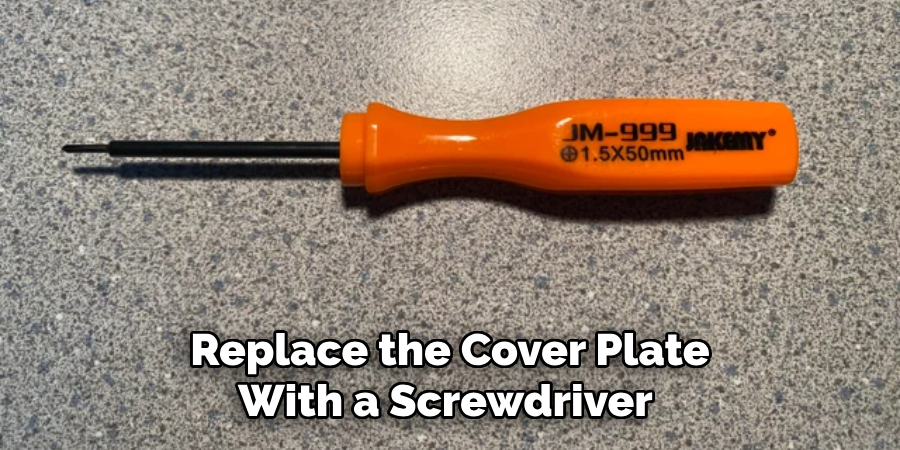
Step 9: Replace the Cover Plate
Replace the cover plate with a screwdriver once the new thermostat functions correctly.
Step 10: Turn On the Power
Finally, turn on the power supply to your water heater, and voila! You have successfully replaced your hot water thermostat. Enjoy your nice, hot showers!
Following these ten simple steps, you can easily replace a hot water thermostat. It’s essential always to prioritize safety and double-check your work before turning the power back on. Feel free to seek professional help if you need clarification on any step or encounter any issues during the process.
8 Things to Avoid
While replacing a hot water thermostat is simple, people make common mistakes. Here are eight things to avoid when attempting this DIY project:
1. Not Turning Off the Power Supply
As mentioned earlier, turning off the power supply is crucial for your safety and the project’s success. Always double-check that the power is off before starting.
2. Using the Wrong Thermostat
Ensure you purchase a thermostat compatible with your water heater’s system. This will save you time and frustration in the long run.
3. Forgetting to Label or Take Pictures of the Wires
This step may seem unnecessary, but it can be beneficial when reconnecting the wires to the new thermostat. Save yourself the headache by labeling or taking pictures beforehand.
4. Not Testing for Electrical Current
Always test for electrical current before handling wires to avoid potential shocks or accidents.
5. Not Tightening Screws or Bolts
Loose screws or bolts can cause the thermostat to malfunction, so make sure to tighten everything securely.
6. Incorrectly Connecting Wires
Connecting the wires to the wrong terminals can result in a malfunctioning water heater. Double-check your labeled/picture references before connecting them.
7. Not Testing the New Thermostat
Testing the new thermostat before fully installing and turning on the power supply is essential. This will save you from repeating the process if it doesn’t work correctly.
8. Not Seeking Professional Help When Needed
If, at any point during the process, you feel unsure or encounter any issues, don’t hesitate to seek professional help. It’s better to be safe than sorry about your water heater.
Replacing a hot water thermostat may seem daunting, but with the right tools and knowledge, it is a fairly simple DIY project that can save you time and money. Remember to prioritize safety, double-check your work, and seek professional help. With these steps and tips, you can easily replace your hot water thermostat and enjoy a nice shower.

5 Additional Tips
To ensure a successful replacement of your hot water thermostat, here are five additional tips to keep in mind:
1. Read the Manual
Before starting the process, read the manual for your specific water heater model. It may have specific instructions or warnings that are important to follow.
2. Clean and Maintenance
While replacing the thermostat, take the opportunity to clean and perform any necessary maintenance on your water heater. This will help prolong its lifespan and prevent future issues.
3. Use High-Quality Tools
Investing in high-quality tools can make a significant difference in DIY projects. They can save you time and frustration and ensure better results.
4. Check for Leaks
After installing the new thermostat, check for leaks around the connections and the water heater. If you notice any leaks, tighten the corresponding connections or seek professional help.
5. Keep a Record
Keep a record of when you last replaced your hot water thermostat, and make a note to replace it again in a few years. This will ensure you stay on top of maintenance and prevent unexpected issues.

Remember, if you encounter difficulties or feel unsure during the process, seek professional help. Following these steps and tips, you can successfully replace your hot water thermostat and have a functioning water heater for years. Now enjoy that nice, hot shower!
Frequently Asked Questions
Here are some frequently asked questions about replacing a hot water thermostat:
Can I Replace the Thermostat Myself?
Yes, as long as you follow the steps and precautions mentioned in this guide. If you have any doubts or encounter difficulties, don’t hesitate to seek professional help.
Do I Need a Multimeter?
It is not necessary but recommended for safety purposes. If you don’t have one, test the wires using another method or seek professional help.
How Often Should I Replace My Hot Water Thermostat?
It depends on the quality and usage of your water heater, but on average, replacing the thermostat every 5-10 years is recommended.
Can I Replace My Thermostat with a Smart One?
Yes, as long as the smart thermostat is compatible with your water heater’s system and you are familiar with its installation process.
Do I Need to Drain My Hot Water Tank Before Replacing the Thermostat?
No, draining the tank is not necessary for this task. However, make sure to turn off the power supply before proceeding.
Is Replacing a Hot Water Thermostat Expensive?
The cost of replacing a hot water thermostat can vary depending on the type of thermostat and your location. It is generally an affordable DIY project, but seeking professional help may incur additional costs. Overall, it is a cost-effective solution compared to hiring a professional. So, by following these steps and tips, you can save money and successfully replace your hot water thermostat.
Conclusion
In conclusion, replacing a hot water thermostat may seem daunting, but it can quickly be done with the right tools and knowledge. By following these steps on how to replace a hot water thermostat– turning off the power, draining the tank, removing the old thermostat, installing the new one, and testing it out – you will have successfully replaced your hot water thermostat in no time. Not only will you save money by doing it yourself instead of hiring a professional, but you will also feel accomplished knowing that you were able to fix a crucial component of your home’s heating system.
Now that you have all the necessary information, tools, and precautions, you can confidently replace your hot water thermostat. Remember to prioritize safety and double-check your work before turning on the power supply. If at any point you feel unsure or encounter difficulties, don’t hesitate to seek professional help. With these tips and steps in mind, you can enjoy a nice, hot shower without any worries.