
Upgrading your flooring from carpet to vinyl plank is a transformative home improvement project that can breathe new life into your space. The process involves not only the removal of the existing carpet but also the meticulous installation of vinyl plank flooring. In this comprehensive guide, we’ll take you through the step-by-step process of how to remove carpet and install vinyl plank flooring.
From preparing the room and detaching the carpet to the intricacies of subfloor preparation and the installation of vinyl planks, every aspect of this transformative project is explored.
Whether you’re a DIY enthusiast or a homeowner looking to refresh your living space, mastering the art of this flooring transition will empower you to create a durable, stylish foundation that stands the test of time. Join us as we unravel the secrets to a successful carpet-to-vinyl-plank transformation, ensuring a smooth and aesthetically pleasing result for your home.
Reasons for Replacing Carpet with Vinyl Plank Flooring
Carpet has long been a go-to choice for many homeowners due to its softness, warmth and affordability. However, with the rise of vinyl plank flooring, many are starting to see the benefits of this alternative option. Here are some reasons why more and more people are choosing to replace their carpet with vinyl plank flooring:
Durability
One of the main reasons for choosing vinyl plank flooring over carpet is its durability. Vinyl planks are made from a synthetic material that is highly durable and resistant to wear and tear. This makes it an ideal option for high-traffic areas such as living rooms, hallways, and even kitchens. Unlike carpet, vinyl plank flooring is also less prone to staining and can easily withstand spills and moisture.
Easy Maintenance
Another advantage of vinyl plank flooring is its easy maintenance. Unlike carpet, which requires regular vacuuming and deep cleaning to keep it looking fresh, vinyl planks can be easily cleaned with a simple sweep or mop. As mentioned earlier, it is also resistant to stains and moisture, making it an ideal choice for busy households with kids and pets.
Aesthetics
Vinyl plank flooring is available in a wide range of designs and styles, making it easy to find one that fits your home’s aesthetic. With advancements in technology, manufacturers can now recreate the look of natural materials such as hardwood, stone, and tile in vinyl planks. This means you can achieve the desired look for your home without breaking the bank.

Cost-effective
Speaking of cost, vinyl plank flooring is a more cost-effective option compared to carpet. While the initial investment may be higher, vinyl planks are known to last longer and require less maintenance, making it a more budget-friendly choice in the long run. Additionally, installation costs for vinyl plank flooring are typically lower than carpet installation.
10 Methods How to Remove Carpet and Install Vinyl Plank Flooring
1. Prepare the Room
Before removing the carpet and installing vinyl plank flooring, it’s important to prepare the room. This includes removing all furniture and any obstacles from the space. It’s also a good idea to thoroughly clean the floor to ensure a smooth installation process.
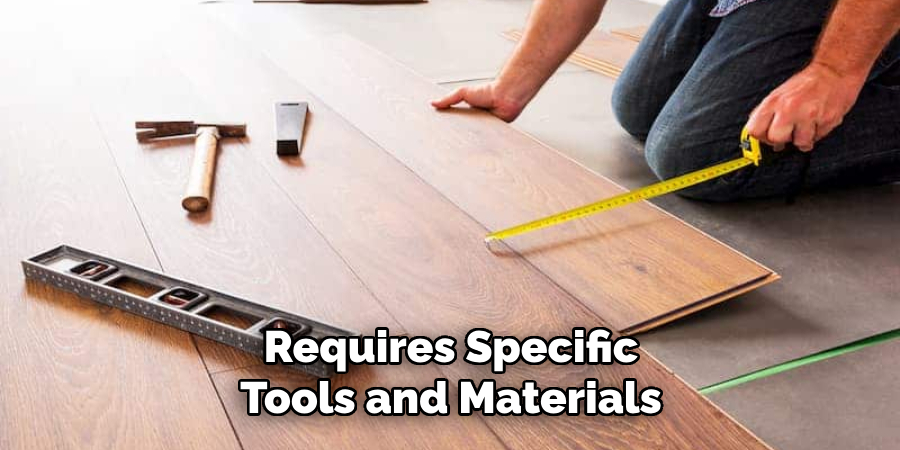
2. Gather Tools and Materials
To successfully remove carpet and install vinyl plank flooring, you’ll need a few essential tools and materials such as a utility knife, pry bar, hammer, measuring tape, chalk line, and adhesive or underlayment for the vinyl planks.
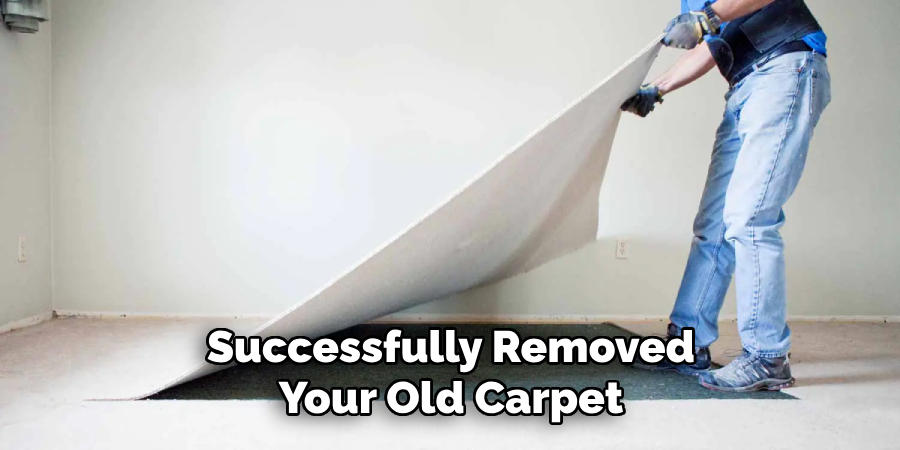
3. Remove Carpet
Using a utility knife, cut the carpet into manageable sections and roll them up for easy removal. Next, use a pry bar to loosen and remove any tack strips around the perimeter of the room. Finally, pull up any remaining staples or adhesive from the subfloor.
4. Inspect Subfloor
After removing the carpet, inspect the subfloor for any damage or imperfections that may need to be repaired before installing vinyl plank flooring. If necessary, fill in any holes or level out uneven areas with a patching compound. It is important to have a smooth and level subfloor for the vinyl planks to properly adhere to.
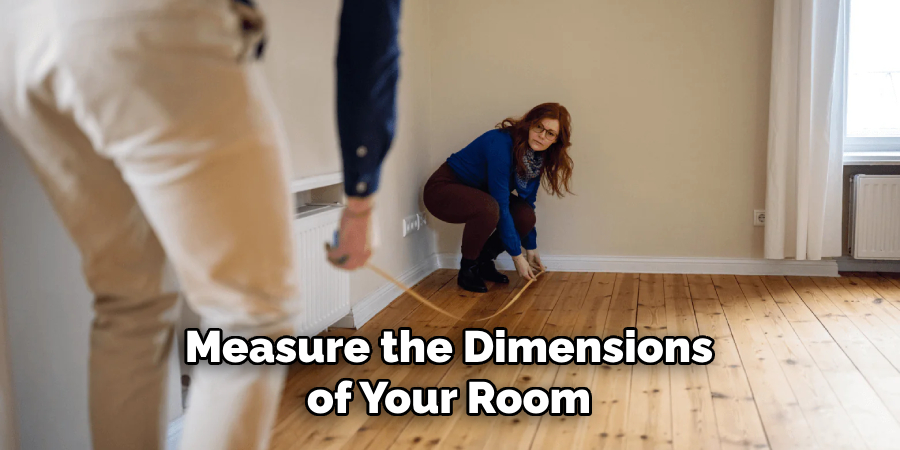
5. Measure and Plan Layout
Measure the dimensions of your room and plan out how you want to lay your vinyl planks. It’s recommended to start in one corner of the room and work your way across in rows for a consistent look. You may also want to consider which direction the planks should be laid, whether horizontally or vertically, depending on the shape of your room.
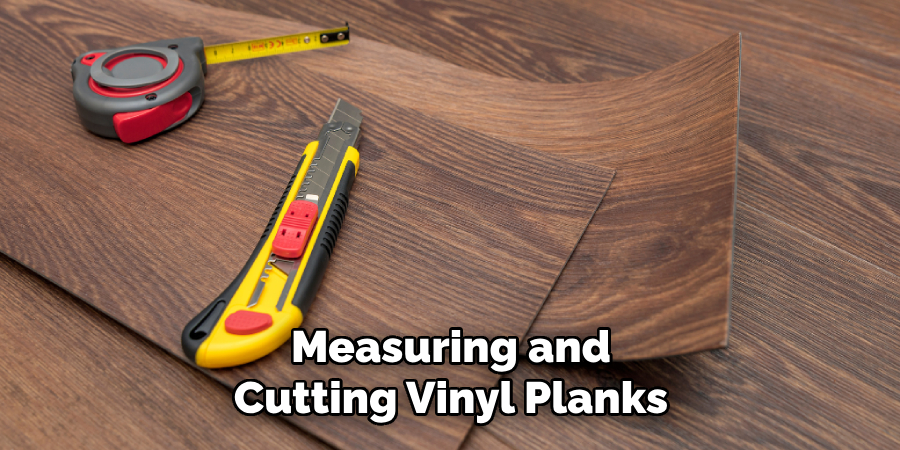
6. Cut Vinyl Planks
Using a utility knife or saw, cut your vinyl planks according to your measurements. Be sure to leave some extra material on each end for trimming later on. However, if you prefer a more precise cut, use a vinyl tile cutter or wet saw. Though slightly more expensive, these tools can give you a cleaner and more professional-looking cut.
7. Install Underlayment (Optional)
If using an underlayment for added insulation or soundproofing, now is the time to lay it down over your subfloor before installing your vinyl planks. Cut the underlayment to fit the room, leaving a 1/4 inch gap around the edges of the room. This will allow for expansion and contraction of the planks.
8. Lay Vinyl Planks
Starting in one corner of the room, begin laying your first row of vinyl planks by adhering them with either adhesive or interlocking edges. Continue this process, making sure to stagger the seams for a more natural look. Be sure to leave a small gap between the planks and the wall (about 1/4 inch) to allow for expansion.
9. Trim and Finish
Once all planks are laid, use a saw or utility knife to trim any excess material along the edges of the room. Finally, install any transition pieces or molding to cover gaps between the vinyl flooring and walls. Finishing touches such as adding baseboards or quarter round molding can give your vinyl plank flooring a polished look. These small details can make a big difference in the overall appearance of the room.
10. Clean Up
After completing your installation, be sure to clean up any debris or adhesive residue from your new vinyl plank flooring. This will ensure a polished and professional finish. However, remember that vinyl plank flooring is water-resistant, not waterproof. Therefore, you should avoid using excessive amounts of water in the cleaning process.
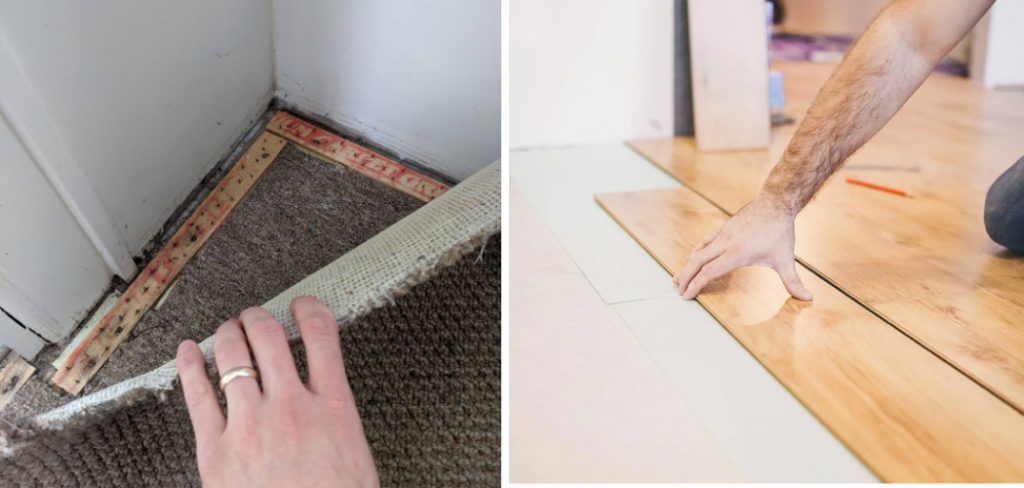
Ensuring a Snug Fit around Door Frames and Edges
Once you have successfully removed your old carpet and prepared the subfloor, it’s time to start installing your new vinyl plank flooring. One of the most important steps in this process is ensuring a snug fit around door frames and edges.
To achieve a professional look and prevent any gaps or uneven areas, follow these simple steps:
- Measure the distance between the edge of the door frame and the wall.
- Using a straight edge, transfer this measurement onto your vinyl plank flooring.
- Use a utility knife to score the plank along the line you marked.
- Gently snap off the excess piece of plank along the scored line.
- Test fit the plank in place to ensure it fits snugly against the door frame and wall.
Things to Consider When Installing Vinyl Plank Flooring
Vinyl plank flooring has become a popular choice for homeowners due to its durability, ease of installation, and wide range of styles available. It also offers the look of hardwood without the high cost or maintenance. If you are considering installing vinyl plank flooring in your home, here are some things to keep in mind before starting the project.
1. Subfloor Condition
Before installing vinyl plank flooring, it is essential to check the condition of your subfloor. The subfloor should be clean, dry, and level for a successful installation. Any bumps or unevenness in the subfloor can cause issues with the vinyl planks later on. If there are any significant imperfections, they should be fixed before beginning the installation process.
Acclimation Period
Just like with any other type of flooring, vinyl planks need time to acclimate to the temperature and humidity levels in your home. The manufacturer’s instructions will specify how long you should let the planks sit in the room before installation. It is crucial to follow this step as it ensures that the planks will not expand or contract after installation, which could cause them to buckle or separate.
Proper Tools and Materials
Installing vinyl plank flooring requires specific tools and materials to ensure a smooth and efficient installation process. Some essential tools include a utility knife, straight edge, measuring tape, and a rubber mallet. The materials you will need include underlayment (if required), adhesive, transition pieces, and, of course, the vinyl planks themselves. It is crucial to have everything you need before starting the project to avoid unnecessary delays.
Common Mistakes to Avoid When Installing Vinyl Plank Flooring
Here are some common mistakes to avoid when installing vinyl plank flooring:
Not Preparing the Subfloor Properly
One of the most important steps in any flooring installation is properly preparing the subfloor. This includes ensuring that it is clean, level, and dry. Neglecting to do so can lead to issues such as unevenness, shifting or buckling of the vinyl planks, and even mold growth. Take the time to properly clean and level your subfloor before beginning the installation process.
Not Acclimating the Vinyl Planks
Acclimating refers to allowing the flooring material to adjust to the temperature and humidity of its surroundings. It is a crucial step for any type of flooring installation, including vinyl plank flooring. Failing to acclimate the planks can lead to them warping or shrinking after installation, causing gaps between the planks.
Improper Measuring and Cutting
It may seem like a simple task, but measuring and cutting vinyl planks accurately is crucial for a seamless and professional-looking installation. Many DIYers make the mistake of not taking precise measurements or not using a proper cutting tool, resulting in misaligned or uneven planks. Take the time to measure and cut carefully for a polished final result.
Conclusion
In conclusion, removing carpet and installing vinyl plank flooring may seem like a daunting task, but with the right knowledge and steps, it can be a rewarding DIY project. By following these tips and tricks, you’ll not only save money on installation costs but also add value and style to your home.
Remember to properly prepare the subfloor, choose high-quality materials, and use the right tools for a successful installation. Don’t be afraid to take your time and double-check measurements along the way.
And most importantly, don’t forget to make this project fun! Put on some music, enlist the help of friends or family members, and turn it into a bonding experience. So go ahead and give it a try – now that you know how to remove carpet and install vinyl plank flooring, there’s no better time than the present to transform your floors into stunning works of art that will last for years to come. Happy renovating!