
Painting your bathroom ceiling can be a quick and simple way to freshen up the look of your bathroom. Over time, bathrooms can gather dirt, mold, and mildew due to the high level of moisture in the air. Painting your bathroom ceiling not only improves its appearance but also helps prevent these issues from occurring.
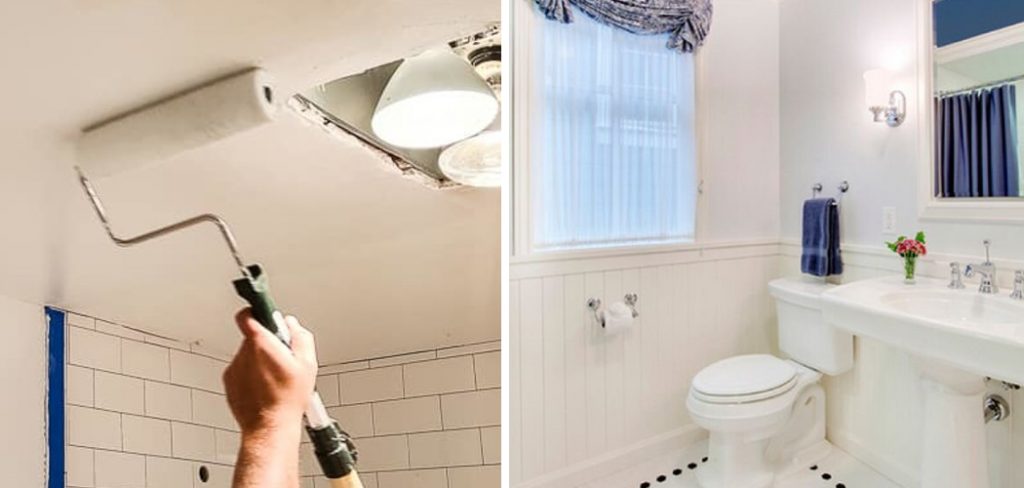
The main advantage of painting a bathroom ceiling is that it can instantly refresh and brighten up the space. A fresh coat of paint can make the entire room look cleaner, newer, and more visually appealing. This is especially important in a bathroom where cleanliness and hygiene are key. In this blog post, You will learn in detail how to paint bathroom ceiling.
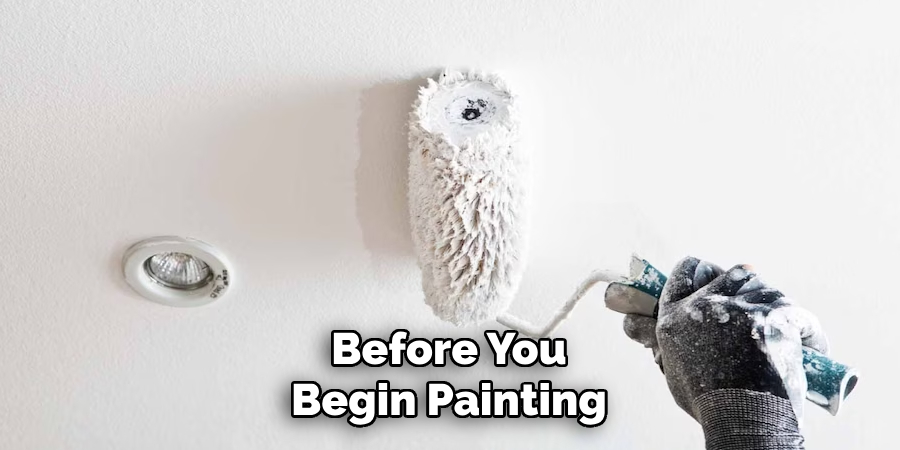
Preparing the Bathroom Before Painting Bathroom Ceiling
There are several steps you should follow to prepare your bathroom before painting the ceiling. This will ensure that your paint job is successful and long-lasting.
- Clear Out the Bathroom: The first step is to remove all items from the bathroom, such as towels, toiletries, and rugs. This will prevent them from getting stained or damaged during the painting process.
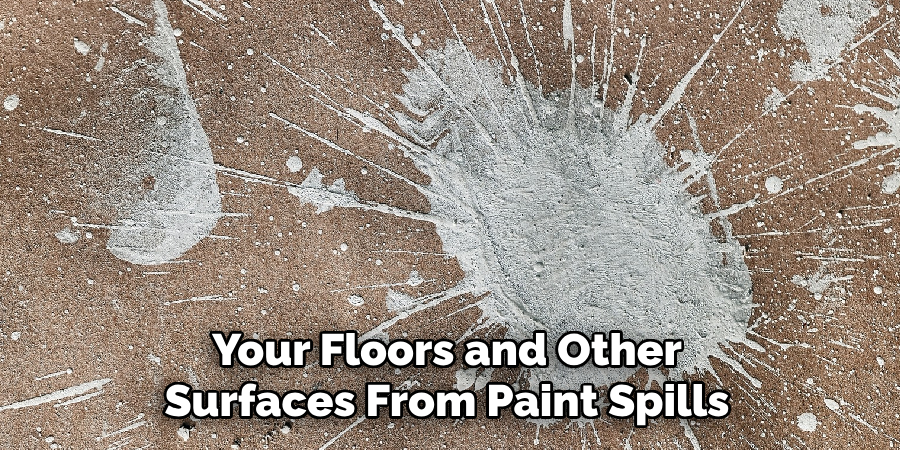
- Cover the Floors and Fixtures: Use drop cloths or old sheets to cover the floors and any fixtures in the bathroom, such as the toilet, sink, and bathtub. This will protect them from accidental spills or drips.
- Clean the Ceiling: Before painting, it is important to clean the ceiling thoroughly. Use a mild soap and warm water to remove any dirt, dust, or grime. This will ensure that the paint adheres properly to the ceiling.
- Patch any Holes or Cracks: If there are any holes or cracks in the ceiling, use spackling compound to fill them in. Use a putty knife to smooth out the surface and let it dry completely before sanding it down.
- Sand Down Any Rough Spots: Use sandpaper to smooth out any rough spots on the ceiling. This will create a smooth surface for the paint to adhere to.
- Prime the Ceiling: It is recommended to prime the ceiling before painting, especially if you are using a darker color. This will help achieve better coverage and prevent any stains from showing through.
- Use Painter’s Tape: Before painting, use painter’s tape to cover any edges or trim where the ceiling meets the walls. This will ensure clean and crisp lines.
- Ventilate the Bathroom: Make sure to open windows or turn on a fan to ventilate the bathroom while painting. This will help with drying time and prevent any fumes from building up.
- Use an Angled Brush for Edges: Use an angled brush to paint the edges of the ceiling where it meets the walls. This will create a clean and precise line.
- Use a Roller for Larger Areas: Use a roller to paint larger areas of the ceiling. Start from one corner and work your way across in a W-pattern for even coverage.
- Allow Ample Drying Time: It is important to allow the paint to dry completely before adding a second coat. This will ensure a smooth and even finish.
- Remove Painter’s Tape: Once the paint is completely dry, carefully remove the painter’s tape for clean edges.
- Replace Items in the Bathroom: After painting, wait at least 24 hours before putting back any items in the bathroom. This will ensure that the paint is fully dried and will not get damaged.

By following these steps, you can ensure that your bathroom ceiling is properly prepared for painting and will result in a beautiful and long-lasting finish. Remember to take your time and be thorough during the preparation process for the best results.
How do You Choose the Right Paint
Choosing the right paint for your bathroom ceiling is important in achieving a durable and visually appealing finish. Here are some factors to consider when selecting paint for your bathroom:
- Type of Paint: Latex or water-based paints are typically recommended for bathrooms as they are mildew-resistant and easy to clean. However, if you have a lot of steam in your bathroom, an oil-based paint may be a better option as it is more moisture-resistant.
- Finish: The type of finish you choose will depend on your personal preference and the look you want to achieve. Satin or eggshell finishes are commonly used for bathroom ceilings as they have a slight sheen and are easy to clean. Matte or flat finishes can also work well in bathrooms, but may not be as durable.
- Color: When choosing a color for your bathroom ceiling, consider the overall aesthetic of your bathroom and the colors used on the walls. If you want to create a cohesive look, choose a color that complements or contrasts with the wall color.
- Quality: Investing in high-quality paint can make a big difference in the longevity and durability of your bathroom ceiling. Look for paints that are specifically designed for bathrooms and have good reviews.
- Test Samples: It is always a good idea to test out a small sample of paint on your bathroom ceiling before committing to the entire project. This will give you an idea of how the color will look in your bathroom’s lighting and if it is the right choice for you.
By considering these factors and doing some research, you can choose the right paint for your bathroom ceiling that will not only look great but also withstand the conditions of a bathroom. Remember to also properly prepare and prime your ceiling before painting for the best results.

Tools and Materials You Will Need
- Ladder
- Drop cloths or old sheets
- Cleaning supplies (mild soap, warm water)
- Spackling compound
- Putty knife
- Sandpaper
- Primer
- Painter’s tape
- Paintbrush (angled and straight)
- Roller and tray
Make sure to have all of these tools and materials on hand before starting your bathroom ceiling painting project for a smooth and efficient process. You may also need additional items depending on the specific needs of your bathroom, such as a fan for ventilation or a stepladder for higher ceilings.
Step-by-step Instructions for How to Paint Bathroom Ceiling
Step 1: Inspect the Bathroom Ceiling
The first step in painting your bathroom ceiling is to thoroughly inspect it. Look for any signs of damage, such as cracks or water stains, and address them before you begin painting. This will ensure a smooth and long-lasting finish.
Step 2: Gather Your Materials
Next, gather all the necessary materials for the job. This includes paint (specifically ceiling paint), a paint roller, paint tray, painter’s tape, drop cloths or plastic sheeting, and a ladder. Make sure you have everything you need before starting the project.
Step 3: Prepare the Room
Before you begin painting, it’s important to prepare the room. Cover any fixtures or furniture with drop cloths or plastic sheeting to protect them from paint splatters. Use painter’s tape to cover any edges or trim that you do not want to be painted. Use a damp cloth or sponge to wipe down the ceiling and remove any dust, dirt, or grime. This will ensure that the paint adheres properly and provides a smooth finish.
Step 4: Prime the Ceiling
If your ceiling has never been painted before or has a lot of imperfections, it’s recommended to prime it first. This will create a smooth base for the paint and help cover any stains or discoloration. Stir the paint thoroughly to ensure an even consistency. If you’re using multiple cans of paint, mix them together in a larger container to avoid any inconsistencies in color.
Step 5: Cut in the Edges
Use a smaller paint brush to “cut in” around the edges of the ceiling, carefully painting near corners, trim, and fixtures. This will make it easier when using a roller on the larger areas. Using a paint roller, start at one corner of the room and work your way across the ceiling in a W pattern. This will ensure even coverage and prevent any visible lines or streaks.
Step 6: Apply Multiple Coats
Depending on the color and type of paint you’re using, you may need to apply multiple coats for full coverage. Allow each coat to dry completely before applying the next. Once the paint has dried, remove any painter’s tape and drop cloths. Use a damp cloth to wipe down any areas that may have gotten splattered with paint. Then, step back and admire your newly painted bathroom ceiling.
Safety Tips for How to Paint Bathroom Ceiling
- Wear Protective Gear – When working with paint, it is important to protect your eyes, skin and lungs. Be sure to wear safety goggles, gloves and a mask to prevent any contact with the paint and harmful fumes.
- Ventilate the Room – Before starting your project, make sure you have proper ventilation in the bathroom. Open windows and use fans to circulate fresh air. This will help prevent the build-up of harmful fumes from the paint.
- Choose a Non-Toxic Paint – Look for paints that are labeled as non-toxic and low in volatile organic compounds (VOCs). These types of paint are safer for you and the environment.
- Prep the Ceiling – Before painting, clean the ceiling thoroughly to remove any dust, dirt or mildew. Use a mixture of water and mild detergent to scrub the surface clean. This will ensure that the paint adheres properly and lasts longer.
- Use Drop Cloths – To protect your floors and other surfaces from paint spills and drips, use drop cloths or old sheets to cover them. This will also make clean-up much easier.
- Use a Stepladder – When painting the ceiling, it’s important to have a stable and secure platform. Use a stepladder instead of standing on furniture or chairs, which can be dangerous and increase the risk of accidents.
- Take Breaks – Painting can be physically demanding, especially when working above your head on a ceiling. Be sure to take breaks and stretch your muscles to avoid strain or injury.
When it comes to painting the bathroom ceiling, safety should always be a top priority. In addition to following these tips, make sure you also have a first aid kit nearby in case of any accidents. It’s better to be safe than sorry when it comes to home improvement projects.
The Significance of a Well-painted Bathroom Ceiling
Your bathroom ceiling may not be the first thing that comes to mind when you think about home renovations, but it is definitely an important aspect to consider. A well-painted bathroom ceiling can make a significant difference in the overall look and feel of your bathroom. In this section, we will discuss why a well-painted bathroom ceiling is so significant.
1. Enhances the Visual Appeal
One of the main reasons why a well-painted bathroom ceiling is significant is because it enhances the visual appeal of your bathroom. The ceiling is often an overlooked area, but a freshly painted ceiling can make a big impact on the overall aesthetic of the room. A bright, clean and well-maintained ceiling can instantly make your bathroom look more modern and put-together. It can also make the space feel larger and more spacious.
2. Provides a Clean and Hygienic Environment

A well-painted bathroom ceiling not only looks visually appealing but also contributes to creating a clean and hygienic environment. Bathrooms are known for being prone to moisture, which can lead to mold and mildew growth. A properly painted ceiling with appropriate moisture-resistant paint can prevent these issues and promote a healthy bathroom space. Additionally, a fresh coat of paint can cover up any stains or discoloration caused by steam or water damage.
3. Increases the Durability
Another significance of a well-painted bathroom ceiling is its durability. Bathroom ceilings are constantly exposed to moisture, heat, and humidity, which can cause paint to peel off or become discolored over time. With a proper paint job and regular maintenance, your bathroom ceiling can last longer without needing frequent repainting.
4. Adds Value to Your Home
A well-painted bathroom ceiling can also add value to your home. When potential buyers are looking at a house, they pay attention to even the smallest details like a painted ceiling in the bathroom. A clean and well-maintained bathroom, including the ceiling, can make a good impression and increase the overall value of your home.
A well-painted bathroom ceiling has many significant benefits that go beyond just aesthetics. It enhances the visual appeal of your bathroom, provides a clean and hygienic environment, increases durability, and adds value to your home.
Factors to Consider When Choosing Paint for Bathroom Ceilings
When it comes to painting your bathroom ceiling, there are a few factors that you need to keep in mind. Choosing the right paint for this particular area of your home is crucial as it can have an impact on both the aesthetics and functionality of the room. Here are some important things to consider when selecting paint for your bathroom ceilings:
1. Moisture and Humidity Resistance

Bathrooms are known for being high-moisture areas, which means that the paint you choose should be able to withstand humidity and moisture. Look for paints that are specifically designed for use in bathrooms or have a high resistance to moisture. These types of paints usually contain mildewcides and fungicides to prevent mold and mildew growth.
2. Gloss or Sheen Level
The gloss or sheen level of paint can also affect the appearance and functionality of your bathroom ceiling. Generally, higher gloss levels indicate better moisture resistance, making them suitable for bathrooms. However, high-gloss paints tend to highlight imperfections on the surface and can be difficult to touch up if necessary. Consider using semi-gloss or satin finish paints that offer a good balance between moisture resistance and easy maintenance.
3. Proper Ventilation
Proper ventilation is crucial for bathrooms, especially ones with painted ceilings. Good airflow helps to prevent moisture build-up and reduce the chances of mold or mildew growth. If your bathroom doesn’t have proper ventilation, consider using an exhaust fan or installing a window to help with air circulation. This will also help to protect your painted ceiling and extend its lifespan.
4. Durability and Washability
Bathrooms are high-traffic areas, which means that the paint on your ceiling should be able to withstand frequent cleaning without losing its color or sheen. Look for paints labeled as “washable” or “scrubbable”, as they are specifically formulated to resist water, stains, and mildew. These types of paints are easy to clean with a damp cloth or sponge, making them ideal for bathrooms.
5. Color and Lighting

The color you choose for your bathroom ceiling can have an impact on the overall look and feel of the room. For smaller bathrooms, lighter colors like white or light gray can help create a sense of spaciousness and reflect more light, making the room feel brighter.
Darker colors can make a larger bathroom feel cozy and add character to the space. Consider your bathroom’s lighting as well when choosing a paint color, as lighting can affect how colors look in a room.
6. Personal Preferences
Ultimately, your personal preferences should also play a role in choosing the right paint for your bathroom ceiling. If you have a specific color scheme or style in mind, consider how the ceiling paint will complement it. You may also want to take into account any existing fixtures and fittings in your bathroom and choose a paint color that works well with them.
As bathrooms are often one of the most used rooms in a home, it’s important to carefully consider all these factors when selecting paint for your bathroom ceiling. With the right color and type of paint, you can create a functional and aesthetically pleasing space that will stand the test of time.
Conclusion
In conclusion, painting your bathroom ceiling can be a great way to freshen up the look of your bathroom and add some personality to the space. However, there are also some disadvantages that you should be aware of before tackling this project.
One major disadvantage is the potential for paint fumes and odors. Bathrooms are typically smaller, enclosed spaces with limited ventilation, so painting can release strong fumes that may linger for some time.
Another disadvantage is the time and effort required for this project. Painting a bathroom ceiling can be a tedious and time-consuming task, particularly if you have high ceilings or detailed molding that requires extra attention.
It’s important to properly prepare and plan for this project to ensure a smooth and efficient process. I hope reading this post has helped you learn how to paint bathroom ceiling. Make sure the safety precautions are carried out in the order listed.