
There are several reasons why you may need to remove a plaster ceiling. One of the most common reasons is due to damage or deterioration of the ceiling itself. Plaster can crack, crumble, and sag over time, especially in older homes. Another reason for removing a plaster ceiling is to update the look of your home.
Plaster ceilings were popular in older homes, but they can make a space feel dark and closed off. By removing the plaster and exposing the structural beams or installing a different type of ceiling such as drywall, you can modernize your home and create a more open and spacious feeling.
The main advantage of removing plaster ceiling is that it allows for a more modern and updated look to the room. Plaster ceilings have been popular in homes for many years, but they can often make a room feel outdated and dark. By removing the plaster ceiling, you can open up the space and create a brighter and more contemporary atmosphere. You can find step-by-step instructions on how to remove plaster ceiling in this blog article.
Reasons for Removing a Plaster Ceiling
There are several reasons why a homeowner may choose to remove a plaster ceiling. Some of the most common reasons include:

- Damage or Deterioration: Plaster ceilings can easily become damaged over time due to water leaks, cracks, or general wear and tear. This damage can compromise the structural integrity of the ceiling and make it necessary to remove it.
- Aesthetic Reasons: Plaster ceilings may be outdated or no longer fit the homeowner’s style preferences. Removing it can open up the space and provide a fresh, modern look.
- Mold or Mildew Growth: If a plaster ceiling is not properly maintained, it can become a breeding ground for mold and mildew. This can create health hazards and make it necessary to remove the entire ceiling.
- Ceiling Height: Some older homes may have lower ceiling heights due to the use of plaster ceilings. Removing it can increase the height and create a more spacious feel in the room.
- Asbestos Concerns: Plaster ceilings used to be commonly made with asbestos, a hazardous material that has been linked to serious health issues. If a home has an older plaster ceiling, it may be necessary to remove it for safety reasons.
- Access to Wiring or plumbing: In some cases, a homeowner may need access to the space above the plaster ceiling in order to make repairs or upgrades to electrical wiring or plumbing. Removing the ceiling can make this process easier and more efficient.
- Structural Changes: If a homeowner wants to add insulation or change the layout of their home, removing a plaster ceiling may be necessary. This can allow for more space and better insulation between floors.
- Soundproofing: Plaster ceilings are not as effective at soundproofing as other materials such as drywall. Removing it and replacing it with a more sound-resistant material can improve the overall acoustics of the room.
- Cost: In some cases, removing a plaster ceiling may be more cost-effective than trying to repair or patch it. This is especially true if the damage is extensive or if other renovations are being done at the same time.
- Personal Preference: Ultimately, some homeowners simply prefer the look and feel of a different type of ceiling material. Removing a plaster ceiling can give them the opportunity to create the space of their dreams.

By understanding the various reasons for removing a plaster ceiling, homeowners can make an informed decision on whether or not it is necessary for their specific situation. It is important to consult with a professional before undertaking any major renovations, as they can provide valuable insight and assistance throughout the process.
Importance of Careful Planning and Safety Measures
When removing a plaster ceiling, it is crucial to carefully plan and take necessary safety measures. This process can be messy, time-consuming, and potentially dangerous if not done correctly. Here are some key things to keep in mind:
- Asbestos Testing: Before starting any work on a plaster ceiling, it is important to have it tested for asbestos. If the ceiling contains asbestos, proper precautions and procedures must be followed to safely remove it.
- Protective Gear: When working with a plaster ceiling, it is essential to wear appropriate protective gear such as gloves, masks, and goggles. This can prevent exposure to dust and debris that may contain harmful substances.
- Proper Tools: Removing a plaster ceiling requires specific tools such as a hammer, pry bar, and scraper. It is important to use the right tools for the job to avoid causing unnecessary damage or injury.
- Support Structure: Plaster ceilings are heavy and can put strain on the ceiling joists and walls when being removed. It is important to provide proper support structures, such as temporary walls or braces, to prevent any accidents or structural damage.
- Containment and Ventilation: To minimize the spread of dust and debris, it is important to set up a containment area around the work site. Additionally, proper ventilation should be in place to ensure good air circulation and prevent the buildup of harmful particles.
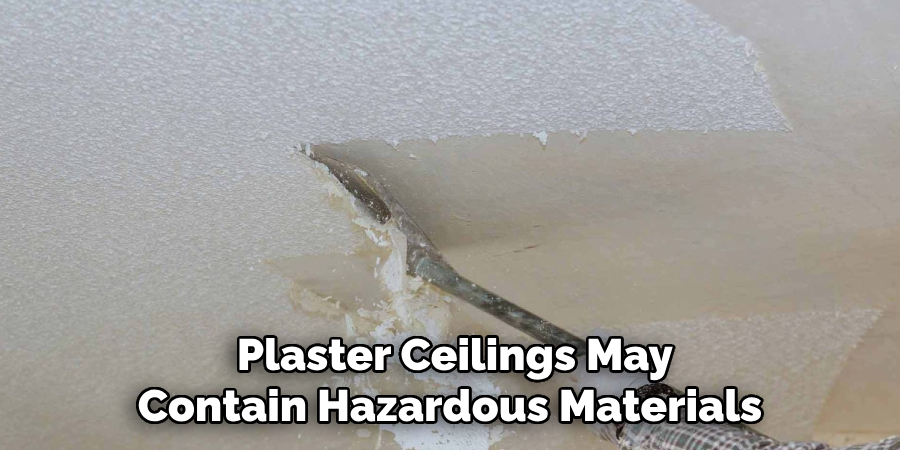
- Proper Disposal: Plaster ceilings may contain hazardous materials such as asbestos or lead paint. It is important to follow proper disposal procedures to protect both the environment and public health.
By taking these careful planning and safety measures, homeowners can ensure a successful and safe removal of their plaster ceiling. It is always recommended to hire a professional for this type of project, as they have the expertise and equipment necessary to complete the job efficiently and safely.
Tools and Equipment You Will Need
- Gardening gloves
- Pruning shears
- Hand trowel
- Watering can or hose
- Rake
- Hoe or spade for digging large holes
- Wheelbarrow or garden cart for transporting materials
- Hand cultivator for loosening soil
- Garden fork for breaking up compacted soil
- Sprinkler or irrigation system
By having these essential tools and equipment, you will be well-equipped to take on any gardening task. However, there are also other items that can make your gardening experience more efficient and enjoyable.
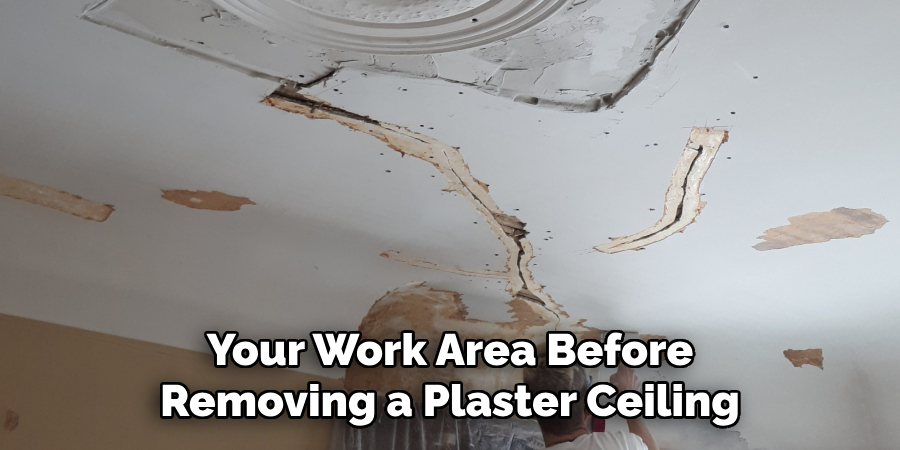
Preparing the Work Area Before Removing Plaster Ceiling
In order to remove a plaster ceiling, it is important to properly prepare the work area. This will not only make the task easier, but also ensure safety during the process. Here are some steps you can follow to prepare your work area before removing a plaster ceiling:
- Clear the Area: Before starting any renovation project, it is essential to clear out all furniture and belongings from the area. This will prevent any damage to your property and make it easier to work in a clutter-free space.
- Cover the Floor: Plaster can create a lot of dust and debris when removed, so it is important to cover the floor with drop cloths or plastic sheets. This will protect your floors from getting damaged and also make clean up much easier.
- Wear Protective Gear: Removing a plaster ceiling can be a messy job, so it is important to wear the proper protective gear. This includes safety goggles, gloves, and a mask to protect your eyes, hands and lungs from dust and debris.
- Turn Off Electricity: Before starting any work, make sure to turn off the electricity in the room where you will be removing the plaster ceiling. This will eliminate the risk of electrocution.
- Use Ladders or Scaffolding: Depending on the height of your ceiling, you may need to use ladders or scaffolding to reach it safely. Make sure to set them up securely and have someone hold the base for added stability.
- Have Tools Ready: It is important to have all the necessary tools ready before starting to remove the plaster ceiling. This includes a hammer, chisel, pry bar, and a utility knife.
- Cover Vents and Ducts: Plaster dust can easily get into air vents and ducts, so be sure to cover them with plastic sheeting or tape them shut. This will prevent the dust from spreading throughout your home.
- Have a Waste Disposal Plan: Removing a plaster ceiling will create a lot of debris, so it is important to have a plan for waste disposal. Renting a dumpster or arranging for a waste removal service beforehand can make the clean-up process much easier.
- Work in Sections: Instead of trying to remove the entire plaster ceiling at once, it is better to work in sections. This will make the process more manageable and also prevent any sudden collapses.
- Have Help Available: Removing a plaster ceiling can be a daunting task, so it is always helpful to have someone else with you. They can assist with tasks such as holding up ladders or handing tools, making the job safer and easier overall.
By following these steps, you can ensure that your work area is properly prepared before removing a plaster ceiling. This will make the process smoother and safer, allowing you to successfully complete your renovation project.
Step-by-step Instructions for How to Remove Plaster Ceiling
Step 1: Inspect the Ceiling

Check for any signs of damage such as water stains, cracks or holes. You should also look for any loose plaster that could potentially fall off during the removal process. Remove all furniture and cover the floor with drop cloths to protect it from falling debris. It is also a good idea to wear protective gear such as goggles, gloves and a dust mask.
Step 2: Gather Tools and Supplies
You will need a few tools and supplies to remove the plaster ceiling. These include a hammer, chisel, pry bar, utility knife, safety glasses, gloves and a ladder. Before starting the removal process, turn off any utilities that may be connected to the ceiling, such as electricity or water. This will ensure your safety and prevent any damage to the utilities.
Step 3: Create Access Points
Using a hammer and chisel, create access points in the ceiling by breaking off small sections of plaster. These access points will help you determine if there are any hidden obstacles behind the plaster. If there is any trim or molding attached to the ceiling, carefully remove it using a pry bar. Be sure to save the trim and molding if you plan on reusing them after removing the plaster.
Step 4: Start Removing Plaster
Starting at an access point, use a hammer and chisel to break off larger sections of plaster. Work your way along the ceiling, creating new access points as needed. Be careful not to damage any underlying structures. Once all the plaster has been removed, you will be left with wooden lath strips. Use a hammer and chisel or pry bar to remove the lath from the ceiling joists.
Step 5: Clean Up Debris
Use a broom and dustpan to clean up any debris that has fallen onto the drop cloths. It is important to keep the work area clean and free of clutter to prevent accidents. If you notice any damage to the ceiling joists or other structures, be sure to repair them before installing new materials. This will ensure a strong and stable base for the new ceiling.
Step 6: Install New Ceiling Materials

Depending on your preference, you can either install drywall or a new plaster ceiling. Follow manufacturer instructions for installation and make sure to leave access points in case of any future repairs. Once the new ceiling is installed, you can add trim and molding to give it a finished look. You can also paint or add texture to the ceiling for added visual appeal.
By following these step-by-step instructions, you can safely and effectively remove a plaster ceiling. Remember to take your time and be careful during the process to avoid any accidents or damage. Once completed, you will have a clean and updated ceiling that will add value to your home.
Safety Precautions for How to Remove Plaster Ceiling
- Wear personal protective equipment (PPE) such as safety glasses, gloves, and a dust mask to protect yourself from any hazardous materials.
- Ensure that the area is well ventilated by opening windows or using fans to avoid inhaling dust and debris.
- Make sure to turn off any electrical power before starting the removal process. This includes turning off all lights and disconnecting any electrical appliances in the room.
- Use a ladder or scaffold to reach the ceiling safely and avoid standing on furniture or other unstable objects.
- Start by wetting small sections of the ceiling with water to soften the plaster. This will make it easier to remove and reduce dust levels.
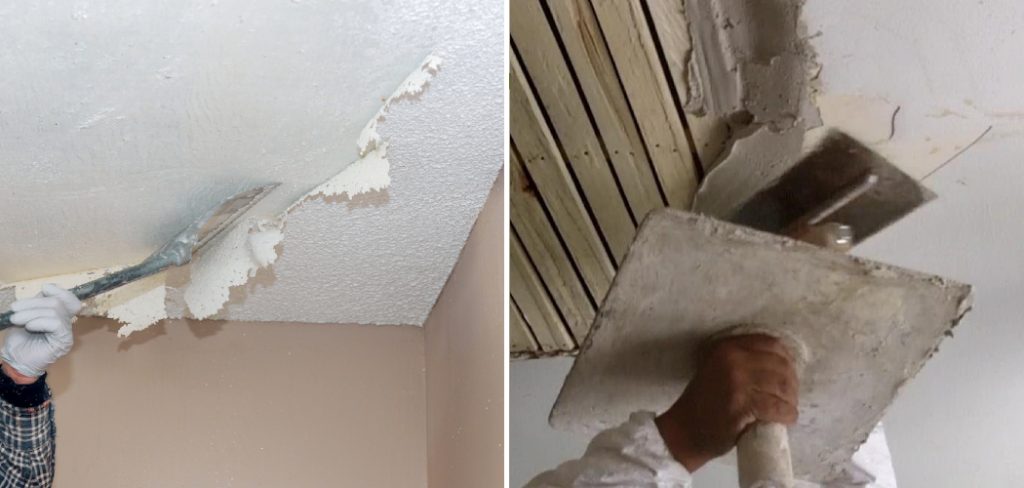
- Use a scraper tool or putty knife to gently pry away the wet plaster from the ceiling. Work in small sections and be careful not to damage the underlying structure.
- Dispose of the removed plaster carefully and avoid creating excessive dust. Use a vacuum cleaner with a HEPA filter to clean up any remaining debris.
By following these safety precautions, you can safely remove a plaster ceiling without putting yourself or others at risk. Remember to take breaks as needed and seek professional help if necessary. Always prioritize your safety when tackling any home renovation project.
Troubleshooting and Common Challenges for Removing Plaster Ceiling
Removing a plaster ceiling can be a daunting task, especially if you are not familiar with the process. It is important to note that this task should only be attempted by someone who has experience and knowledge in handling construction projects. In this guide, we will discuss some of the common challenges and issues that may arise when removing a plaster ceiling, and how to troubleshoot them effectively.
Understanding the Structure of Plaster Ceilings
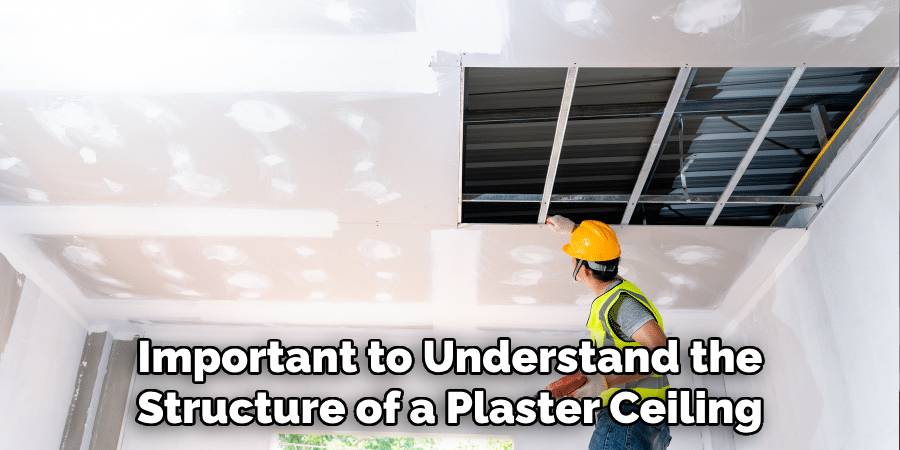
Before delving into troubleshooting common challenges, it is important to understand the structure of a plaster ceiling. Typically, a plaster ceiling consists of wooden laths attached to the ceiling joists with nails or screws. The laths are then covered with layers of plaster to create a smooth surface. This structure is what makes removing a plaster ceiling challenging as it requires careful and precise work to avoid damaging the underlying structure.
Common Challenges and How to Troubleshoot Them
- Cracks in Plaster: One of the most common challenges when removing a plaster ceiling is dealing with cracks in the plaster. These can occur due to natural settling of the building or from water damage. To troubleshoot this, you will need to carefully remove the plaster around the cracks using a hammer and chisel. Once fully removed, you can then patch up the cracks with joint compound and sand it down for a smooth finish.
- Difficult Removal: Removing a plaster ceiling can be physically demanding as it involves breaking through layers of plaster and laths. This can be even more challenging if the ceiling is in a high or hard to reach area. To troubleshoot this, it is important to have proper safety equipment such as goggles and gloves, and also consider using tools like a reciprocating saw or rotary hammer for easier removal.
- Damage to Underlying Structure: As mentioned earlier, the structure of a plaster ceiling is delicate and can easily be damaged if not handled carefully. To avoid this, it is important to use the right tools and techniques for removal. If you encounter any tears or holes in the laths, they can be patched up with metal plates or additional screws for reinforcement.
- Asbestos Presence: In older homes, there is a possibility that the plaster used may contain asbestos, which can be hazardous to your health if inhaled. If you suspect this, it is important to stop all work and have a professional assess the situation. They will then take necessary measures for safe removal and disposal of the asbestos-containing material.

Removing a plaster ceiling requires patience, skill, and caution. It is important to troubleshoot any challenges that may arise in a safe and effective manner to avoid causing further damage. If you are not confident in handling this task, it is best to seek professional help to ensure the job is done properly.
Conclusion
The main disadvantage of removing a plaster ceiling is the time and effort it takes to complete the task. It can be a messy and labor-intensive process that requires patience and attention to detail. Additionally, removing a plaster ceiling can also result in damage to the underlying structure or wiring if not done correctly.
In conclusion, removing a plaster ceiling can be a difficult and time-consuming task, but with the right tools and techniques, it is possible to do it yourself. It is important to take necessary precautions such as wearing protective gear and properly supporting any surrounding structures before beginning the removal process.
I hope reading this post has helped you learn how to remove plaster ceiling. Make sure the safety precautions are carried out in the order listed.