Painting a ceiling can transform the look and feel of any room, making it brighter and more inviting. However, painting a ceiling can be a challenging task, especially if you want to cut in the paint. Cutting in paint refers to using a brush to paint a straight line between the ceiling and walls without getting any paint on the edges. In this article, we’ll go over some tips and tricks on how to cut in ceiling paint effectively.
Can You Cut in Ceiling Paint?
Painting a ceiling can be a daunting task, especially if you’re not a seasoned DIYer. One common question that often comes up is whether or not it’s okay to “cut in” the paint along the ceiling edge. The short answer is yes, you absolutely can! Cutting in simply means painting the edges of the ceiling before rolling the remainder of the surface.
Not only does this create a clean and seamless edge, but it also ensures that you don’t accidentally get paint on your walls. So if you’re planning on tackling a ceiling painting project, don’t be afraid to grab a brush and start cutting in!
Why Should You Cut in Ceiling Paint?
When it comes to painting a room, many of us focus solely on the walls and forget about the ceiling. However, the ceiling is just as important as the walls when creating a cohesive look in a space. And if you want your ceiling to look flawless, it’s important to cut in your ceiling paint.
Cutting in involves painting around the edges of the ceiling using a brush before rolling on the paint. This technique creates clean lines and a seamless transition between the ceiling and walls. So, why should you cut in your ceiling paint? Simply put, it’s an easy way to achieve a professional-looking finish that will make your space feel more pulled together. Plus, it allows for more precision to avoid getting paint on other surfaces and ensure a neat job.
How to Cut In Ceiling Paint: Tips and Tricks
1. Get the Right Tools
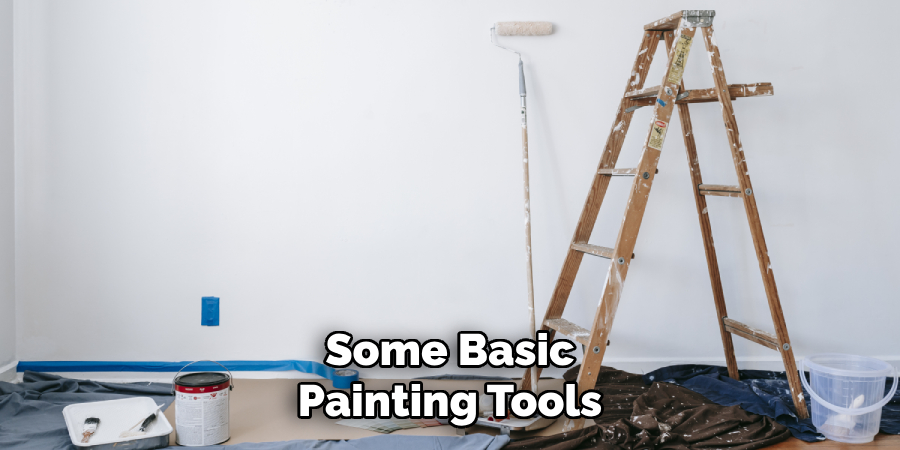
To cut in ceiling paint, you will need some basic painting tools, including a high-quality angled brush, painter’s tape, paint, and a ladder. A high-quality angled brush is essential since it will make the job easier and give you a clean edge. Painter’s tape is also essential as it covers up the areas you don’t want to paint. Additionally, you will need paint that will adhere to the ceiling, such as high-quality interior latex paint.
2. Prepare the Room
Before you start painting your ceiling, you need to prepare the room for painting. Remove any furniture and cover the floors with drop cloths to avoid getting paint on them. You can also cover any fixtures, such as ceiling fans, with a plastic bag to avoid getting paint on them. Finally, turn off the lights and use task lighting to make the ceiling easy to see.
3. Apply Painter’s Tape
Start the process of cutting in by applying painter’s tape to the edges where the walls meet the ceiling. Make sure to press the tape firmly onto the wall, ensuring that no paint can seep through. Also, make sure to remove the tape immediately after painting, while the paint is still wet, to avoid peeling off the paint.
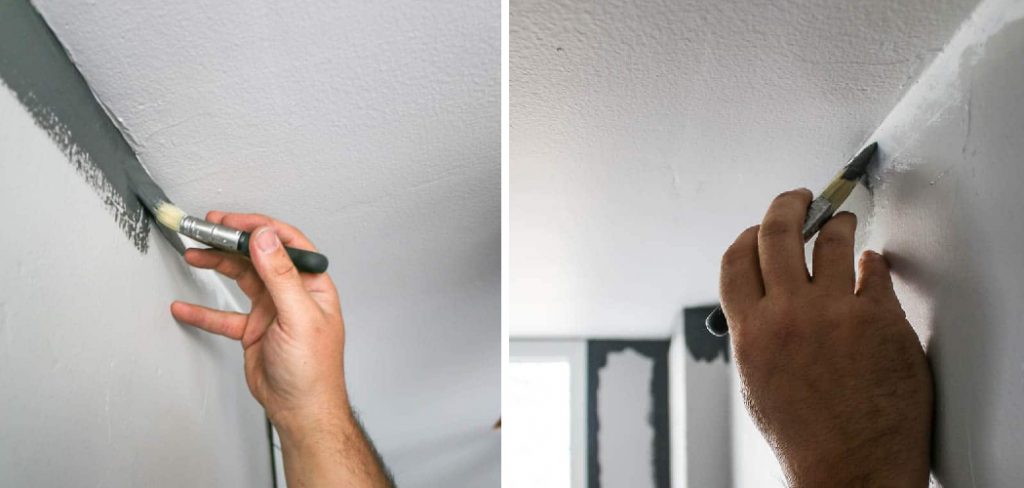
4. Use an Angled Brush

To cut in ceiling paint, use an angled brush and hold it flat against the surface parallel to the wall. Then, drag the brush along the edge of the wall, painting a straight line where the wall meets the ceiling. Make the line as straight as possible, and don’t worry about putting too much paint on the brush, as you can always go back and touch it up.
5. Take Your Time
Cutting in ceiling paint is not a quick task, so take your time and be patient. Rushing can cause you to make mistakes and get paint on areas where you don’t want it. Work in small sections and take frequent breaks to avoid getting too tired and making mistakes. Lastly, make sure to smooth out any bumps or drips that occur while applying the paint.
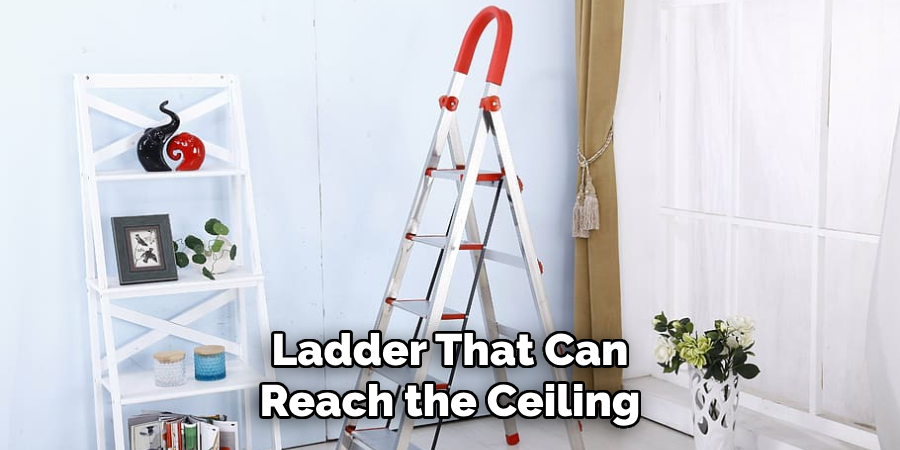
6. Use a Ladder
While cutting in, it’s important to have a stable ladder that can reach the ceiling. As you move along the walls, make sure to reposition the ladder so that you are always at a comfortable height and can easily reach all areas of the ceiling. Be careful when using a ladder, and always make sure it is on stable ground.
7. Practice makes Perfect
Cutting in ceiling paint can be a daunting task, especially for beginners. But, like with any skill, practice makes perfect. If you make mistakes or are unhappy with the results, don’t get discouraged. Keep practicing and trying different techniques until you find what works best for you.
By following these tips and practicing your cutting skills, you’ll be able to confidently and successfully cut in ceiling paint every time. Remember to take your time, use the right tools, and have patience; you’ll have a beautifully painted ceiling in no time. So go ahead and tackle that painting project with confidence!
5 Considerations Things When You Need to Cut in Ceiling Paint
1. Safety First
When it comes to cutting in ceiling paint, safety should always be your top priority. Before beginning any painting project, ensure you have the proper safety equipment, such as a face mask and safety glasses. Additionally, use a step ladder or scaffolding to safely reach high ceilings. Finally, always keep a fire extinguisher nearby in case of any accidents.

2. Quality Paint Brushes
Using quality paint brushes is essential when cutting in ceiling paint. Look for brushes with soft bristles made from natural materials such as hog hair or ox hair. These types of brushes will create smooth lines and help you achieve an even finish on the ceiling surface. Avoid using cheap synthetic brushes, as they can leave behind streaks and brush marks in the paint job.
3. Use Masking Tape
Masking tape can be used to create clean lines when cutting in ceiling paint. Simply apply the tape along the edges of the wall and ceiling where you want to cut in the paint, and then use a utility knife or razor blade to cut through it at an angle. This will help ensure that you get crisp lines between walls and ceilings without worrying about making mistakes with your brush strokes.
4. Work From Top To Bottom
When painting ceilings, it is important to work from top to bottom so that any drips or runs will not be noticeable once the job is complete. Start by cutting in around the edges of the ceiling first and then fill in the middle section with large brush strokes going from one side of the room to another until all areas are covered evenly with paint. This will ensure no visible defects on your finished product once it has dried completely.
5. Allow Enough Time For Drying
Finally, make sure that you allow enough time for your ceiling paint to dry before moving furniture back into place or applying additional coats of paint if needed. Depending on temperature and humidity levels, it may take several hours for your ceiling paint to dry completely before it is ready for use again.
To avoid damaging your newly painted ceiling, wait at least 24 hours before bringing furniture back into place or applying additional coats of paint if necessary.
Benefits of Cut-in Ceiling Paint
Cut-in ceiling paint may seem like a small detail in the painting, but it can make a huge difference in the final look of a room. One of the benefits of using this technique is that it allows for a crisp and clean edge between the ceiling and walls, giving the room a more polished appearance.
Additionally, cut-in ceiling paint can save time, as it eliminates the need for taping off the edges of the ceiling before painting. This technique is also great for intricate ceiling designs or rooms with angles, allowing for greater precision and accuracy. Using cut-in ceiling paint can significantly enhance the overall look of your room and make the painting process more efficient.
Some Common Mistakes People Make When Trying to Cut in Ceiling Paint
Cutting in ceiling paint can be a challenging task for even the most experienced DIYers. One common mistake is using the wrong type of brush or roller. Using a brush with stiff bristles or a roller with a heavy nap can make it difficult to create smooth, even lines along the edges of the ceiling. Another mistake is not using enough paint, resulting in uneven coverage and requiring multiple coats.
Taking the time to carefully cut in the edges of the ceiling with a high-quality brush and roller that are appropriate for the job can make all the difference in achieving a professional-looking finish.
Conclusion
In conclusion, cutting in ceiling paint is an essential skill that will come in handy when painting your home. To get a professional-looking finish, you must have the right tools, prepare the room, apply painter’s tape, use an angled brush, and take your time. With these tips and tricks, you can easily paint a straight line where the wall meets the ceiling, giving your room a fresh new look.
Remember, patience and practice are key, so keep at it until you get the hang of it! Thanks for reading our post about how to cut in ceiling paint.