Are you looking to upgrade your home’s look with a durable and stylish flooring option? Rigid-core vinyl plank flooring is rapidly gaining popularity as an easy-to-install, low-maintenance, and attractive hard surface material for both residential and commercial spaces.
Not sure where to start? Read on for our complete guide on how to cut rigid core vinyl plank flooring to cutting rigid core vinyl plank, covering everything from preparation tips to the best techniques for perfect results every time.
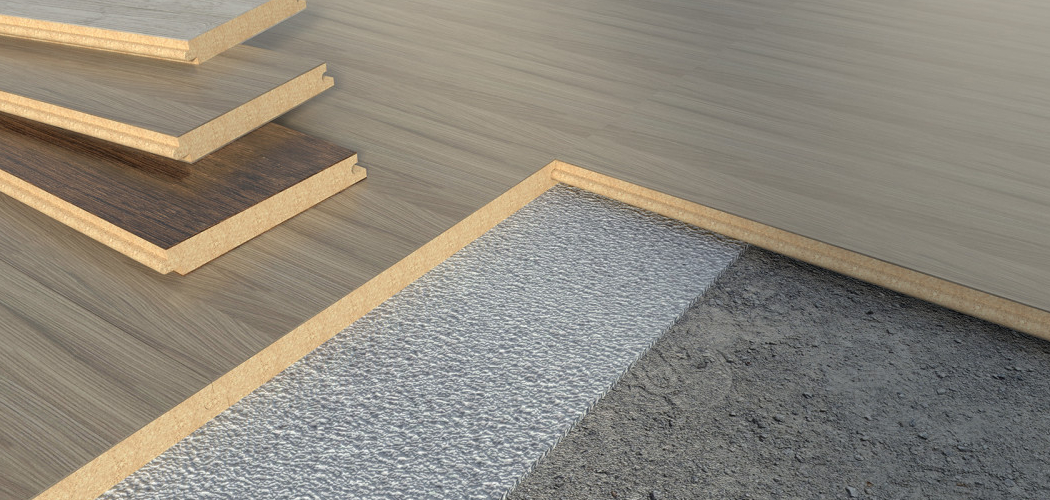
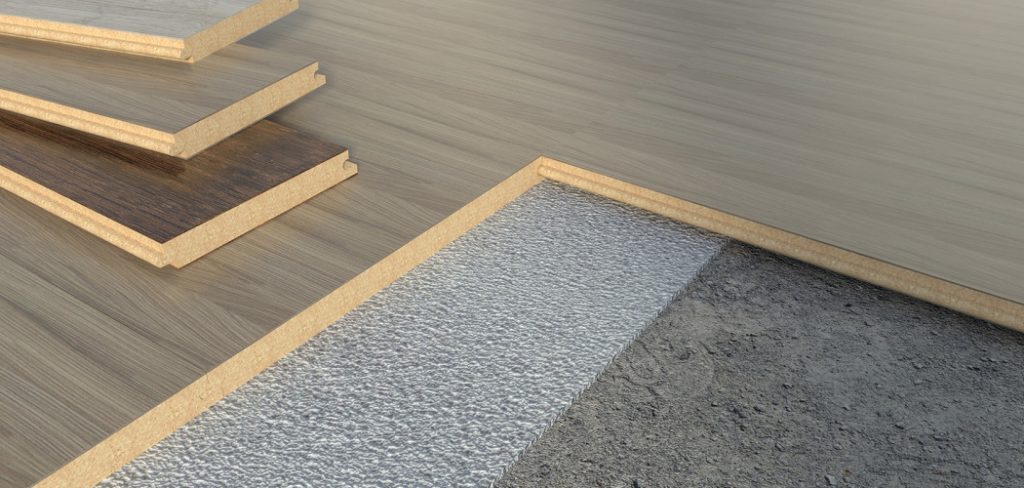
What is Rigid Core Vinyl Plank Flooring?
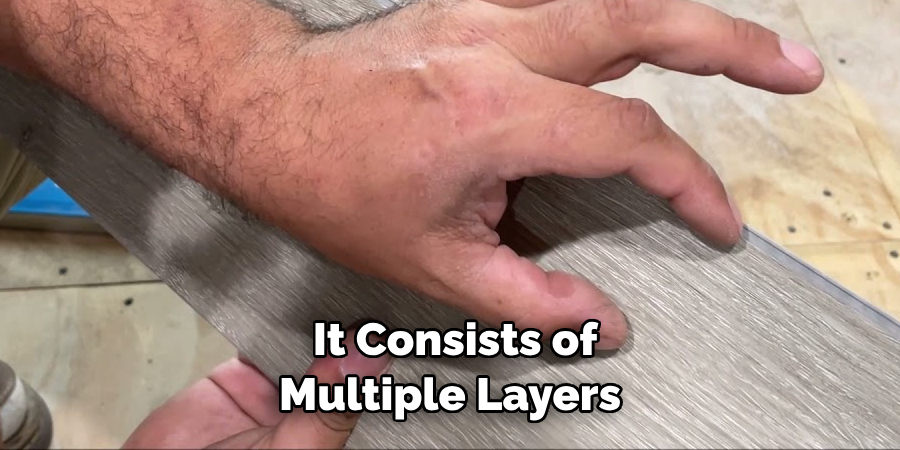
Before getting into the specifics of cutting rigid core vinyl plank flooring, let’s first understand what it is. Rigid core vinyl plank flooring, also known as luxury vinyl tile (LVT), is a type of synthetic flooring that imitates the look of hardwood or stone but with added durability and ease of maintenance. It consists of multiple layers, including a rigid core layer for stability and strength, a printed image layer that mimics the appearance of real wood or stone, and a protective wear layer on top. This type of flooring is typically installed as floating planks, meaning they are not glued or nailed down to the subfloor but instead interlock together.
Preparation Tips
Before starting any cutting, it’s essential to properly prepare the materials and tools for the job. Here are a few tips to ensure a successful cutting process:
Measure Twice, Cut Once:
This old adage holds particularly true for flooring installation. Take accurate measurements of your space and double-check them before making any cuts to avoid costly mistakes.
Acclimate Flooring:
Rigid core vinyl plank flooring needs to acclimate to the room’s temperature and humidity for at least 4 hours before installation. This step ensures that the planks will expand or contract to their proper size, preventing issues such as buckling or gaps.
Use Protective Gear:
Cutting rigid core vinyl plank flooring can produce dust and debris, so it’s crucial to wear protective gear such as safety glasses and a dust mask to protect your eyes and lungs.
Tools You’ll Need
Now that you have your materials and workspace prepared, it’s time to gather the tools for cutting rigid core vinyl plank flooring. Here are the essential tools you’ll need:
- Measuring Tape
- Straight Edge/ruler
- Utility Knife With Extra Blades
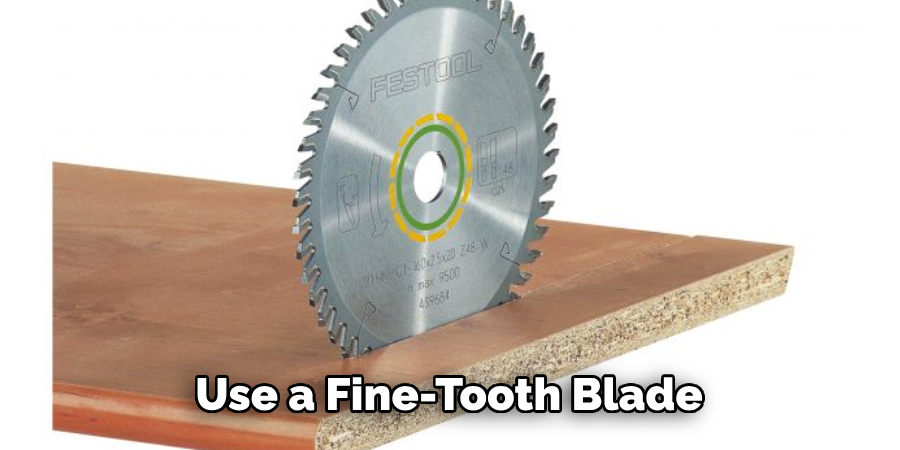
- Jigsaw or Circular Saw With a Fine-tooth Blade
- Sawhorses or Workbench
11 Step-by-step Guidelines on How to Cut Rigid Core Vinyl Plank Flooring
Step 1: Measure the Room
Use a measuring tape to determine the length and width of the space where you plan to install the flooring. Add 10% to your measurements for any wastage or mistakes. It’s always better to have extra planks than run out midway through the project. But if you’re on a budget, add 5% instead. It’s better to have a few extras than too many.
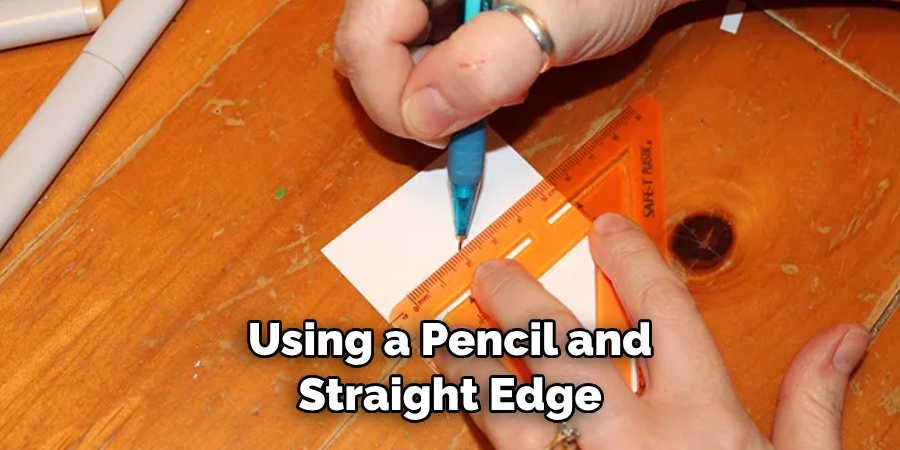
Step 2: Mark the Planks
Using a pencil and straight edge, mark the planks on both sides where you need to cut them. Leave an additional inch on each side of the plank for adjustments, as these can be trimmed later if needed. You can also use masking tape to mark the cutting line for better visibility. It’s essential to mark all the planks before starting any cutting.
Step 3: Set Up Your Workstation
Find a flat and stable surface, such as a sawhorse or a workbench, to use as your workstation. It’s crucial to have a steady workspace for accurate cuts. But if you don’t have a workbench, you can also use the floor with some scrap wood underneath to protect it from scratches. However, avoid cutting on carpet or any soft surface that could cause the plank to shift while cutting. It’s also a good idea to lay down some old sheets or drop cloths to catch any dust and debris.
Step 4: Choose Your Cutting Tool
The most commonly used tools for cutting rigid core vinyl plank flooring are a jigsaw or circular saw with a fine-tooth blade. Which one you choose depends on your preference and the size of the cuts needed. A jigsaw is better for small, intricate cuts, while a circular saw is ideal for long, straight cuts. This guide will focus on using a jigsaw.
Step 5: Install the Right Blade
For best results, use a fine-tooth blade with at least 18 teeth per inch. The more teeth per inch, the smoother the cut will be. Make sure to install the blade before plugging in the saw. Otherwise, you risk injury. You can also use a blade specifically designed for cutting vinyl flooring. But any fine-tooth blade should work as long as it’s sharp. Always have an extra blade on hand in case the first one becomes dull.
Step 6: Adjust the Blade Depth
Before starting any cutting, adjust the blade depth to no more than 1/8 inch deeper than the thickness of your flooring. This will prevent the saw from cutting into the subfloor and creating uneven edges. You can adjust the blade depth by loosening a screw or lever on your saw and moving the blade up or down.
Step 7: Cut with the Printed Side Up
Unlike cutting other materials, such as wood, you should always cut rigid core vinyl plank flooring with the printed side facing up. This will help prevent any chipping or splintering on the visible side of the flooring. You can also use masking tape over the cutting line to prevent any chipping. It’s important to cut slowly and steadily, letting the saw do the work.
Step 8: Start Cutting
Using your marked cutting lines as a guide, start cutting with your jigsaw. Keep the blade on the outside of the line to avoid making cuts that are too short. It’s also crucial to keep a firm grip on the plank and maintain steady pressure while cutting. You may need to pause and adjust the angle of your saw as you cut around corners or curves.
Step 9: For Small Cuts, Use a Utility Knife
For small cuts, such as around door jambs or other obstacles, use a utility knife. Score along the cutting line several times with the blade until it reaches the backing layer. Then snap off the excess plank. Use pliers to break off any remaining pieces if needed. Although this method takes longer, it allows for more precise cuts.
Step 10: Cut Around Door Jambs
When cutting around door jambs, place a plank on top of the last row installed and trace its outline with a pencil. Then use a jigsaw or utility knife to cut along the tracing line. This will create an exact fit for your flooring around the door jamb. You can also use a small block of wood and a hammer to tap the plank into place for a snug fit. This method is also useful for cutting around pipes and other obstacles.
Step 11: Trim Final Planks
Once all your cuts are done, you may need to trim the final row of planks to fit against the wall. Measure the remaining space and cut the plank accordingly, leaving an extra inch on each side for adjustments. Use a jigsaw or utility knife to make the cut. When installing the final row, use a pull bar and tapping block to snap the planks together for a tight fit. It may also be helpful to use a rubber mallet to tap the planks into place without damaging them.
Tips for Cutting Rigid Core Vinyl Plank Flooring
- Always Wear Protective Gear, Such as Safety Glasses and Gloves, When Cutting Vinyl Flooring.
- Keep the Room Well-ventilated to Prevent Inhaling Any Dust or Debris.
- Take Your Time and Make Steady Cuts for Better Results.
- Use a Scrap Piece of Flooring to Practice Your Cuts Before Starting on the Actual Planks.
- Label Your Cuts to Avoid Confusion During Installation.
- If Using a Circular Saw, Cut with the Finished Side Facing Down for Less Chipping.
- Use a Vacuum or Broom to Clean up Any Dust and Debris After Cutting.
- Keep Extra Planks On Hand in Case of Mistakes or Damages.
- Use a Duct Tape on the Backside of the Planks Before Cutting for a Smoother Cut.
- Follow the Manufacturer’s Guidelines and Warranties When It Comes to Cutting Vinyl Flooring.
- Always Be Cautious and Mindful of Your Fingers While Operating Any Cutting Tool.
With these tips and steps on how to cut rigid core vinyl plank flooring, you should now be equipped with the knowledge to confidently cut rigid core vinyl plank flooring.

Frequently Asked Questions
Q: Can I Use a Miter Saw to Cut Rigid Core Vinyl Plank Flooring?
A: While it is possible, we do not recommend using a miter saw for cutting vinyl flooring. Miter saws are designed for angle cuts and may cause chipping or splintering on the visible side of the flooring. It’s best to stick with a jigsaw or circular saw for a straight cut.
Q: Do I Need to Remove the Baseboards Before Installing Rigid Core Vinyl Plank Flooring?
A: It’s not necessary to remove baseboards before installing vinyl flooring, but it can make the job easier. If you choose to leave them in place, be sure to leave a small gap between the flooring and baseboard for expansion. You can cover this gap with quarter-round molding after installation.
Q: Can I Install Rigid Core Vinyl Plank Flooring Over Existing Tile or Hardwood?
A: Yes, you can install vinyl plank flooring over existing tile or hardwood as long as the surface is smooth and level. Make sure to thoroughly clean and dry the existing floor before installation to ensure proper adhesion. You may also need to use a leveling compound to fill in any gaps or uneven areas.
Q: How Do I Cut Rigid Core Vinyl Plank Flooring Around Door Frames?
A: You can use the same method as cutting around door jambs, by tracing and cutting along the outline of the frame. However, if you are installing flooring in multiple rooms with different door frames, it may be helpful to create a paper template of the frame and use it for all your cuts. This will ensure a consistent and accurate fit for each plank.
Conclusion
Overall, learning how to cut rigid core vinyl plank flooring with efficient precision is essential in getting the most out of any project. But don’t forget, practice makes perfect. With each new cut, your level of expertise increases and patience pays off. With a few tools from your home improvement store and by following the instructions provided above, you’ll be slicing through your material like a pro in no time.
If you have any questions or need guidance on cutting rigid core vinyl plank flooring, please don’t hesitate to reach out to us so that we can assist you with your project. We wish you the best of luck!