Are you dealing with a water-damaged subfloor in your home? Are you feeling stressed and overwhelmed by what it will take to restore the structural integrity of the floor? Don’t worry – replacing a damaged subfloor is not as daunting a task as it may seem. In this blog post, we’ll show you step-by-step instructions on how to replace water damaged subfloor in your house.
So if you find yourself needing to tackle this difficult project, use our guide and tips to get through the work—and potentially save thousands on costly repairs from expensive contractors!
Things to Consider Before You Start
- First and Foremost, You Must Ensure That You Have All the Necessary Tools and Materials to Complete the Job. This Will Help Make the Process Smoother and More Efficient.
- Secondly, It is Important to Identify the Extent of Water Damage on Your Subfloor. If There is Only a Small Area Affected, You May Be Able to Get Away With Just Repairing That Section Rather Than Replacing the Entire Subfloor.
- Next, Determine What Kind of Flooring You Have on Top of the Damaged Subfloor. This Will Affect How You Remove and Replace the Damaged Pieces.
- Lastly, Be Prepared for a Potentially Time-Consuming and Messy Project. Water Damage Can Cause Further Structural Issues and Lead to Mold Growth, So It’s Important to Take the Time to Do the Job Right.
Needed Tools and Materials
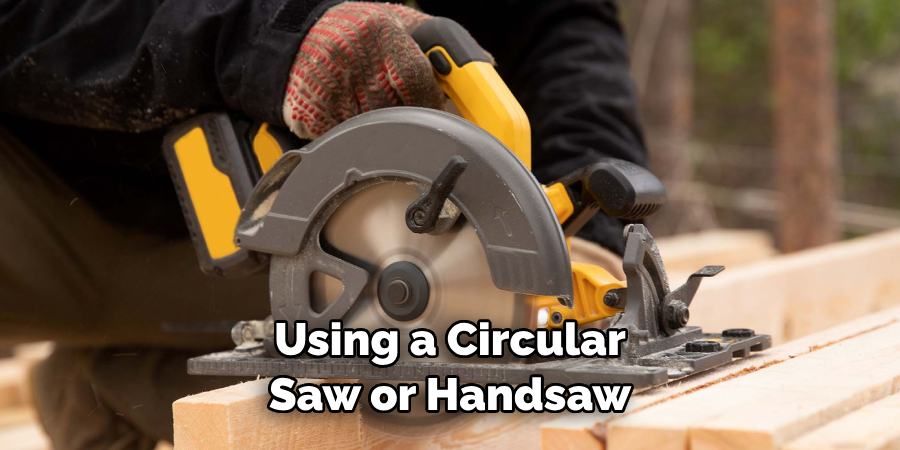
- Handsaw or Circular Saw
- Pry Bar
- Hammer
- Chisel
- Power Drill With Screws and Screwdriver Bits
- Replacement Plywood or Oriented Strand Board (Osb)
- Construction Adhesive
- Level
- Measuring Tape
- Safety Goggles and Gloves
11 Step-by-step Guidelines on How to Replace Water Damaged Subfloor
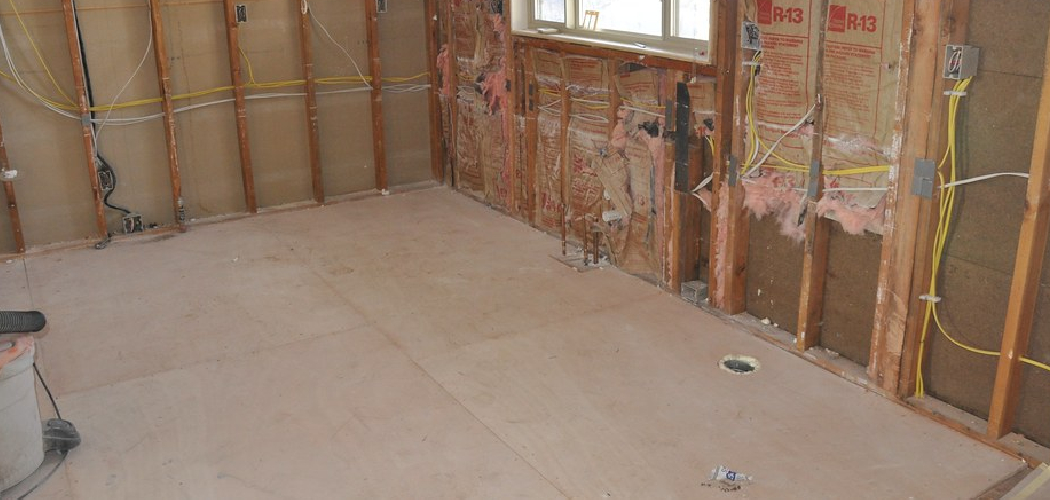
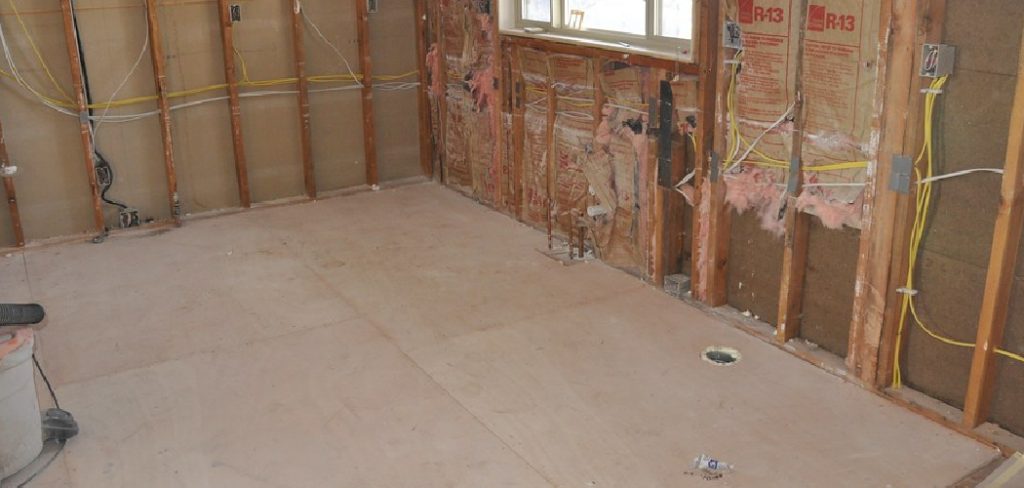
Step 1: Locate the Water Damaged Area on Your Subfloor
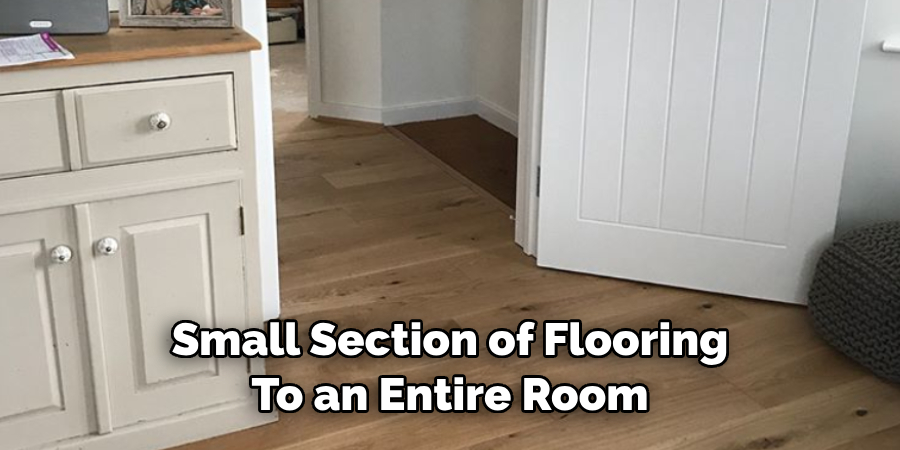
The first step in replacing a water-damaged subfloor is to identify the problem area. This could be anywhere from a small section of flooring to an entire room. You want to make sure you accurately locate all damaged areas before starting the repair or replacement work. But don’t forget to take a break when needed – your safety and well-being are more important than completing the work quickly.
Step 2: Determine the Extent of Damage
Once you have located the damaged area, you need to determine how extensive the damage is. This will help you decide whether you need to replace just a small section or if it’s necessary to remove the entire subfloor. You may need to remove any flooring on top of the subfloor to get a better look at the damage. It’s important to make sure you remove all damaged materials, even if it means removing more than originally anticipated.
Step 3: Remove the Damaged Subfloor
Using a circular saw or handsaw, carefully cut along the edges of the damaged subfloor. Make sure to cut through any nails holding down the subfloor and create a clean edge for easier removal. Use a pry bar and hammer to remove any remaining pieces, taking care not to damage the surrounding floor or walls. But remember, safety is the top priority – always take proper precautions and wear protective gear.
Step 4: Clean Up Any Debris
Once you have removed the damaged subfloor, clean up any debris or leftover materials. This will ensure a smooth surface for the installation of the new subfloor. You can also take this opportunity to inspect the area for any signs of mold or further water damage. It’s important to address these issues before installing the new subfloor. You can use a mixture of water and bleach to clean the area and kill any mold spores.
Step 5: Measure and Cut Replacement Material
Using a measuring tape, measure the size needed for your replacement material. Remember to account for any holes or pipes that may need to be cut out. Use a circular saw or handsaw to cut the new subfloor material to the correct size. It’s always best to measure twice and cut once to avoid any errors. You can also use a jigsaw to cut any irregularly shaped areas.
Step 6: Apply Construction Adhesive
Apply a thin layer of construction adhesive onto the joists where the new subfloor will be installed. This will help secure the material in place and prevent squeaks or shifting in the future. However, if you are working with an old house that doesn’t have joists, use a power drill to screw the new subfloor into place. It’s also important to use screws specifically designed for subflooring. However, if you are working with an old house that doesn’t have joists, use a power drill to screw the new subfloor into place. It’s also important to use screws specifically designed for subflooring.
Step 7: Install the New Subfloor
Carefully place the new subfloor onto the adhesive or joists, making sure it fits snugly in place. Use a level to ensure the subfloor is even and flat. If needed, make any adjustments before securing it into place. It’s helpful to have a friend or family member assist with this step to ensure the subfloor is properly positioned. But remember to take breaks when needed – this is a physically demanding task.

Step 8: Secure the Subfloor
Using construction screws, secure the subfloor into place. Make sure to space the screws evenly and not too close to the edges to avoid splitting the wood. Use a screwdriver bit on your power drill for easier installation. Double-check that the subfloor is still level and make any necessary adjustments. Thoroughly secure the subfloor to prevent future issues. It’s better to have too many screws than not enough.
Step 9: Fill Any Gaps
If there are any gaps between the new subfloor and existing flooring, use wood filler to fill them in. This will help create a smooth surface for your new flooring. Allow the filler to dry completely before moving on to the next step. You can also use this time to sand down any rough edges on the subfloor. But be sure to wear a mask to protect yourself from any dust. You can also take a break and come back to finish the project later.
Step 10: Install New Flooring
Once the subfloor is completely secure, you can install your new flooring. Follow the manufacturer’s instructions for installation and take care to properly trim around any obstacles or edges. This is where knowing what type of flooring you have on top of the subfloor comes in handy, as different materials may require different installation methods. You can also use this opportunity to update your flooring and give your room a fresh new look.
Step 11: Finishing Touches
After the new flooring is installed, add any necessary finishing touches such as baseboards or shoe molding. This will help cover up any gaps between the new subfloor and existing walls. You can also apply paint or stain to match the rest of the room. Take a step back and admire your hard work – your subfloor is now fully repaired and ready for use! Following these guidelines on how to replace water damaged subfloor will ensure a thorough and proper replacement of your water-damaged subfloor. Remember to always prioritize safety and take breaks when needed. So, now no more worries about that pesky water damage – you’ve got this under control! Happy renovating!

How Much Could It Cost?
The cost of repairing or replacing a water-damaged subfloor can range anywhere from $500 to $10,000. This includes materials, labor, and potential additional costs such as mold remediation. The cost may also be affected by the size of the damaged area and whether or not you need to replace the entire subfloor.
It’s important to properly assess the damage and consult with a professional to get an accurate estimate before beginning any repairs. Remember, safety and quality work should always be top priorities, even if it means a higher cost. So, don’t be afraid to invest in the proper materials and resources for a long-lasting and properly repaired subfloor. Happy renovating!
Frequently Asked Questions
Q1. How Long Does It Take to Replace a Water-damaged Subfloor?
A1. The time it takes to replace a water-damaged subfloor depends on the extent of damage and the size of the area. It can take anywhere from a few hours to a full day. You should also factor in time for cleaning up debris and drying the area before installing new flooring.
Q2. Can I Replace a Water-damaged Subfloor Myself, or Do I Need to Hire a Professional?
A2. It is possible to replace a water-damaged subfloor yourself, but it does require some skill and knowledge of construction. If you are unsure of your abilities or the extent of damage, it is recommended to hire a professional for the job. It’s always better to be safe than sorry when it comes to home repairs.
Q3. Can I Just Patch up a Water-damaged Subfloor Instead of Replacing the Whole Thing?
A3. While patching up a small area of water damage may seem like a quick fix, it is not recommended in most cases. It’s important to properly remove and replace the damaged subfloor to prevent further issues in the future. This may also be required for safety reasons, as water damage can weaken the structural integrity of a subfloor. However, if the damage is minimal and localized, patching may be a viable option – consult with a professional for their advice on your specific situation.
Q4. How Can I Prevent Water Damage to My Subfloor?
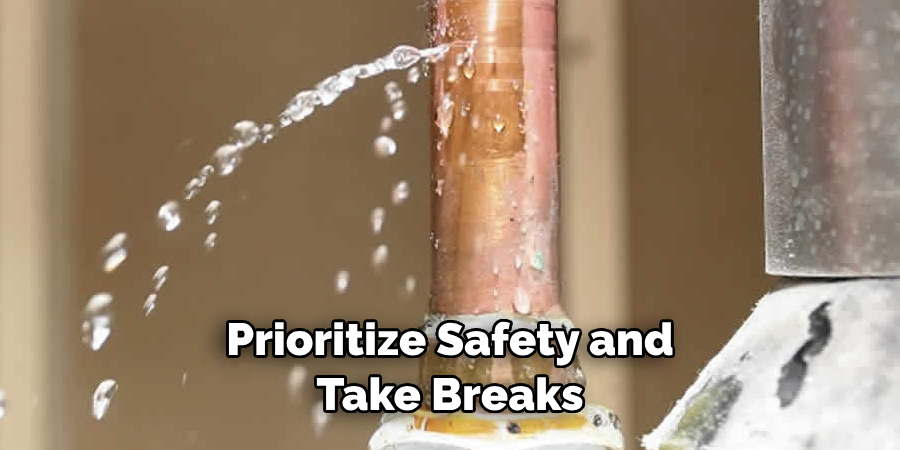
A4. It’s important to address any leaks or water issues in your home as soon as possible to prevent damage to your subfloor and other areas. Have a professional inspect your plumbing and make repairs if needed. You can also take preventative measures such as waterproofing your basement, using moisture-resistant materials for flooring, and regularly checking for any signs of water damage.
Conclusion
Overall, replacing a water-damaged subfloor is a multi-step process that takes patience and planning. From thoroughly drying out the area, to preparing for installation, this project requires attention to detail and skill. Take your time and follow the steps on how to replace water damaged subfloor outlined above for a successful repair job. And remember – prevention is key when it comes to avoiding costly repairs due to water damage in the future.
If you ever suspect there’s an issue with a plumbing fixture or appliance, take care of it right away so you don’t have to go through this process! With careful preparation and strategy, replacing your subfloor should be a seamless endeavor that leaves you feeling proud of the new flooring under your feet.