Are you looking to clean your cedar mop head and wondering how to do it? This task can seem daunting – it’s tricky balancing properly sanitizing and protecting a natural material – but fear not!

Cedar mop heads are a great choice for cleaning your floors as they are highly absorbent and leave a fresh, woodsy scent in their wake. You can effectively wash your cedar mop head with a few simple steps without damaging it.
In this blog post, we’ll discuss how to wash a cedar mop head: from making sure you have the desired outcome in mind while preparing for cleaning up finished tools afterwards. Let’s go through various tips together as we learn how to keep our cleaner lasting longer with effective preventive maintenance techniques!
What Will You Need?
Gathering all the necessary materials is important before diving into the actual cleaning process. Here’s a list of what you’ll need:
- Bucket or large container
- Mild detergent or soap
- White vinegar
- Essential oil (optional)
- Clean towel or cloth
Once you have all these items, you’re ready to begin cleaning.
10 Easy Steps on How to Wash a Cedar Mop Head
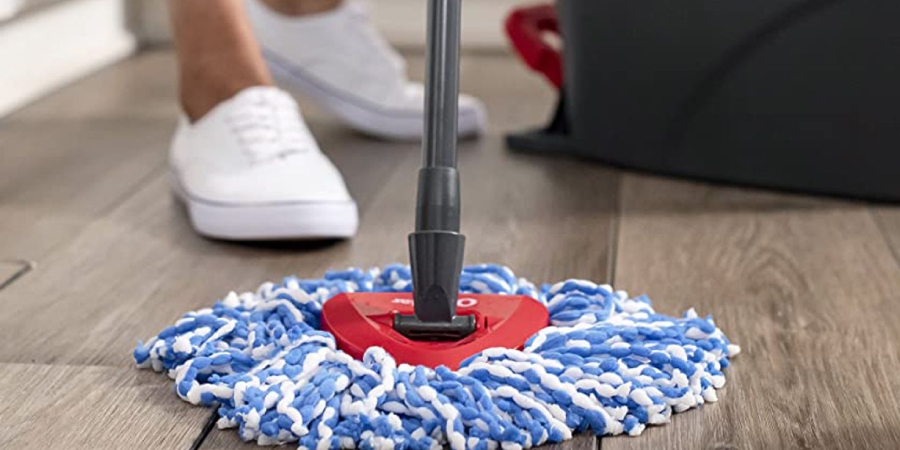
Step 1: Prepare Your Mop Head
Start by removing the mop head from the handle and placing it in a bucket or large container. Fill the container with warm water – not too hot or too cold.
Next, mix a small amount of mild detergent or soap well with the water. If you prefer a natural cleaner, use white vinegar instead of detergent.
You can add a few drops of your favorite essential oil to give your mop head a pleasant scent.
Step 2: Soak the Mop Head
Submerge the cedar mop head fully in the soapy solution. Allow it to soak for about 10-15 minutes, which helps to loosen trapped dirt and dust particles. Be careful not to oversoak, as this can cause the cedar fibers to become too soft and may lead to damage. Occasionally, agitate the mop head in the water during soaking to help dislodge more stubborn dirt.
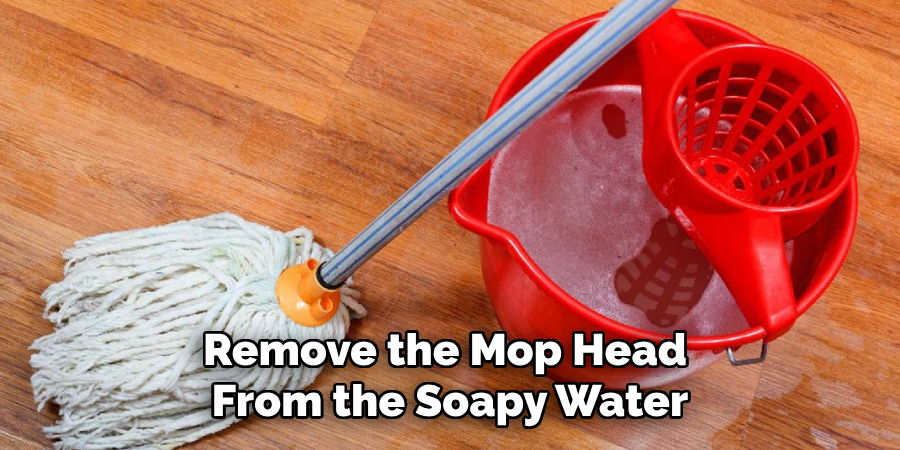
Step 3: Rinse Thoroughly
After the soaking time has passed, remove the mop head from the soapy water and rinse it thoroughly with clean water. You can do this in a separate container or under running tap water.
Remove all traces of soap or vinegar from the mop head to prevent any residue build-up.
Step 4: Wring Out Excess Water
Once you’ve thoroughly rinsed the mop head, it’s important to wring out any excess water. This can be done by hand or by using the wringer on your mop bucket if you have one. Avoid twisting the mop head too tightly or wringing it out too harshly, as this can lead to damage. Instead, gently squeeze the mop head to remove the excess water. Remember, the goal is to leave the mop head damp but not dripping wet.
Step 5: Dry the Mop Head
The next step involves drying the mop head. Do not use a machine dryer, as this can cause the cedar fibers to shrink and damage. Instead, hang the mop head up in a well-ventilated area out of direct sunlight. This will allow the mop head to dry naturally and prevent it from developing a musty smell. This step might take a while, but it’s crucial for maintaining the longevity and effectiveness of your cedar mop head. Ensure the mop head is dehydrated before reattaching or storing it to the handle. This prevents the growth of mold or mildew.
Step 6: Inspect and Remove Loose Fibers
After the mop head is dehydrated, it’s time to inspect it for any loose fibers or damage. Gently run your fingers through the mop strands, removing any loose or detached cedar fibers. Regular inspection and removal of loose fibers can prolong the lifespan of your mop head and prevent debris from being left behind during future cleanings.
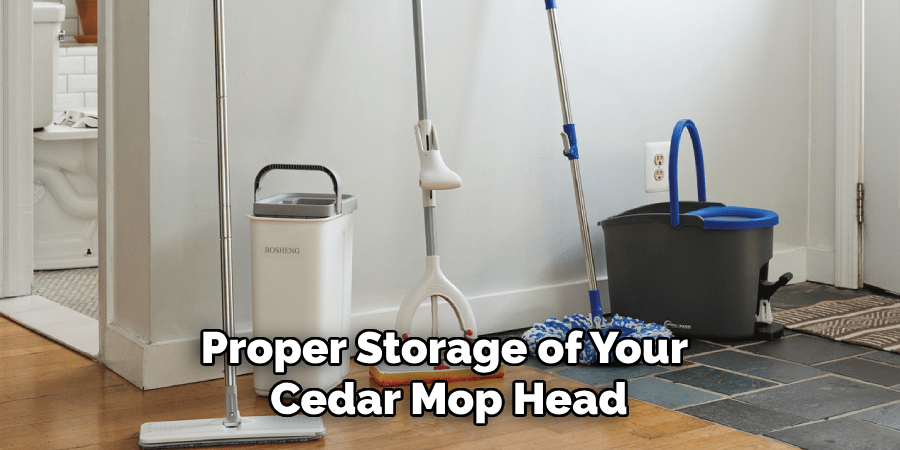
Step 7: Store Properly
Proper storage of your cedar mop head can significantly increase its lifespan. After completely dry, reattach the mop head to the handle. Store it in a cool, dry place out of direct sunlight. It’s best to hang it up rather than leave it on the floor to prevent the cedar fibers from getting squashed. This way, your mop will be ready and in excellent condition for the next cleaning session.
Step 8: Regular Maintenance
Maintaining your cedar mop head regularly is key to its durability and effectiveness. This involves washing it after every few uses or whenever it appears dirty. Doing so ensures that your mop head remains clean, fresh, and ready for the next cleaning task. Always remember to follow the steps above every time you clean your mop head to increase its lifespan and maintain its top-quality performance.
Step 9: Consider Replacement
Despite your best efforts at maintenance, there will come a time when your cedar mop head needs to be replaced. Recognize the signs of a worn-out mop head: fibers looking thin and sparse, a lingering unpleasant odor, or reduced cleaning effectiveness. When these signs become evident, it’s time to invest in a new cedar mop head, ensuring your cleanings remain efficient and effective.
Step 10: Proper Disposal
When replacing your cedar mop head, you must dispose of the old one properly. Cedar is a biodegradable material, so consider composting the mop head if you have a compost pile or bin. If composting is not an option, check with your local waste management facility to see if they accept cedar materials.
Never burn the mop head, as cedar can produce harmful fumes when burned. By properly disposing of your mop head, you’re helping preserve our environment. This concludes the ten-step process for washing and maintaining your cedar mop head.
By following these simple steps, you can extend the lifespan of your cedar mop head and ensure its effectiveness in keeping your floors clean. Remember to regularly inspect and clean your mop head to maintain its top-quality performance.

5 Additional Tips and Tricks
- Dry Properly: After rinsing, wring out the mop head thoroughly and let it air dry completely. Drying it in a well-ventilated place helps prevent the growth of mold and mildew.
- Replace Regularly: Even with proper care, a mop head will eventually wear out. If you notice it’s not cleaning as effectively, or if the fibers are starting to unravel, it’s time to replace it. A good rule of thumb is to replace your mop head every 3-6 months.
- Use a Cleaning Solution: If you’re dealing with adamant stains or dirt, using a cleaning solution can help. Just make sure to choose one safe for use on cedar wood and follow the instructions carefully.
- Keep Extra Mop Heads: It’s always a good idea to have extra mop heads on hand. This way, you can easily switch them out for a fresh one without interrupting your cleaning routine.
- Don’t Forget the Handle: While washing the mop head, don’t forget to clean the handle. Use a disinfectant or hot, soapy water to remove any germs or bacteria that may have collected on it.
5 Things You Should Avoid
- Avoid Soaking: Never leave your cedar mop head soaking in water for long periods. This can cause the wood to warp or crack and encourage the growth of bacteria and mold.
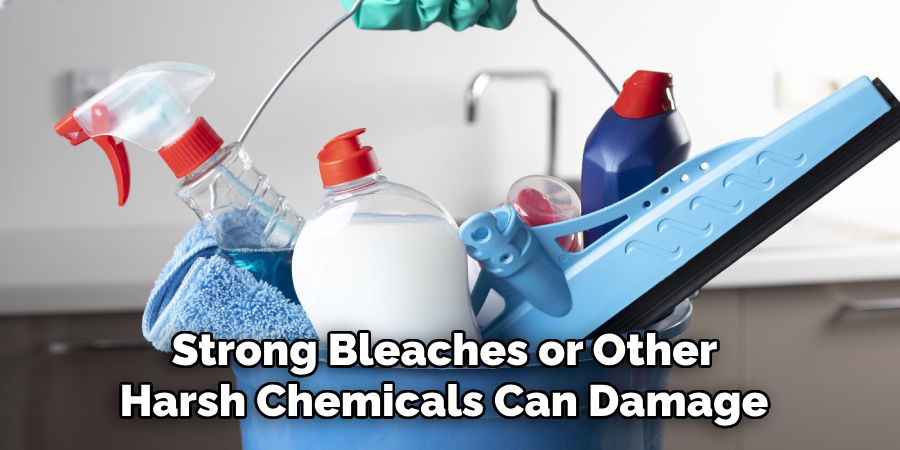
- Avoid Harsh Chemicals: Strong bleaches or other harsh chemicals can damage the cedar wood and reduce the lifespan of your mop head. Always opt for gentle, wood-safe cleaning solutions.
- Avoid Machine Washing: Cedar mop heads are not designed for washing machines. The agitation and heat can cause the mop head to misshapen or fray.
- Avoid Direct Sunlight: While air drying is important, avoid drying the mop head in direct sunlight, as this can cause the wood to dry out and crack over time.
- Avoid Neglect: Regular maintenance is key to extending the life of your cedar mop head. Pay attention to regular cleaning and replacement when necessary.
By avoiding these common mistakes and following proper care techniques, you can ensure that your cedar mop head stays in top condition for all your cleaning needs.
Conclusion
As we have seen, as long as you take the time to care for your cedar mop head properly, it can last a very long time. A simple cleaning and drying routine combined with a few preventative measures like keeping the mop away from direct sunlight ensures that your cedar mop stays in tip-top shape.
So now that you know how to clean it correctly, your cedar mop will help you keep your house looking pristine without taking any of the sweat or frustration out of your chores. And because it is such an important tool in cleaning up messes around the house, make sure you take the time to give it proper care using these tips – it’ll pay off in the end!
Hopefully, the article on how to wash a cedar mop head has given you all the information you need to keep your mop in excellent condition. So go ahead and apply these steps, and enjoy a clean and fresh home with the help of your trusty cedar mop!