
If you’re looking to repair the pitted and cracked concrete garage floor in your home, don’t despair – it’s something that can be done easily and cost-effectively! In this blog post, we’ll walk you through the entire process of how to repair pitted concrete garage floor.
We’ll explain what pits are, how to identify them, and how to prepare the surface before applying an epoxy coating for resurfacing. Finally, we’ll discuss various tips to keep in mind while completing this project so that you achieve the best possible outcome. So let’s get started – read on for all the information you need to know about restoring your pitted concrete garage floor!
Tools and Materials You Will Need to Repair Pitted Concrete Garage Floor
- Hammer
- Chisel
- Wire brush
- Vacuum cleaner
- Cleaning agent (detergent, degreaser, etc.)
- Adhesive primer
- Epoxy coating
- Mixing container and paddle
- Paint roller and extension pole
- Masking tape
- Safety goggles and gloves
Step by Step Guidelines on How to Repair Pitted Concrete Garage Floor
Step 1: Identify the Pits and Cracks
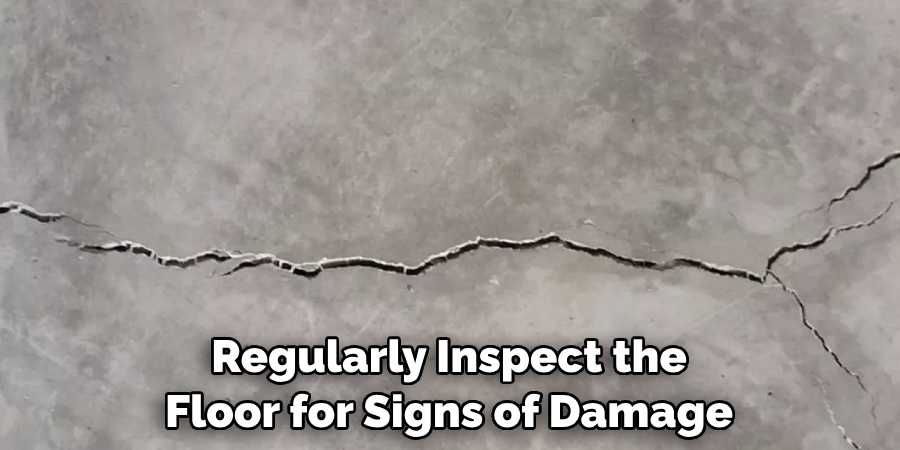
The first step in repairing your pitted concrete garage floor is to identify any existing pits or cracks that need to be addressed. This can easily be done by running a hand along the surface and feeling for any unevenness. If there are more extensive pits or cracks present, you may need to use a hammer and chisel to dig them out completely before proceeding.
Step 2: Prepare the Surface
Once you’ve identified all the areas that need attention, it’s time to prepare the surface for resurfacing. Start by using a wire brush and vacuum cleaner to remove any dust or debris from the pitted concrete. Then, use a cleaning agent like detergent, degreaser, or soap and water to thoroughly clean the entire surface.

Step 3: Apply Adhesive Primer
Once you’ve completed your surface preparation, it’s time to apply an adhesive primer. This will help ensure that the epoxy coating has good adhesion to the concrete surface. Allow the primer to dry completely before moving on to the next step. While applying the primer, be sure to wear protective safety goggles and gloves.
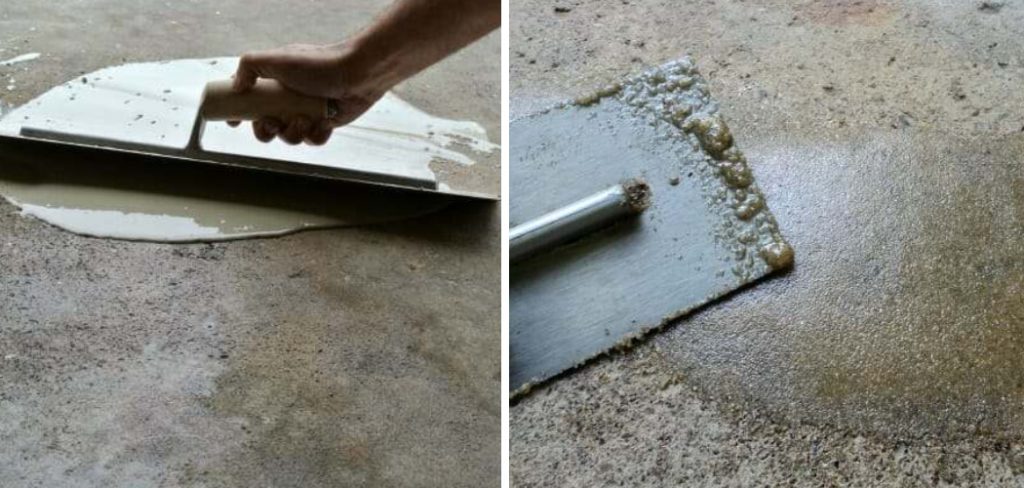
Step 4: Apply Epoxy Coating
Now that you have a clean, dry surface and a properly applied adhesive primer, it’s time to apply the epoxy coating. Use a mixing container and paddle to thoroughly mix your epoxy according to the instructions provided. Then, use a paint roller and extension pole to apply the epoxy to the entire surface of your pitted concrete garage floor. Make sure that you cover all areas evenly for optimal coverage. This will help ensure a smooth, even finish.
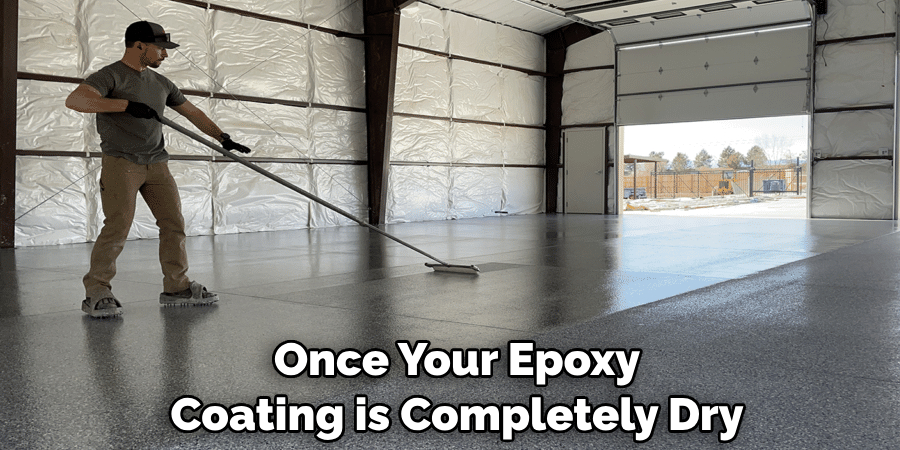
Step 5: Finish and Protect
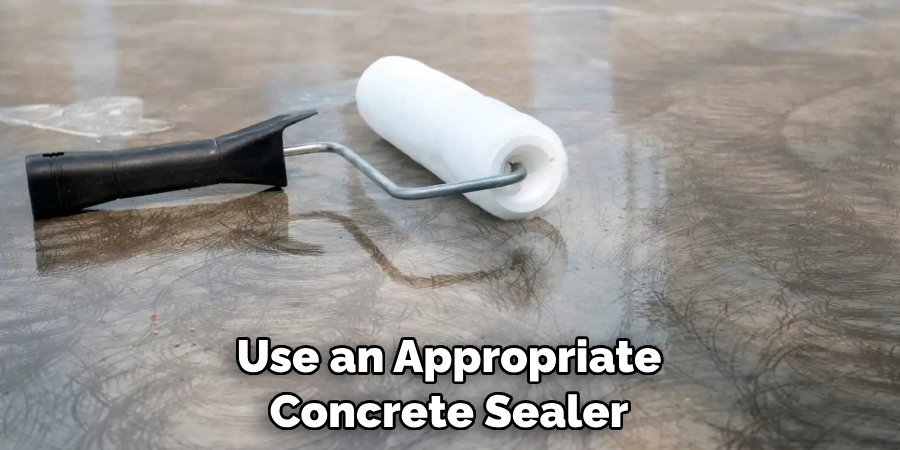
Once your epoxy coating is completely dry, it’s time to finish up your project! Use masking tape to cover any exposed areas that may have not been properly coated. Then, use a sealant or clear coat to protect the epoxy and help it last longer. Make sure you follow all the instructions provided on the sealant or clear coat for optimal results.
These are the steps you need to take in order to repair your pitted concrete garage floor! With a little bit of effort and patience, this project can be completed easily and cost-effectively. Remember to wear proper protective gear while completing the steps outlined above, and always read and follow the instructions provided on any materials you use for optimal results. Good luck, and happy resurfacing!
Additional Tips and Tricks to Repair Pitted Concrete Garage Floor
1. Consider using a concrete patching compound to fill in deep pits or cracks. These compounds are available at most hardware stores and come with easy-to-follow instructions for application. Make sure you follow the directions on the package carefully and wear appropriate protective equipment when applying this product.
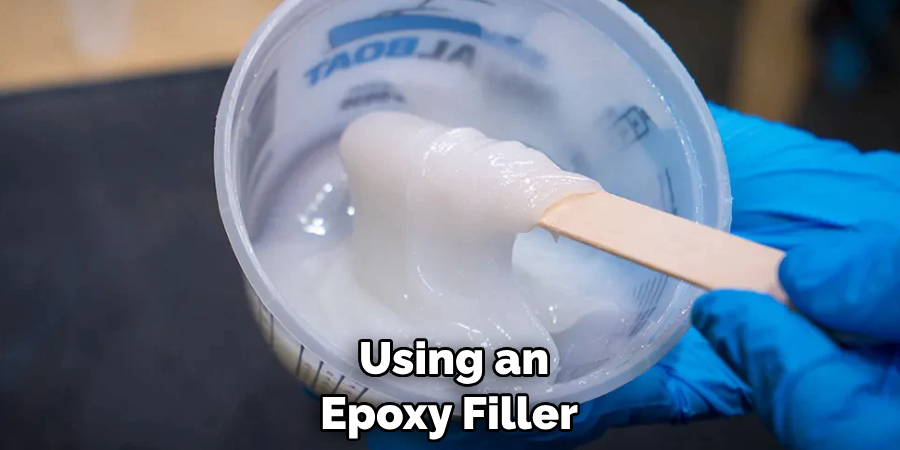
2. If the pitted areas are shallow, try using an epoxy filler. These products can be found at most hardware stores and are designed to fill in small pits and cracks. Make sure you read the directions carefully before applying them in your garage.
3. If the pitted areas are quite deep, consider grinding down the concrete with a grinder or sander. This will level out the floor and create an even surface that can then be patched with a concrete patching compound or epoxy filler.
4. For larger pitted areas, you can use self-leveling concrete to fill the depressions and create an even surface. This product requires careful mixing and application so make sure you follow the directions on the package before attempting this project.
5. If the pitted area is large enough, you may want to consider using a concrete overlay. This is a thin layer of concrete that is applied over the existing floor to create an even and smooth surface. Make sure you search for a product that is designed specifically for garage floors.
6. Another option is to apply an acrylic concrete sealer over the floor after all repairs have been made. This will provide protection and keep the floor looking good for many years to come. Be sure to read the directions carefully before applying this product and wear protective equipment when doing so.
By taking the time to repair the pitted concrete garage floor, you can make sure it remains safe and attractive for many years to come. With these tips and tricks, you can easily repair those unsightly pits in your garage without having to buy an entirely new one. So take the time to properly maintain your garage floor today!
Things You Should Consider to Repair Pitted Concrete Garage Floor
1. Assess the Damage:
Before you start repairing a pitted concrete garage floor, it’s important to assess the damage and its severity. Take into consideration how deep the pits are and their location. If there are large areas with multiple pitting, it may be necessary to replace or resurface the entire floor. This will require a more extensive repair job.
2. Choose the Appropriate Repair Method:
Depending on the severity of the damage to your concrete garage floor, there are several different repair methods available. For minor pitting and cracks, you can use a concrete patching compound or an epoxy filler. If the area is severely pitted or has deep holes, it may be necessary to use a concrete grinder and diamond blade to level out the area.
3. Clean the Area:
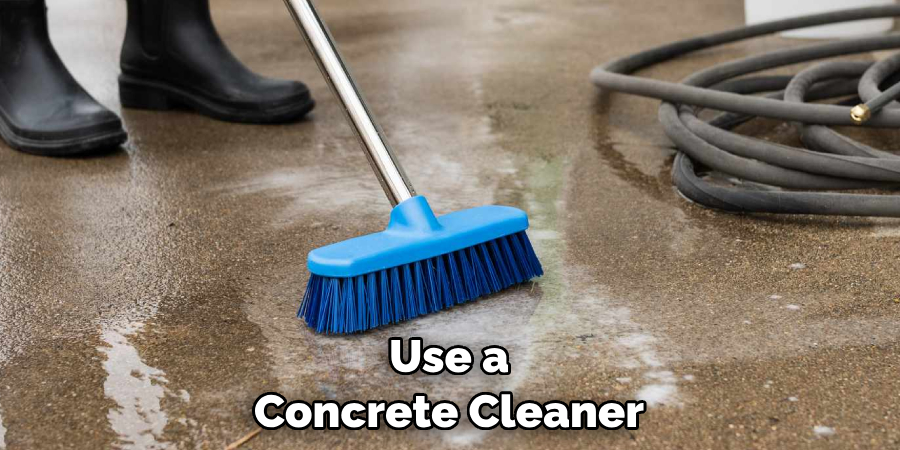
One of the most important steps in any concrete repair job is cleaning the area before you start working. This will help ensure that your repair materials adhere properly and create a strong, permanent bond with the existing concrete. Start by sweeping away all debris, then use a concrete cleaner or degreaser to remove any dirt or grease from the surface.
4. Apply the Repair Material:
Once you have prepped the area and chosen the appropriate repair material, it’s time to begin an application. Follow all instructions on the packaging for best results, being sure to wear safety glasses and gloves while working with chemicals or epoxies. If you’re using a patching compound or grout, mix the material with water until it has a thick paste-like consistency.
5. Allow Time for Drying:
Concrete repair materials require time to cure and dry properly, so be sure to follow all instructions on the packaging regarding drying times before walking on or applying any sealer to the surface. Once dry, you can apply a concrete sealer to help protect and preserve your newly repaired concrete garage floor.
Follow these considerations and steps to repair the pitted concrete garage floor successfully. With proper care and maintenance, your repaired concrete should last for years to come!
Precautions Need to Follow for Repairing Pitted Concrete Garage Floor
- Wear protective gear such as gloves and safety glasses when handling the concrete material or mixing the repair solution.
- Make sure to wear a dust mask if you’re using power tools to remove debris from pits before filling them with new material.
- Before beginning any work, clean the entire garage floor thoroughly with an appropriate cleaner. This will remove any dirt, contaminants, or debris that may interfere with the repair process.
- Test the pH of the concrete to determine if it’s high enough for a successful repair. If not, use an appropriate concrete sealer before filling any pits to ensure proper adhesion and curing of the repair material.
- Carefully fill each pit with an appropriate concrete filler or repair material, making sure to not leave any air pockets in the holes.
- Smooth out the surface of each patch with a trowel and let it dry for at least 24 hours before walking on them.
- After the patched areas have cured completely, you may wish to apply a sealer to ensure better protection from future damage.
- Finally, be sure to regularly inspect your garage floor for any new pitting or wear and tear that may require another repair job in the future. Regular maintenance is key for a long-lasting concrete floor.
By following these precautions, you can ensure a successful and lasting repair of your pitted concrete garage floor. With the right materials and a bit of effort, your garage will look like new again in no time. Happy repairing!
Frequently Asked Questions
What Causes Pitting on Concrete Garage Floors?
Pitting on concrete garage floors is caused by a variety of factors, including air entrapment in the concrete when it was poured, freeze-thaw cycles during cold weather months, and excessive weight or moisture causing the surface to expand.
What Are The Different Types of Pitted Concrete Garage Floors?
There are several different types of pitting that can occur on concrete garage floors, including shallow pits, deep holes, scaling, and spalling. Shallow pits are typically the result of air entrapment or heavy foot traffic, while deep holes may be caused by a frozen water pipe bursting, excessive weight, or moisture damage. Scaling and spalling occur when the concrete surface is weakened due to freeze-thaw cycles or chemical attacks from de-icing agents.
How Can I Repair a Pitted Concrete Garage Floor?
Repairing a pitted concrete garage floor can be done in several ways. If the pits are shallow, you may be able to fill them in with a concrete patching compound or sand and cement mixture. For deeper holes, it may be necessary to install anchors and repair the area using epoxy resin. In some cases, entire sections of the floor may need to be replaced.
What Is The Best Way To Prevent Pitted Concrete Garage Floors?
The best way to prevent pitted concrete garage floors is to keep moisture away from the surface and ensure that there is adequate drainage for excess water. You should also regularly inspect the floor for signs of damage and make any necessary repairs promptly.
Additionally, keep the area around the garage clear of debris to avoid trapping moisture beneath it and causing further damage. Finally, use de-icing agents sparingly during cold weather months to minimize chemical attacks on the concrete surface.
Conclusion
Having the knowledge of how to repair pitted concrete garage floor can be very helpful. You now have the skills and know-how to tackle such a big task. Plus, you can enjoy the value and beauty of an aesthetically pleasing garage floor. What’s more, is that you have saved yourself time and money.
You get back to enjoying your DIY hobby or at least have peace of mind knowing if anything needs repairs again, you have the experience and confidence to do it yourself. With this refreshed foundation for your garage, why not expand your handiwork by learning how to remove a stopper from your bathroom sink? Follow our blog to learn about that and other useful tips and tricks!