Removing sticky tile from the floor can often seem like a challenging task, filled with potential pitfalls and messes. Whether it’s due to remodeling, repairing damage, or simply refreshing a room, knowing the proper techniques and tools can make the difference between a quick, clean job and a drawn-out, sticky affair. In this guide on how to remove sticky tile from floor, we aim to provide you with straightforward, effective methods for removing sticky tile, ensuring a smooth process that prepares your floor for its next phase.
What is a Sticky Tile?
Before diving into the removal process, it’s essential to understand what sticky tile is and why it can be so challenging to remove. Sticky tile, also known as self-adhesive or peel-and-stick tile, is a type of flooring that comes with an adhesive backing.
This adhesive allows you to easily place the tiles onto your floor without the need for additional glue or adhesives. However, the same adhesive that makes them easy to install also makes them challenging to remove. It can stick to the floor, leaving behind a sticky residue that can be difficult to clean up.
Why Remove Sticky Tile from Floor?
There are various reasons why you might need to remove sticky tile from your floor. Some common scenarios include:
Remodeling:
If you’re renovating your home or a specific room, removing the existing flooring may be necessary.
Repairing Damage:
If the sticky tile is damaged, cracked, or uneven, it’s best to remove and replace it to avoid any potential safety hazards.
Refreshing a Room:
Sometimes, you may want to update the look of a room by changing the flooring. In this case, removing the sticky tile is necessary before installing new flooring.
Tools You Will Need
To successfully remove sticky tiles from your floor, you will need a few essential tools on hand. These include:
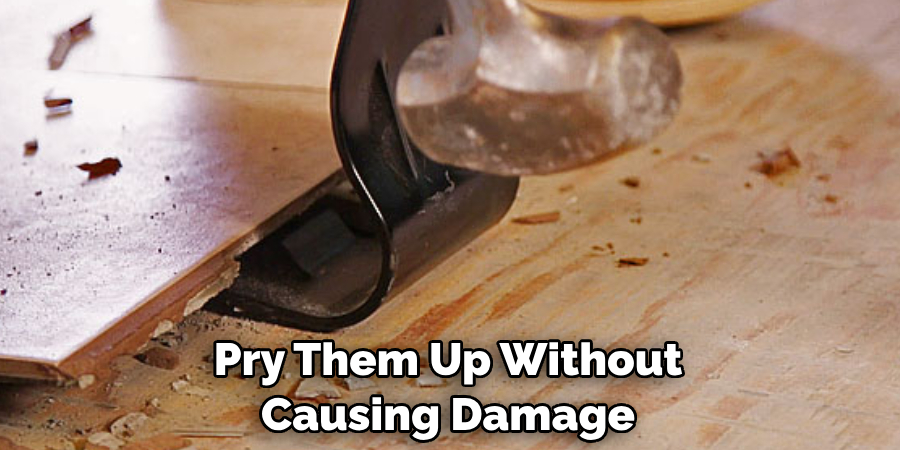
Pry Bar or Putty Knife
A pry bar or putty knife will come in handy when trying to loosen the tile from the floor. These tools allow you to get under the tiles and pry them up without causing damage to the underlying surface.
Heat Gun or Hair Dryer
Applying heat is an effective way to soften the adhesive and make it easier to remove the sticky tile. A heat gun or hairdryer with a high heat setting will work well for this task.
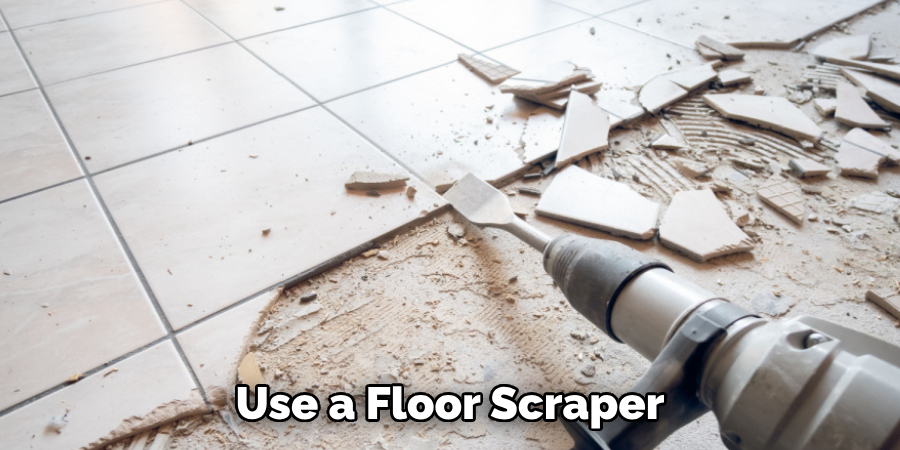
Floor Scraper
A floor scraper is a tool specifically designed for removing flooring materials. It has a sharp edge that can get under the tile and scrape away any stubborn adhesive residue.
Adhesive Remover
If the tiles are not coming up easily, you may need to use an adhesive remover. These products are designed to dissolve the adhesive and make it easier to remove the tiles.
10 Simple Step-by-step Guidelines on How to Remove Sticky Tile From Floor
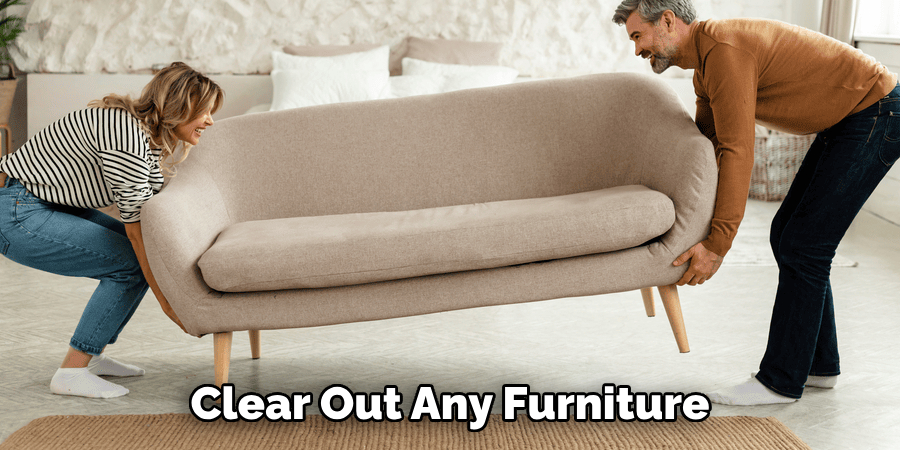
Step 1: Prepare the Work Area
The first step in removing sticky tile from your floor is to prepare the work area. Clear out any furniture or obstacles, and ensure you have enough space to move around comfortably. You should also cover any nearby items with plastic sheets or drop cloths to protect them from potential damage.
You may also want to open windows or use a fan for ventilation. It’s essential to wear protective gear, such as goggles and gloves, to protect yourself from any debris or fumes. You should also consider wearing knee pads to protect your knees while working.
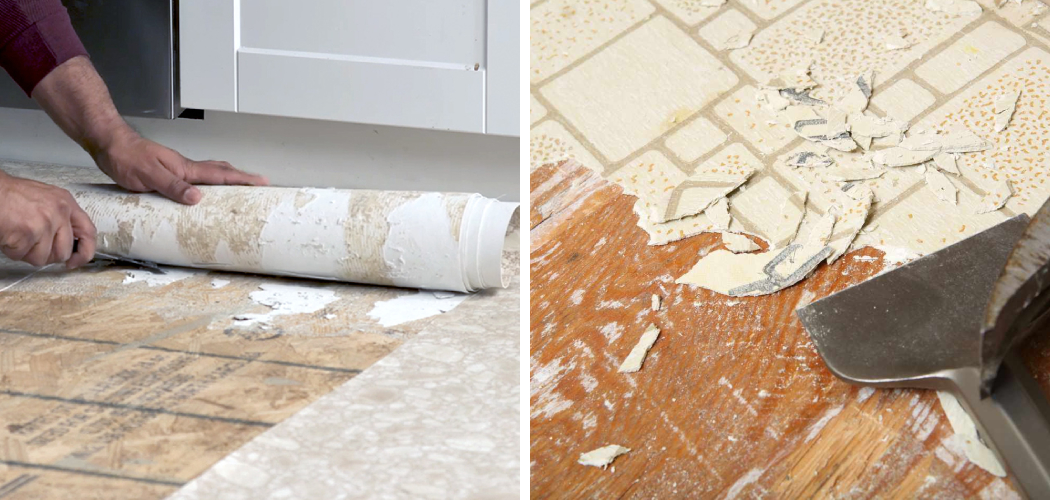
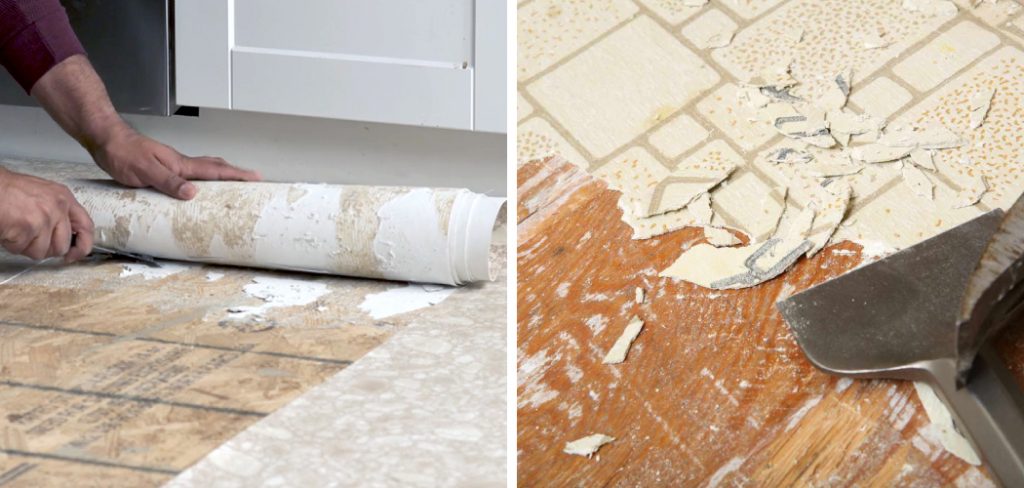
Step 2: Start Removing the Tile
Using a pry bar or putty knife, gently insert the tool under one corner of a tile. Apply pressure and slowly lift the tile from the floor. If you encounter resistance, use more force, but be careful not to damage the underlying surface. Once you have an edge lifted, continue prying until the entire tile is removed. But be careful not to break the tile into smaller pieces, as this can make it more challenging to remove and clean up. If you’re having trouble getting under the tile, use a heat gun or hairdryer to soften the adhesive.
Step 3: Heat the Adhesive
If you encounter stubborn adhesive residue on the floor, use a heat gun or hairdryer to soften the adhesive. Hold the tool about six inches away from the tile and move it back and forth until you start to see the adhesive melting. Be careful not to overheat the tile or surrounding area. However, don’t use heat for too long, as it can damage the floor or make the adhesive even more challenging to remove. The goal is to soften the adhesive, not melt it completely. It’s essential to work in small sections at a time so the adhesive doesn’t cool down before you can remove it.
Step 4: Continue Removing Tiles
Once you have removed one tile, continue using the same technique for the rest of the tiles. Work in small sections, and be patient while removing each tile. If necessary, reapply heat to stubborn adhesive spots to make it easier to remove. It’s also essential to avoid damaging the floor while removing the tiles, especially if you plan on using it as a base for new flooring. You may need to use more force for some tiles, but be careful not to damage the surface. But if the adhesive is proving to be too difficult, you may need to use an adhesive remover.
Step 5: Scrape off Adhesive Residue
After all the tiles are removed, you will likely have some adhesive residue left on the floor. Use a floor scraper to scrape away as much of the residue as possible. Be careful not to scratch or damage the floor. If the adhesive is proving to be difficult to remove, you may need to apply more heat or use an adhesive remover. The goal is to remove as much adhesive residue as possible before moving on to the next step. It’s essential to clean up any debris or residue as you go along to make the final cleaning process easier.
Step 6: Apply Adhesive Remover (Optional)
If scraping alone isn’t enough to remove all the adhesive residue, you can use an adhesive remover. Follow the product instructions carefully and apply it only in areas where there is still residue. Leave it to sit for a few minutes as directed, then use a floor scraper or putty knife to remove the dissolved adhesive.
If necessary, you can repeat this process until all the residue is removed. You may also need to use a cleaning solution to clean the floor thoroughly before moving on to the next step. But be sure to choose a cleaning product that is safe for your flooring material. You can also use a vinegar and water solution as a natural alternative.
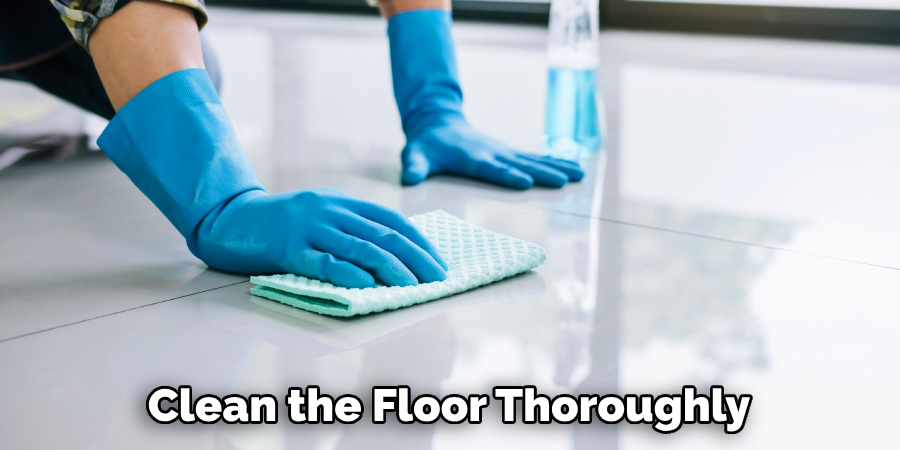
Step 7: Clean the Floor
After removing all the tiles and adhesive residue, it’s time to clean up your work area. Use a broom and dustpan to sweep up any debris, then vacuum the floor to remove any remaining particles. You should also use a mop and cleaning solution to clean the floor thoroughly. Be sure to choose a product that is safe for your specific flooring material. It’s essential to let the floor dry completely before moving on to the next step. The cleaner and drier the floor, the better the new flooring will adhere to it. But if you’re not planning on installing new flooring, you can skip this step.
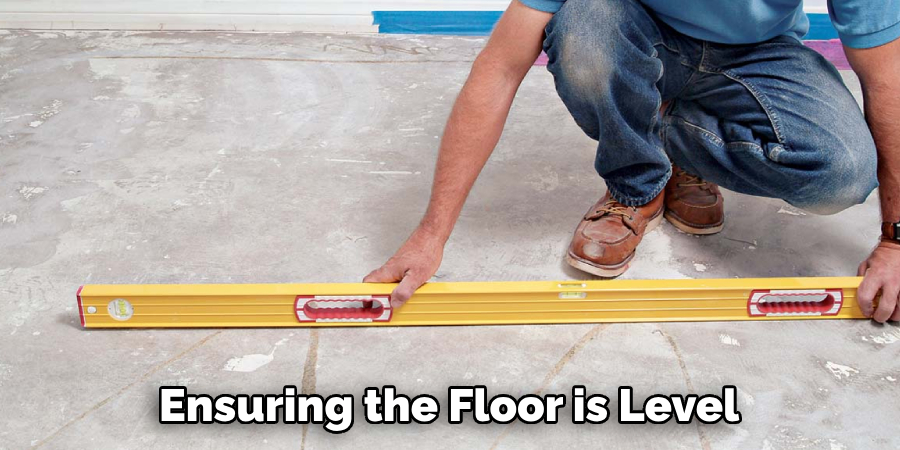
Step 8: Repair any Damage
Once the floor is clean and dry, inspect it for any damage. If there are cracks or holes in the subfloor, you should repair them before installing new flooring. You can use a patching compound or wood filler to fill in any gaps or imperfections. Sand down any uneven surfaces to create a smooth and even base for your new flooring. You should also make sure the floor is level and free of any debris before proceeding to the next step. But if you’re using self-adhesive vinyl or tile flooring, you can skip this step. It’s important to follow the manufacturer’s instructions for installation.

Step 9: Install New Flooring
Now that your floor is clean and prepped, it’s time to install new flooring. Follow the manufacturer’s instructions carefully and take your time to ensure a proper installation. If you’re installing tiles, be sure to use a tile adhesive suitable for your flooring material and follow the recommended drying time before walking on it. For self-adhesive vinyl or tile flooring, start by laying out the first piece and pressing it down firmly from one end to the other. Continue adding pieces until all the desired area is covered.
Step 10: Enjoy Your New Flooring
Once your new flooring is installed, take some time to admire your hard work and enjoy the fresh look of your space. Make sure to properly maintain your new flooring to keep it looking its best for years to come. And now that you know how to remove old tile flooring, you can confidently tackle any future renovation projects that may require you to do so.
Remember to always use caution and follow safety procedures when working with tools and chemicals, and don’t hesitate to seek professional help if needed. Happy renovating! It’s important to take the time to properly remove old tile flooring before installing new flooring, as it can affect the overall look and durability of your new floor.
With these steps in mind on how to remove sticky tile from floor, you can safely and effectively remove old tile flooring and create a clean, smooth surface for your new flooring. Remember to always use caution and follow safety procedures when working with tools and chemicals, and don’t hesitate to seek professional help if needed. Happy renovating!
Tips for Successful Tile Removal
- Always Wear Protective Gear, Such as Gloves and Eye Protection, When Working With Tools and Chemicals.
- Work in Small Sections at a Time to Avoid the Adhesive Cooling Down Before You Can Remove It.
- Use Heat to Soften Stubborn Adhesive Spots for Easier Removal.
- Be Patient and Careful When Removing Each Tile to Avoid Damaging the Floor.
- Clean Up Debris and Residue as You Go Along to Make the Final Cleaning Process Easier.
- Choose a Safe and Effective Adhesive Remover if Necessary, Following Product Instructions Carefully.
- Clean the Floor Thoroughly Before Installing New Flooring for Better Adhesion.
- Repair Any Damage or Unevenness in the Subfloor Before Installing New Flooring.
- Follow the Manufacturer’s Instructions for the Proper Installation of New Flooring.
- Properly Maintain Your New Flooring to Keep It Looking Its Best for Years to Come.
It’s important to take the time and effort to properly remove old tile flooring before installing new flooring. By following these tips and steps, you can effectively remove sticky tile from your floor and create a clean, smooth surface for your new flooring. Happy renovating!
Alternative Removal Methods
If you’re facing a particularly stubborn adhesive or are unable to use heat due to the type of flooring, there are alternative methods for removing old tile flooring. These include using a floor scraper with a sharp blade, using a chemical solvent specifically designed for tile adhesive removal, or hiring a professional contractor who specializes in tile removal.
Be sure to carefully research and follow instructions when using these alternative methods, and always prioritize safety. So, if one method doesn’t work for you, don’t be afraid to try another until you find the best solution for your particular situation. With patience and proper techniques, you can successfully remove old tile flooring and create a beautiful foundation for your new flooring.
Cleanup and Surface Preparation
After removing old tile flooring, it’s important to thoroughly clean and prep the surface before installing new flooring. This includes removing any remaining adhesive residue, sanding down uneven surfaces, and ensuring the floor is level. You should also allow proper drying time for any cleaning products or patching compounds used. A clean and smooth surface will help ensure proper adhesion of your new flooring and create a more polished final result.
Following these steps will help you achieve a successful and professional-looking flooring installation that will last for years to come. So whether you’re renovating your own space or helping someone else with their project, now you know how to remove sticky tile from floor and install new flooring with confidence.
Do You Need to Take Help From a Professional?
While removing old tile flooring is a project that can be done by most DIY enthusiasts, there may be situations where it’s best to seek professional help. This includes if the adhesive contains asbestos, which requires specialized removal and disposal procedures. If you’re unsure about the type of adhesive or are facing difficulties with removal, it’s always better to err on the side of caution and hire a professional contractor.
They have the necessary knowledge, experience, and tools to safely and effectively remove old tile flooring without causing harm to yourself or the environment. Additionally, if you’re planning on installing new flooring that requires specific expertise, such as hardwood or stone tiles, it may be beneficial to hire a professional for the entire project. Ultimately, it’s important to prioritize safety and the final result when deciding whether to tackle tile removal on your own or hire a professional.
Frequently Asked Questions
Q: Can I Use a Hairdryer Instead of a Heat Gun to Soften the Adhesive?
A: Yes, you can use a hairdryer on its highest setting as an alternative to a heat gun. However, it may take longer to soften the adhesive and may not be as effective. You may also need to apply more heat and use a scraper to remove the tiles.
Q: How Do I Know If the Subfloor is Damaged?
A: You can inspect the subfloor for any visible damage or feel for any soft spots. Additionally, if you notice any cracks, holes, or unevenness in the subfloor, it’s best to repair the damage before installing new flooring.
Q: Can I Install New Flooring Over the Old Adhesive Residue?
A: It’s not recommended to install new flooring over old adhesive residue, as it can affect the adhesion and appearance of the new flooring. Properly removing all residue will ensure a smooth and secure surface for your new floor.
Q: Do I Need to Wear Protective Gear When Using an Adhesive Remover?
A: Yes, it’s recommended to wear protective gear such as gloves and a mask when using an adhesive remover. Follow the product’s instructions for proper usage and safety precautions. Overall, taking the time to remove old tile flooring properly will ensure a successful installation of new flooring and increase its longevity. Remember to follow these steps and take safety precautions for a smooth and hassle-free renovation project.

Conclusion
In conclusion, removing sticky tile from the floor can be approached with confidence when you have the right tools and knowledge. By following the outlined steps, you can avoid common pitfalls and ensure a clean, ready-to-update surface. Remember, patience and preparation are key. Whether you’re updating your home’s appearance or fixing damage, the effort you put into removing old tiles can significantly impact the success of your next flooring project. Thanks for reading this article on how to remove sticky tile from floor.