
Are you tired of looking at your old, dated flooring but don’t know where to start when it comes to removing the adhesive that’s keeping it in place? Removing flooring adhesive can seem like a daunting task, but with the right tools and knowledge, it doesn’t have to be.
In this blog post, we’ll take you through all the steps necessary for how to remove flooring adhesive so you can move forward with your home renovation project. Whether you’re tackling sticky vinyl tiles or stubborn carpet glue residue, after reading this guide you’ll be ready to tackle whatever tough job awaits!
10 Best Ways on How to Remove Flooring Adhesive
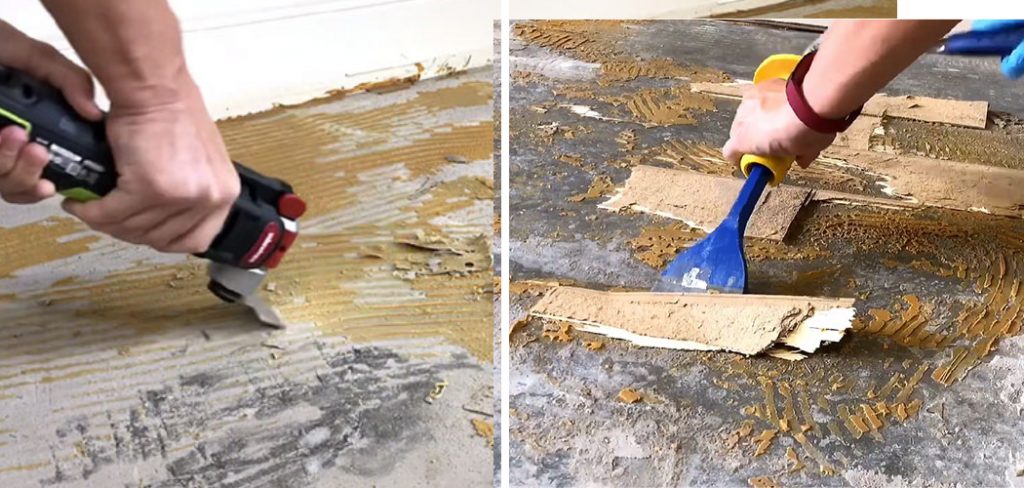
1. Scrape Away Old Adhesive:
The first step in removing flooring adhesive is to scrape away as much of the material as possible. Use a putty knife with a sharp, angled blade or another tool with a similar design for this task. Make sure to always work carefully and take frequent breaks to avoid potential injury. This method should work with vinyl tiles, linoleum, and old carpet glue.
2. Apply Heat:
For any remaining adhesive that won’t budge when scraped away, you can use heat to soften the material and make it easier to remove. Use a hair dryer or heat gun on a low setting as applying too much heat may damage your flooring or other nearby surfaces. While you’re working, make sure to protect yourself with glasses and gloves.
3. Use Solvents:
If heat and scraping aren’t enough to remove the adhesive from your flooring, then you may need to turn to solvents for extra help. There are several solvent-based products on the market that can be used for this purpose. Be sure to read the label carefully and follow all safety instructions when using solvents.
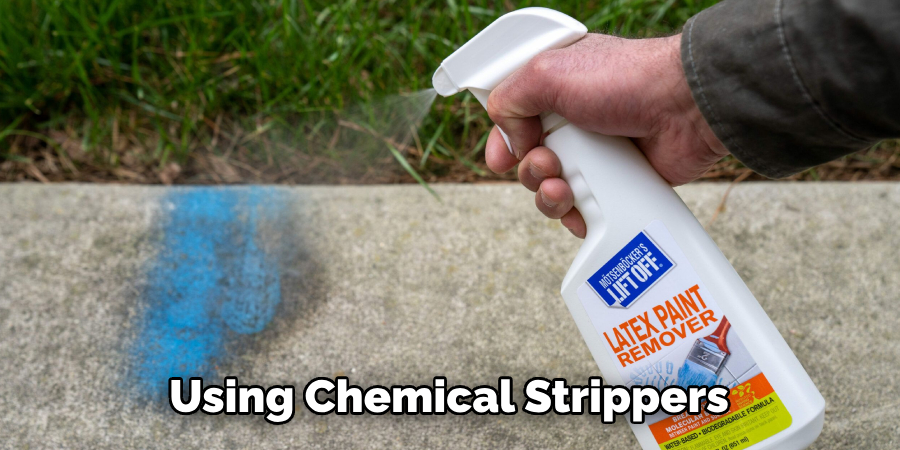
4. Use a Chemical Stripper:
Chemical strippers are specially designed for removing stubborn flooring adhesive. Apply the product directly to the adhesive area and allow it to sit for several minutes before scraping it off with a putty knife or other tool. As always, wear gloves and protective eyewear when using chemical strippers.
5. Rent a Floor Stripper:
If you’re dealing with an especially large area of adhesive, then you may want to rent a heavy-duty floor stripper from your local hardware store or home improvement center. Floor strippers have powerful blades that can quickly remove the old adhesive and make the job go much faster than other methods.
6. Use Adhesive Remover:
Adhesive remover, often referred to as goo gone or something similar, can be used for removing old adhesive from your flooring. Apply a small amount of the product and scrub vigorously with a brush. Let it sit for several minutes and then use a putty knife or scraper to scrape away the softened adhesive.
7. Apply a Coat of Mineral Spirits:
If you’re dealing with an area of stubborn carpet glue residue, then you can try applying a coat of mineral spirits to help break down the material. You’ll need to allow it to sit for several minutes before beginning to scrape away the softened adhesive. Be sure to wear protective eyewear and gloves when using mineral spirits.
8. Use a Pressure Washer:
Using a pressure washer is another great way to remove old adhesive from your flooring. The high-pressure water can help break down the material and make it easier to scrape away with a putty knife or other tool. Be sure to wear safety equipment such as glasses and gloves while operating the pressure washer.
9. Try a Citrus-Based Solvent:
Citrus-based solvents are specially formulated to help remove flooring adhesive without damaging the surrounding floors or other surfaces. Apply the product directly to the sticky area and allow it to sit for several minutes before scraping away with a putty knife. Be sure to wear gloves when applying citrus-based solvents.
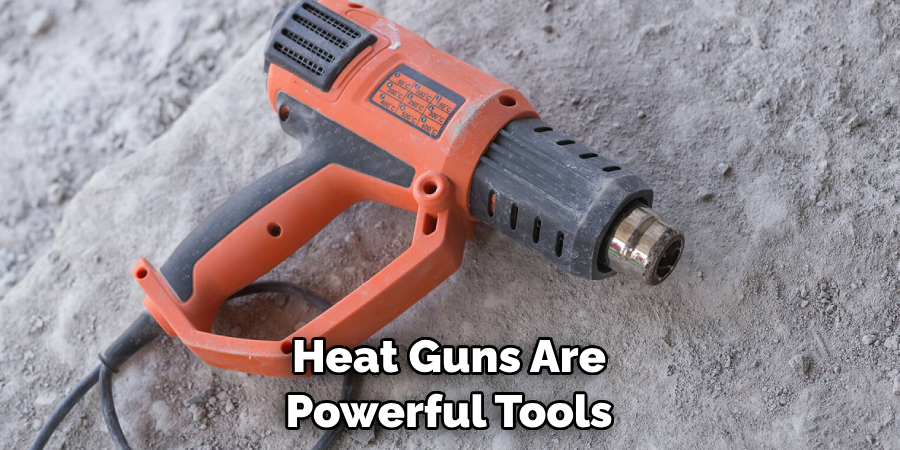
10. Use a Heat Gun:
Heat guns are powerful tools that can quickly and effectively soften the stubborn adhesive for easy removal. Before you begin, make sure the gun is set to the lowest temperature setting, and always wear safety glasses when using it for safety purposes. Be careful when aiming the heat gun as too much heat could damage your floors or other nearby surfaces.
Now that you know how to remove flooring adhesive, you’re ready to tackle your home renovation project! With the right tools and knowledge about how to properly use them, you can have your floors looking as good as new in no time. Good luck and happy renovating!
Additional Tips and Tricks to Remove Flooring Adhesive
1. Use specialty tools like a razor blade scraper, putty knife, or chisel to help remove stubborn adhesive from the surface of your flooring. If you don’t have one of these available, use a credit card instead – it should be able to get underneath the adhesive and pry it up easily.
2. Consider using a heat gun to make it easier to remove any adhesive that has dried and become difficult to manage. Heat guns are available in a variety of sizes and can be used on many types of flooring. However, be sure not to use too much heat as this could damage the flooring material.
3. If there is still some adhesive left behind after you have removed all of the visible adhesives, consider using a citrus-based cleaning product. Citrus is naturally acidic and can help to break down any remaining particles of adhesive.
4. Once all of the adhesives have been removed, use a damp cloth to wipe away any traces of residue that may remain on your flooring surface. For tough spots, you can also try using a mixture of vinegar and water to further remove any remaining adhesive.
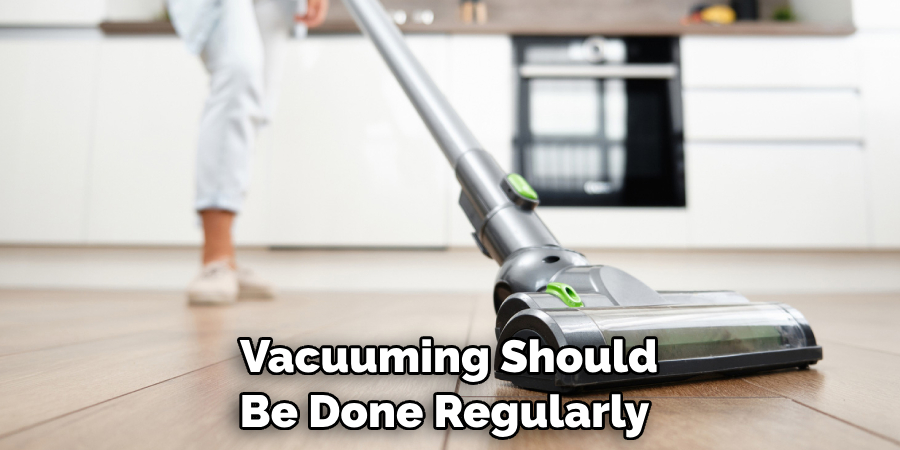
5. Finally, be sure to vacuum the area thoroughly once all of the adhesive has been removed. This will help prevent dust or other particles from getting stuck in your flooring which can lead to long-term damage. Vacuuming should be done regularly as part of your regular cleaning routine anyway if you are not already doing so.
Following these tips and tricks should help you easily remove flooring adhesive without damaging your floors. Just be sure to take the necessary precautions, such as wearing protective equipment like gloves, goggles, and a mask while working with any chemicals. And if you are in doubt at any point, it’s always best to consult a professional. Good luck!
Things You Should Consider to Remove Flooring Adhesive
1. Type of Adhesive:
Before attempting to remove the flooring adhesive, you should determine what type of adhesive was used during installation. This will help you choose a removal method that won’t damage the existing subfloor or cause harm to your health. If you’re unsure of the type of adhesive, you can consult a professional to find out.
2. Room Conditions:
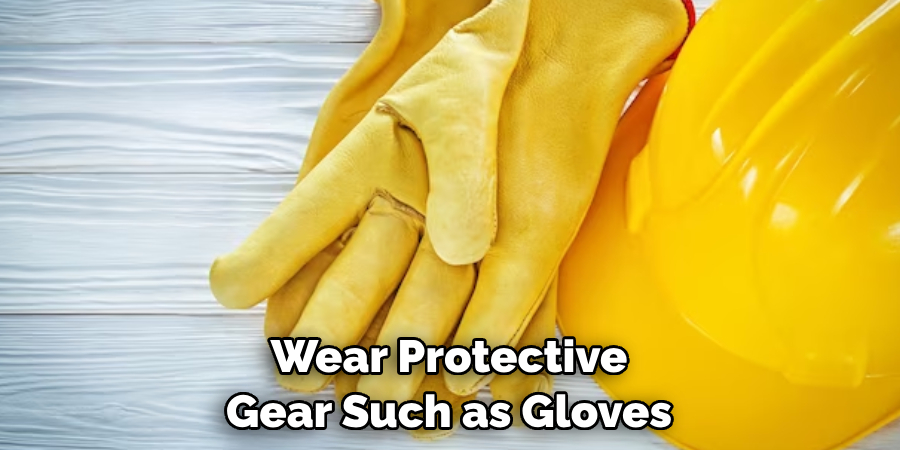
The removal process may take a while, so ensure that the room is well-ventilated and at a comfortable temperature before you begin. If there’s no access to an open window, consider using a fan to circulate air during the process. Additionally, if you are sensitive to fumes or dust, make sure to wear protective gear such as gloves, goggles, and a respirator.
3. Proper Tools:
Having the right tools is essential for a successful flooring adhesive removal process. Depending on what type of adhesive was used, you may need to use specific products and tools such as removers, solvents, or scraping tools. Make sure that anything you use is safe to use on your particular substrate.
4. Safety Precautions:
It’s important to take the necessary safety precautions during the removal process. Be sure to wear protective gear such as gloves, goggles, and a respirator if you will be working with any hazardous chemicals or fumes. It’s also a good idea to keep pets and children away from the area while you are working.
By considering these factors before beginning, you can ensure that your flooring adhesive removal project goes as smoothly and safely as possible. With the right preparation and tools, you’ll be able to remove flooring adhesive quickly and efficiently.
Precautions Need to Follow for Removing Flooring Adhesive
- Use safety goggles, face masks, and gloves to protect eyes, mouth, nose, and skin from potential irritants.
- Ensure the room is properly ventilated and all windows are open when using adhesive removers as they contain strong fumes that can be dangerous if inhaled for too long.
- Make sure the adhesive remover is safe to use on the type of flooring you have. Different types of flooring will require different products and methods for removal
- Test a small, inconspicuous area before applying the adhesive remover to the entire floor to make sure it works as expected.
- Apply an even layer of adhesive remover onto the affected area using a brush.
- Allow the adhesive remover to sit for a few minutes before attempting to scrape it off with a putty knife or floor scraper.
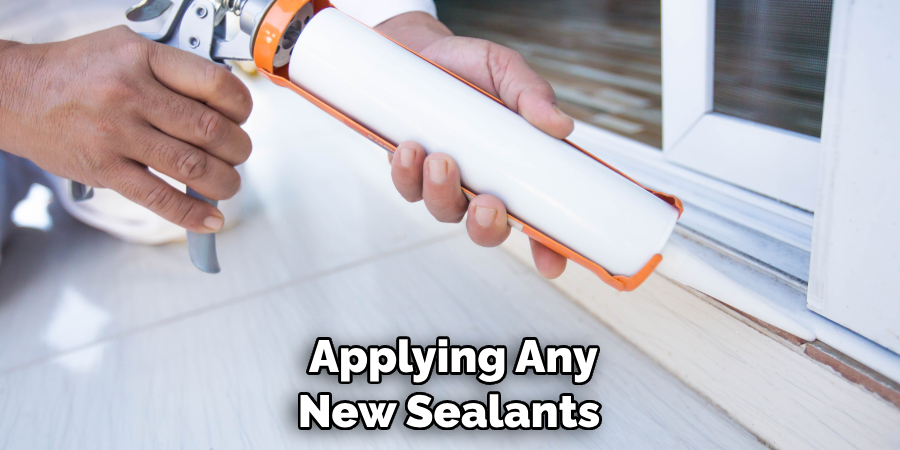
- Once the adhesive has been removed, clean the area with warm soapy water and let dry thoroughly before applying any new sealants, grout, or flooring of your choice.
By following these steps and taking the proper precautions, you can ensure that your flooring adhesive removal is done safely and efficiently. Remember to take all safety measures necessary when handling chemicals or tools used for the removal process. Also, be sure to check with a professional before undertaking any major projects involving the removal of flooring adhesive. With careful planning and preparation, your project should be successful. Good luck!
Frequently Asked Questions
What Types of Flooring Adhesive Can Be Removed?
Flooring adhesives such as vinyl and tile adhesive, mastic, and cutback adhesive can all be removed with the appropriate techniques. Some adhesives may require more work than others so it is important to identify which type of flooring adhesive you are dealing with before starting the removal process.
What Is the Best Way to Remove Flooring Adhesive?
The best way to remove flooring adhesive depends on the type of adhesive and the surface it is adhered to. For most types of adhesive, using a chemical stripper is the most effective method. These chemicals work by breaking down the bond between the adhesive and the surface. Some adhesives, such as mastic, may require more aggressive methods such as scraping or grinding.
What Are the Most Common Ways to Remove Flooring Adhesive?
The most common ways to remove flooring adhesive are using a chemical stripper, scraping with a putty knife or similar tool, and grinding with an angle grinder. Depending on the type of adhesive and the surface it is adhered to, some of these methods may be more effective than others.
Do I Need Special Equipment for Removing Flooring Adhesive?
In most cases, special equipment is not necessary for removing flooring adhesive. However, using protective gear such as goggles and gloves can help protect against chemical irritants if you are using a chemical stripper. For more aggressive methods such as scraping or grinding, additional tools and safety equipment may be needed.

Is it Necessary to Apply a New Adhesive After Removing Flooring Adhesive?
In some cases, it may be necessary to apply a new adhesive after removing the old flooring adhesive. This will depend on the type of surface and whether or not there is any damage caused by the removal process. It is always best to consult with a professional before applying any new adhesive.
Conclusion
In conclusion, removing flooring adhesive can be a daunting task. It may seem impossible at first, but by understanding the types of adhesives and the removal methods best suited for them, you can make it through the process.
With some patience and knowledge, your floor won’t just look brand new but will have you feeling good about the accomplishment of this task. Don’t forget to always wear protective gear when using potentially hazardous materials and to take extra care when disposing of any waste.
Now that you know how to remove flooring adhesive, why not try tackling your next home improvement project? If you feel scared of plumbing tasks such as removing a stopper from a bathroom sink, be sure to check out our blog article on ‘How to Remove a Stopper from a Bathroom Sink’ for helpful tips and instructions. You’ll feel confident as you tackle each step of your next task!