
Are you stuck on how to install Optimax flooring? Are you looking for a new flooring solution that will add an extra layer of sophistication and style to your home? Look no further! With this informational guide, you’ll be able to master the installation of Optimax flooring easily and safely. Not only is this flooring durable, stylish, and easy on the budget but it’s also simple to install.
You’ll learn what materials are needed for the job, a few tips from industry experts, how to measure for accurate placement of your new Optimax floor, as well as steps for installing it correctly. By following these instructions carefully, you can confidently ensure that your optimized living space is ready in no time.
What is Optimax Flooring?
Optimax flooring is a new type of vinyl flooring that gives you the look and feel of real wood without all the maintenance. It’s waterproof, so spills are no problem, and it’s also durable enough to withstand heavy traffic. This makes it perfect for areas such as kitchens, bathrooms, living rooms, and hallways. Optimax flooring comes in a variety of colors, textures, and sizes to match any home décor.
The Benefits of Installing Optimax Flooring
1. Easy Installation
Optimax flooring is easy to install, maintain, and clean. It’s also durable and waterproof, which makes it ideal for high-traffic areas. This type of flooring is also budget-friendly since it requires minimal tools and materials for installation and can be done in a few hours. Plus, Optimax flooring adds an extra layer of sophistication and style to any room.
2. Improved Air Quality
Optimax flooring is made from 100% recycled content, meaning it’s environmentally friendly and helps improve the quality of indoor air. By reducing toxins in the air, your home becomes safer for you and your family.
3. Long-lasting Durability
Optimax flooring is engineered to last. It’s scratch-resistant and waterproof, so it can handle heavy foot traffic without any damage. Plus, its easy-to-clean surface makes it perfect for busy households with children or pets.
What You’ll Need
- Optimax Flooring
- Underlayment
- Measuring Tape
- Pencil or Marker
- Carpenter’s Square or Straight Edge
- Utility Knife or Chalk Line
- Double-Sided Adhesive Tape
- Hammer and Nails (optional)
- Flooring Spacers (optional)
10 Ways How to Install Optimax Flooring
1. Preparing the Subfloor
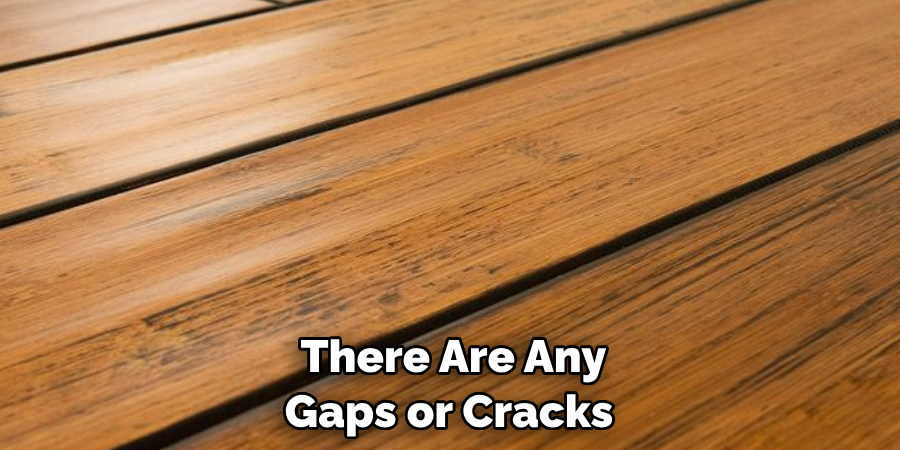
Before you can install your Optimax floor, you first need to make sure that the subfloor is clean, dry, and level. If there are any gaps or cracks, these need to be filled with a patching compound. Preparing the subfloor is an important step, as any imperfections can affect the integrity of your floor.
2. Measuring for Accurate Placement
Measure the area where you plan to install the Optimax flooring and then mark off a square or rectangle that corresponds with your measurements. This will help ensure that all panels are placed accurately and evenly spaced throughout the room.
3. Lay the Underlayment
After you’ve measured and marked off the area, lay down a sheet of underlayment to provide extra cushioning and protect your Optimax floor from any moisture that might be present underneath it. Make sure to overlap each piece of underlayment by at least 2 inches for maximum protection.
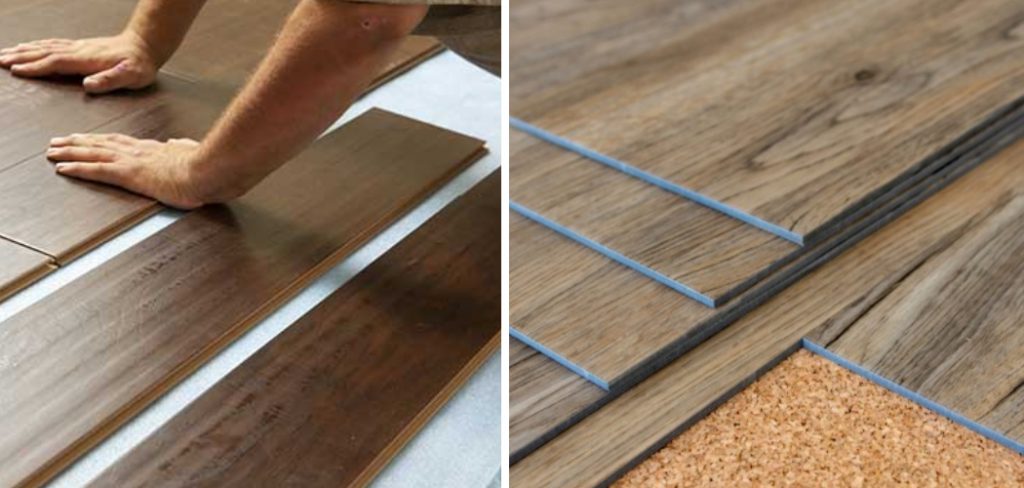
4. Position the First Panel
Place the first panel in the corner of your marked area. Use a straight edge or carpenter’s square to make sure it is positioned correctly. Secure the panel with double-sided adhesive tape or nails for extra stability.
5. Connecting Panels Together
Once you have placed the first panel, it’s time to connect the next panel. Place the second panel against the first and align it so that all edges are even. Use a utility knife or chalk line to score along the edge of the two panels, then pull them apart and snap them together at the scored lines.
6. Installing Adjacent Panels
Continue installing adjacent panels in the same manner, making sure to align each one so that all edges are even. You can also use flooring spacers to ensure that the panels are spaced evenly and securely connected.
7. Finishing Touches
Once all of the panels have been installed, you will need to trim any excess material around the edges with a utility knife. This will help create a seamless look that is sure to impress. Touches such as adding baseboard trim around the edges can also help to complete the look.
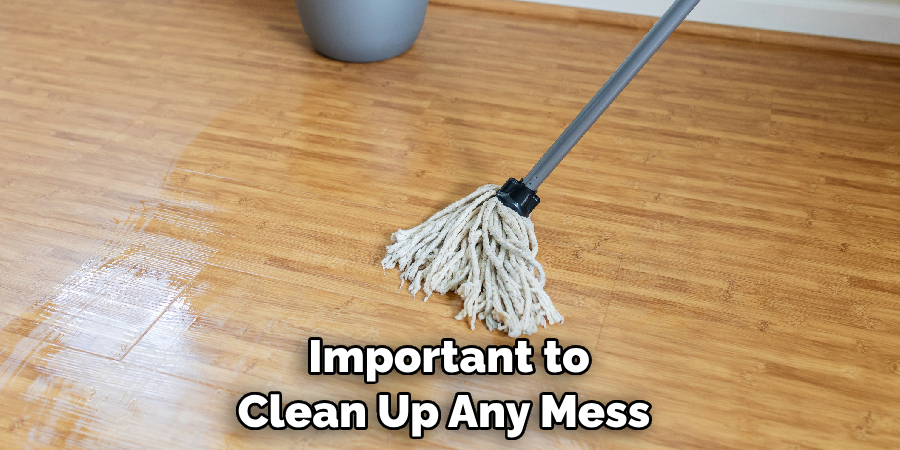
8. Clean Up
Once you’ve finished installing your Optimax floor, it’s important to clean up any mess that may have been made during the installation process. This includes sweeping away debris from underlayment and adhesive tape, as well as wiping down all of the panels.
9. Admire Your Work!
Now that you’ve completed your Optimax floor installation take a minute to admire your hard work. It may not seem like much of an accomplishment now but soon enough you’ll be able to see just how beautiful and durable your new flooring is.
10. Enjoy Your Floor!
Finally, it’s time to enjoy your new Optimax floor. With proper care and maintenance, this durable flooring will last for years to come. So kick back, relax, and admire the transformation you have just made in your home.
Following these steps on how to install Optimax flooring will give you a beautiful finished product that can truly make an impact on your home. With all the benefits Optimax flooring has to offer, you’ll be glad you chose it for your next renovation project!
8 Safety Precautions to Follow When Installing Optimax Flooring
Before you begin the installation process, it is important to remember several safety precautions to ensure a safe and successful installation.
1. Wear protective clothing while working with any type of flooring material, including Optimax flooring. This includes long pants, long sleeves, safety glasses, gloves and boots or shoes that cover your toes.
2. Make sure the room has plenty of ventilation while working with Optimax flooring, as fumes from the flooring materials can be dangerous if inhaled. Open windows and turn on fans to ensure proper airflow throughout the installation process.
3. Remove all furniture from the area before beginning work. This will provide you with more space to maneuver and also will help to protect furniture from potentially dangerous fumes. Removing any items on the floor, such as rugs or carpets, will also be beneficial in the installation process.
4. Make sure to properly read and understand all manufacturer instructions before beginning work with Optimax flooring. Fully understanding each step is important in ensuring a successful and secure installation.
5. Wear safety goggles when cutting or sawing Optimax flooring to prevent debris from entering your eyes. Safety goggles should also be used when using any other power tool that may cause debris to fly.
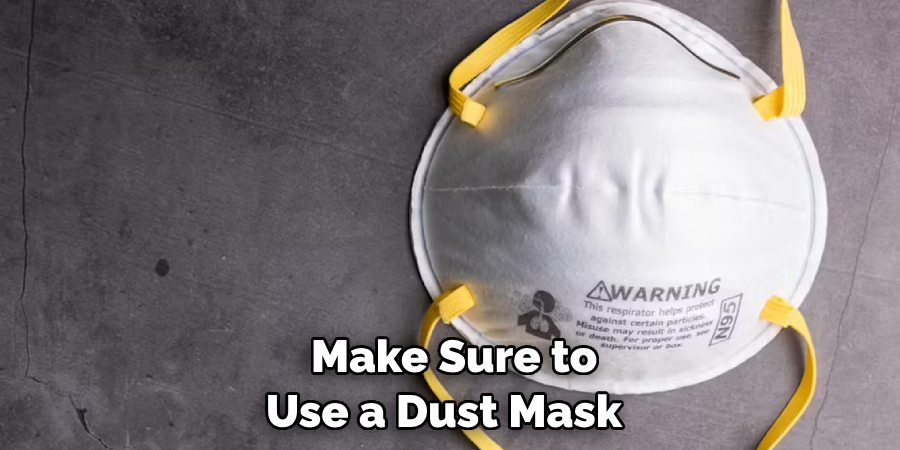
6. Make sure to use a dust mask while sanding or sawing Optimax flooring. Sawdust, as well as fumes from the flooring materials, can be hazardous if inhaled and wearing a dust mask will ensure you are adequately protected throughout the installation process.
7. Keep the area clean and free of any sharp objects or debris while working with Optimax flooring. This will help to prevent any tripping hazards as well as ensure that your flooring is not damaged during the installation process.
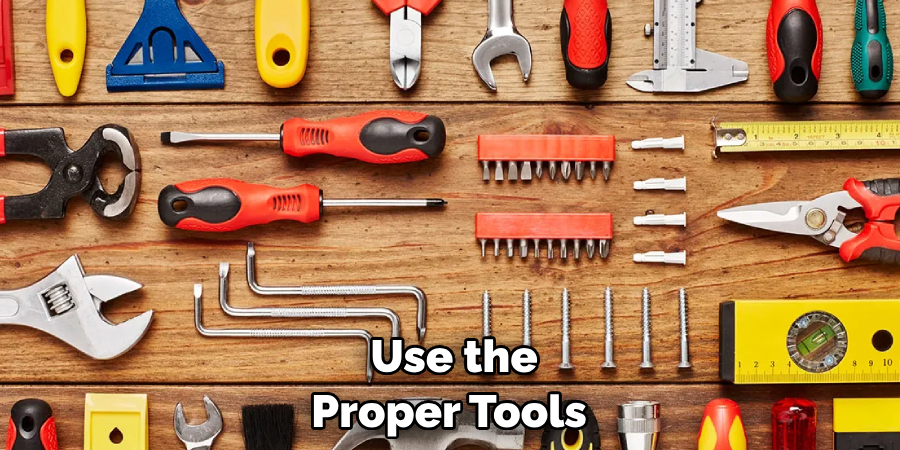
8. Make sure to use the proper tools for installing Optimax flooring, such as a level, tape measure, and caulk gun. Using the wrong tools can lead to poor installation, as well as potential injury.
By following these safety precautions while working with Optimax flooring, you will ensure a safe and successful installation process. Properly reading all manufacturer instructions before beginning work is also important in ensuring that your Optimax flooring is properly installed. With the right tools and knowledge, you will be able to safely install your Optimax flooring in no time.
Once the installation is finished, it is important to take the necessary steps to properly care for your new flooring. Regularly sweep or vacuum the area to prevent dirt and debris from accumulating on the surface of your floors. With proper maintenance, your Optimax flooring will look great for years to come.
6 Maintenance Tips for Optimax Flooring
Optimax flooring is a great choice for people looking to improve the aesthetic of their homes. As with any type of flooring, though, proper maintenance is essential for preserving its beauty and longevity. Here are 6 tips to help you keep your Optimax floor looking its best:
1. Vacuum regularly. Dirt and dust can scratch the surface of your flooring, so make sure to vacuum regularly. This will help keep it looking great and ensure that it lasts a long time. Dirt and dust can also seep into the cracks of your flooring, so it’s important to vacuum frequently.
2. Clean with a damp mop. After vacuuming, use a damp mop to remove any lingering dirt or debris. It’s important not to use too much water when cleaning because Optimax flooring can be easily damaged by water.
3. Avoid abrasive cleaners. Abrasive cleaners can damage the surface of your flooring and make it look dull and worn out. Use gentle cleaners that are specifically designed for use on Optimax flooring.
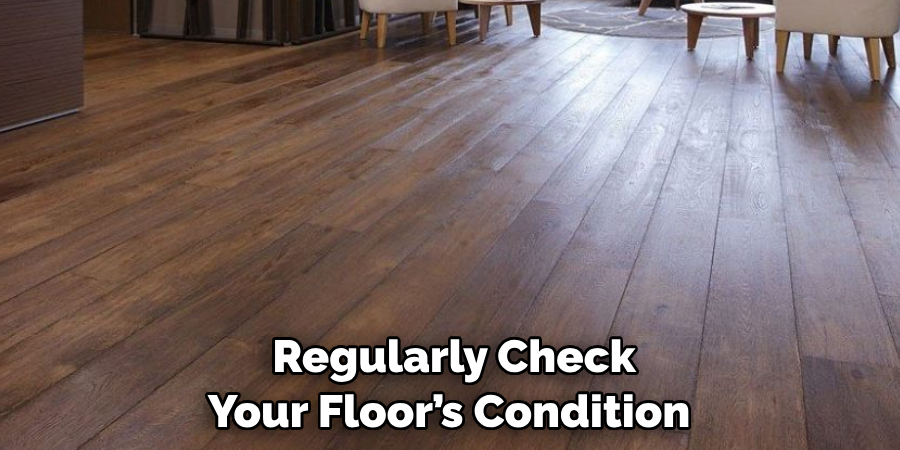
4. Regularly check your floor’s condition. Make sure to regularly inspect your floor for any scratches or signs of damage. If you notice any wear and tear, take the necessary steps to repair it before it gets worse.
5. Protect your floor from furniture and high heels. Make sure to use felt pads on the feet of your furniture, and always remove any high heels before walking on your Optimax flooring. This will help prevent scratches and other damage.
6. Get professional help for deep cleaning or repairs. If your floor needs more than a simple mopping or vacuuming, it’s best to get professional help. A professional can ensure that your floor is properly cleaned and repaired.
Following these 6 maintenance tips will help keep your Optimax flooring looking great for years to come!
By taking the time to maintain your Optimax flooring, you’ll be able to enjoy its beauty for a long time. And when it comes time to replace the flooring, you’ll be confident that you got the most out of your investment.
For more information on how to install and maintain Optimax flooring, speak to a certified professional today! They can provide specific instructions for installing and taking care of your Optimax floor so it looks as good as new.
Frequently Asked Questions
How Long Will It Take to Finish the Project?
The amount of time it takes to finish the project will depend on the size and complexity of your space. Generally, Optimax flooring can be installed in a day or two, but it may take up to four days, depending on how much preparation is needed beforehand. Also, if you are installing Optimax flooring in multiple rooms, it may take longer.
Can I Install Optimax Flooring Over an Existing Floor?
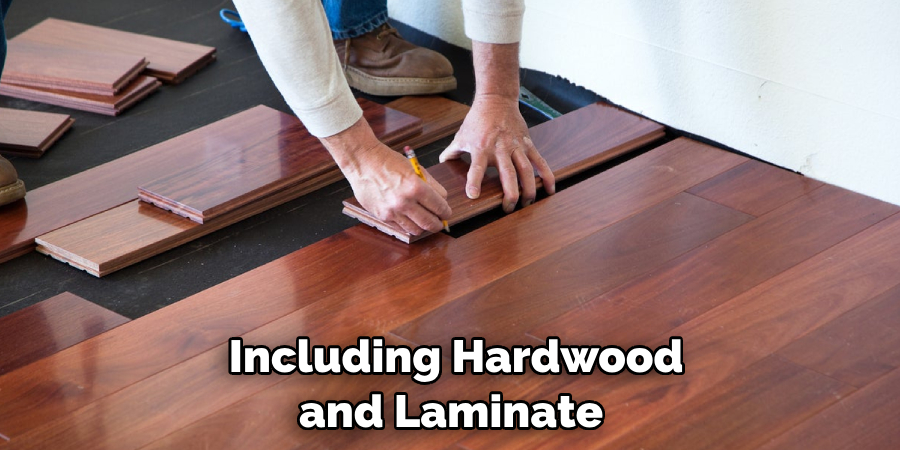
Yes, Optimax flooring can be installed over most types of existing flooring, including hardwood and laminate. You will need to make sure that the existing floor is clean and flat before installing the Optimax flooring. If there are any uneven surfaces or bumps, they should be filled in before installation.
Conclusion
Installing Optimax flooring can be a daunting task, but if done properly, you’ll be rewarded with years of beauty and utility. To get the most out of your Optimax flooring installation, make sure to invest in the best materials and follow the directions explicitly.
Consider consulting a professional installer if you have any doubts about tackling the installation yourself. Invest now to enjoy the comfort and design that Optimax flooring provides for many years into the future.
Additionally, research what warranties or special guarantees may apply to your specific purchase. Don’t forget – when all is said and done, remember to clean up after yourself!
Taking good care of your newly installed Optimax flooring means proper maintenance, such as regular vacuuming, mopping, and protecting it from sharp objects that may cause damage over time. With these tips on how to install optimax flooring in mind,your home will be looking great in no time!