Do you have a set of ceiling speakers that need to be removed? If so, removing them can sometimes be an intimidating task. In this blog post, we’ll provide you with step-by-step instructions on how to remove ceiling speakers so that they don’t cause any damage.
We’ll also discuss what kind of tools you may need for the removal process and go over some tips on proper disposal techniques. Read on for more information about our easy guide to taking down your old ceiling speakers!
Tools and Materials You Will Need to Remove Ceiling Speakers
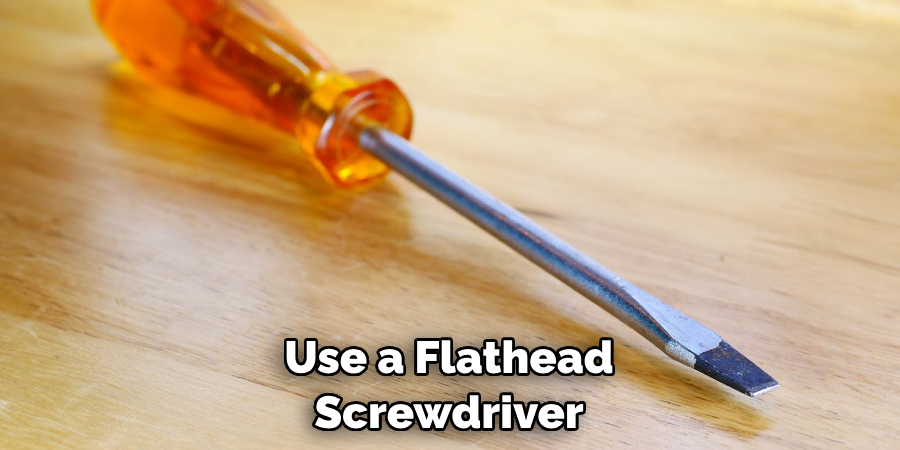
- Flathead screwdriver
- Phillips head screwdriver
- Wire cutters
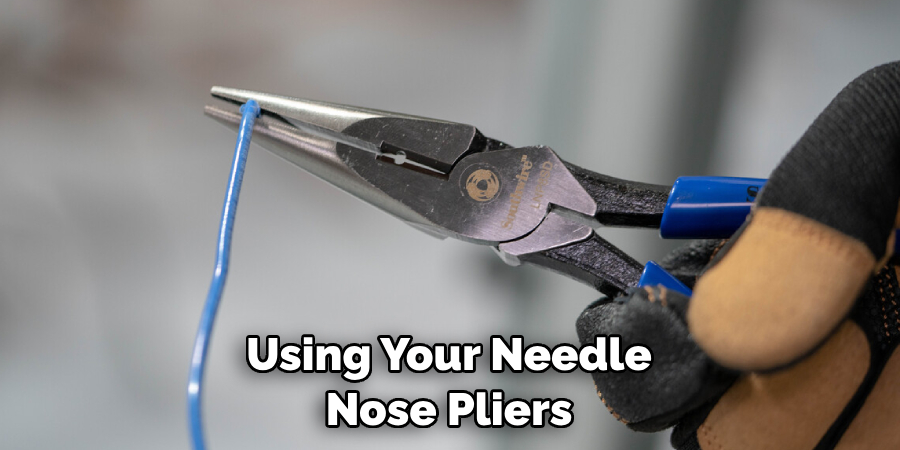
- Needle-nose pliers
- Putty knife or razor blade
- Ladder or step stool to reach the ceiling speakers
- Tape measure to measure the size of the speakers
- Protective eyewear, gloves, and a dust mask to protect against flying debris
Step-by-Step Guidelines on How to Remove Ceiling Speakers
Step 1: Turn Off the Power to the Ceiling Speakers
Before you begin removing the speakers, make sure that all power to the ceiling speaker system is turned off. This will help prevent any accidental shock from occurring during the removal process. It’s important to unplug each speaker from any power source or turn off the circuit breaker associated with the speakers.
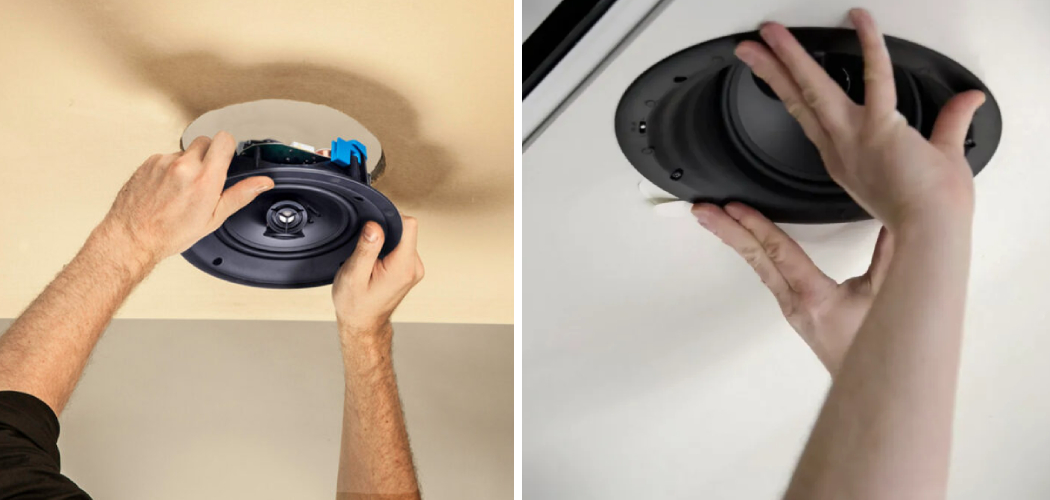
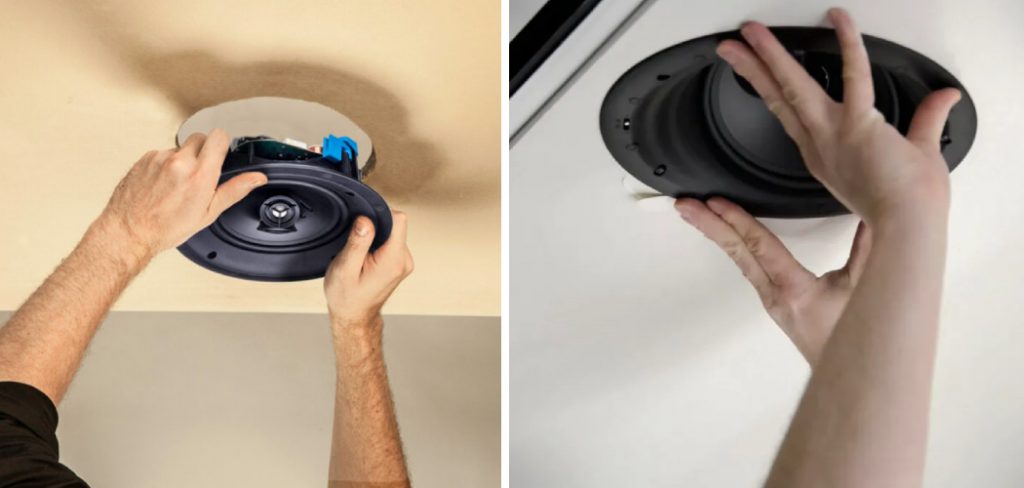
Step 2: Remove the Grill and Speaker Cone Cover
Use a flathead screwdriver to remove the screws that secure the grill and speaker cone cover in place. Once all of them are removed, carefully lift off the covers and set them aside. While removing the covers, be sure to take note of their orientation and the exact spot where they were placed. This will help you when it’s time to reinstall them.
Step 3: Disconnect the Wires from the Ceiling Speakers
Using your needle-nose pliers, carefully disconnect all wires connected to the speakers. Make sure to label each wire so that you can reconnect them properly at a later time if needed. Once all of the wires are disconnected, remove the speakers from their mounts. This will help you to get the speakers down safely without causing any damage.
Step 4: Dispose of the Ceiling Speakers Safely
Once all of the wires and screws have been removed from your ceiling speakers, it’s time to properly dispose of them. Make sure that you put them in a trash bag or another container that is sealed off from the elements. This will help to ensure that no other debris or contaminants enter your home or office building.
We hope that these step-by-step instructions have provided you with the information needed order to safely and correctly remove your ceiling speakers. Using the right tools for the job and having an understanding of proper disposal techniques are both important factors in the removal process.
If you have any questions or need assistance with removing your ceiling speakers, please contact a professional who specializes in audio installation and removal services.
Additional Tips and Tricks to Remove Ceiling Speakers
- Make sure to turn off the power and unplug any wires connected to the speaker before attempting to remove it. This will reduce the risk of electric shock.
- Use a ladder or step stool to reach up to the speaker if needed for extra height.
- Inspect the area around the speaker where it attaches to the ceiling or wall. Depending on the type of speaker, you may need to unscrew a few screws or remove other fasteners such as nails and clips in order to free the speaker from its mounting location.
- Use a flathead screwdriver or putty knife to gently pry the speaker away from its mounting surface.
- Once the speaker is free from its mounting surface, carefully lower it to a level location and disconnect any wires attached to the speaker.
- Inspect the area around where the speaker was mounted for any debris or other materials that will need to be cleaned up afterward such as dust and drywall fragments.
- Use a vacuum cleaner or other tools to clean up any debris in the area where the speaker was mounted.
- 8. If desired, patch up the holes left behind after removing the speaker with spackle or drywall compound and paint over it for a smooth finish.
Following these simple steps will help you safely and effectively remove ceiling speakers from their mounting locations. Be sure to use caution when working with electrical components, and always remember to turn off the power before attempting any repairs or installations.
Things You Should Consider to Remove Ceiling Speakers
1. Know Where the Wiring is:
Before you begin to remove your ceiling speakers, it’s important to familiarize yourself with the location of all the wires that are connected to them. This will make disconnecting them much easier and ensure that no accidents occur while uninstalling them. If you’re not sure, you should contact a professional to help you.
2. Gather the Right Tools:
Removing ceiling speakers requires certain tools to ensure that it is done safely and correctly. You will need wire cutters, pliers, an electric drill with different bits, a screwdriver, and some spare wiring (if necessary). Make sure you have all the tools necessary to complete the job before you start.
3. Turn off the Power:
Before you begin, it’s important to make sure that the power is off in the area where you are working. This will ensure your safety and prevent any shocks or other accidents from occurring due to electricity. Turning off the power can also help you prevent any damage to your speakers while uninstalling them.
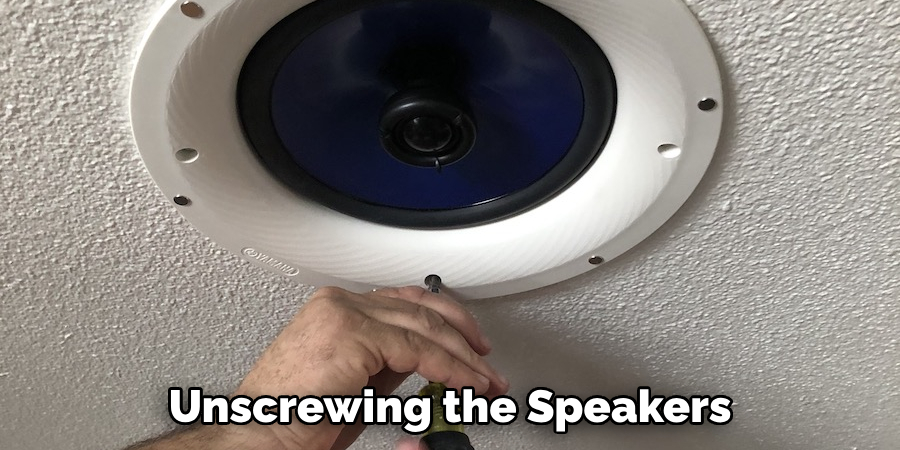
4. Unscrew the Speakers:
Once you have all the tools and the power is off, you can begin unscrewing the speakers from their mountings in the ceiling. This step will require a screwdriver and may take some time depending on how well the speakers are attached. Make sure you pay careful attention to the screws as they can be quite small and easy to lose.
5. Disconnect the Wires:
Once you’ve removed the screws, it’s time to disconnect the wires from your ceiling speakers. This is where the wire cutters and pliers come in handy. Carefully cut each wire individually and make sure that none of them are tangled or connected to any other wires. While disconnecting the wires, make sure to keep them organized so it will be easier to reconnect them later.
6. Test Your Work:
Once you’ve successfully disconnected all the wires, it’s important to test your work to make sure nothing is still connected. Turn the power back on and test the speakers to make sure they are not producing any sound. If everything is disconnected correctly, you can proceed to remove your ceiling speakers safely.
Following these considerations will ensure that your ceiling speakers are removed safely and correctly. Make sure you have the right tools and safety precautions in place before beginning the removal process, and always consult a professional if you’re unsure of anything. By following these steps, you can be sure that your ceiling speakers are removed without any complications.
Precautions Need to Follow for Removing Ceiling Speakers
- Ensure that the power to the sound system is switched off before starting work. To be extra cautious, it is advisable to switch off the breaker in case of accidental power surges.
- Ceiling speakers are usually connected with wires or cables which may have live electrical current running through them. It is best to use insulated gloves and tools to avoid any shock while disconnecting the cables.
- Make sure you have all the necessary tools and equipment like screwdrivers, wire strippers, pliers, etc. for removing the ceiling speakers before starting work.
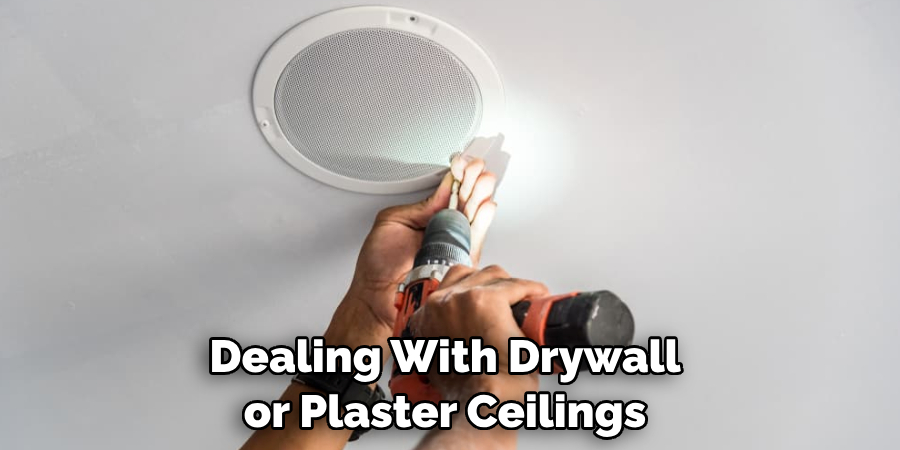
- When dealing with drywall or plaster ceilings, it is important to be extra careful as these are more fragile than other types of ceilings. It is best to use a stud finder to locate the joists in order to avoid any accidental breaks.
- Make sure that you have someone with you while pulling down the speaker so that it does not come crashing down and cause injury or damage to yourself or your property.
- Lastly, make sure you dispose of the ceiling speaker safely and responsibly. The safest way to do this is to take it to a local recycling center.
These are some precautionary steps one must take while removing ceiling speakers. While the process may seem daunting at first, as long as you follow these steps carefully, you should be able to remove them without any issues.
Common Mistakes in Removing Ceiling Speakers
Knowing how to remove ceiling speakers correctly is important, as making mistakes can cause damage to your home and the speaker components. Here are some of the most common mistakes people make when removing a ceiling speaker:
- Attempting to Install or Remove Ceiling Speakers Without Turning off the Power – Working with electricity requires special precautions. Always remember to turn off the power before attempting any installation or removal of ceiling speakers.
- Failing to Securely Fasten Speakers – Make sure that all screws and bolts are securely fastened, as loose or unfastened components can cause serious damage if they come loose during operation.
- Not Double-Checking to Ensure the Speaker is Disconnected – After disconnecting any wires, it’s important to double-check that the speakers are completely disconnected from power sources.
- Not Grounding a Speaker Before Installing – When installing a new speaker, make sure to ground it correctly before connecting the power source or wiring. Failing to do so can cause electrical shock and other hazards.
- Not Checking the Weight of the Speaker – When removing a ceiling speaker, it’s important to check its weight before attempting to lift or move it. If a speaker is too heavy for one person to handle safely, consider using extra help or enlisting professional assistance.
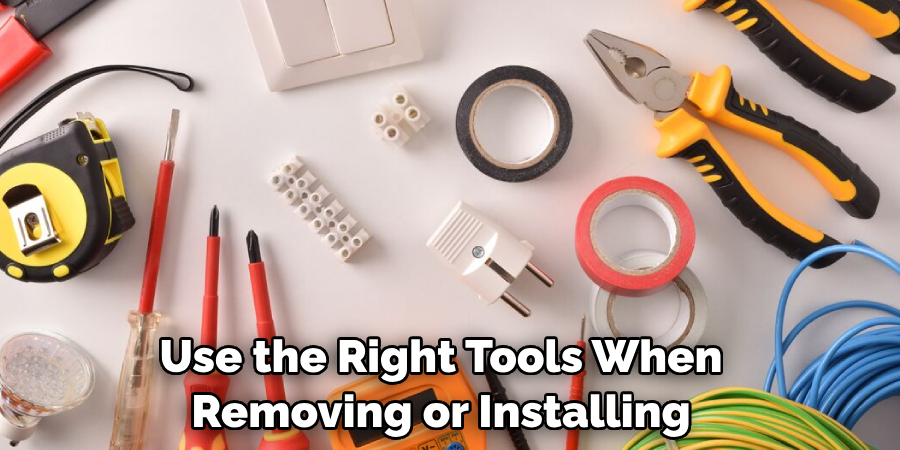
- Not Using the Right Tools – Make sure to use the right tools when removing or installing a ceiling speaker. If you don’t have the appropriate tools for the job, enlist professional help instead of attempting to improvise with what you have on hand.
- Not Taking Safety Precautions – Always consider safety first when working with electrical components. Be sure to wear gloves, goggles, and other protective gear when handling ceiling speakers and wires.
By following the common mistakes above, you can ensure that your ceiling speakers are installed and removed safely. Remember to always turn off the power before attempting any installation or removal, use the right tools for the job, and take proper safety precautions. Doing so will help to avoid damage to your home and speaker components.
Conclusion
Knowing how to remove ceiling speakers will help you to upgrade or replace an old set of speakers with a new one. Before taking on this kind of project, make sure that you have the right tools and supplies for the job. Depending on the type of ceiling speaker, it may also require special tools to do the task correctly.
Also, keep in mind that some steps such as pulling out heavy speakers or dealing with insulation may require help from another person. Finally, always follow safety protocols and wear the proper equipment when working on electrical components. Once you have done all of this, you should be able to remove your ceiling speakers quickly and easily.