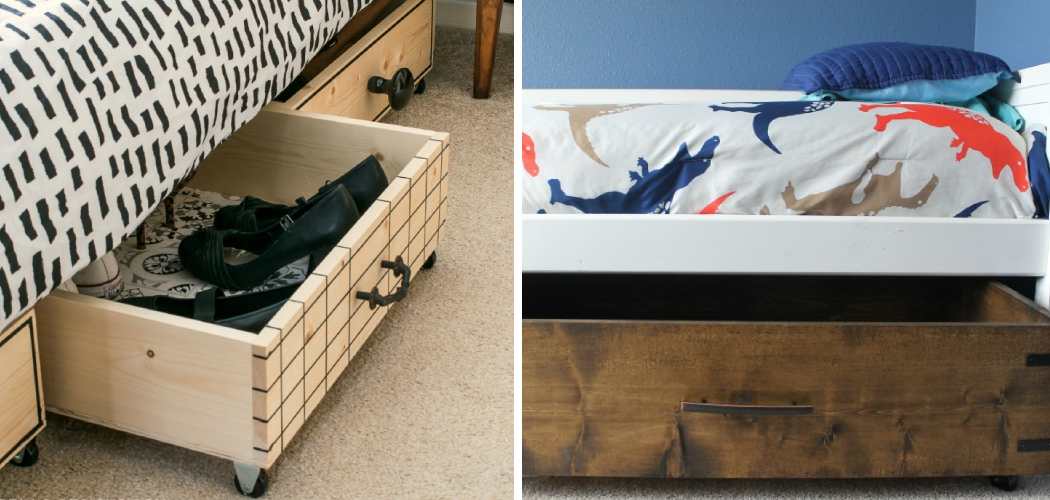
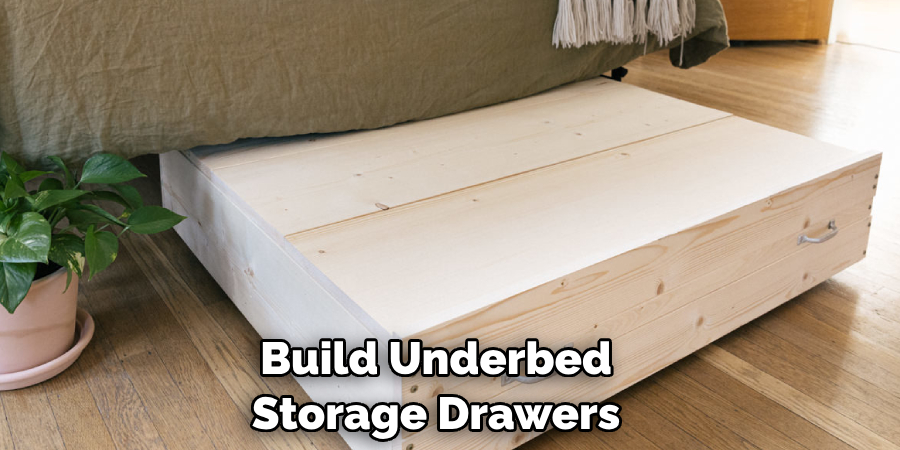
Are you looking to store more of your things under the bed but don’t know where to start? Don’t worry, we’ve got you covered! In this blog post on how to build underbed storage drawers, we’ll show you how easy it is to build extra storage right beneath your bed.
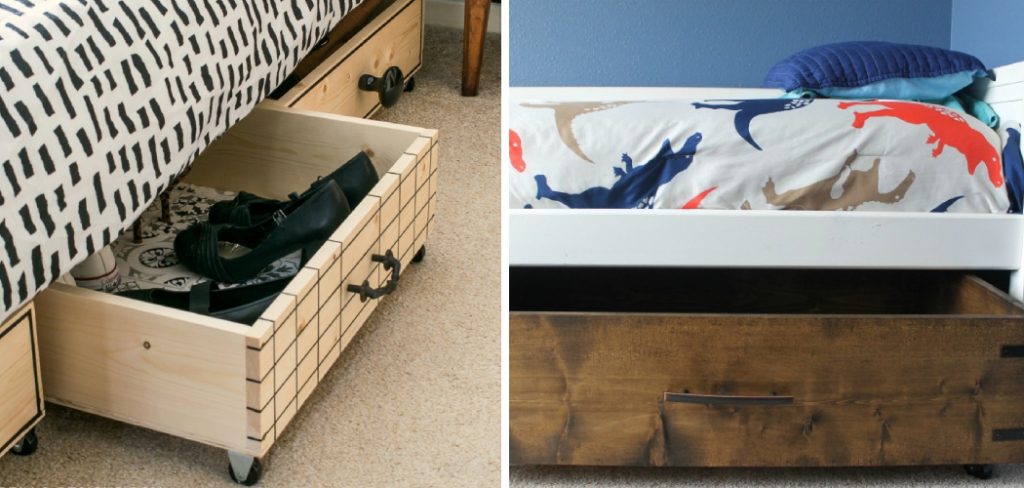
With just an hour and some basic supplies like plywood, magnets, and dowels, you can add loads of easy-access storage space for shoes or clothes that otherwise might be cluttering up your closet or bedroom floor. So put on your DIY cap—it’s time to get building!
What are Underbed Storage Drawers?
Underbed storage drawers are just that—drawers that fit under the bed frame. These drawers provide easy-access storage space for shoes, clothes, blankets, and other items without taking up any extra room in your bedroom or closet. This type of storage can be especially useful in homes with limited space or for those who have trouble organizing their belongings.
Materials Needed to Build Underbed Storage Drawers
To build the perfect underbed storage drawers, you’ll need the following materials:
- Plywood (Amount Determined by the Size of the Bed)
- Magnets
- Dowels (1″ or 2″)
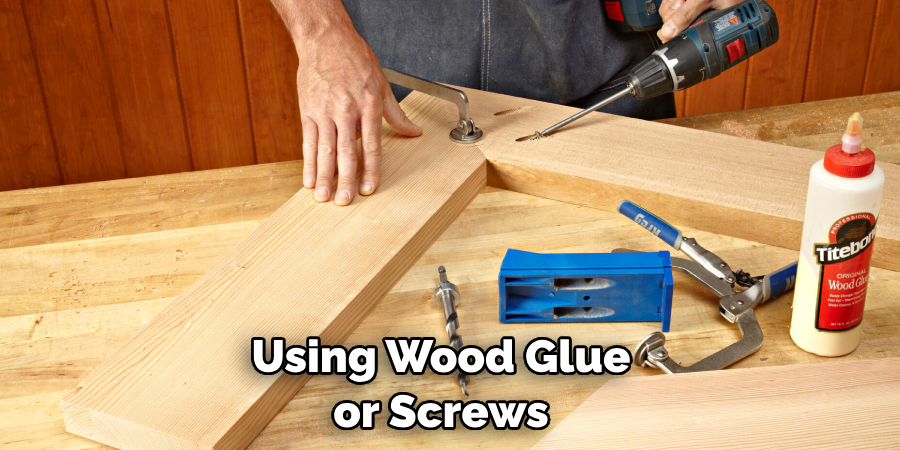
- Wood Glue
- Sandpaper
- Paint/Stain (Optional)
Tools Needed to Build Underbed Storage Drawers
To build the perfect underbed storage drawers, you’ll need the following tools:
- Saw (Circular or Table)
- Hammer
- Tape Measure
- Drill
- Level
- Screws/Nails
11 Easy Step-by-step Guides on How to Build Underbed Storage Drawers
Step 1: Measure and Cut Plywood
Using a tape measure, measure the space under your bed frame to determine how much plywood you’ll need. Using a saw, cut the plywood to fit the size of your bed frame. If necessary, you can use sandpaper to smooth the edges. It’s important that all pieces of plywood are the same size. However, you can also decide to put together pieces of plywood if necessary. This is especially important when you are dealing with a large bed frame. It is best to measure twice and cut once. So take your time and make sure that all pieces of plywood fit together correctly.

Step 2: Assemble the Frame
Using wood glue and screws or nails, assemble the frame with two side pieces and one front piece for each drawer. Be sure to use a level throughout this process to ensure that all pieces are aligned correctly. If you are using dowels, add them now and use the glue to secure them. If you are not using dowels, use the magnets instead. It is important to make sure the frame is stable and secure before moving on to the next step. This is a good time to add the paint or stain if you are choosing to do so. If not, you can move on to the next step.
Step 3: Attach Magnets
Attach magnets on the inside of both sides of the frame using wood glue or screws. This will serve as your drawer latch when assembling later on. But for now, you just need to make sure the magnets are secure and can hold up the weight of your items. This step is important as it will prevent your drawers from accidentally opening when pushed against the bed frame. If you are using dowels instead of magnets, skip this step. Although in this case, you may want to consider adding a piece of fabric at the back of the drawer for extra stability.
Step 4: Cut Dowels
Measure and cut dowels into four equal lengths that match the height of your drawers (typically around 8-10 inches). It’s important to make sure each length is equal as this will help to keep the drawers balanced and stable when sliding in and out. This step can be skipped if you are using magnets instead of dowels. It is also important to test the dowels before attaching them to the frame. This will help you ensure a smooth and secure slide every time. But keep in mind, if you are using magnets, you will need to adjust the height accordingly.
Step 5: Attach Dowels
Attach the dowels to each side of the frame using wood glue and nails. Be sure to align them correctly so they are even on both sides. But if you are using magnets instead, skip this step. This will help to ensure the drawers are balanced when opening and closing. It is important to make sure the dowels are secure before continuing on. This step can be skipped if you are using magnets instead of dowels. After attaching the dowels, test them before moving on to the next step.
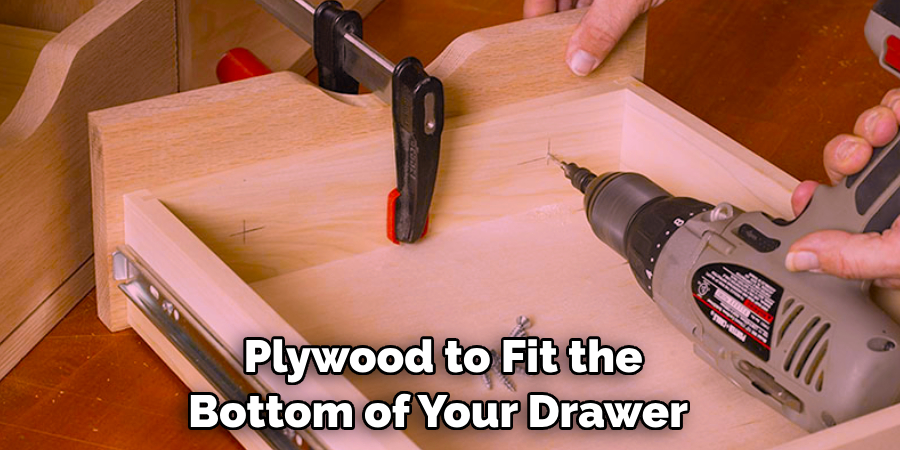
Step 6: Add a Bottom Piece
Cut a piece of plywood to fit the bottom of your drawer and attach it with screws or nails. This will serve as the base for your drawer. This step is important as it will help to keep the drawers balanced and make sure they stay shut when not in use. This step can also be skipped if you are using magnets instead of dowels. After adding the bottom piece, check to make sure it is secure and won’t slide out when opening and closing the drawers.
Step 7: Sand Down All Pieces
Using sandpaper, sand down all pieces until they are smooth and free from any splinters. It is important to do this step correctly as it will help to ensure the drawers slide smoothly when opening and closing. Once all pieces are sanded, it is time to assemble the drawers. This step can be skipped if you are using magnets instead of dowels. If you are using dowels, make sure the edges of each piece are smooth before assembling. It is important to make sure the drawers slide smoothly, without any snags or bumps.
Step 8: Assemble Drawers
Now it’s time to assemble your drawers! Insert the magnets into their respective holes in each side of the frame and attach the front piece using screws or nails. Be sure to check that all pieces are aligned correctly throughout this process. This step can be skipped if you are using dowels instead of magnets. Make sure each piece is secure and aligned before attaching the back piece.
It is also important to make sure the drawers are balanced before completing this step. If one of them feels heavier than the other, it may be wise to adjust the dowels or magnets accordingly.
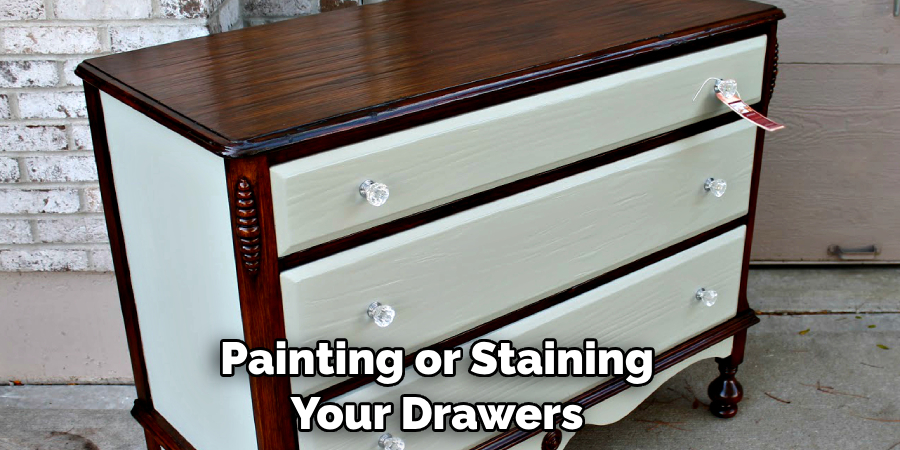
Step 9: Paint/Stain Your Drawers (Optional)
If you want to add a personal touch to your drawers, you can use paint or stain for a unique finish. This step is optional but will make your drawers stand out even more! But before you begin, make sure the drawers are fully assembled and all pieces are secure. This will help to ensure a smooth finish when painting or staining your drawers. But keep in mind, if you are using magnets instead of dowels, it is best to skip this step altogether. Otherwise, the magnets may become damaged.
Step 10: Attach Sliders
Attach drawer sliders on the bottom of each side of the frame. This will make it easier to access and open each drawer without having to lift them up manually. If you are using dowels, make sure the sliders are secure and aligned correctly before continuing. But if you are using magnets instead, skip this step. But after completing this step, check to make sure the drawers are balanced and sliding smoothly. It is important to make sure the drawers are not too heavy or too light when opening and closing them.
Step 11: Place Underbed Storage Drawers Under the Bed Frame
Once your drawers are assembled, place them under your bed frame and you’re done! But before you do this, make sure to check that all pieces are secure and aligned correctly. If you used magnets instead of dowels, make sure they are in place and secure before moving on. Additionally, make sure the drawers are sliding smoothly without snags or bumps.
Always use caution when working with tools and materials. Wear safety glasses and gloves throughout the process of building your underbed storage drawers. Following these steps will help you to create a sturdy and balanced set of drawers that will last for years! Good luck and happy building!
Congratulations—you now have your own custom-built underbed storage drawers. With just an hour and some basic supplies, you’ve managed to create more space for shoes or clothes that would otherwise be cluttering up your bedroom or closet. Enjoy the extra storage space!
The above steps provide an easy and simple guide on how to build underbed storage drawers. With the right tools and materials, you can create extra storage space without having to sacrifice too much room in your bedroom or closet. Now that you know how to build them, get creative and make them unique with a personal touch of paint or stain! Happy building!
Frequently Asked Questions ?
Q: What Tools Do I Need to Build Underbed Storage Drawers?
A: To build the perfect underbed storage drawers, you’ll need a saw (circular or table), hammer, tape measure, drill, level, screws/nails and wood glue.
Q: How Long Does It Take to Build Underbed Storage Drawers?
A: With the right tools and materials on hand, it should take about an hour to build your own underbed storage drawers.
Q: How Much Space Could I Save with Underbed Storage Drawers?
A: With underbed storage drawers, you can save up to double the amount of space compared to regular dresser drawers. This is a great way to maximize your bedroom or closet space!
Q: Are There Any Safety Tips To Follow While Building Underbed Storage Drawers?
A: Before beginning any project, be sure to read all instructions and safety tips carefully. Wear protective clothing when necessary and use caution when handling tools such as hammers and saws. Additionally, always make sure that the pieces are properly aligned before attaching them together with screws/nails or wood glue. Finally, never leave children alone near the construction site.
Conclusion
From powerful tools to precise carpentry, crafting custom under-bed storage drawers takes plenty of hard work. Yet, the effort is well worth it when you see the finished product which not only adds some serious storage to your bedroom space but also provides a decorative touch. The great thing about creating your own wooden under-bed storage drawers is that they can be customized however you like.
You have the freedom to use any type of wood, paint or stain as well as color and design in order to create something that perfectly suits your lifestyle and home décor. With a few simple steps and some creativity, anyone can make their own stylish and sturdy under-bed storage drawers in no time at all! Thanks for reading this article on how to build underbed storage drawers.