A gleaming tile floor not only reflects the cleanliness of a space but also adds a touch of elegance to any room. However, maintaining that sparkle on tile floors can sometimes feel like a daunting task amidst our busy lives.

This guide on how to put a shine on tile floors is designed to provide you with straightforward and efficient methods to bring out the shine in your tile floors, ensuring they continue to look their best with minimal effort. Whether your tiles are ceramic, porcelain, or natural stone, you’ll find practical advice here to keep them gleaming like new.
Understanding the Importance of Shiny Tile Floors
Before we dive into the steps on how to achieve a shiny tile floor, let’s first understand why it is important to keep your tiles shining. A clean and shiny floor not only looks aesthetically pleasing but also reflects good hygiene practices. Additionally, regularly maintaining the shine on your tile floors can help prevent stains and damage caused by dirt build-up over time.
Furthermore, a shiny floor can make your space look larger and brighter by reflecting light, giving the illusion of more room. This is especially beneficial for smaller rooms or areas with limited natural light.
Materials Needed for Putting a Shine on Tile Floors
A Mop or Floor Cleaning Tool (Microfiber Mops Work Best)
To effectively shine your tile floors, you will need a reliable mop or floor cleaning tool. Microfiber mops are highly recommended due to their superior cleaning capabilities and ability to pick up even the smallest particles of dirt without scratching the tile surface. These mops are gentle on your floors while ensuring a thorough clean, making them an essential tool in achieving that desirable shine.
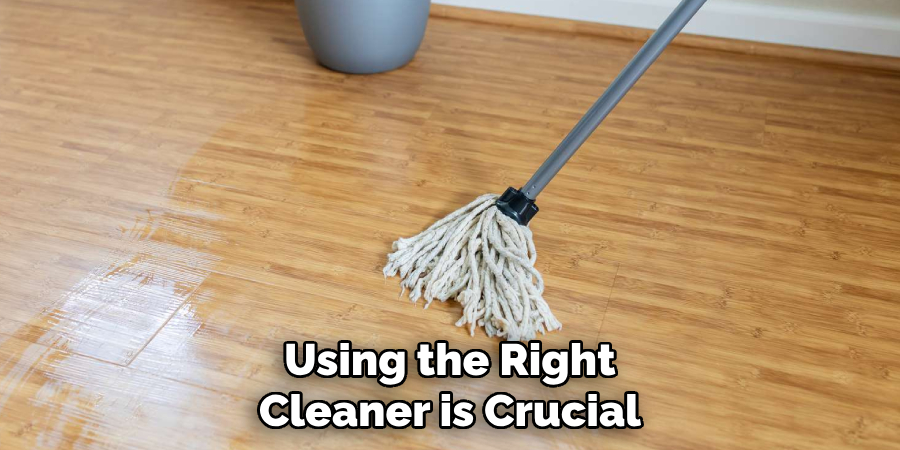
A High-Quality Cleaner for Tile Floors
Using the right cleaner is crucial in achieving a shine on your tile floors. It’s essential to choose a cleaner specifically designed for tile floors, as they are formulated to remove dirt and grime without damaging the tiles’ surface. Look for cleaners that are pH neutral or mild and avoid harsh chemicals that can strip away the tile’s protective sealant.
Warm Water
Water is an essential ingredient in keeping your tile floors clean and shiny. Using warm water to mop your floors helps loosen any stubborn dirt or grime, making it easier to remove and achieve that desired shine. Avoid using hot water as it can cause the cleaner to evaporate quickly and leave behind streaks on the tiles’ surface.
A Soft Cloth or Sponge for Spot Cleaning
In case of any spills or stains on the tile floors, always have a soft cloth or sponge handy to spot clean immediately. Leaving spills unattended can cause them to become more challenging to remove and can potentially damage the tiles’ surface, affecting their shine. Make sure to use a gentle touch when wiping away spills to avoid scratching the tiles.
Sealant (Optional)
If your tile floors have lost their shine due to wear and tear, applying a sealant can help bring back that glossy finish. Sealants act as a protective layer on the tiles’ surface, preventing dirt and grime from penetrating while also enhancing their shine. Make sure to choose a sealant specifically designed for your type of tile floors and follow the instructions carefully for best results.
11 Step-by-step Guidelines on How to Put a Shine on Tile Floors
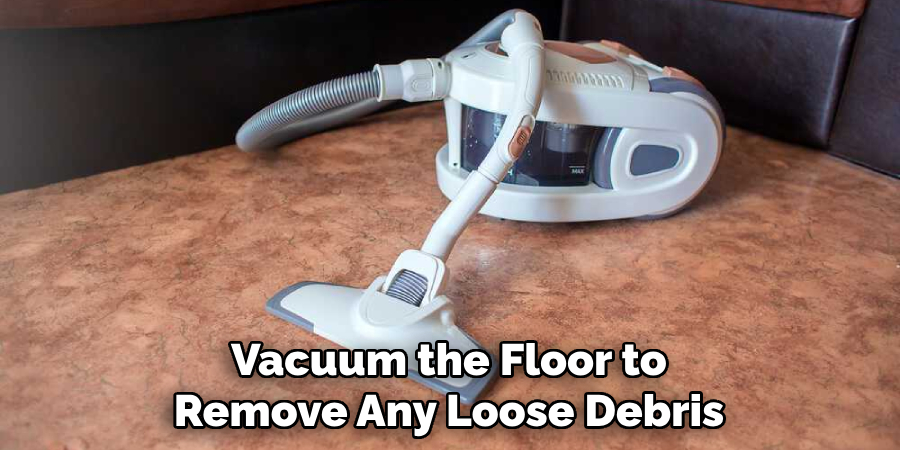
Step 1: Clean the Floor Thoroughly
Before attempting to put a shine on your tile floors, it’s essential to give them a good cleaning. Sweep or vacuum the floor to remove any loose debris and dirt. Then, mop the floor with warm water and a pH-neutral cleaner, making sure to cover every inch of the tiles.
It’s essential to remove any existing grime and stains before attempting to put shine on the floors. You can also use a steam mop for added disinfection and to loosen any stuck-on dirt. If using a steam mop, make sure to follow manufacturer instructions and avoid using it on delicate tiles like marble or travertine.
Step 2: Rinse the Floor with Clean Water
After mopping the floors, rinse them thoroughly with clean water. This will help remove any remaining cleaner residue and ensure that the tiles are squeaky clean before attempting to put a shine on them.
The last thing you want is to have a dull finish due to leftover cleaner on the tiles’ surface. It’s also essential to regularly change the water when mopping to avoid spreading dirt and grime around. You can rinse the floor using a clean mop or by hand with a soft cloth. The choice is yours.
Step 3: Dry the Floor
Using a dry and clean microfiber mop or towel, dry the floor thoroughly. This step is crucial in removing any excess water and ensuring that no streaks are left behind when attempting to put a shine on the floor. Make sure to dry even hard-to-reach areas like corners and edges to avoid leaving any wet spots. Otherwise, moisture in these areas can attract dirt and cause dull spots. You can also use a fan or open windows to help speed up the drying process.
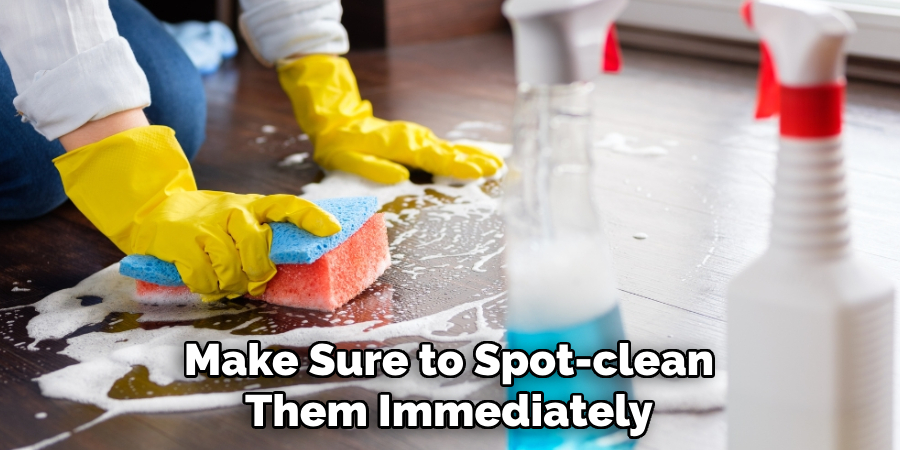
Step 4: Spot Clean Any Stains or Spills
If you come across any stains or spills while cleaning, make sure to spot-clean them immediately using a soft cloth or sponge. This step is crucial in avoiding any damage to the tiles’ surface and preventing stains from setting in.
Use a gentle touch when wiping away spills, and make sure not to use harsh chemicals that can strip away the tile’s sealant. The quicker you address any spills, the easier it will be to maintain the shine on your floors. You can also use a gentle spot cleaner for tougher stains.
Step 5: Prepare Your Cleaning Solution
To put a shine on your tile floors, you’ll need to prepare a cleaning solution by mixing warm water and a small amount of pH-neutral cleaner in a bucket. Avoid using too much cleaner as it can leave behind residue that can dull the shine on your floors. Make sure to read the cleaner’s instructions and follow the recommended dilution ratio for best results. Otherwise, you can also use warm water alone for a more natural cleaning solution.
Step 6: Soak the Mop in the Cleaning Solution
Soak your mop or floor cleaning tool in the prepared cleaning solution. Make sure to wring out any excess water, as using a wet mop can leave behind streaks and cause the cleaner to evaporate quickly, hindering your efforts in achieving a shine on the floors.
Microfiber mops work best for this step as they can hold more cleaning solutions and provide better coverage. But if you don’t have one, a traditional string mop will also do the job. It’s essential to use a clean mop and change the cleaning solution as needed when it becomes dirty.
Step 7: Mop the Floors
Mop the floors using back-and-forth motions in small sections. Make sure to cover every inch of the tiles while avoiding going over areas that have already been mopped to prevent spreading dirt around. It’s essential to use a gentle touch when mopping and avoid applying too much pressure, as this can cause streaks on the tiles’ surface or even damage them.
If using a steam mop, make sure to keep it moving to avoid leaving any marks. It’s also recommended to mop in the direction of the tiles’ texture for better results. But if you’re using a traditional mop, make sure to change the water and rinse it regularly while mopping.
Step 8: Rinse the Mop Frequently
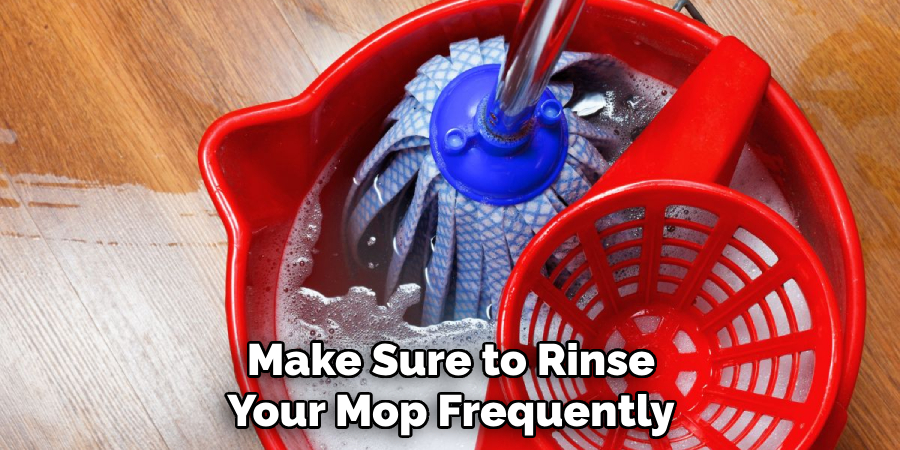
As you continue mopping, make sure to rinse your mop frequently in clean water. This will help avoid spreading dirt and grime around and ensure that your cleaning solution remains effective. It’s also essential to regularly change the water when it becomes dirty to avoid leaving streaks on the floor. You can also use a separate mop for rinsing and one for applying the cleaning solution, depending on your preference. You should also rinse the mop after each use and allow it to air dry before storing.
Step 9: Dry the Floors
After mopping the entire floor, dry it with a clean and dry microfiber mop or towel. Make sure to remove any excess water and leave no streaks behind. It’s also essential to dry the edges and corners of the room as moisture can accumulate in these areas and cause dull spots. You can also use a fan or open windows to help with the drying process. It’s recommended to wait at least 10-15 minutes before applying a shine solution to ensure that the floors are completely dry.
Step 10: Apply a Shine Solution
There are many different products available on the market for adding shine to tile floors. You can choose from wax, polish, or sealant, depending on your preference and the type of tiles you have. You can apply the shine solution using a clean mop or floor cleaning tool, following the manufacturer’s instructions for best results.
Make sure to let the solution sit for the recommended amount of time before buffing it out with a dry mop or towel. Otherwise, you can also use vinegar or lemon juice for a more natural shine solution. It’s important to note that some sealants may require reapplication every few months, so make sure to check the product’s instructions.
Step 11: Buff Out Any Residue
After applying the shine solution and letting it sit, use a clean and dry microfiber mop or towel to buff out any residue. Make sure to use a gentle touch and avoid pressing too hard, as this can cause streaks on the floors. If using vinegar or lemon juice, make sure to rinse the floor thoroughly after buffing. It’s also recommended to go over the edges and corners of the room to ensure that no residue is left behind.
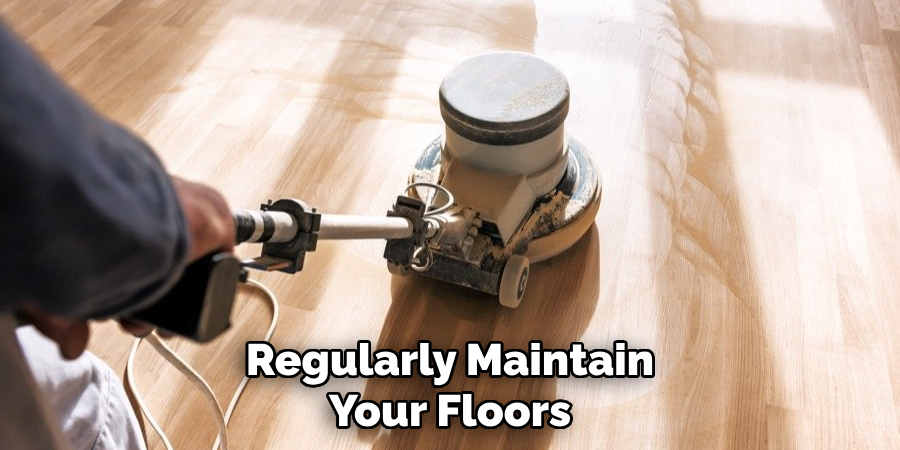
Following these steps on how to put a shine on tile floors will help you achieve a shiny and clean tile floor that will impress anyone who walks into your home. Remember to regularly maintain your floors by spot-cleaning spills, mopping, and drying them as needed to keep the shine lasting longer. With proper care and maintenance, your tile floors can continue to look brand new for years to come. Happy cleaning!
Tips for Maintaining Shiny Tile Floors
- Sweep or Vacuum Regularly to Prevent Dirt and Debris From Building Up on the Floor.
- Avoid Using Harsh Chemicals or Cleaners That Can Damage the Tile’s Surface.
- Use Doormats to Reduce the Amount of Dirt and Grime Brought Into Your Home, Especially in High Traffic Areas.
- Avoid Using a Steam Mop on Unglazed Tiles as It Can Cause the Grout to Become Soft and Crumble.
- Consider Using Mats or Rugs in Areas With Heavy Foot Traffic, Such as Entryways or Hallways, to Protect Your Floors From Wear and Tear.
- Wipe Up Spills Immediately to Prevent Stains and Damage to the Tile’s Sealant.
- Regularly Mop Your Floors Using a Gentle Touch and Change the Water as Needed.
- Avoid Using Abrasive Tools or Scrubbers That Can Scratch the Tile’s Surface.
- Use Furniture Protectors to Prevent Scratches and Damage From Heavy Objects on Your Floors.
- Consider Re applying a Sealant Every Few Months, Depending on the Product’s Instructions, to Maintain the Shine on Your Floors. Overall, With Proper Care and Regular Maintenance, Your Tile Floors Can Continue to Look Shiny and New for Many Years to Come. Happy Cleaning!
Troubleshooting Common Issues
Streaks:
If you notice streaks on your floors after mopping, it could be due to using too much pressure or not rinsing the mop frequently enough. Try to use a gentle touch and regularly rinse your mop in clean water during the process.
Dullness:
Over time, tiles can become dull due to the buildup of dirt and grime or from using harsh chemicals. If this happens, you may need to deep clean your floors with a specialized cleaner or consult a professional for restoration services.
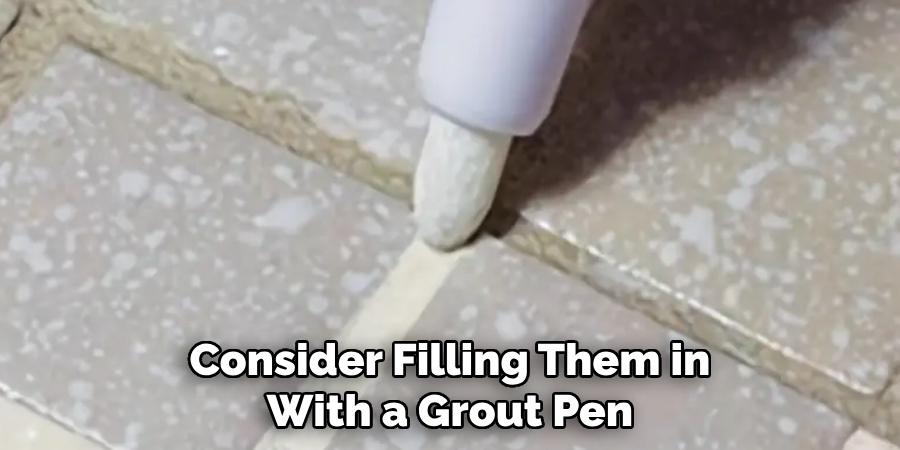
Scratches:
Avoid using abrasive tools or scrubbers on your tile floors as they can cause scratches. If you do notice scratches, consider filling them in with a grout pen or consulting a professional for repair options.
Discoloration:
Regularly wiping up spills and avoiding harsh chemicals can help prevent discoloration on your tile floors. If you do notice discoloration, try using a specialized cleaner or consult a professional for restoration services.
Cracked Grout:
If you notice cracked grout on your tile floors, it’s important to address it as soon as possible to prevent further damage. You can try filling it in with a grout pen or consult a professional for repair options. Regularly applying a sealant can also help prevent the cracking of grout over time.
Alternative Methods for Shining Tile Floors
If you prefer to use natural cleaning methods, vinegar and lemon juice can also be used to add shine to tile floors. Simply mix equal parts white vinegar or lemon juice with water and mop the floors as usual. Make sure to rinse thoroughly and dry the floors afterward. You can also add a few drops of essential oils for a fresh scent while cleaning.
Another alternative is using a mixture of baking soda and water to create a paste, which can be applied to the floors and buffed out with a dry cloth for a natural shine. However, avoid using baking soda on unglazed or natural stone tiles as it can cause damage.
Overall, there are many different methods and products available for adding shine to tile floors. It’s important to choose the one that works best for your specific type of tile and to maintain them regularly for long-lasting shine. With these tips and troubleshooting techniques, you can have a beautiful and shiny tile floor in no time. Happy cleaning!
Frequently Asked Questions
Q1: Can I Use a Steam Mop to Clean My Tile Floors?
A: Yes, but make sure to keep it moving and avoid leaving it in one spot for too long, as it can cause the grout to become soft and damage the floor. The steam mop should also be used on glazed tiles only and not unglazed ones.
Q2: How Often Should I Mop My Tile Floors?
A: It’s recommended to mop your tile floors at least once a week or more frequently in high-traffic areas. This will help prevent dirt and grime from building up and maintain the shine on your floors. But always make sure to spot-clean any spills or stains immediately.
Q3: Is It Necessary to Apply a Shine Solution to My Tile Floors?
A: No, it’s not necessary, but it can help maintain the shine on your floors and make them look cleaner. You can also use natural solutions such as vinegar or lemon juice for a more eco-friendly option. Overall, the frequency of applying a shine solution depends on personal preference and the type of tiles you have.
Q4: Can I Use Vinegar or Lemon Juice to Clean My Tile Floors?
A: Yes, both vinegar and lemon juice are natural cleaning solutions that can be used on tile floors. Just make sure to rinse thoroughly with water after using them and dry the floor completely to avoid any streaks.
Conclusion
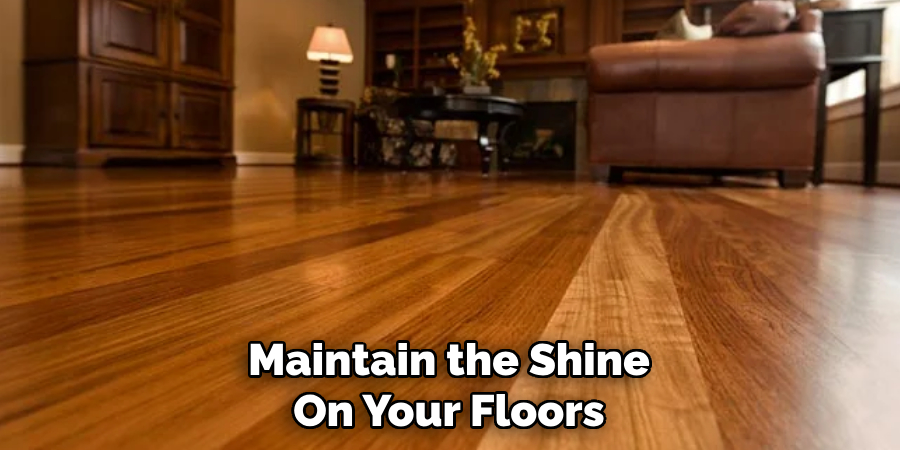
In conclusion, maintaining the shine on your tile floors doesn’t have to be a time-consuming or complicated task. By integrating these straightforward methods into your cleaning routine, you can effortlessly keep your floors looking their best.
Remember, the key to a lasting shine on tile floors lies in regular maintenance, prompt cleanup of spills, and the occasional deep clean. With a bit of care and attention, your tile floors will continue to add elegance and beauty to your home for years to come. Thanks for reading this article on how to put a shine on tile floors.