
If you’ve noticed that your floors are sagging or uneven, jacking up the floor can be an effective solution to restore stability and levelness to your home. Whether caused by structural issues, settling, or other factors, a sagging floor not only affects the aesthetic appeal of your space but also poses potential safety risks.
In this article, we will guide you through the process of how to jack up a floor, providing step-by-step instructions and helpful tips along the way.
From assessing the problem and gathering the necessary tools to executing the jacking process safely and effectively, we will cover all the essential aspects to ensure a successful floor leveling project.
So, if you’re ready to tackle this task and create a solid foundation for your home, let’s dive into the world of floor jacking and take your first steps toward a level and stable living space.
Importance of a Level and Stable Floor
Having a level and stable floor is essential for many reasons. It allows furniture to be placed flatly on the ground, making it more comfortable and aesthetically pleasing. A stable floor also helps prevent drafts from entering into your home and can help reduce dust and other allergens from settling in certain areas.
Additionally, having a leveled floor will make it easier to install new flooring, as it will be smoother and more consistent. Additionally, having a leveled and stable floor can also help increase the overall energy efficiency of your home by reducing air leakage from floors to ceilings. Finally, an uneven or unstable floor can also lead to safety hazards if not properly taken care of.
This includes tripping due to the raised or lowered areas of the floor, or even just because furniture is placed in awkward spots that are difficult for people to maneuver around. For all these reasons, it’s important to make sure your floor is level and stable before attempting any other repairs or renovations! Jacking up a floor is one way to achieve this.
Overview of the Jacking Process and Its Benefits
Jacking up a floor is an important task for many home improvement projects. It involves lifting the floor joists so that it can be leveled, repaired or replaced. While this process can seem intimidating to someone who has never done it before, jacking up a floor is actually quite easy with the right tools and knowledge.
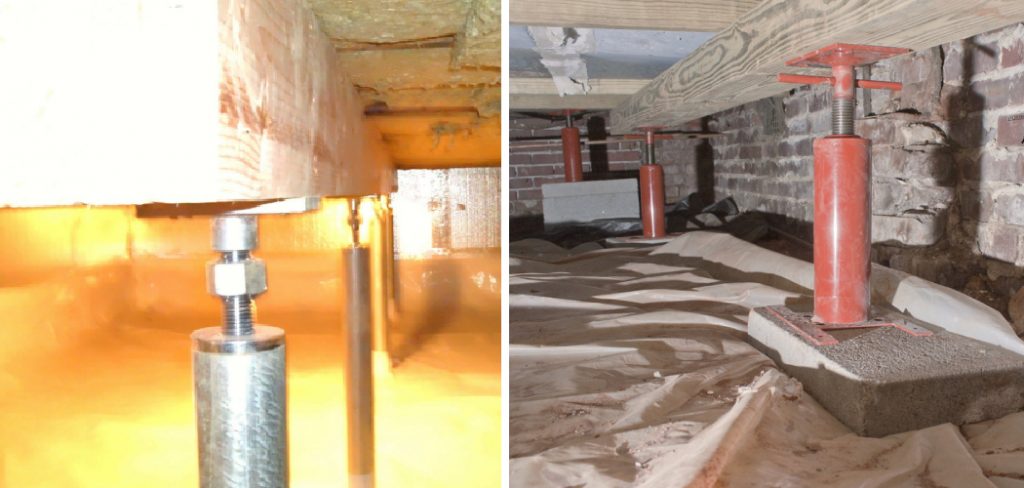
The process of jacking up a floor requires several key steps. First, the area needs to be properly prepared by removing carpets, furniture and other items from the space in order to create a large, flat work surface. Next, small steel jacks are placed under each joist along its length. These jacks should be spaced approximately 18 inches apart and should have built-in safety stops in order to prevent the joists from being raised too high or unevenly.
Once all of the jacks are in place, a hand crank can then be used to raise each one until the desired height is achieved. It is important to check the level periodically with a spirit level to make sure that it is even across the entire floor. Once this process is complete, wooden boards can be placed between each jack and beam for additional support.

The benefits of jacking up a floor include improved stability and safety. By raising the floor joists, any creaks or structural issues that may have been present before will be addressed. Additionally, jacked floors provide extra insulation against cold temperatures and drafts coming from underneath, making your home more comfortable and energy efficient.
10 Methods How to Jack up a Floor
1. Assessing the Situation:
Before proceeding with the floor jacking process, it’s important to assess the condition of the floor and determine the cause of the sagging. Identify any underlying structural issues or signs of settling that may require attention. Inspect the floor joists for signs of rot or decay, and check for any loose nails or screws.
It’s important to ensure that no part of the floor has shifted out of place. Though it’s possible to jack up the floor yourself, you may want to consult a professional if any underlying structural issues are detected.
2. Safety Precautions:
Prioritize safety by wearing protective gear, ensuring proper ventilation, and securing the work area. Clear the floor of any furniture or obstacles that may hinder the jacking process. Additionally, make sure the entire floor is supported, either by jack stands or other supports.
If done incorrectly, jacking up a floor can be dangerous and should only be done by an experienced professional. Although jacking may seem simple, it is best to avoid attempting to jack the floor yourself.
3. Identifying Support Points:
Identify the areas of the floor that require additional support. These support points may include load-bearing walls, columns, or existing beams that need reinforcement. Mark these points on the floor to ensure that your jack is placed in the correct location.
You may need to use a chalk line or other marking tool to clearly identify the support points. If the area is too large to mark with a marking tool, use chalk or spray paint to outline the support points.
4. Choosing the Right Jacks:
Select the appropriate jacks based on the type of floor and the weight it needs to support. Common options include hydraulic bottle jacks, screw jacks, and hydraulic floor jacks. Consider consulting with a structural engineer for guidance. Although it may cost extra, this step ensures that the area is properly supported. However, if the floor only needs slight adjustments, basic screw jacks should suffice.

5. Placing Temporary Supports:
Before initiating the jacking process, install temporary supports using adjustable posts or columns. These supports will bear the weight of the floor while you work on jacking it up. If the floor is not supported while jacking, it might collapse and cause injury or property damage. Install the temporary supports on solid masonry walls, steel girders, or other load-bearing elements. Make sure the supports are at a 90-degree angle to the floor and that they have a secure footing.
6. Lifting Gradually:
Begin lifting the floor gradually and incrementally to avoid sudden shifts or excessive stress. Utilize multiple jacks and distribute the load evenly to maintain balance and stability. Use a level to ensure the floor is leveled and straight as it is being jacked.
If needed, shims can be placed beneath the floor joists and adjusted to maintain a level floor as it is raised. As the jacking progresses, add more support posts underneath each end of the joists to ensure stability. Once the floor joist is at the required height, stop jacking and add additional support posts if needed.
7. Monitoring and Adjusting:
As you lift the floor, closely monitor its progress and make necessary adjustments to ensure it remains level. Use a level and measuring tools to guide the process and make precise adjustments.
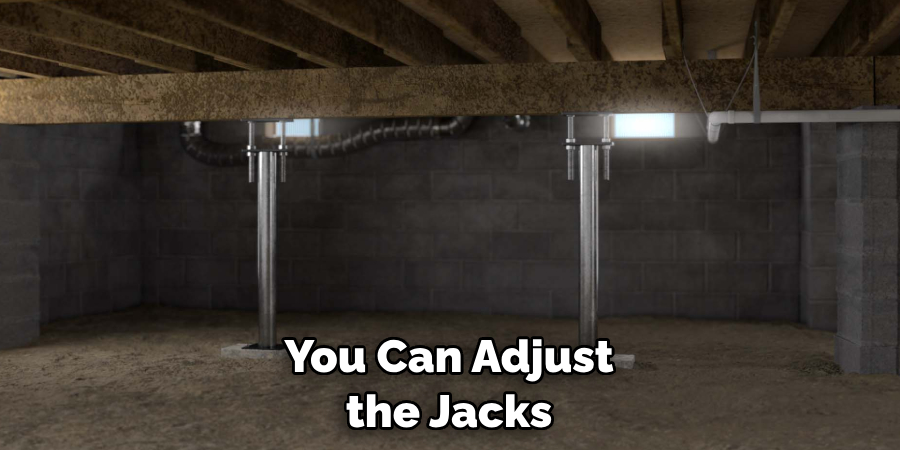
If the floor appears to be sticking or not lifting evenly, you can adjust the jacks by either adding or removing pressure. The same is true for floor joists, and you may need to adjust the jacks as you go. Also be sure to use appropriate safety gear and take frequent breaks between steps.
8. Reinforcing Subfloor:
Once the floor is lifted and level, reinforce the subfloor to enhance its stability. This may involve adding additional joists, sistering existing joists, or installing support beams as recommended by a structural engineer.
Subflooring should be installed with the appropriate nails or screws, and may need to be glued depending on the installation instructions provided by the flooring manufacturer. After reinforcing the subfloor, use a level to ensure that it is even and stable for flooring installation.
9. Securing the Supports:
Once the floor is properly jacked up and leveled, secure the temporary supports in place. This can be done by tightening the jacks or utilizing brackets, fasteners, or straps to hold the supports securely.
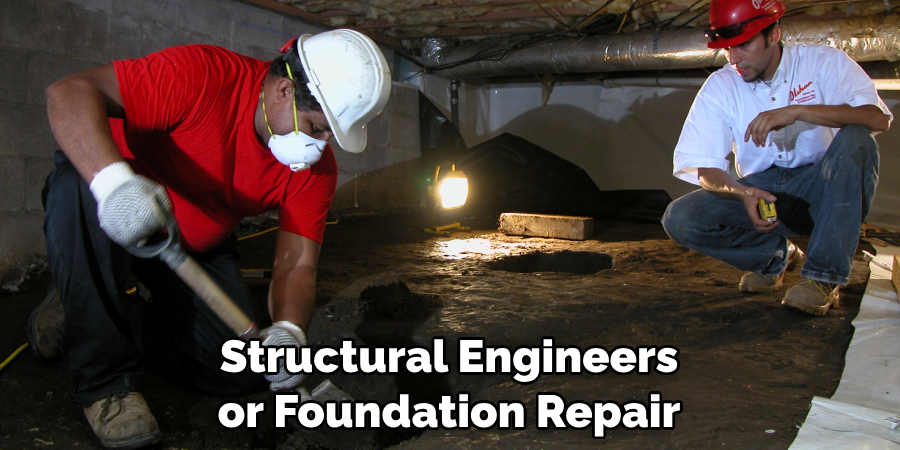
10. Professional Consultation:
If you’re uncertain about any step of the jacking process or if the floor sagging is severe, it’s advisable to seek professional assistance. Structural engineers or foundation repair specialists can evaluate the situation, provide expert guidance, and ensure the floor is properly jacked up to prevent future issues.
Conclusion
Out of all the daunting home improvement projects, jacking up a floor is one of the more time-consuming and difficult. That said, with the right preparation and tools, anyone can do it on their own. By preparing in advance, understanding the process needed to jack up the floor, and using the necessary equipment, your project will be off to a great start.
No longer will your floorboard creeks and cracks put a damper on your home’s appeal. When you take control of fixing your flooring issue yourself, you’ll experience a sense of accomplishment that will carry you through other home improvement tasks with ease. So go ahead and take on this challenge – how to jack up a floor – armed with the knowledge that you can absolutely do it!