
There’s something beautiful and classic about hardwood floors. Whether it’s the rich color, robust texture, or incomparable durability that draws you in, there’s no denying that wood floors have a certain timeless quality to them. But when these floors become worn over time from everyday wear and tear, what can be done to restore their shine? One solution is epoxying your wood flooring.
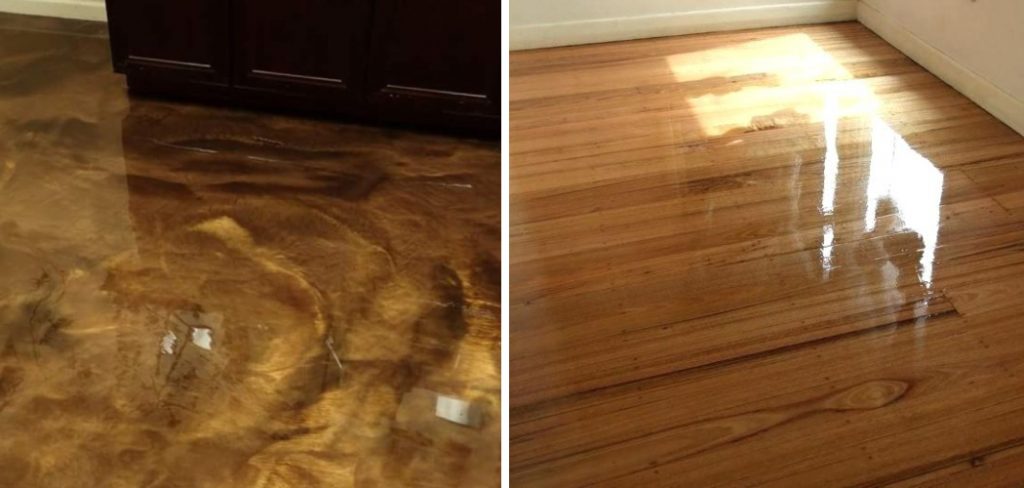
In this blog post, we discuss why epoxy is an ideal choice for maintaining the lasting longevity of your wood flooring as well as step-by-step instructions on how to epoxy wood floor. So if you want to up your interior design while keeping things practical and cost-effective – then read on!
Step-by-Step Guidelines on How to Epoxy Wood Floor
Step 1: Prep Your Wood Flooring
Begin by thoroughly cleaning the wood floor with a vacuum and mop to get rid of any dirt or dust that may have accumulated over time. Ensure there are no cracks in the surface, as this could cause the epoxy to break down quicker. Preparing the surface is key for epoxy wood flooring to be successful.
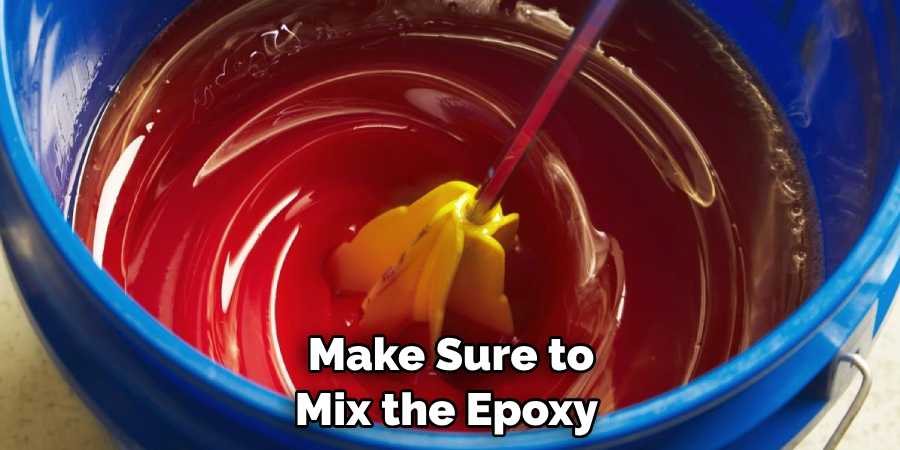
Step 2: Prepare the Epoxy
Mix a two-part epoxy resin according to the manufacturer’s instructions in a large bucket. Make sure that you are wearing protective gloves, a mask, and eye protection as instructed by the manufacturer’s guidelines. While preparing the epoxy, it is important to follow all safety regulations.
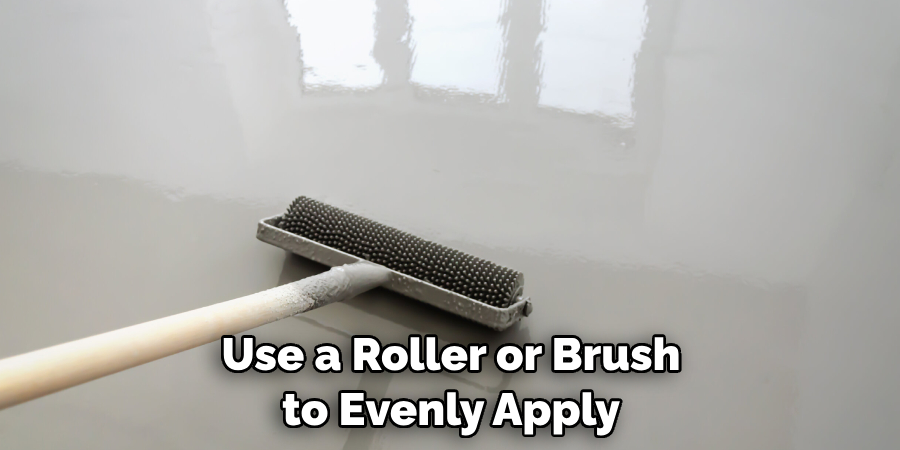
Step 3: Apply the Epoxy
Pour a small amount of epoxy onto your wood floor and spread it evenly using a foam roller or brush. Completely cover the area you are working on and then quickly move to the next section until you have covered your entire wood flooring. Allow the epoxy to dry completely before proceeding to the next step.
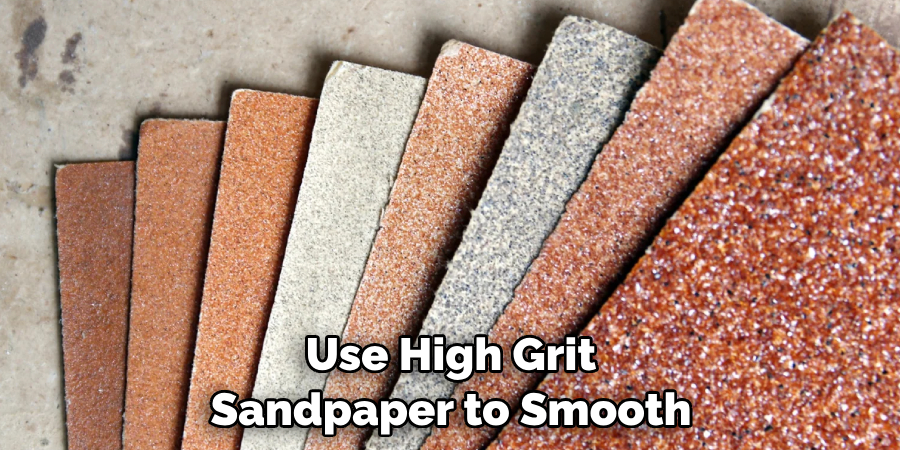
Step 4: Finishing Touches
Once the epoxy has dried, use high-grit sandpaper to smooth out any imperfections on the wood flooring. This will give your flooring a professional look and help protect it from dust or dirt that may accumulate over time. Finally, buff the floor with a soft cloth or brush to give it a glossy finish.
Following these simple steps can help you get the beautiful and durable hardwood floors that you desire. Not only will epoxy wood flooring add an extra layer of protection to your flooring, but it also adds a bit of flair to any room. With proper care and maintenance, your epoxied wood floors should last for years!
Additional Tips and Tricks to Epoxy Wood Floor
- Make sure the wood floor is completely clean and free from dirt, debris, and oils before applying the epoxy. To remove grime and residue, use a mild detergent solution or a commercial wood cleaner.
- Prepare the surface by sanding it with coarse-grit sandpaper. This will help to provide a better surface for your epoxy.
- When applying the epoxy, use a brush or roller to ensure an even and consistent coating.
- Make sure to mix the epoxy according to the manufacturer’s instructions for best results.
- If you’re creating a pattern or design in your flooring, use painter’s tape along the edges of the design before applying the epoxy. This will ensure that you get a neat, professional finish.
- If using epoxy paint or other decorative coating, use a roller to apply it for better coverage.
- Allow the epoxy to cure completely before walking on it or placing any furniture on top of it.
- For extra protection and shine, apply a clear topcoat or sealant to the epoxy after it has cured.
Following these tips and tricks for epoxy wood flooring will ensure that your project is a success. With the right preparation, materials, and technique, you can create a beautiful and durable finish that will last for years to come. Good luck!
Things You Should Consider to Epoxy Wood Floor
1. Determine the Type of Wood Floor:
Before starting to epoxy your wood floor, it’s best to determine what type of wood floor you have in order to choose the right materials and techniques. Consider whether you have a hardwood or engineered wood floor and then research which products and processes are best suited for each type. Determining the type of wood floor beforehand will help you avoid any mistakes during the process.
2. Prepare the Floor:
Before beginning the epoxy application, it’s important to prepare your wood floor for the best results. This includes cleaning and sanding the surface to remove dirt, debris, and any old coating that may be present on the wood before applying a new epoxy layer. While preparing the floor, make sure to wear a respirator and protective clothing.
3. Select the Right Epoxy Product:
When selecting an epoxy product for your wood floor, make sure to choose one that is specifically designed for wood floors and is compatible with the type of wood you have. Consider factors such as the amount of traffic, moisture levels in the area, and UV exposure to ensure that it is the best choice for your specific situation.
4. Prepare and Apply the Epoxy:
Once you have chosen a quality epoxy product, follow the manufacturer’s instructions to prepare it before applying it to your wood floor. Once ready, use a roller or brush to evenly apply an even coat of epoxy to your entire wood floor surface. Make sure to take your time and be thorough when applying the epoxy as this will ensure the best results.
5. Let the Epoxy Dry:
Once you have applied an even layer of epoxy to your wood floor, allow it to dry completely before walking on or applying a finish coat. Make sure to follow the manufacturer’s specific instructions for drying times, as this will vary depending on the product you’ve chosen.
6. Apply a Finish Coat:
After allowing your epoxy to dry completely, it is highly recommended to apply a finish coat of polyurethane or another protective coating for optimal protection and durability. Again, be sure to read the manufacturer’s instructions carefully before applying any coatings.
By following these steps, you can successfully apply an epoxy coating to your wood floor and ensure its long-term durability and protection. With the right preparation and research, epoxying a wood floor is not as difficult or time-consuming as it may first seem.
Precautions Need to Follow for Epoxying Wood Floor
1. Ensure that the wood floor is free from dirt, debris, and other contaminants before beginning the epoxy application process. Sand any rough areas to create a smooth surface for better adhesion of the epoxy.
2. Wear protective gear such as a dust mask or respirator while sanding and applying the epoxy to minimize exposure to airborne particles which could be harmful.
3. Follow all safety and handling instructions provided by the epoxy manufacturer to ensure the safe operation of the product, including proper ventilation and avoidance of skin contact with uncured epoxy resin.
4. Apply the epoxy in a well-ventilated area and make sure that no one is in the room when applying or curing the epoxy as its fumes can be hazardous if inhaled.
5. Allow plenty of time for the epoxy to dry and cure completely before walking on it or installing furniture on top of it. Depending on the type of epoxy, curing can take up to several days.
6. Epoxying a wood floor requires a high degree of skill and precision; therefore, it is advisable to seek professional help if you are not confident about your ability.
7. Once the epoxy has been applied and cured properly, seal the floor with a protective coat. This will help protect the surface from scratches, stains, and other forms of damage and ensure that your wood floor looks beautiful for years to come.
Following these precautionary measures while epoxying your wood floor will help you achieve the best results and extend the life of your floor. With proper care and maintenance, a professionally epoxied wood floor can last for decades. So take the time to do it right!
Why Epoxy Your Wood Floors?
Epoxy is a liquid coating that makes your wood flooring much more resistant to wear and tear, meaning you won’t have to worry about scratches or dings from everyday use. Additionally, epoxy is incredibly durable – it won’t crack or peel as some other coatings do over time. And, unlike other materials, you don’t have to worry about it fading or discoloring with age as epoxy is incredibly UV-resistant and doesn’t require any additional maintenance.
Frequently Asked Questions
How Long Does Epoxy Take to Dry?
The drying and curing time of epoxy depends on the type of product you are using. Generally, it takes up to several days for the epoxy to dry and cure completely before use.
Can I Walk on My Epoxied Wood Floor?
Yes, you can walk on your epoxied wood floor once the epoxy has fully dried and cured. However, it is important to wait until the curing process is complete before putting any furniture or heavy objects on top of it.
What Are the Benefits of Epoxy Floors?
Epoxying a wood floor has many benefits, including increased durability, improved resistance to wear and tear, and UV resistance. Additionally, epoxy is easy to clean and maintain and can last for decades with proper care.

Is Epoxy Safe?
Yes, epoxy is safe when used and handled correctly, following the safety instructions provided by the manufacturer. However, it is important to use proper ventilation and avoid skin contact with uncured epoxy resin in order to minimize exposure to hazardous fumes.
Conclusion
Knowing how to epoxy wood floor correctly can help you achieve a beautiful, durable floor that will last for years to come. Taking the time to prepare and apply the epoxy properly is essential in order to ensure optimal results. And while it’s important to follow safety instructions and use proper methods when applying epoxy, the effort will pay off in the long run as your wood floors take on an entirely new look and feel.
Epoxy is a great option for enhancing wood flooring as it offers many benefits such as increased durability, improved resistance to wear and tear, UV-resistance, and easy cleaning and maintenance. By following the right steps and taking the necessary precautions, you can ensure that your epoxied wood floor looks beautiful and lasts for years to come.