
Planning and executing plumbing for a bathroom is a crucial step in any renovation or new construction project.
From ensuring proper water flow to installing fixtures and drains, understanding how to do plumbing for a bathroom is essential for creating a functional and efficient space. In this article, we’ll provide a comprehensive guide on how to tackle plumbing tasks for a bathroom.
From mapping out the layout and determining pipe sizes to selecting the right materials and tools, we’ll cover everything you need to know to complete your bathroom plumbing project successfully.
Whether you’re a seasoned DIY enthusiast or hiring a professional plumber, our detailed instructions and expert tips will help you navigate the complexities of bathroom plumbing with confidence. Get ready to transform your bathroom into a well-plumbed oasis of comfort and convenience.
Importance of Proper Bathroom Plumbing
Proper plumbing in a bathroom is essential to ensure the functionality and efficiency of the space. One of the primary reasons for this is the prevention of leaks that can cause significant damage to walls, floors, and fixtures. Leaks not only lead to costly repairs but can also foster the growth of mold and mildew, which pose health risks.
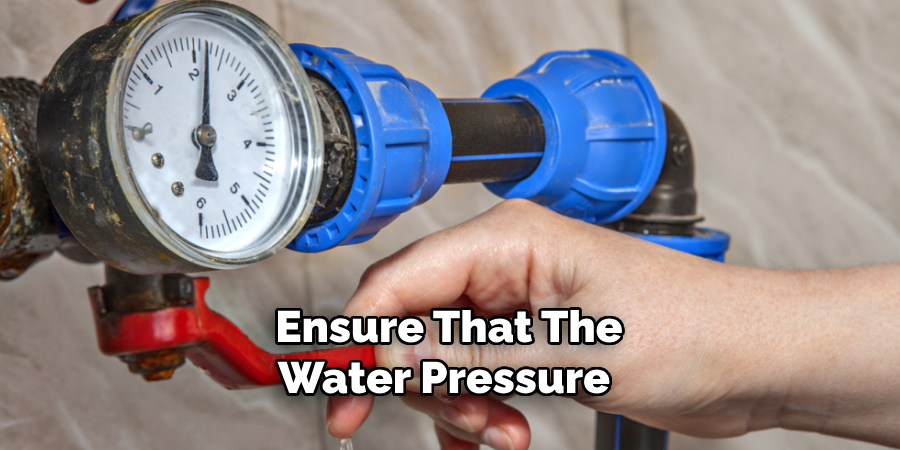
Additionally, efficient plumbing ensures that water pressure is adequate for showers and faucets, providing a pleasant user experience. Proper installation and maintenance of plumbing systems can also minimize the risk of clogged drains, which can be inconvenient and expensive to clear.
Finally, well-executed plumbing contributes to the overall value and longevity of the property, making it a worthwhile investment for any homeowner. By prioritizing proper plumbing, you can create a bathroom that is safe, functional, and comfortable for daily use.
Assessing Plumbing Needs and Requirements
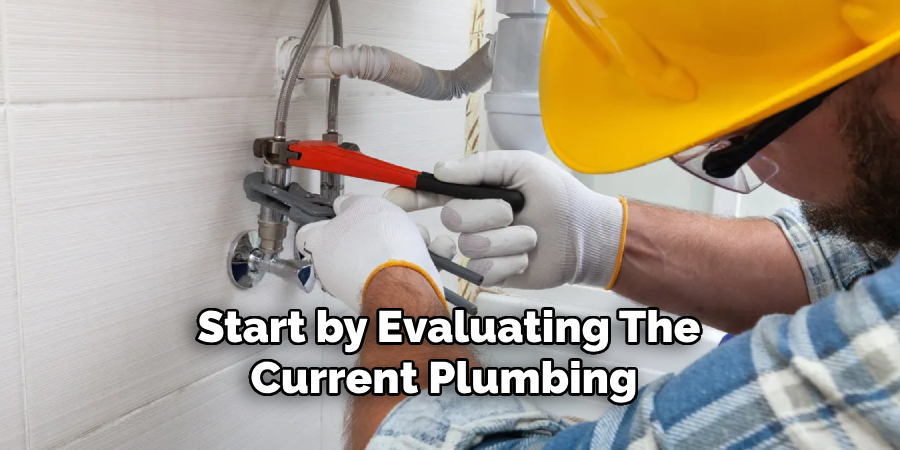
Before diving into the actual plumbing work, it’s crucial to assess the specific needs and requirements of your bathroom project. Start by evaluating the current plumbing infrastructure to identify any existing issues that might need to be addressed, such as outdated pipes or inadequate water pressure.
Next, consider the layout of your new bathroom design, noting the locations of key fixtures like the toilet, sink, shower, and bathtub. These fixtures will determine the routing of water supply lines and drainage systems.
It’s also important to decide on the type and size of pipes required, which will vary depending on the fixture demands and local building codes. Check with local regulations to ensure that your plumbing plans comply with all necessary standards and guidelines.
Additionally, assess the need for any specialized plumbing components, such as water softeners or filtration systems, which might enhance the functionality and quality of your water supply.
By thoroughly assessing your plumbing needs and requirements at the outset, you can create a detailed plan that will guide your project, helping to avoid costly mistakes and ensuring a smooth installation process. This preliminary assessment sets the foundation for a bathroom that meets both your usability expectations and regulatory requirements, ensuring a successful and efficient plumbing project.
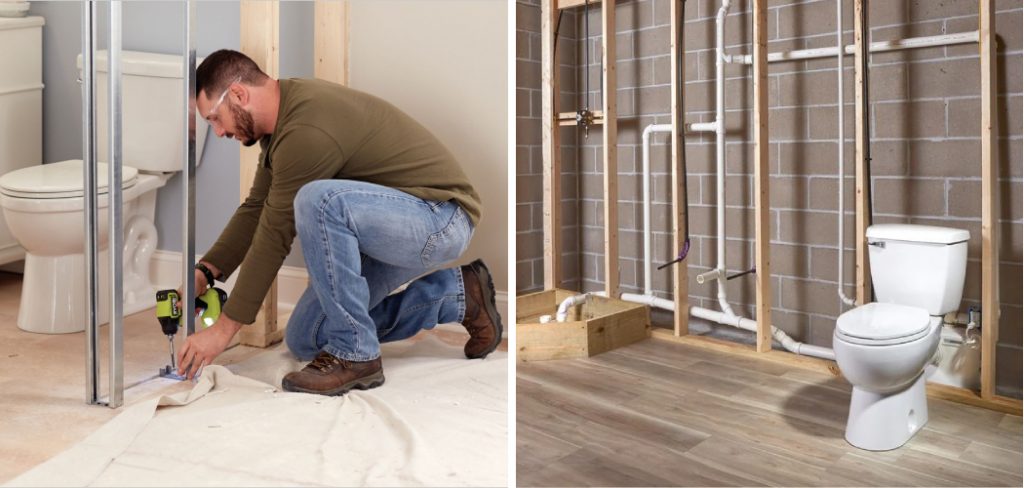
Creating a Plumbing Layout and Design
Creating a well-thought-out plumbing layout and design is crucial for the smooth execution of your bathroom project. Begin by drawing a scaled floor plan of your bathroom, indicating the positions of each fixture, including the toilet, sink, shower, and bathtub. Make sure to consider both functionality and aesthetics in your layout, ensuring there’s enough space for comfortable use and maintenance.
Next, map out the water supply lines and drainage pipes. Water supply lines typically consist of hot and cold lines that run from your main water source to your bathroom fixtures. Use different colored lines on your plan to distinguish between hot and cold water pipes. Ensure that the water pressure will be adequate by opting for appropriate pipe sizes, commonly ½ inch for most fixtures.
For drainage, design a system that allows for gravity-fed flow, which will help prevent clogs and facilitate easy drainage. Typically, a 3-inch pipe is used for the main toilet drain, while 1½ to 2-inch pipes are used for other fixtures like sinks and showers. All drainage pipes should converge at a centrally located stack that connects to your main sewer line. Additionally, incorporate vent pipes in your layout to allow gases to escape and water to flow smoothly.
Consider integrating a shut-off valve for each fixture, allowing you to isolate and address issues without disrupting the entire bathroom’s water supply. Plan for access panels where necessary to facilitate maintenance and repair work.
By meticulously creating a plumbing layout and design, you establish a clear roadmap for installation, reducing the risk of errors and enhancing the overall efficiency and reliability of your bathroom’s plumbing system.
Connecting Pipes to Main Water Supply
Connecting the pipes to your bathroom’s main water supply is a critical step in ensuring a steady and reliable flow of water to all fixtures. Begin by shutting off the main water valve to prevent any water from flowing while you work. This is a crucial safety measure to avoid potential water damage.

Identify the entry point where the main water line enters your home, typically located in the basement or a utility area. From this point, you will run both hot and cold water lines to the bathroom. Use high-quality, durable piping materials such as copper, PEX, or CPVC, which are suitable for both hot and cold water supply.
Start by attaching the main water lines to a manifold, which helps distribute water evenly to the various fixtures. Securely connect the hot and cold water pipes from the manifold to each bathroom fixture’s respective valves. Ensure tight connections using appropriate fittings like elbows, couplings, and T-joints, and apply plumber’s tape to prevent leaks.
As you lay out the pipes, be mindful of maintaining adequate spacing and support. Use pipe straps or hangers to secure the pipes along walls or ceilings, preventing any movement or sagging that could lead to leaks or pressure issues. Additionally, make sure that hot and cold water lines are insulated, especially if they run through unheated areas, to prevent heat loss and freezing.
Once all the connections are made, slowly turn the main water valve back on and check for any leaks at the joints and fittings. Tighten any connections if necessary. By meticulously connecting the pipes to the main water supply, you ensure a consistent and reliable water flow to your bathroom, supporting its overall functionality and efficiency.
Ensuring Easy Access to Plumbing Lines for Maintenance
Ensuring easy access to plumbing lines is vital for the long-term maintenance and functionality of your bathroom. Start by strategically installing access panels at key locations, such as behind shower valves, under sinks, and near shut-off valves. These panels allow for quick and hassle-free access to pipes and fixtures, making it easier to diagnose and repair any issues that arise.
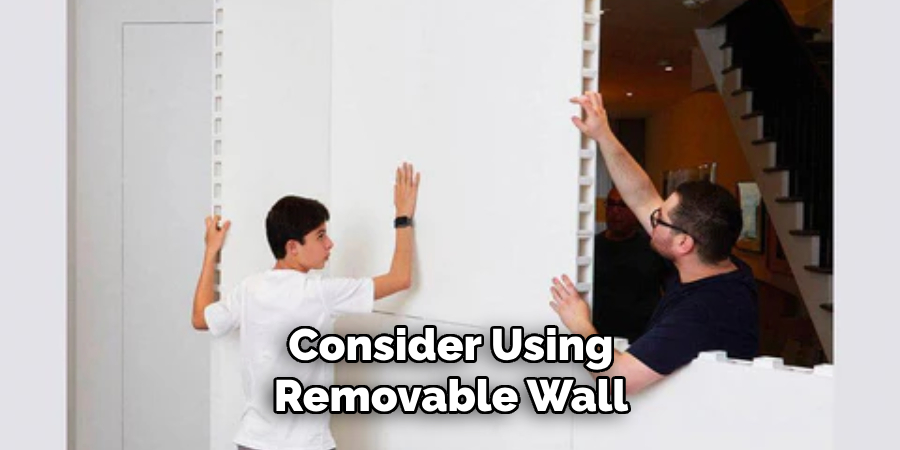
Additionally, consider using removable wall or floor panels in areas where plumbing is encapsulated. These panels can be designed to blend seamlessly with your bathroom’s decor, thus maintaining aesthetics while providing the practicality of easy access. Opt for high-quality, durable materials for these panels to ensure they can withstand regular use and potential moisture.
When designing your plumbing layout, keep maintenance in mind by avoiding overly complex or cramped pipe configurations. Simplified and well-organized piping systems not only facilitate easier access but also reduce the likelihood of disruptions during repairs. Label all shut-off valves and main connections clearly to expedite troubleshooting and repair tasks.
Incorporate flexible connectors and quick-disconnect fittings where appropriate. These components allow for swift removal and replacement of pipes, fittings, or fixtures without requiring extensive disassembly of the bathroom’s infrastructure. This can be particularly advantageous for essential fixtures such as toilets and sinks, where fast access can mitigate water damage and service interruptions.
By prioritizing easy access to plumbing lines during your bathroom project, you ensure that any future maintenance or repairs can be carried out efficiently and with minimal disruption to your daily routine. This foresight not only extends the lifespan of your plumbing system but also helps maintain the overall functionality and comfort of your bathroom.
10 Methods How to Do Plumbing for a Bathroom
1. Plan the Layout
Before starting any plumbing work, carefully plan the layout of your bathroom. Consider the placement of fixtures such as sinks, toilets, showers, and bathtubs, as well as the location of water supply lines and drainpipes. Take measurements and create a detailed floor plan to ensure that everything fits properly and meets local building codes and regulations.
2. Determine Pipe Sizes and Materials
Once you have a layout in mind, determine the sizes and materials of the pipes you’ll need for your bathroom plumbing. Consider factors such as water pressure, flow rates, and local building codes when selecting pipe sizes and materials. Common options include copper, PVC, and PEX pipes, each with its own advantages and considerations.

3. Install Water Supply Lines
Start by installing the water supply lines for your bathroom fixtures. Use the appropriate size and type of pipe for each fixture, and secure the pipes in place using pipe straps or hangers. Connect the supply lines to the main water line using compression fittings or soldering, depending on the type of pipe you’re using.
4. Install Drainpipes
Next, install the drainpipes for your bathroom fixtures. Use the correct size and slope for each drainpipe to ensure proper drainage and prevent clogs. Connect the drainpipes to the main sewer line or septic system, making sure to use fittings and connectors that provide a watertight seal.
5. Install Fixtures
Once the supply lines and drainpipes are in place, it’s time to install the bathroom fixtures. Start with the sink, connecting the faucet and drain assembly to the supply lines and drainpipe. Then, install the toilet, making sure to secure it properly to the floor and connect the water supply line and drainpipe. Finally, install the shower or bathtub, connecting the fixtures to the supply lines and drainpipes as needed.
6. Test for Leaks

After installing the fixtures, it’s crucial to test the entire plumbing system for leaks. Turn on the water supply and check for any leaks or drips around the supply lines, drainpipes, and fixtures. Use a flashlight to inspect hard-to-reach areas and tighten any fittings or connections as needed to stop leaks.
7. Insulate Pipes
To prevent freezing and damage during cold weather, consider insulating any exposed pipes in your bathroom. Use foam pipe insulation or heat tape to wrap around the pipes and protect them from extreme temperatures. Pay special attention to pipes located in exterior walls or unheated areas of your home.
8. Install Ventilation
Proper ventilation is essential for maintaining air quality and preventing moisture buildup in your bathroom. Install a ventilation fan or exhaust system to remove steam, odors, and humidity from the air. Make sure the ventilation system is vented to the outside of your home and sized appropriately for the size of your bathroom.
9. Seal Joints and Connections
To ensure a watertight seal and prevent leaks, use plumber’s tape or pipe joint compound to seal the threads of fittings and connections. Apply a thin layer of tape or compound to the threads before screwing the fittings together, then tighten them securely to create a leak-proof seal.
10. Obtain Necessary Permits

Before starting any plumbing work, be sure to obtain any necessary permits and approvals from your local building department. This ensures that your plumbing project complies with local building codes and regulations and helps prevent costly fines or penalties down the road. Consult with a licensed plumber or building inspector if you’re unsure about permit requirements for your bathroom plumbing project.
Things to Consider When Choosing Bathroom Fixtures
When selecting bathroom fixtures, there are several essential factors to consider to ensure both functionality and aesthetic appeal in your space. Here are some key points to keep in mind:
- Quality and Durability: Opt for fixtures made from high-quality materials that can withstand frequent use and exposure to moisture. Look for reputable brands that offer warranties and have a history of reliability.
- Style and Design: Ensure that the fixtures you choose complement the overall design theme of your bathroom. Whether you prefer a modern, traditional, or transitional style, selecting fixtures that blend seamlessly with your existing decor is crucial.
- Water Efficiency: Consider choosing water-efficient fixtures like low-flow toilets, faucets, and showerheads. These can significantly reduce water consumption and lower utility bills, making them both eco-friendly and cost-effective.
- Ease of Maintenance: Select fixtures that are easy to clean and maintain. Look for finishes that resist tarnishing and water spots, and for designs that don’t have hard-to-reach areas where dirt and grime can accumulate.
- Functionality: The practicality of the fixtures should match your household’s needs. Ensure that faucets, showerheads, and other fixtures offer the features you require, such as adjustable water pressure, temperature controls, or ease of use for all family members.
- Space Requirements: Measure your bathroom space accurately to ensure that the fixtures fit well and do not overcrowd the room. Pay attention to the size and placement of each fixture to maintain a comfortable and functional layout.
- Compatibility with Existing Plumbing: Ensure the fixtures you choose are compatible with your current plumbing system. This can save you time and money on modifications or additional work.
- Budget: Set a realistic budget for your bathroom fixtures, balancing cost with quality. While it may be tempting to go for cheaper options, investing in durable, high-quality fixtures often proves more economical in the long run.
- Technology: Modern fixtures often come with advanced technological features such as touchless faucets, programmable showers, and smart toilets. Consider whether these innovations align with your lifestyle and add value to your bathroom experience.
By keeping these considerations in mind, you can select bathroom fixtures that enhance the beauty, efficiency, and convenience of your space.
Conclusion
In conclusion, mastering the art of plumbing for a bathroom is a valuable skill that empowers homeowners to create functional and efficient spaces.
By following the step-by-step instructions provided in this guide, from planning the layout and gathering necessary tools to installing water supply lines, drainage systems, and ventilation, you can confidently tackle bathroom plumbing projects with precision and confidence.
Proper planning, execution, and attention to detail are essential for ensuring the success and longevity of your plumbing installations. Remember to adhere to local building codes and regulations, and don’t hesitate to seek professional assistance if needed.
With the knowledge and guidance provided here, you can transform your bathroom into a well-plumbed oasis of comfort and convenience, adding value to your home and enhancing your quality of life. Hopefully, this article gave you some helpful tips about how to do plumbing for a bathroom successfully, so now that you have the proper knowledge on how to get the job done, why not give it a try today?