A damaged dresser top can be an eyesore in an otherwise well-furnished room. Whether it’s scratches, water stains, or other forms of wear and tear, finding a solution to cover up the damage is essential for restoring the dresser’s aesthetic appeal. Fortunately, there are several effective methods to conceal a damaged dresser top and give it a fresh and renewed look.

In this article, we will explore practical tips and techniques on how to cover a damaged dresser top, providing you with options that range from simple and budget-friendly to more elaborate and stylish. With a little creativity and the right approach, you can revive your dresser and transform it into a focal point that adds beauty and functionality to your living space.
How does a Dresser top gets Damaged?
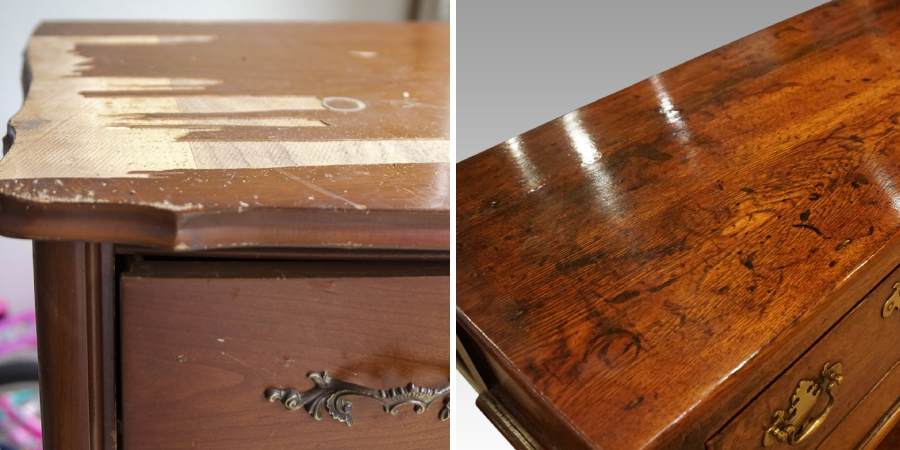
A dresser top may become damaged due to a variety of reasons. These include accidental spills, improper storage methods, or general wear and tear over time. Additionally, some people may place hot objects on the surface of the dresser top without proper protection, which can cause discoloration or warping in the wood.
Sunlight can also cause fading and discoloration, so it is important to keep dresser tops away from direct sunlight. In some cases, the top of a dresser may be damaged due to age or other reasons beyond our control.
No matter what has caused damage to your dresser top, there are ways you can cover it up and make your furniture look new again. Read on for more information about how to cover a damaged dresser top!
How to Prevent Dresser Top from getting Damaged?
Preventing a dresser top from getting damaged is the best way to keep your furniture looking its best. Here are some tips on how to protect your dresser top:
1. Place a protective cover on the dresser top when not in use. This could include a cloth tablecloth, an acrylic sheet, or even just a patch of felt. These covers will help keep dust away from the surface and prevent scratches or other damage that could be caused by everyday activities such as setting down items or brushing against the surface.
2. Keep your dresser top away from direct sunlight and humidity. Sunlight can cause fading to wood finishes, while humidity can cause warping or buckling of the wood over time.
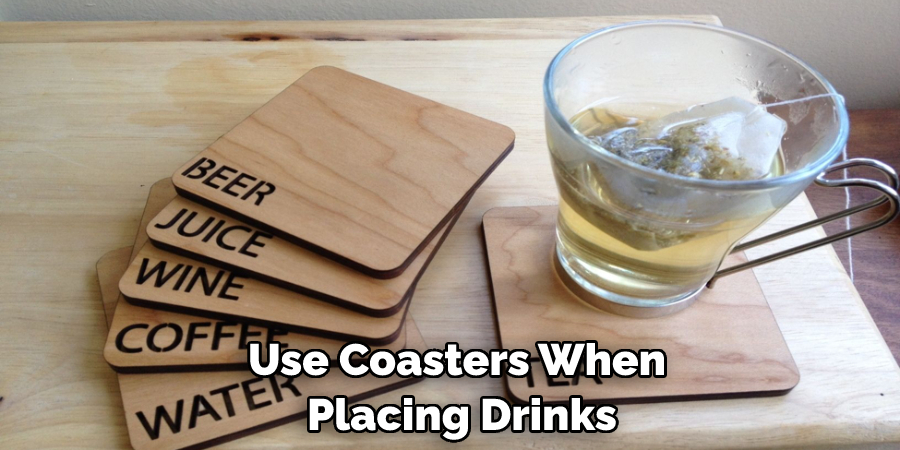
3. Use coasters when placing drinks or other items on the dresser top. This will help prevent rings and spots from forming on the surface as a result of condensation buildup.
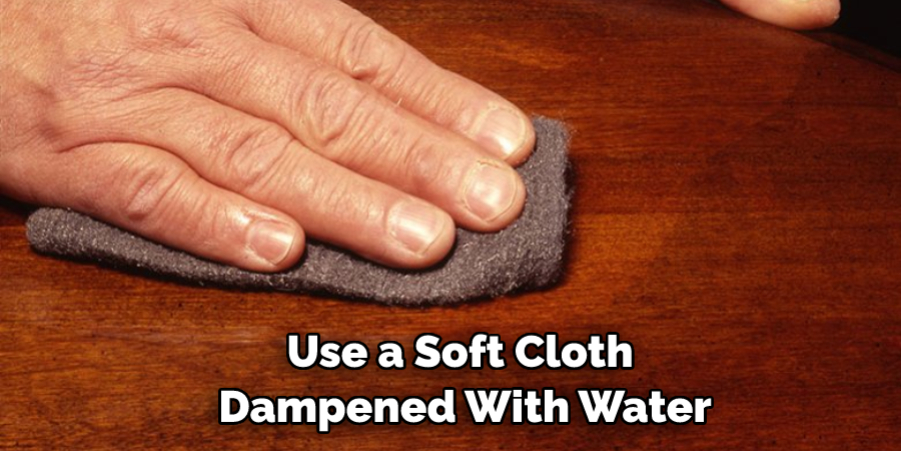
4. Clean spills immediately and use a soft cloth dampened with water (or a mild detergent if necessary) to wipe away debris such as food remnants, dirt, etc.. Avoid using harsh chemicals or cleaners which could damage the finish of the dresser top.
5. Make sure that your dresser drawers are not overfilled. Too much weight in the drawers can cause them to sag and put pressure on the top of the dresser, which may lead to damage over time.
By following these simple tips you can help keep your dresser top looking like new for years to come!
10 Methods How to Cover a Damaged Dresser Top
1. Use a Tablecloth.
One of the easiest ways to cover a damaged dresser top is to simply use a tablecloth. Tablecloths come in a variety of colors and patterns, so you’re sure to find one that will complement your décor.
If you’re concerned about the tablecloth slipping, you can use double-sided tape or Velcro strips to keep it in place. Once you’ve chosen the tablecloth, drape it over the dresser top and secure it. However, be wary that it might need to be replaced after a while due to wear and tear.
2. Use Contact Paper.
Another easy way to cover a damaged dresser top is to use contact paper. Contact paper is available in a variety of colors and patterns, so you can find one that will match your décor. It’s also easy to apply and remove, so you can change it up as often as you like.
To use contact paper to cover a dresser top, begin by measuring the surface of the dresser and cut your contact paper to size. Next, clean the surface of the dresser to ensure that the contact paper has a smooth, flat surface to adhere to. Once the dresser is clean, apply the contact paper to the top.
3. Use Fabric.
If you want a more permanent solution, you can use fabric to cover the damaged dresser top. Fabric is available in a wide range of colors and patterns, so you can find something that will match your décor. You can either glue or staple the fabric in place.
If you use glue, make sure to apply it liberally so that the fabric is held firmly in place. Once you have applied the fabric, smooth out any wrinkles and trim the excess fabric with scissors. If you use staples, make sure to place them close together so that there are no gaps between them.
4. Use Wallpaper.
Wallpaper is another option for covering a damaged dresser top. Wallpaper comes in a wide variety of colors and patterns, so you can find something that will match your décor. You can apply wallpaper with adhesive or paste, depending on your preference.
Adhesive is usually more secure, but more difficult to remove if you decide to change it in the future. Although wallpaper is a great way to cover up damage, it’s important to be aware that if the dresser top gets wet, the wallpaper might bubble or peel.
5. Use Paint.
If you want an inexpensive and easy way to cover a damaged dresser top, you can simply use paint. Paint is available in a wide range of colors, so you can find something that will match your décor.
You can also use paint to create interesting designs or patterns on the dresser top. To cover a damaged dresser top with paint, make sure to use a primer first to create a smooth surface. Then apply the paint of your choice.
6. Use Decoupage Glue and Paper Napkins.
Decoupage is a technique where you glue pieces of paper or fabric onto an object to decorate it. You can use decoupage glue and any type of paper or fabric to cover a damaged dresser top.
Napkins, tissue paper, wrapping paper, and old magazines are all great options for decoupage projects. To decoupage your dresser top, start by cutting the paper or fabric into pieces to fit over the damaged areas.
7. Use Tile Adhesive and Mosaic Tiles.
Mosaic tiles are small pieces of colored glass or stone that are used to create patterns or designs on surfaces like floors, walls, and tables. If you want to cover a damaged dresser top with mosaic tiles, you’ll need tile adhesive and grout as well as the mosaic tiles themselves. You can find mosaic tiles at most craft stores or online retailers.
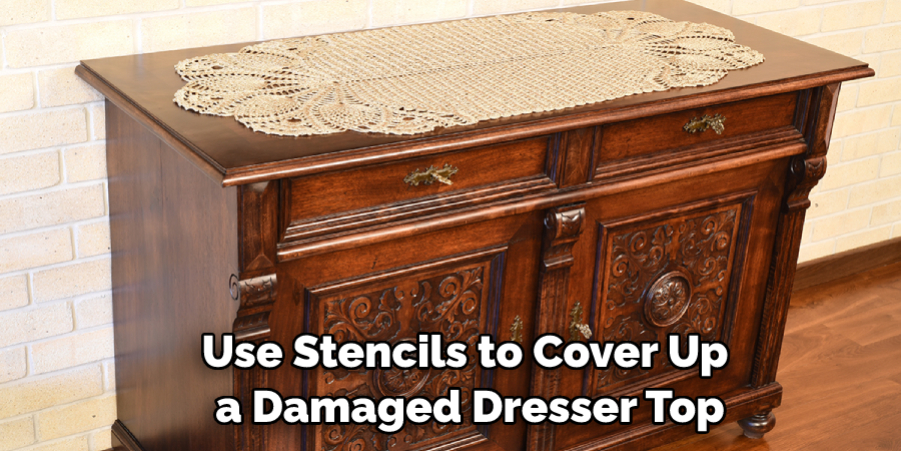
8. Use Stencils and Paint.
Stencils are a great way to create interesting patterns or designs on furniture. You can use stencils to cover up a damaged dresser top, or to create an elegant and unique look. To begin, wipe down the surface of the dresser top to remove dust and dirt.
Then, apply the stencils over the damaged area. Use a small brush to dab on the paint in the color of your choice. Be sure to use short strokes and avoid pushing too hard, as this can cause the stencils to move.
9. Use Decorative Trim.
Decorative trim is a great way to cover up any imperfections on a dresser top. You can find decorative trim in a variety of different materials, such as wood, metal, or plastic. Trim can be used to create a frame around the edges of the dresser top, or you can get creative and use multiple pieces of trim to create a unique pattern or design.
10. Use Washi Tape.
Washi tape is a popular way to decorate furniture and other objects quickly and easily. It’s available in all sorts of fun colors, patterns, and sizes. This makes it perfect for adding a unique touch to the top of your dresser.
Simply measure the surface area of the dresser top and cut a piece of washi tape that fits. Place it centered on the top, then press down firmly to secure it. You can also add a few more pieces of washi tape around the edges for extra decoration.

Conclusion
From contact paper to fabric, there are a variety of simple solutions to make your old dresser top look as good as new. When choosing the material you want to use, make sure consideration is given to durability and aesthetics. It’s best to tidy up the dresser before you begin, so that you don’t need to deal with dust or dirt after.
Although covering damage isn’t always easy, it can be done with the proper steps and the right tools. By following these tips for how to cover a damaged dresser top, you won’t have any trouble giving your beloved furniture a beautiful makeover. Good luck – we know your furniture will look great in no time!