If you’re looking for ways to add more style and storage to your home, then transforming a dresser into a bookshelf could be the ideal project! Not only will it help by allowing you to declutter and get organized but with some creative thinking, it’s also easy and budget-friendly.

This post is going to give you awesome tips on how to turn dresser into bookshelf as the perfect statement piece in your living room or office. So read on if you’d like to discover clever ideas like cutting out sections of wood or making adjustments so that your shelf can best fit inside whatever space you have available – all without breaking the bank!
Benefits of Repurposing a Dresser into a Bookshelf
Repurposing a dresser into a bookshelf can be an excellent way to add storage and style to any living space. Not only are dressers typically larger than traditional bookshelves, but they also offer more versatility in terms of how many items can be stored on them.
Additionally, turning a dresser into a bookshelf is much cheaper than purchasing a new piece of furniture, and it can help reduce waste by giving an old piece of furniture a new purpose. One of the biggest benefits of turning your dresser into a bookshelf is that you won’t have to worry about your book collection taking up too much space.
With several drawers, shelves, and even cubbies, this type of bookshelf can store multiple items, ranging from books to magazines to movies. Additionally, since dressers tend to be longer than traditional bookshelves, they have the potential to display more items with ease and efficiency.
Another great benefit of turning a dresser into a bookshelf is that you get to customize it however you want. Since most dressers come in neutral colors or wood tones, painting them in bright colors can transform them into amazing showpieces for your living space.
10 Methods How to Turn Dresser into Bookshelf
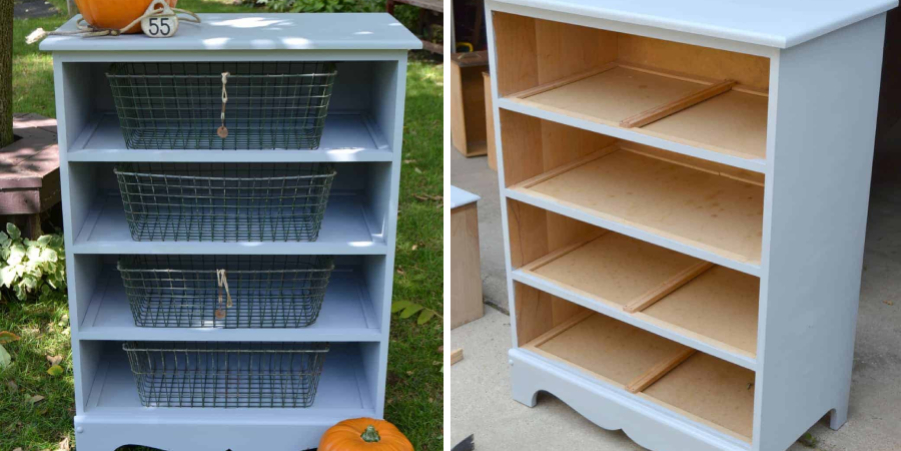
1. Remove the Drawers:
Take out all the drawers from the dresser and set them aside. This will create open shelves for your books. If the drawers are too narrow, you can expand them by tracing a line over the edges and using a saw to cut along it. However, if you do not feel comfortable using a saw or want to use the dresser exactly as it is, you can skip this step.

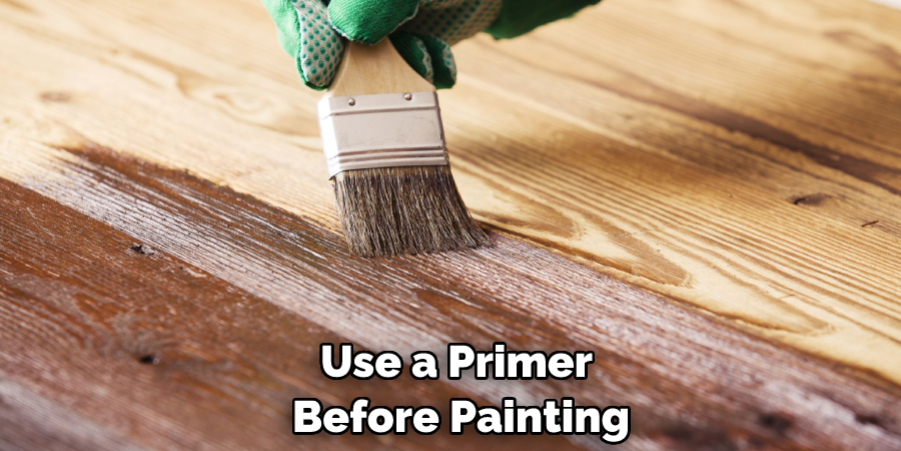
2. Sand and Paint:
Sand the surface of the dresser to smooth out any imperfections. Then, apply a coat of primer followed by your chosen paint color. This will give the dresser a fresh look to suit your bookshelf needs. You can also use adhesive wallpaper or contact paper to line the drawers for an extra creative touch.
Once finished, let it dry completely before moving on to the next step. Although you could use a power sander for this step, it’s important to be careful. Sanding too much or going over the surface multiple times can damage the piece.
3. Rearrange the Shelves:
If the dresser already has shelves, you can rearrange them to accommodate books of different sizes. Adjust the shelf heights as needed. This will give you the most flexibility for organizing books and other items. But if the dresser doesn’t already have shelves, you’ll need to add them.
Measure the inside of the dresser and look for pre-made shelves that fit your measurements or have a shelf custom-cut to fit. Try to use particle board or plywood that’s at least 1/2 inch thick, and make sure the shelves are level before you install them. Secure the
4. Add Additional Shelves:
If your dresser doesn’t have enough shelves, you can purchase additional boards or planks and cut them to size. Install these shelves at desired intervals within the dresser. If you are looking for extra support, you can use L-brackets to secure the boards to the sides of the dresser drawers.
To further reinforce the shelves, you can add finishing nails and wood glue. Once the shelves are installed, use sandpaper or steel wool to smooth out any rough edges. Finally, you can paint or stain the shelves to match the dresser’s body for a more polished look. And with that, your books
5. Install Bookends:
To prevent books from falling over, install bookends on each shelf. You can either buy bookends or make your own using heavy objects like decorative stones, figurines, or even small sculptures.
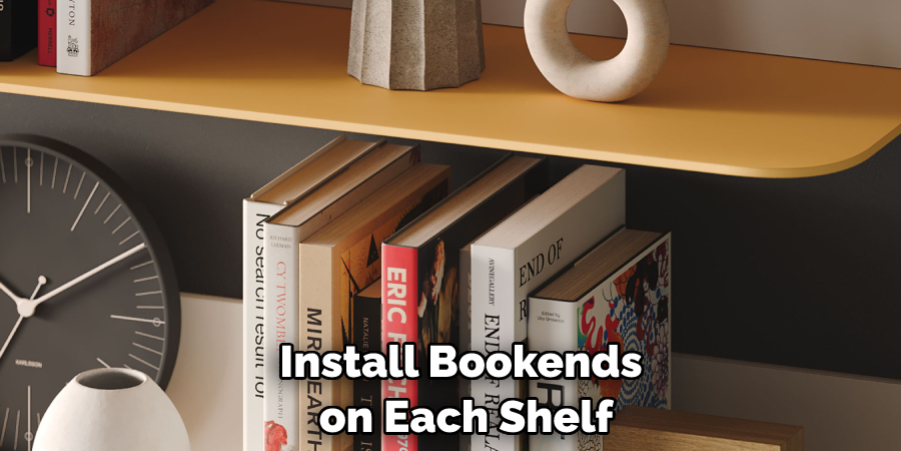
Place the objects at each end of the shelf and place books between them. For added security, you can also attach bookends to the shelves using screws. This will help keep the books in place and give the shelf a finished look.
6. Line the Back of the Dresser:
Consider lining the back of the dresser with wallpaper, contact paper, or fabric to add a decorative touch. This will also make your books stand out and create an appealing backdrop. You can also line the shelves with fabric or foam board for a more modern look. Be sure to use materials that will not damage your books. Although you may not be able to see it, lining the back of your dresser will give your bookshelf a finished look.
7. Install Lighting:
If your dresser is in a dimly lit area, consider installing small LED strip lights on the underside of the shelves. This will provide additional illumination and make it easier to browse your books. There are a variety of LED light strips available on the market that can easily be cut to size and stuck into place. To finish off the look, you can use a simple remote control to change the colors of your lights. This will add an extra touch of style and sophistication to your dresser-turned-bookshelf.
8. Label the Shelves:
Use adhesive labels or small tags to categorize your books on each shelf. This will make it easier to locate specific books and maintain organization. Depending on the size of your dresser, you may want to label each shelf into sections like Fiction, Non-Fiction, and Children’s Books.
You can also label them by subject such as History, Science, Art, etc. Alternatively, you can simply assign each shelf a letter or number for easy reference. However you decide to categorize your shelves, labeling them will make it easier to quickly find what you’re looking for.
9. Display Decorative Items:
Utilize the top surface of the dresser to display decorative items such as potted plants, picture frames, or small sculptures. This will add personality and make your bookshelf visually appealing.
Additionally, you can create a feature wall around your bookshelf. Hang artwork or decorate the walls with colorful fabrics that match the color of your dresser. This will further enhance the design and make it more eye-catching.

10. Consider Drawer Conversion:
Instead of removing the drawers completely, you can repurpose them into storage bins for smaller items like bookmarks, pens, or reading glasses. Install dividers or small containers within the drawers to keep everything organized.
You can also turn the drawers into a hanging bookshelf by attaching a metal bar and some S-hooks. Create multiple levels of shelving and use the drawers as adjustable shelves. This is a great way to add more storage capacity without having to sacrifice the existing structure of your dresser.
Some Common Mistakes When Turn Dresser into Bookshelf
1. Not Accounting for the Weight of the Books:
When turning a dresser into a bookshelf, it is important to remember that books are heavy and may require additional support on the shelf. Make sure that you use sturdy screws or nails and reinforce the shelf if necessary.
2. Not Anchoring the Piece Securely:
If you are not anchoring the dresser to the wall, you should still make sure that it is secured in place. While some dressers are very sturdy and will stay in place without being nailed down, others may need extra fastening or reinforcement to keep them from tipping over with books on top.
3. Not Adjusting the Shelves:
Depending on how many shelves you plan to add and what type of books you are storing, adjusting the shelf heights can be important for maximizing your storage space. If adding adjustable shelves isn’t an option, consider purchasing taller bookcases to put inside the dresser if needed.
4. Not Prepping Properly:
Before repurposing a dresser into a bookshelf, it is important to make sure that the surface is clean and free of dirt or debris. If you plan on painting the piece, lightly sand it and use a primer before painting. This will ensure that the paint adheres properly and give you an even finish.
Conclusion
In conclusion, it is possible to turn an old dresser into a useful bookshelf. If the project feels overwhelming for you, consider hiring professional help to ensure the job is done correctly and safely. Be sure to measure carefully, research parts and supplies, take your time with sanding and painting, and pick out which size