
Transforming a dresser into a storage unit is an innovative way to maximize space and repurpose furniture, providing both aesthetic appeal and practical functionality. This project can breathe new life into an old dresser, offering a stylish solution for organizing various items around your home. The process begins with assessing the dresser’s structure and potential for adaptation. This article aims to provide a comprehensive guide on how to turn a dresser into a storage unit.
Whether you’re aiming to create additional kitchen storage, a compact home office, or an entryway organizer, the versatility of a dresser makes it an ideal candidate for customization. Key steps include removing drawers to create open shelving, adding baskets or bins for categorized storage, and potentially incorporating hooks or additional compartments for enhanced utility. Personalizing the dresser with a fresh coat of paint or new hardware can also elevate its look to match your decor. This guide will provide a detailed roadmap on how to turn a dresser into a functional storage unit, combining creativity and practicality to meet your organizational needs while enhancing your living space.
10 Methods How to Turn a Dresser into a Storage Unit
1. Assess and Plan
The first step in converting a dresser into a storage unit is to assess the dresser’s condition and plan the transformation. Examine the dresser for any structural issues, such as loose joints or damaged drawers, and decide how you intend to use the storage unit. Consider whether you need it for clothing, tools, office supplies, or other items. Planning will help you determine the modifications needed and the materials required for the project. Sketch a rough design of your desired outcome, noting where shelves, dividers, or other additions will be placed. This preparation ensures a smooth and organized process, leading to a functional storage unit that meets your specific needs.
2. Clean and Repair
Before making any modifications, thoroughly clean the dresser to remove dust, dirt, and any old paint or varnish. Use a mild detergent and water to clean the surfaces, and allow the dresser to dry completely. Inspect the dresser for any necessary repairs, such as fixing loose knobs, tightening screws, or reinforcing weak joints. If any drawers are damaged, repair or replace them as needed. This step ensures that your dresser is in good condition and ready for transformation, providing a sturdy foundation for the new storage unit.
3. Remove Unnecessary Parts
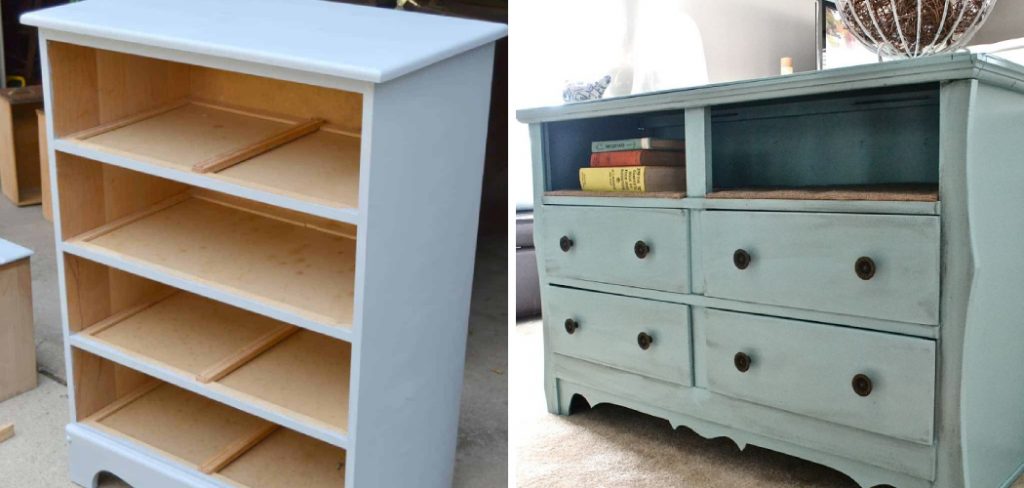
Depending on your storage needs, you may need to remove some parts of the dresser, such as drawers or shelves. If you plan to use the dresser for open storage, remove the drawers and any internal dividers. Use a screwdriver or a drill to unscrew and remove these components carefully. You can repurpose the drawers for other storage needs or discard them if they are no longer usable. Removing unnecessary parts opens up the dresser, giving you more flexibility to customize the storage space to your requirements.

4. Add Shelves and Dividers
Adding shelves and dividers can significantly enhance the storage capacity and organization of your dresser. Measure the interior dimensions of the dresser and cut plywood or MDF to fit as shelves. Secure the shelves using brackets or wooden supports. To create smaller compartments, add dividers made from the same material. These additions allow you to organize items more efficiently and maximize the available space. Shelves are particularly useful for storing books, tools, or pantry items, while dividers can help keep smaller items, such as office supplies or accessories, neatly arranged.
5. Install Hooks and Pegboards
Hooks and pegboards can be excellent additions to a dresser storage unit, providing space to hang items and store tools or accessories. Install hooks on the inside of the dresser doors or along the sides to hang keys, bags, or scarves. A pegboard installed on the back panel or inside the dresser can hold tools, craft supplies, or kitchen utensils. Customize the pegboard with hooks, baskets, and shelves to suit your storage needs. These additions make the storage unit more versatile and accessible, allowing you to keep frequently used items within easy reach.
6. Paint and Decorate
Painting and decorating the dresser can transform its appearance and make it a stylish addition to any room. Choose a paint color that complements your decor and apply a primer before painting to ensure good adhesion. Use a high-quality paint and apply at least two coats for a smooth, durable finish.
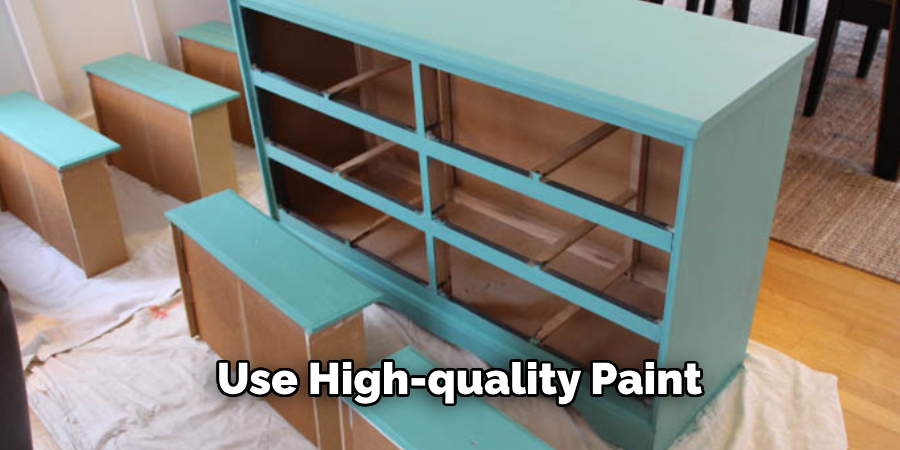
You can also add decorative elements, such as stencils, decals, or wallpaper, to give the dresser a unique look. Consider replacing the drawer pulls or knobs with new ones that match your decor style. This step not only enhances the aesthetic appeal of the dresser but also personalizes it to fit seamlessly into your home.
7. Add Labels and Tags
Adding labels and tags to your storage unit can help keep everything organized and easily identifiable. Use adhesive labels, chalkboard paint, or label holders to mark the contents of each drawer, shelf, or compartment. This is especially useful if you’re using the dresser for office supplies, craft materials, or pantry items. Clearly labeled storage helps everyone in the household find what they need quickly and ensures that items are returned to their proper place. This method enhances the functionality of your storage unit and maintains order.
8. Convert Drawers to Pull-Out Shelves
Converting drawers into pull-out shelves can increase accessibility and make it easier to reach items stored at the back. Remove the drawer fronts and attach them to the sides of the drawers to create a shelf with a front lip. Install drawer slides on the sides of the dresser and the drawers, allowing them to pull out smoothly. This modification is ideal for storing kitchen appliances, office supplies, or tools, providing easy access to all items. Pull-out shelves enhance the usability of the storage unit, making it more convenient to use.
9. Utilize the Top Surface
The top surface of the dresser can serve as additional storage or display space. Use this area to place baskets, bins, or decorative trays to organize smaller items such as mail, keys, or toiletries. You can also add a decorative touch with plants, photo frames, or artwork. If the dresser is placed in a workspace, the top surface can hold office supplies, a printer, or a desk lamp. Utilizing the top surface maximizes the storage capacity of the dresser and adds functionality to the unit, making it a versatile piece of furniture.

10. Reinforce and Secure
To ensure the stability and durability of your newly transformed storage unit, it’s important to reinforce and secure the dresser. Check all joints, screws, and brackets to ensure they are tight and secure. If the dresser is tall or will hold heavy items, consider anchoring it to the wall to prevent tipping. Use L-brackets or anti-tip straps to secure the dresser to the wall studs. This step is especially important if the storage unit will be used in a child’s room or a high-traffic area. Reinforcing and securing the dresser ensures it remains stable and safe, providing reliable storage for years to come.
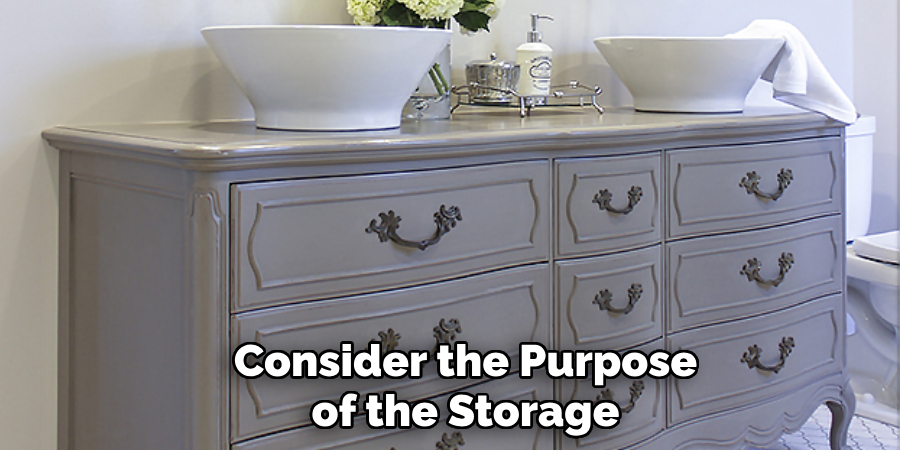
Things to Consider When Transforming Your Dresser
When transforming your dresser into a functional storage unit, there are several important factors to keep in mind to ensure the success of your project. Firstly, consider the purpose of the storage unit and the types of items you plan to store. This will influence the design and modifications needed, such as whether to incorporate open shelves, closed drawers, or a combination of both. Additionally, think about the location of the dresser in your home and how its new function will fit into that space. Ensure that the dresser’s dimensions and design align with your room’s style and functionality needs.
Furthermore, consider the materials you will use for any modifications, such as shelves, dividers, or pegboards. Opt for durable and high-quality materials that can withstand the weight and usage demands. Having the right tools and supplies on hand is also crucial for a smooth transformation process. Make sure you have the necessary tools such as a drill, screwdriver, saw, and measuring tape, along with any screws, brackets, and paint.
Conclusion
Turning a dresser into a storage unit is a creative and practical project that enhances the functionality of your home while repurposing old furniture. The ten methods outlined—assessing and planning, cleaning and repairing, removing unnecessary parts, adding shelves and dividers, installing hooks and pegboards, painting and decorating, adding labels and tags, converting drawers to pull-out shelves, utilizing the top surface, and reinforcing and securing—offer comprehensive strategies for transforming a dresser into a versatile storage solution.
Each method provides unique benefits and can be tailored to meet your specific storage needs. By following these steps, you can create a customized storage unit that is both functional and aesthetically pleasing, making the most of your available space and enhancing the organization of your home. This project not only breathes new life into an old dresser but also contributes to a more organized, efficient, and visually appealing living environment.