If you are like most people, you have a dresser overflowing with items and feelings that simultaneously bring joy and sadness. Part of the beauty of these pieces is how they can last for generations, yet what do we do when over time the drawers become harder to slide open?

We certainly don’t want to get rid of it; all we need are some simple steps on how to make old dresser drawers slide easier. Fortunately, this can easily be done by following a few quick tips – read on to learn more!
Needed Materials
Given below is a list of materials necessary to make old dresser drawers slide easier:
A clean, lint-free cloth
This will be used to wipe off the dust and dirt from the rails of your drawers.
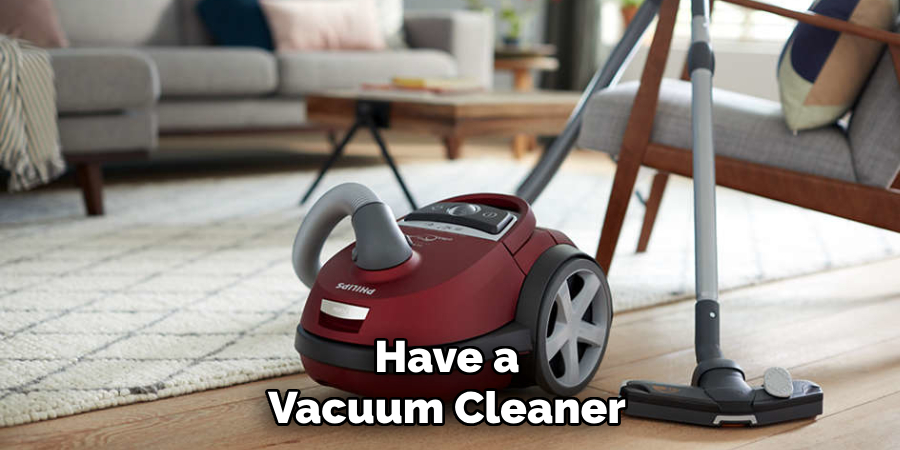
Vacuum Cleaner
This is optional; however, it will help you to clean hard-to-reach areas of your dresser.
WD-40 multi-use product
This is a powerful lubricant that will make it easier for drawers to slide open and closed.
11 Step-by-step Guidelines on How to Make Old Dresser Drawers Slide Easier
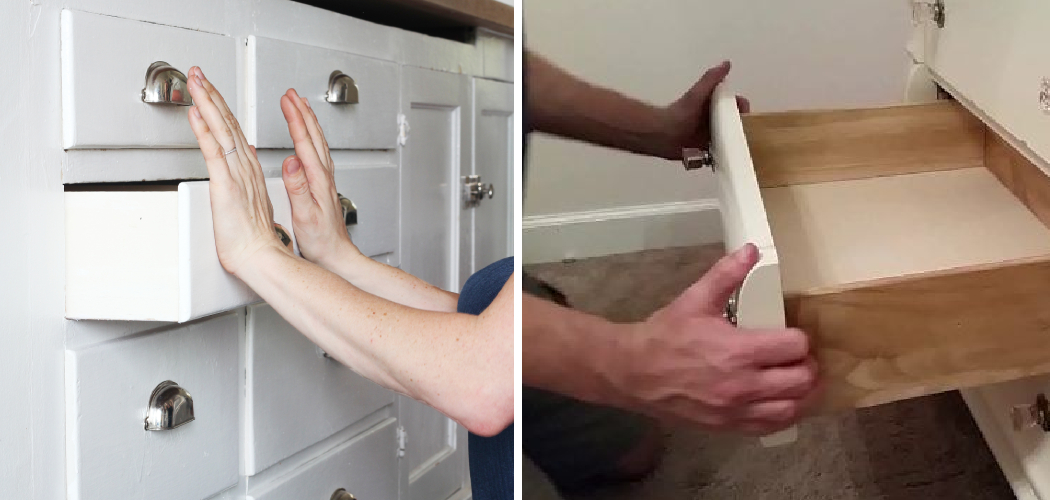
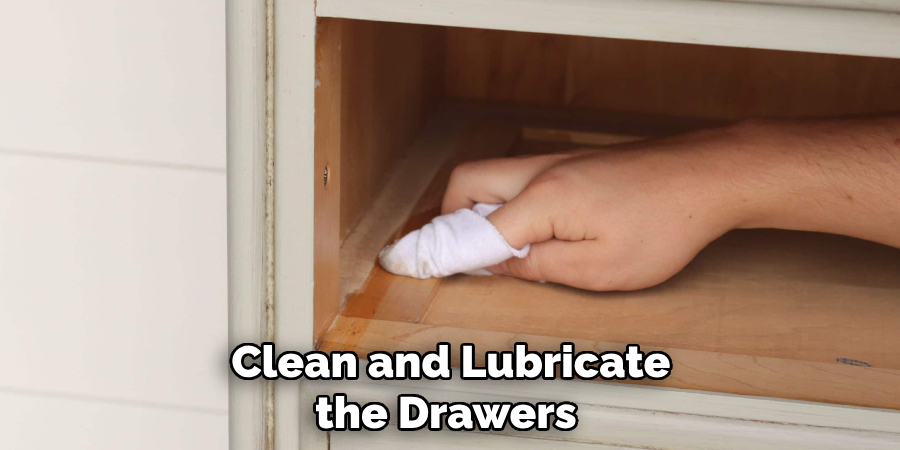
Step 1: Clean the Drawers
First, use the lint-free cloth to thoroughly clean the drawers and rails of any dirt or dust. If you have a vacuum cleaner, you can also use it to suck out all the debris from hard-to-reach areas of your dresser. It might also be a good idea to check the bottom of your drawers for any kind of build-up. But make sure to be gentle while cleaning. It is not recommended to use any kind of abrasive tools or liquids on the drawers.
Step 2: Lubricate the Rails
After cleaning, spray WD-40 on both the drawer and its tracks. Use just enough to cover the whole surface, but don’t overdo it as this can cause buildup. If your drawers are very stiff, you can spray more WD-40 to make them slide easier. It is important to note that WD-40 should not be used on wooden rails or if the drawer has visible signs of damage. But it can be used on metal or plastic.
Step 3: Open and Close the Drawer Several Times
After you have sprayed WD-40 on both the drawer tracks and drawers, open and close them several times to allow the lubricant to work its magic. This will also help to work out any stiffness in the drawers. It is best to do this over a period of several days in order to let the lubricant penetrate deeper. If your drawer is still not sliding properly after several days, then you can repeat the process one more time.
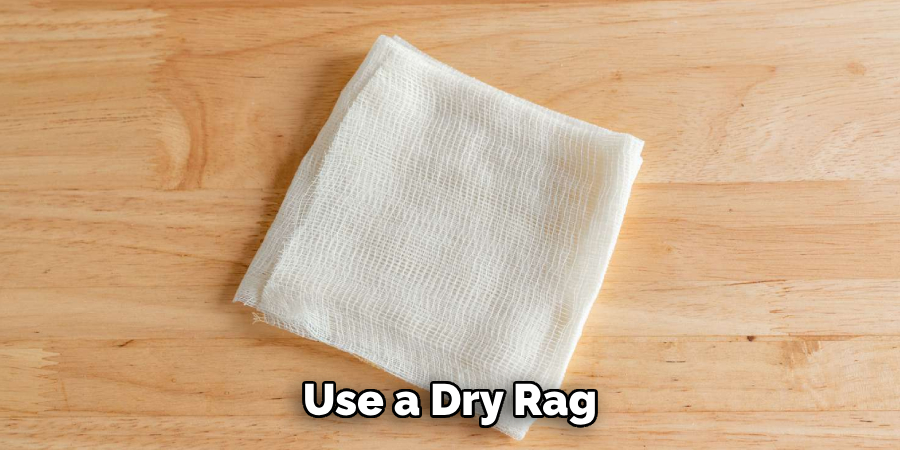
Step 4: Use a Rag to Wipe Out Excess Lubricant
After opening and closing the drawers several times, use a dry rag to wipe out any excess lubricant. This will prevent dirt and debris from sticking to it. You should also check the bottom of your drawers for any build-up of lubricant. If you find any, use a rag to wipe it away. It is also a good idea to check the tracks of the drawer for any build-up, as this can also affect how well the drawers slide.
Step 5: Check if the Drawers Slide Easily
Now that you have completed the steps above, check if the drawers are sliding more easily. If they still seem to be sticking, repeat steps 2 through 4 until you get the desired effect. But keep in mind that too much lubricant can cause the drawer to become harder to open and close again. Although WD-40 is a powerful lubricant, it can still wear out over time so make sure to check the drawers occasionally for any build-up of dirt and debris.
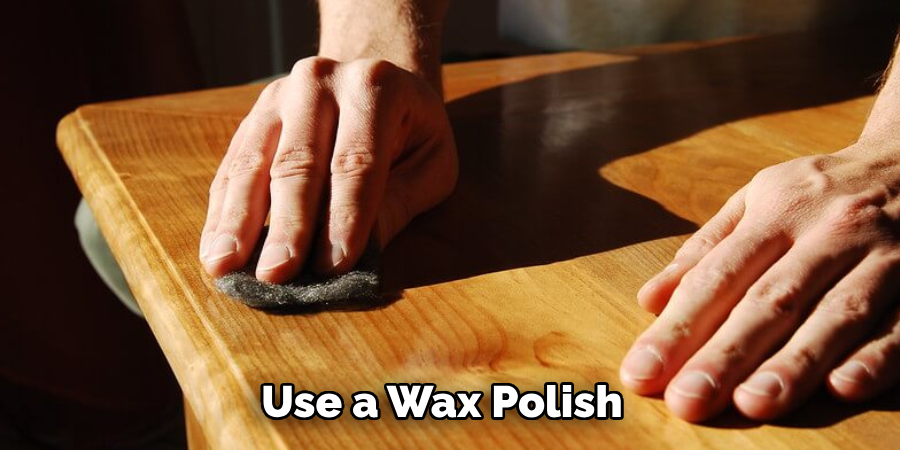
Step 6: Inspect and Polish Your Drawers
Once everything is working properly, take a few minutes to inspect your dresser and make sure all of the parts are in good shape. If you notice any scratches or dents, use a wax polish to restore them. It is also a good idea to lightly coat the drawers and rails with wax every few months. This will help prevent dirt and debris from building up and make your dresser look nicer.
Step 7: Reassemble
Once your dresser is looking its best and all of the drawers slide open and close properly, put it back together. But make sure to place the drawers back in the same order as you took them out, otherwise, it could cause confusion when trying to locate items inside. It might also be a good idea to use some furniture felt pads between the drawers and dresser, as this will help reduce any noise when opening or closing them.
Step 8: Make Sure Everything is Secured
Using a screwdriver, make sure all of the screws on your dresser are securely tightened. This will help ensure that everything stays in place and works properly. If you notice any loose screws, tighten them up right away. This will also help your dresser last longer and make sure that the drawers slide open and close smoothly. But don’t over-tighten the screws, otherwise, you may end up splitting the wood.
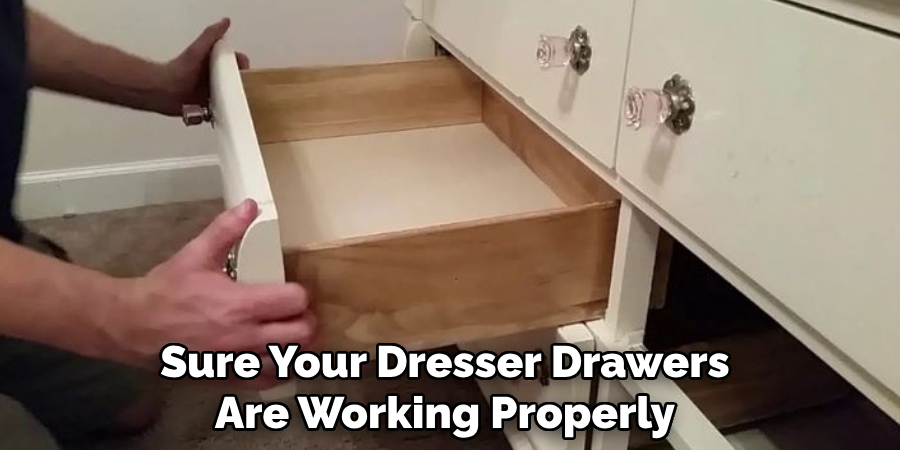
Step 9: Test it Out
Once you have put the dresser back together, test it out to make sure everything is working correctly. Open and close each drawer several times to make sure they are sliding smoothly. You should also check the bottom drawer to make sure it is not sticking. If everything seems to be in order, then you can start putting your items back inside the drawers.
Step 10: Enjoy Your Efforts
Take a step back and admire your work – your dresser is now good as new! It will be easier to open and close all of the drawers, making it a joy to use. Just remember to dust off your dresser periodically and apply wax polish from time to time in order to keep it looking its best. But most importantly, enjoy the peace of mind that comes with knowing your dresser works as it should.
Step 11: Keep it Clean
To keep your dresser in tip-top condition, make sure to clean and lubricate the drawers periodically. This will help ensure that they keep sliding easily for years to come. Always use a lint-free cloth to wipe away any dirt or dust, and make sure to apply WD-40 on the tracks and drawers. Doing this will help you avoid having to go through the entire process again in the future.
With these 11 simple steps on how to make old dresser drawers slide easier, you can make old dresser drawers slide easier in no time! Whether your furniture is a family heirloom or simply a great find, taking the time to follow these tips will be well worth it in the end. You can now enjoy the piece with ease, and pass it down to future generations in perfect condition. Happy cleaning
Do You Need to Hire a Professional?
In most cases, you don’t need to hire a professional to make old dresser drawers slide easier. If the problem is more severe than just dust and dirt on the rails, however, it might be time to call in an expert. They can help diagnose any structural or mechanical issues that could be causing the drawer to stick and provide a solution.
No matter your situation, following these steps can help make old dresser drawers slide easier – so take the time to give them a try before calling in a professional. You’ll be glad you did!
Frequently Asked Questions
Q: How Often Should I Clean and Lubricate My Dresser Drawers?
A: We recommend cleaning and lubricating your dresser drawers ever 6 to 12 months, depending on how often you use them. This will help ensure they stay in top shape and keep sliding easily.
Q: Can I Use Any Type of Lubricant?
A: We recommend using WD-40 multi-use product for the best results. It is a powerful lubricant that will make your drawers open and close more smoothly. You can also use other types of lubricant, but make sure to read the label carefully to ensure it is safe for your dresser.
Q: What If My Drawers Still Don’t Slide Easily?
A: If your drawers still don’t slide easily after following the steps above, you may need to replace the rails or drawer pulls. Take a look at your dresser and see if any of these parts are worn down or broken – if so, they should be replaced in order for your drawers to slide properly.
Q: Are There Any Other Tips to Make My Dresser Drawers Slide Easier?
A: Yes! You can also try replacing the drawer glides with soft-closing slides. These are designed to close slowly, helping to reduce wear and tear on the drawers over time. Another great tip is to use wax paper in between the drawers and rails – this will help create a smoother and more consistent surface for the drawers to slide on.
With these tips, you can make sure your dresser drawers are working properly and in top condition for years to come. So don’t hesitate – get out there and start cleaning today! Your future self – and furniture – will thank you.
Conclusion
The process of making old dresser drawers slide easier is simple and can take as little or as much time as you have. Not only does it provide you with an opportunity to revive an old piece of furniture, but it also lets you get creative by customizing the hardware. With the proper techniques in place, you will be able to make your drawers run smoothly like they are brand new!
Moreover on how to make old dresser drawers slide easier, if you find yourself stuck at any point in the process, there are always plenty of resources available online that will help guide and direct you so that you don’t waste valuable time and energy.
It may seem daunting when first starting out, but with a few tricks up your sleeve, your dresser drawers should be running smoothly in no time. So get all your tools ready and start tackling this task one drawer at a time to bring life back into those tired, rusty drawers!