Trimming bifold doors is a valuable skill that can greatly enhance the aesthetics and functionality of your living spaces. Whether you’ve recently installed new bifold doors or want to revamp the appearance of existing ones, proper trimming ensures a seamless fit and a polished look.
Ill-fitting doors not only compromise the visual appeal of a room but also hinder their smooth operation. This comprehensive guide will lead you through the step-by-step process of how to trim bifold doors to perfection. From measuring accurately and choosing the right tools to carefully removing excess material and refinishing the edges, you’ll gain insights into achieving a professional outcome.
Whether you’re a seasoned DIY enthusiast or a novice looking to elevate your home’s interior, mastering the art of trimming bifold doors empowers you to create a harmonious and visually pleasing environment while optimizing the functionality of your living spaces.
The Purpose of Trimming Bifold Doors for a Seamless Fit
When installing bifold doors, it is necessary to trim them in order for them to fit perfectly. The purpose of trimming bifold doors is to make the gap between the door and frame as small as possible, resulting in a seamless look. This process involves removing a section of material from both sides of the door so that it can be adjusted accordingly.
Trimming bifold doors is not as hard as it may sound. If you are experienced in DIY, then this task should be relatively straightforward. However, if you’re new to home improvements and feel like it might be a bit overwhelming for you, don’t worry! With the right tools and guidance, anyone can learn how to trim bifold doors with ease.
First things first, you’ll need to measure the area around the frame and door in order to determine how much material needs to be removed from each side. Once this has been established, it’s time to begin cutting away your bifold doors using a jigsaw or saw. For safety reasons, make sure you wear protective gear such as goggles and gloves when doing any type of sawing.
Once your bifold doors have been trimmed to the desired size, it’s time to install them. Make sure that you measure and mark out the locations for your hinges prior to installing them in order to avoid any mistakes. Then, secure your door hinges with screws and use a leveler tool to ensure they are installed correctly.
The Visual and Functional Benefits of Properly Trimmed Doors
When properly trimmed, bifold doors can provide your home with a beautiful aesthetic and superior functionality. The trim around the edges of the door helps to reduce any gap that would otherwise be created between the door and the wall of its frame. This creates a visual appeal as well as providing improved insulation and energy efficiency within your home. Additionally, installing trim on bifold doors helps to ensure that the doors will open and close smoothly.
While trimming your bifold door may seem like a difficult task, it is actually relatively simple. To get started, you will need a jigsaw with a fine tooth blade, a power drill with appropriate bits, wood screws, sandpaper, and of course, the trim itself. Once you have all of your materials gathered, the process is pretty straightforward.
First, measure and cut the trim to fit around the frame of your bifold door. Make sure that it fits snuggly within the frame before continuing on. Next, use wood screws to secure the trim in place along the edges of the door. After this step is complete, use the jigsaw to cut out any areas that need to be trimmed around door handles or other obstructions. Finally, sand down the trim with your sandpaper, and you should have a beautifully trimmed bifold door.
Not only does properly trimming your bifold door provide aesthetic benefits, but it can also make a difference in soundproofing your home as well. The trim around the edges of the door will help to absorb sound and reduce noise that can otherwise be a nuisance. Installing trim on bifold doors is an easy way to enhance both the look and functionality of your home without breaking the bank.
List the Materials Needed for the Project
To trim your bifold doors, you’ll need the following materials:
- Measuring Tape
- Pencil
- Saw (preferably a circular saw)
- Sandpaper (medium and fine grit)
- Safety Glasses
- Work Gloves
- A sturdy Table or Workbench
- Clamp
- Paint or Stain (optional)
- Paintbrush (optional)
10 Steps on How to Trim Bifold Doors
Step 1: Gather Your Materials and Tools
Before you embark on trimming your bifold doors, ensure you have all the necessary materials and tools at hand. You’ll need a measuring tape, pencil, straightedge, circular saw, safety goggles, sandpaper, wood glue, clamps, and a finish of your choice (paint or stain). Having these items ready will help you flowline the trimming process and achieve professional-looking results.
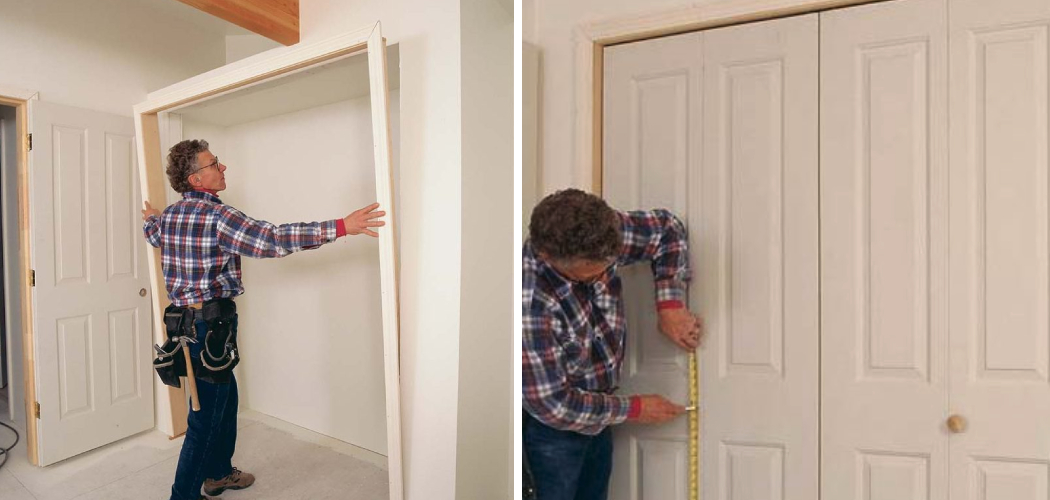
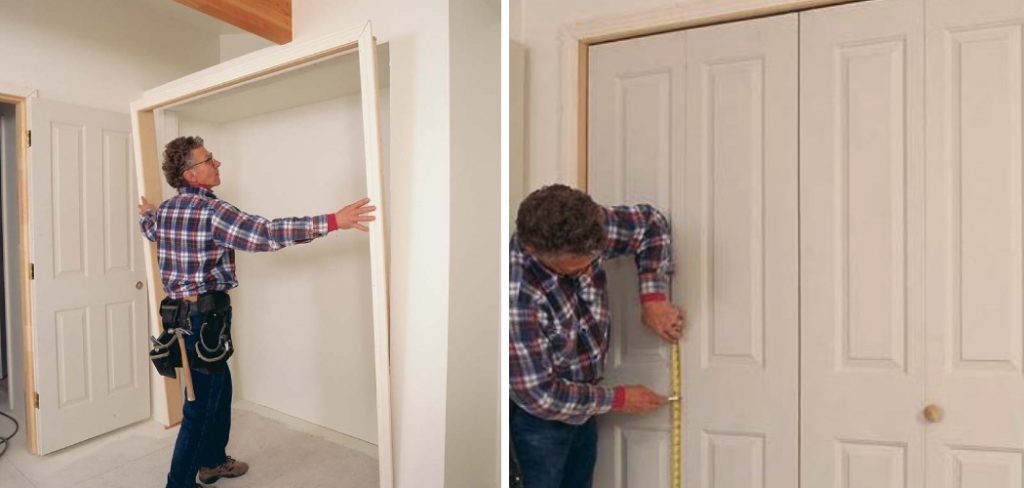
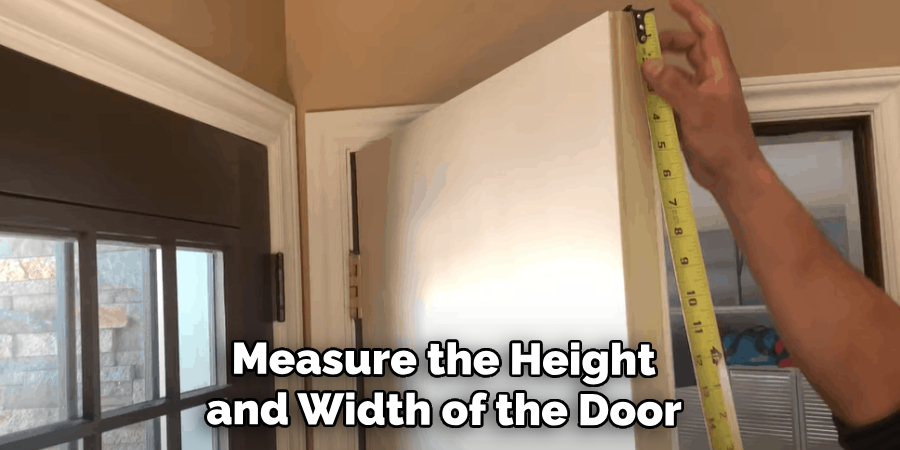
Step 2: Measure Twice, Cut Once
Precise measurements are essential when trimming bifold doors. Measure the height and width of the door opening as well as the existing door panels. Keep in mind that you’ll need to trim evenly from both the top and bottom edges to maintain balance. Use a measuring tape and a pencil to mark the desired trim lines, ensuring accuracy before making any cuts.
Step 3: Remove the Doors
Take the bifold doors off their tracks and lay them flat on a stable work surface. This will make it easier to work on the doors and prevent any accidental damage while trimming.
Step 4: Mark the Cut Lines
Using the pencil marks you made in Step 2, draw straight and even cut lines across the door panels. Utilize a straightedge to ensure that your lines are clean and accurate. Double-check your measurements and lines before proceeding.
Step 5: Put Safety First
Before you start cutting, put on your safety goggles to protect your eyes from any flying wood particles or debris that may result from the sawing process.
Step 6: Make the Cuts
With your safety goggles on, carefully use a circular saw to make the cuts along the marked lines. Go slowly and steadily to ensure a clean and precise cut. If you’re trimming a hollow-core door, be cautious not to splinter or damage the edges.
Step 7: Sand and Smooth
After making the cuts, use sandpaper to smooth the newly cut edges of the doors. This step is crucial to prevent any splinters or rough surfaces that could affect the appearance and feel of the doors.
Step 8: Test the Fit
Once the edges are sanded and smoothed, test the fit of the doors back in their frame. Ensure that the doors open and close smoothly and that they align properly with each other and the frame. If any adjustments are needed, remove the doors and make minor sanding or trimming as required.
Step 9: Glue and Clamp
If you’re satisfied with the fit, apply wood glue to the newly trimmed edges of the doors. Carefully press the doors back into the frame, aligning them properly. Use clamps to hold the doors in place while the glue dries. Follow the manufacturer’s recommendations for drying time.
Step 10: Finish and Reinstall
Once the glue has dried, remove the clamps and apply the finish of your choice, whether it’s paint or stain. Allow the finish to dry according to the manufacturer’s instructions. Once dry, reinstall the bifold doors onto their tracks and test their operation.
Some Common Mistakes to Avoid
After you’ve familiarized yourself with the basics of trimming your bifold doors, it’s important to be aware of some potential pitfalls that can arise. Here are some common mistakes to avoid when trimming your bifold doors:
- Not Measuring Correctly: Before you begin cutting any pieces of trim, it is crucial to double-check your measurements to ensure that the trim pieces will fit properly.
- Installing without Caulking: Don’t forget to caulk around the door frame once you’ve installed your trim pieces. This will help to keep out any moisture and reduce drafts in your home.
- Not Accommodating for Hinges: Make sure to cut your trim pieces in such a way that the hinges on the door can fit freely.
- Forgetting to Paint: Don’t forget to apply several coats of paint or stain to your trim once it is installed. This will help seal and protect the wood, as well as give your door an aesthetically pleasing look.

Conclusion
In conclusion, trimming bifold doors is a simple project that many can undertake with the right preparation and elbow grease. Make sure you have the right tools for the job, such as a level, measuring tape, miter saw, drill or screwdriver and wood screws. Take your time to measure out all measurements accurately to ensure a smooth end result. Always wear safety goggles when cutting.
Once the door is trimmed, you can secure it to its frame using wood screws and adjust any hinges needed. The sense of accomplishment you gain from successfully completing this task outweighs all the effort you’ve put in – so take your time and enjoy it! Now that you know how to trim bifold doors, why not get started on your own project today? You may surprise yourself with what amazing results you can achieve!