

Do you want to know more about how to apply floor marking tape correctly and safely? When used correctly, floor marking tape can increase safety awareness and communication among employees, encourage compliance with government regulations related to traffic flow control, and clearly denote hazardous locations or areas for special protection.
Here, we’ll take a look at what exactly floor marking tape is, why it’s important for your business, and how to apply floor marking tape.
Floor marking is an essential part of any work environment, as it helps departments and staff easily identify the different areas within a facility. In this blog post, we will discuss the best way to apply floor marking tapes with tips on what kind of surface preparation is needed for a successful application, along with information on which adhesive type works best for your operation. Get ready to learn all about floor marking today!
Why May You Want to Apply Floor Marking Tape?
1. To Define Specific Spaces for Certain Tasks
One of the main reasons to apply floor marking tape is to define specific areas in space for certain tasks. Different colors of the tape can be used to designate different types of tasks. For example, blue could be used for cleaning spaces and yellow for storage areas. This helps everyone know what type of activity should take place in each area without having to consult signs or instructions.
2. To Reduce the Risk of Injury
Floor marking tape can also be used to reduce the risk of injury in a space. Brightly colored tape is often used to highlight hazardous areas, such as around machinery or equipment that could cause serious injuries if someone were to bump into it. Additionally, floor markings can help define safe paths for pedestrians and forklifts alike.
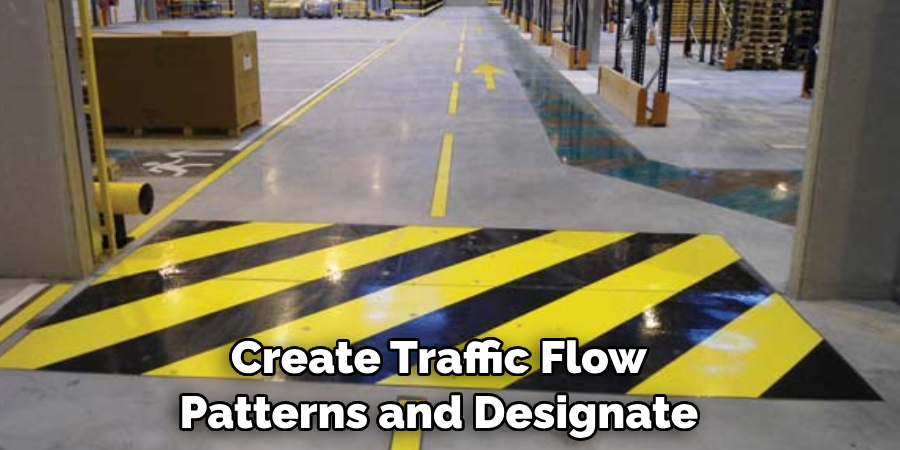
3. To Create Traffic Flow Patterns
In addition to indicating hazardous areas, floor marking tape can also be used to create traffic flow patterns and designate the direction of travel for pedestrians or vehicles. This helps reduce the risk of collisions in a space and makes it easier for people to traverse through the area safely and effectively. It can also help ensure that workers don’t take the wrong turns and end up in an area they shouldn’t be.
Overall, floor marking tape is a great way to clearly define spaces, enhance safety, and create traffic flow patterns. It can also help increase productivity as everyone knows where everything should go and how to get around the space without having to ask or consult signs. If you’re looking for an effective way to organize your space, consider investing in some floor marking tape. It’s a great way to make sure everyone knows the rules and stay safe!
How to Apply Floor Marking Tape in 5 Easy Steps
Step 1: Gather All The Tools You Will Need
The very first step is to gather all the necessary tools and supplies for the job. This includes floor marking tape, measuring tape, scissors or knife, cleaning supplies, and an application tool (such as a squeegee).
Step 2: Prepare The Floor Surface
Once you have your materials on hand, it’s time to prepare the floor surface. Make sure the area is free of dust, dirt, and debris by sweeping or vacuuming the floor. Then use a cloth or sponge with warm water and a cleaning solution to clean the area. Be sure to dry the surface completely before proceeding.
Step 3: Measure And Cut The Tape
Measure the length and width of your desired area using a measuring tape. Then use scissors or a knife to cut the tape to the appropriate size.
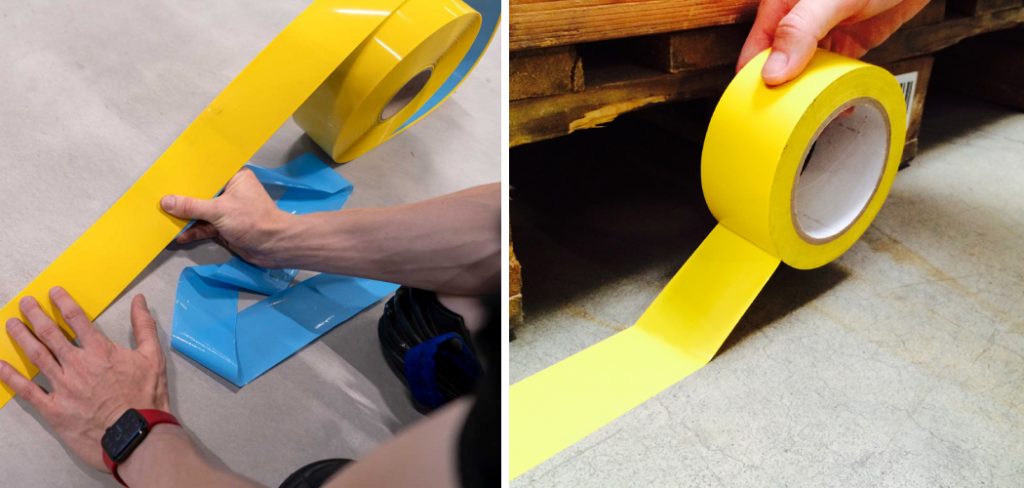
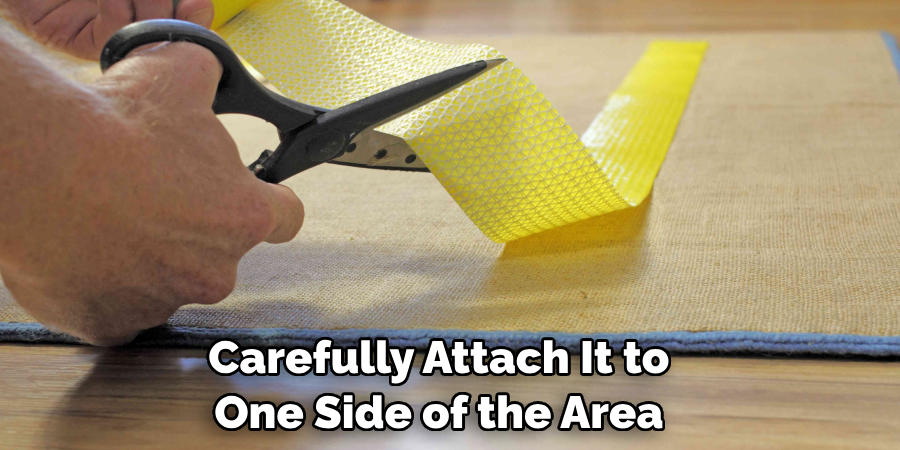
Step 4: Apply The Tape
Grab your application tool and peel back one end of the tape from its backing paper. Carefully attach it to one side of the area you are marking, pressing down firmly with your application tool as you go along. Once finished, repeat this process for the opposite end of the marked area.
Step 5: Remove Any Excess Tape
Finally, use a sharp object to remove any excess tape or bubbles that may have been created during the application process. Once complete, your floor marking should be ready for use. Be careful not to walk on it until the adhesive has fully set.
Following these five simple steps should get you started with applying floor marking tape for your desired workspace. With patience and precision, you will be able to create a neat, organized area in no time!
7 Additional Tips Apply Floor Marking Tape
1. Do Not Rush
This is very important when applying floor marking tape. If you rush, it can cause the tape to lift from the floor and eventually peel off. Take your time while applying so that you get a good seal.
So make sure you are in no hurry when applying the tape.
2. Clean the Surface Beforehand
Before applying the floor marking tape, make sure to clean the surface thoroughly. This will help ensure that the tape sticks properly and does not experience any issues with peeling off due to dirt or debris on the surface. A damp cloth can be used to wipe away dust and dirt.
3. Keep the Tape in a Cool Location
It is best to keep the floor marking tape in a cool area, such as a garage or basement, before applying it. Heat can cause the adhesive to become less effective, making it harder for the tape to stick properly. Be sure to take this into consideration when storing the tape prior to use.
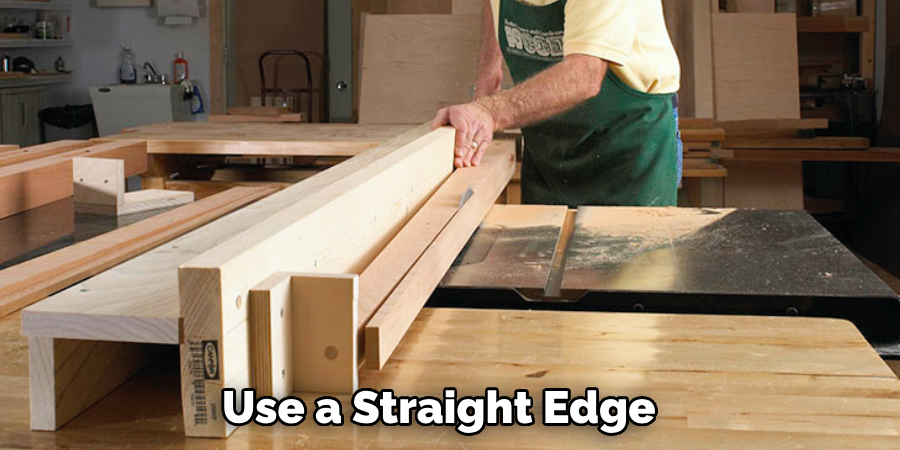
4. Use a Straight Edge
For straight lines, it is best to use a straight edge when applying the tape. This will help make sure that the line remains even and without any bumps or waves. The straight edge can be anything from a ruler to the side of a piece of cardboard cut to an exact angle.
5. Measure Before Cutting
When cutting the tape, it is important to measure the area that you need first. This will help ensure that you have enough tape and don’t end up running short and needing to buy more.
6. Cut Tape in Small Sections
Rather than cutting one large piece of tape, it is best to cut multiple smaller pieces instead. This will make it easier to get around awkward corners and into smaller spaces. Also, make sure to cut the tape using a sharp knife or scissors so that the edges are clean and even.
7. Remove Air Bubbles
After the tape has been applied, it is important to remove any air bubbles that may have formed underneath the tape. This can be done by pressing down firmly on the tape with a cloth or roller. It is important to make sure no air bubbles remain as they can reduce the effectiveness of the tape and cause it to peel off prematurely.
By following these tips, you can ensure that your floor marking tape is applied properly and will remain in place for many years to come. With proper care and maintenance, this type of product can be a great way to clearly mark off areas on your floors without any hassle. Good luck!
Frequently Asked Questions
What Precautions Should I Take When Applying Floor Marking Tape?
When applying floor marking tape, it is important to take certain precautions. First off, make sure that the surface you are applying the tape onto is clean and dry. Additionally, avoid placing the tape close to heat sources as this can reduce its adhesive properties over time.
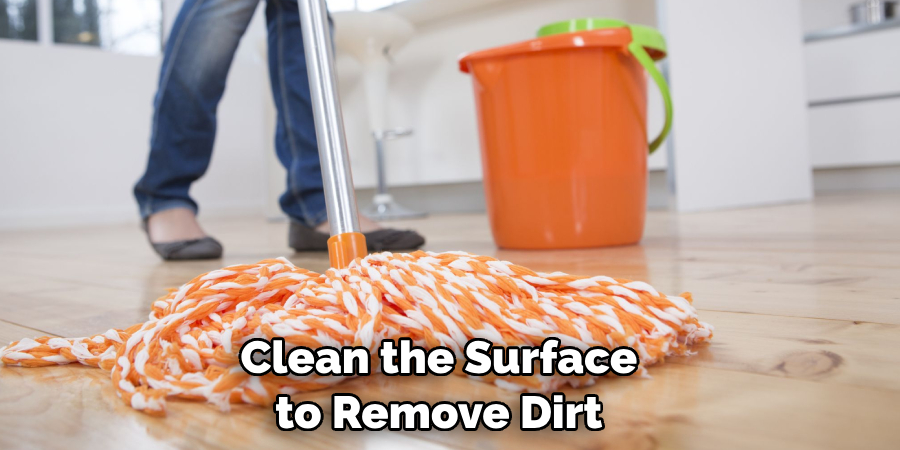
Before applying your floor marking tape, make sure to clean the surface to remove dirt and oil. Finally, when applying the tape, make sure to apply it in a continuous motion and keep the tape as straight as possible for an even application.
What Should I Do If My Floor Marking Tape Does Not Stick?
If your floor marking tape is not sticking, there is likely some issue with either the floor or the tape. First, make sure that the surface you are applying the tape is clean and dry. Additionally, check if the floor marking tape is worn or old as this can affect its adhesive properties.
If you have recently applied a different type of adhesive to the floor, then it may interfere with your floor marking tape’s ability to stick. Finally, if all else fails, you may need to purchase a different type of floor marking tape with stronger adhesive properties.
What Is The Best Way To Remove Floor Marking Tape?
The best way to remove floor marking tape is by using a solvent such as mineral spirits or denatured alcohol. First, make sure that the area is well-ventilated and wear safety glasses and gloves when handling any solvents. Then, lightly spray the area with the solvent and let it sit for a few minutes before trying to remove the tape.
If you are still having trouble removing the tape, use an adhesive remover or a putty knife to scrape off the remaining residue. Finally, once all of the tape has been removed, thoroughly clean and dry the surface.
Can Floor Marking Tape Be Used Outdoors?
Yes, floor marking tape can be used outdoors. However, it is important to note that outdoor conditions such as wind, rain, and UV radiation can reduce the adhesive properties of the tape.
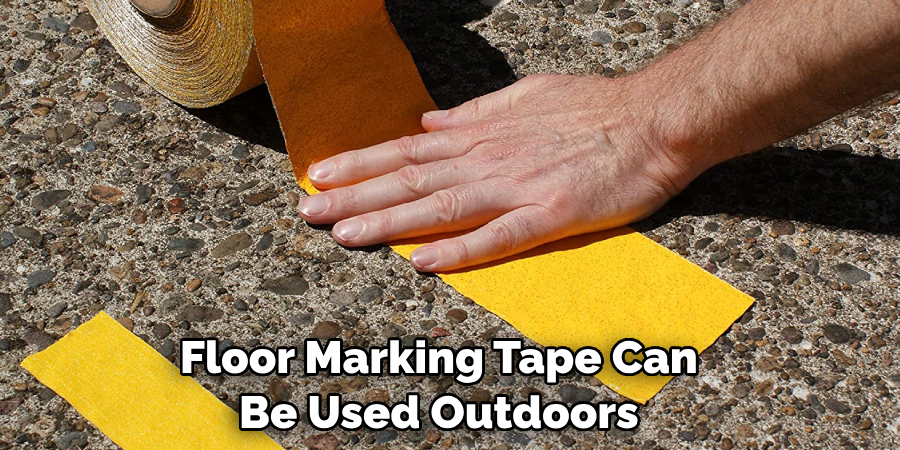
Additionally, certain types of floor marking tapes may not adhere properly to rough or uneven surfaces. Therefore, it is best to use floor marking tape specifically designed for outdoor use. Additionally, be sure to apply the tape in an area that does not receive direct sunlight and follow all of the other precautions mentioned above.
Can Floor Marking Tape Be Used On Carpet?
Yes, certain types of floor marking tapes are designed to be used on carpets. However, it is important to note that carpet is not an ideal surface for adhesive tape as it can easily tear. Therefore, when applying floor marking tape on carpeted surfaces, make sure to use a special low-tack version of the tape and take extra precautions to ensure that the tape does not move or slip. Additionally, test the adhesive strength of the tape before applying it to your floor.
What Are The Benefits Of Using Floor Marking Tape?
Floor marking tape provides several benefits. Firstly, it can easily be cut to the desired size and shape for easy application. Secondly, floor marking tape is a cost-effective solution that can be used on almost any type of surface including carpeted surfaces.
Additionally, the tape is available in different sizes and colors which makes it easier to create custom designs. Finally, floor marking tape is durable and long-lasting which makes it a great choice for both indoor and outdoor use.
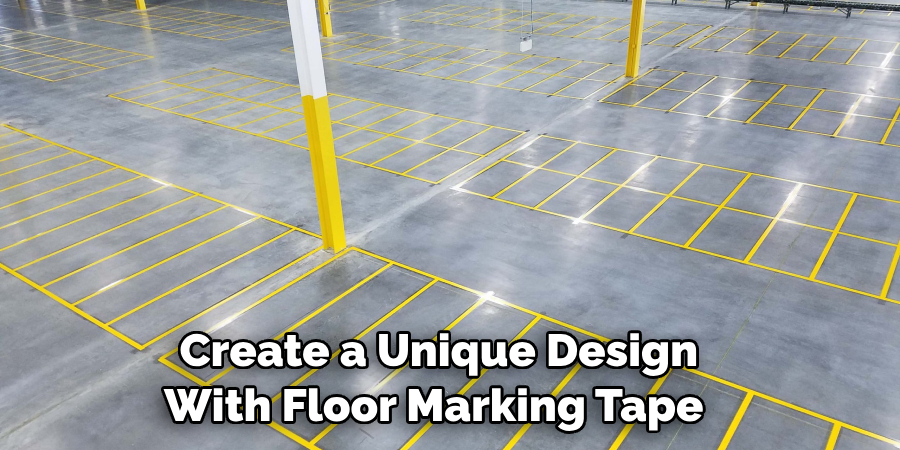
Using floor marking tape is an easy way to organize and label any space. When applying the tape, make sure to take the necessary precautions to ensure that it will stick properly. Additionally, be sure to select the right type of floor marking tape for the surface you are applying it to. With the right tools and knowledge, you can easily create a unique design with floor marking tape that is both aesthetic and functional.
Conclusion
Floor marking tape is an innovative and simple way to keep your workplace organized and safe. It’s the perfect solution to manage hazardous areas, create pedestrian pathways, help prevent slips, trips, and falls, and foster productive workflows. Through strategically using colors and patterns you can make work areas look more attractive while simultaneously providing direction in a functional way.
The best part is that installing this tape is extremely easy so it won’t disrupt day-to-day operations at all. Now you know how to apply floor marking tape! Take some time today to assess your floors and how floor marking tape could be best applied for your specific business needs—we guarantee you won’t regret it!
After all, taking the necessary steps to assure employees are working in an efficient as well as a safe environment should always be at the top of any businesses’ priority list!