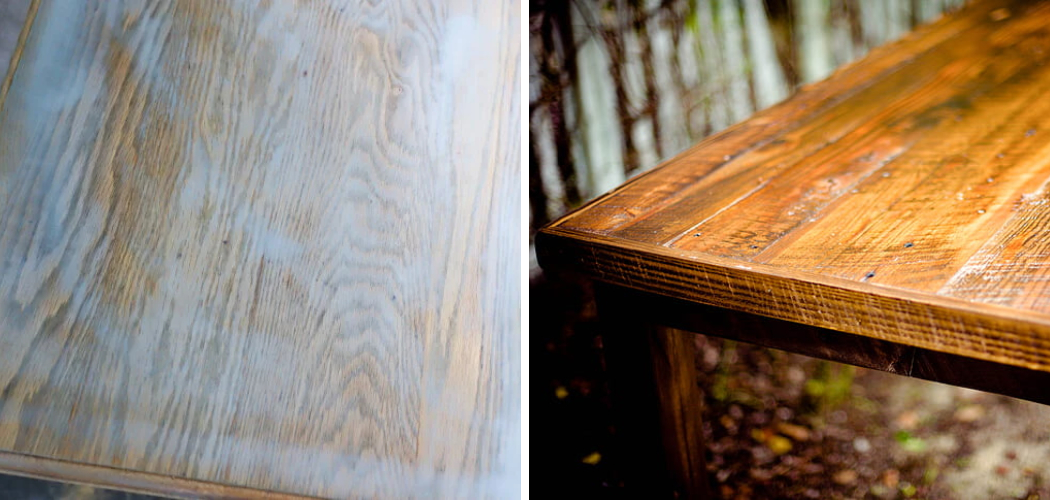
Are you tired of the bright and overwhelming look of orange wood stains on your furniture or floors? Orangewood stain can be a bit tricky to work with as it tends to overpower the natural beauty of the wood. But don’t worry; you can tone down that vibrant orange hue in several ways to achieve a more subtle and muted look.
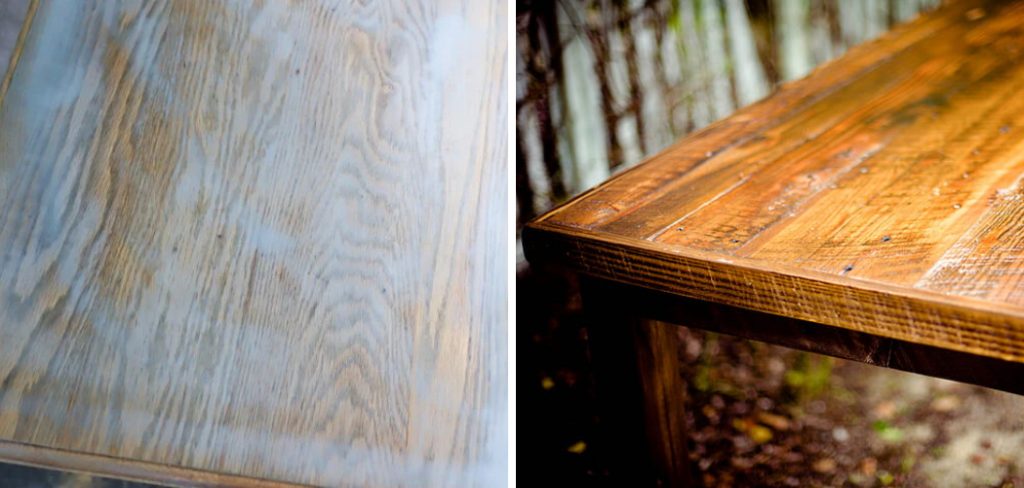
While vibrant and rich, orange wood stains can sometimes be overpowering and detract from the overall aesthetic of a room or piece of furniture, whether you’ve inadvertently applied a stain that’s too bold or you’re looking to update the look of an existing piece, toning down the orange hue can create a more subtle, harmonious finish.
In this guide, we’ll explore various methods and tips on how to tone down orange wood stain, allowing you to achieve the perfect balance for your decor.
What Will You Need?
Before we dive into the techniques, let’s make sure you have everything you need to successfully tone down orange wood stain:
- Sandpaper or sanding block
- Clean cloth or tack cloth
- Wood conditioner or pre-stain sealer (optional)
- Paintbrush or foam brush
- Stain of your choice (preferably a darker and more muted color)
- Staining pad or clean cloth for application
- Polyurethane (optional)
- Protective gloves and eyewear
Now that you have all the necessary materials let’s get started!
10 Easy Steps on How to Tone Down Orange Wood Stain
Step 1: Prepare the Surface
Start by ensuring that the wood surface is clean and dry. Use a clean or tack cloth to remove dust, dirt, or debris. If the surface has any existing finish or sealant, you may need to strip it off using a chemical stripper or sand it down to bare wood. This will allow the new stain to adhere evenly and effectively.

Step 2: Sand the Wood
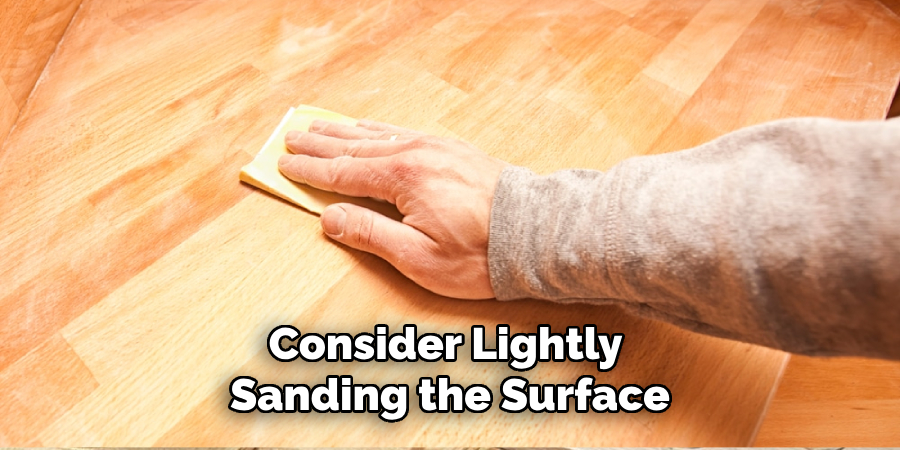
Using sandpaper or a sanding block, gently sand the surface of the wood in the direction of the grain. This helps to open up the wood’s pores, preparing it to accept the new stain. Begin with medium-grit sandpaper (around 120 grit) and finish with a finer grit (around 220 grit) for a smooth, even surface. Wipe off any sanding dust with a clean cloth.
Step 3: Apply Wood Conditioner or Pre-Stain Sealer (Optional)
If your wood is prone to blotching or uneven staining, you may want to apply a wood conditioner or pre-stain sealer. This step is especially important for softwoods like pine. Follow the manufacturer’s instructions for application and drying times. This will ensure that the new stain is absorbed evenly across the wood surface.
Step 4: Choose Your Stain Color
Selecting the right stain color is crucial to effectively tone down the orange hue of your wood. Opt for a darker and more muted stain than the current orange stain. Popular choices include shades of walnut, mahogany, or espresso, which can help neutralize the brightness of the orange. When choosing a stain, it is also important to consider the undertones; a stain with cool undertones like ash grey or charcoal can counteract the warmth of the orange and create a more balanced appearance.
To determine which stain will work best, it’s a good idea to test it on a small, inconspicuous wood area. This lets you see the true color once it is applied and dried. You can judge how well it tones down the orange and whether it achieves the desired effect. Testing different stains can save you time and ensure that you end up with a finish that complements your decor.
Step 5: Apply the New Stain
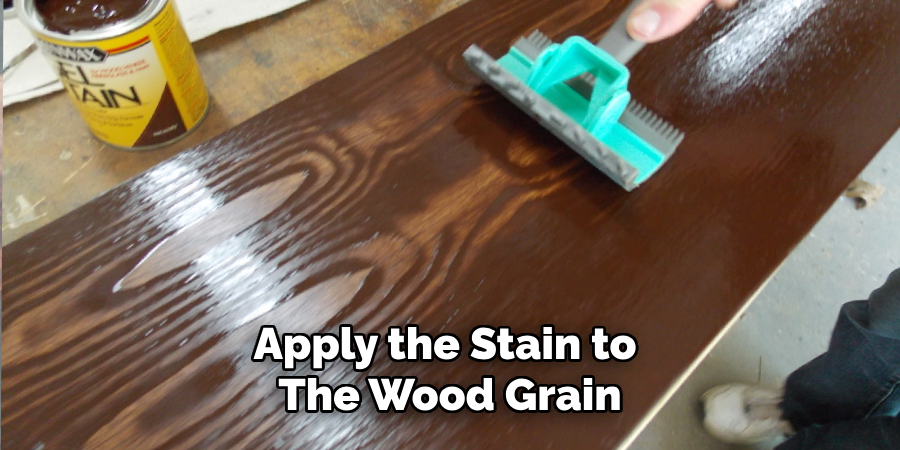
Once you’ve chosen your new stain color, it’s time to apply it to the wood surface. Using a paintbrush or foam brush, apply the stain to the wood grain. Work in small sections to ensure even coverage and avoid blotches. Allow the stain to penetrate the wood for the recommended amount of time as indicated on the product’s instructions. The longer you leave the stain, the darker the color will be. Wipe off any excess stain with a clean cloth, following the wood grain to avoid streaks. If a deeper color is desired, you can apply additional coats, allowing each coat to dry fully before applying the next.
Step 6: Wipe Away Excess Stain
After allowing the stain to sit for the recommended time, carefully wipe away any excess stain using a clean, dry cloth. This helps to prevent blotches and ensures an even finish. Be sure to wipe in the direction of the wood grain to maintain a uniform appearance. Removing excess stain is crucial, as it allows the true color and depth to develop while preventing the stain from becoming too dark or uneven.
Step 7: Let the Stain Dry Completely
Once you’ve wiped away the excess stain, allow the wood to dry completely. The drying time can vary based on the type and brand of the stain and the temperature and humidity of your workspace. Be patient and avoid touching or using the wood until it is scorched, as handling it too soon can cause smudging or uneven color.
Step 8: Apply a Second Coat if Necessary
If the first coat of stain hasn’t toned down the orange hue to your satisfaction, you can apply a second coat. Follow the same steps as before: apply the stain with a brush or foam brush, allow it to penetrate, wipe away any excess, and let it dry completely. Multiple coats can deepen the color and further mute the bright orange.
Step 9: Finish with Polyurethane (Optional)
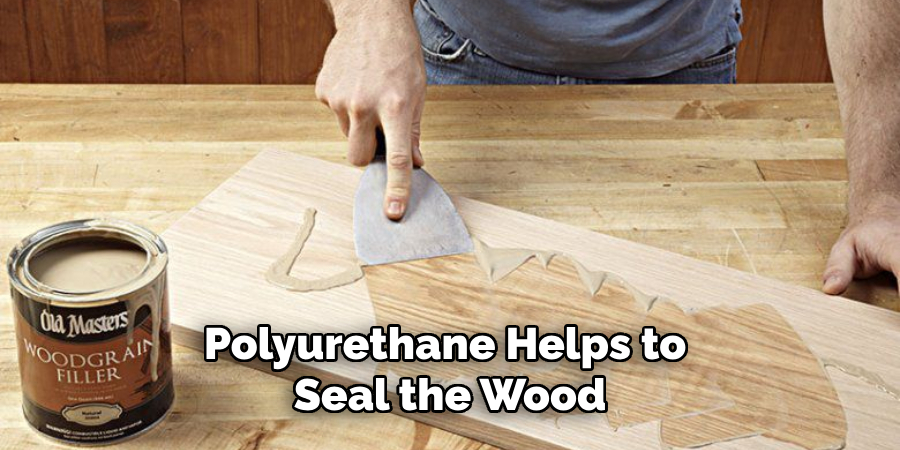
For added protection and a polished look, you may choose to apply a coat of polyurethane after the stain is fully dry. Polyurethane helps to seal the wood and protect it from scratches, moisture, and wear. Use a paintbrush to apply a thin, even coat, and allow it to dry according to the manufacturer’s instructions. Lightly sand the surface with fine-grit sandpaper between coats for a smoother finish.
Step 10: Enjoy Your Toned-Down Wood Piece
With the final finish applied and dried, your wood piece should now have a beautifully toned-down appearance that complements your decor. Take a moment to appreciate your hard work and your transformation. Whether it’s furniture, flooring, or another wooden item, the more subtle hue will enhance the natural beauty of the wood without overwhelming the space.
By following these easy steps, you can successfully tone down the orange hue of the wood stain and achieve a more balanced, attractive finish.
5 Additional Tips and Tricks
- Apply a Darker Stain: One effective method is to apply a darker wood stain over the existing orange stain. This can help neutralize the orange tones and give the wood a richer, more subdued appearance.
- Mix Stains: Create a custom stain by mixing a cooler-toned stain with your existing orange stain. By experimenting with different ratios, you can find a balance that tones down the orange while achieving your desired shade.
- Apply a Wash of White Paint: For a quick fix, dilute some white paint with water to create a wash. Brush it lightly over the stained wood to create a pickled or whitewashed effect that will soften the orange tones significantly.
- Sand and Refinish: If the stain is too intense, consider lightly sanding the surface to remove some of the stain before applying a new coat. This can help reduce the orange color and allow the new stain to adhere and cover more effectively.
- Keep it in Perspective: Remember that the color of your wood is just one element of your overall design. Consider incorporating complementary colors and textures to balance out and distract from the orange tones.
With these tips, you can transform your orange-stained wood into a more desirable shade that complements your space.
5 Things You Should Avoid
- Using Harsh Chemicals: Avoid using strong chemical strippers or harsh solvents to lighten the stain, as they can damage the wood and affect its integrity. Opt for milder methods or professional-grade products specifically designed for this purpose.
- Skipping the Sanding Process: While it can be tempting to bypass sanding, especially if you’re in a hurry, it is an important step in ensuring the new stain adheres properly. Skipping sanding can result in uneven application and poor absorption of the new stain.
- Applying too Many Layers of Paint: Overloading the wood with multiple layers of paint or stain in an attempt to cover the orange hue can result in a thick, sticky finish that may crack or peel over time. Apply thin, even coats and allow adequate drying time between each layer.
- Neglecting to Test Stain Mixtures: Before applying a custom stain mixture to your entire piece of wood, always test it on a small, inconspicuous area first. This will help you avoid unwanted color outcomes and ensure you achieve your desired shade.
- Using Incompatible Products: Ensure that the products you are using, such as stains, sealers, and conditioners, are compatible with each other. Using products that do not work well together can lead to adhesion problems, inconsistent finishes, or long-term durability issues.
By following these tips and avoiding common pitfalls, you can successfully tone down the orange in your stained wood and achieve a more desirable look.
Conclusion
How to tone down orange wood stain involves a combination of thoughtful techniques and mindful practices.
Applying a darker stain, mixing custom stains, or utilizing a white paint wash can effectively neutralize the orange hues to achieve a more harmonious appearance. Light sanding and cautious layer application can further enhance the final result, ensuring that the new stain adheres well and looks uniform. Avoiding harsh chemicals, skipping essential steps, overloading layers, neglecting tests, and using incompatible products are crucial considerations to prevent potential damage and achieve the best outcome.
With these guidelines, you can confidently transform the look of your wooden pieces, creating a more appealing and balanced aesthetic for your space.
