
Do you have wood floors that need a little TLC? Giving your hardwood floor a new shine doesn’t have to be a daunting task. Applying polyurethane can give the floors in your home an attractive and durable finish, but it is important to do so without creating unsightly air bubbles or ruining the look of the surface.
In this blog post on how to apply polyurethane to wood floors without bubbles, we will provide you with step-by-step instructions on how to apply polyurethane correctly and safely so that your time spent updating your hardwood will result in beautifully shiny and smooth floors! Keep reading for more helpful information on applying polyurethane without any hassle or mess.
Needed Materials
Given below is the list of materials you will need for this project:
Paintbrush or Paint Roller
It is important to make sure that the brush or roller you are using for this project is clean and free of any dirt.
Polyurethane
You will need to select a polyurethane product that will work well on hardwood floors. Look for one that provides a good level of protection against scratches, fading, and other wear-and-tear damage.
11 Step-by-step Instructions on How to Apply Polyurethane to Wood Floors Without Bubbles
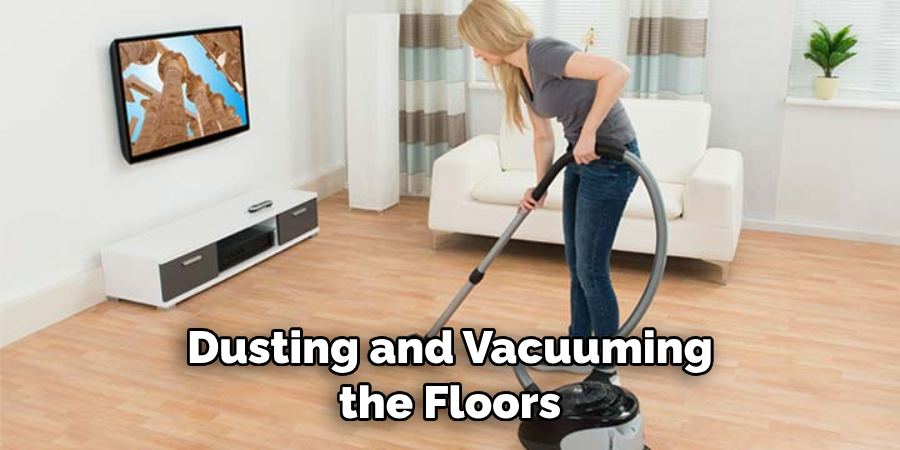
Step 1: Prepare the Floor
Before you begin applying polyurethane, it is important to make sure that the floors are properly prepped and ready for application. Start by dusting and vacuuming the floors thoroughly before moving on to the next step. It is also important to make sure that all nails, screws, and other hardware are securely tightened in place.
This will help to ensure that the polyurethane is applied evenly and without any air pockets. However, if there are any gaps or cracks in the floor, these should be filled with wood putty before moving on.
Step 2: Apply a Sealer
Once the surface has been cleaned, it’s time to apply a sealer. This will help protect your wood from any moisture or water damage that might be caused by applying polyurethane directly onto bare wood. Allow the sealer to dry completely before moving on to the next step. It is important to note that sealers may need multiple coats, so follow the directions on the package to ensure optimal protection.
This is a crucial step that should not be skipped! But if you skip the sealer, your project could be doomed from the start. You have been warned. So please make sure that you apply the sealer properly and let it dry fully. Otherwise, you might end up with a floor that has air bubbles and other imperfections.
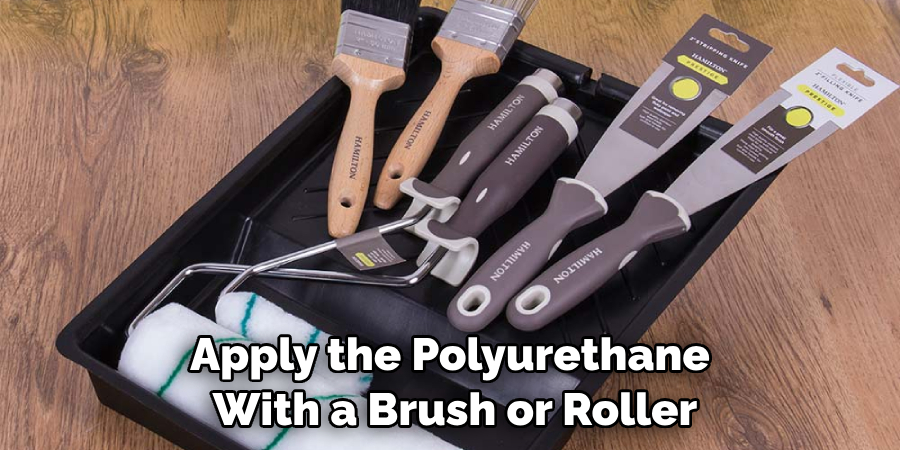
Step 3: Apply Polyurethane with a Brush or Roller
Now it’s time to apply the polyurethane with a brush or roller. Start in one corner and apply the product in thin layers in an overlapping pattern until you have covered the entire area. Make sure to work slowly and carefully so that you don’t create any air bubbles or drips.
This is also an important step in ensuring the longevity of your hardwood floor. It is important to note that some polyurethane products can be quite potent, so it is wise to wear protective gear such as gloves and a face mask when working with them.
Step 4: Allow the Polyurethane to Dry
Once you have applied the product, let it dry completely before moving on to the next step. This can take anywhere from six to eight hours, depending on humidity levels and other environmental factors. It is important to be patient here, as rushing this step can lead to disastrous results. This is also a great time to check for any air bubbles or drips that may have occurred during the application process.
If there are any, you can use a putty knife to remove them before the polyurethane has had a chance to dry completely. That way, you can avoid any permanent damage to your hardwood floors. Otherwise, the polyurethane will cure and be much more difficult (if not impossible) to remove. So, patience is key!
Step 5: Apply the Second Coat of Polyurethane
Once your first coat of polyurethane has dried, it is time for a second coat! Repeat steps 3 and 4 until you have applied two coats of polyurethane, allowing each coat to dry completely before moving on to the next.
You may want to use a different type of brush or roller when applying the second coat, as this can help to ensure an even application. It is also important to make sure that you are not applying too much product at once, as this can lead to air bubbles and uneven coverage.
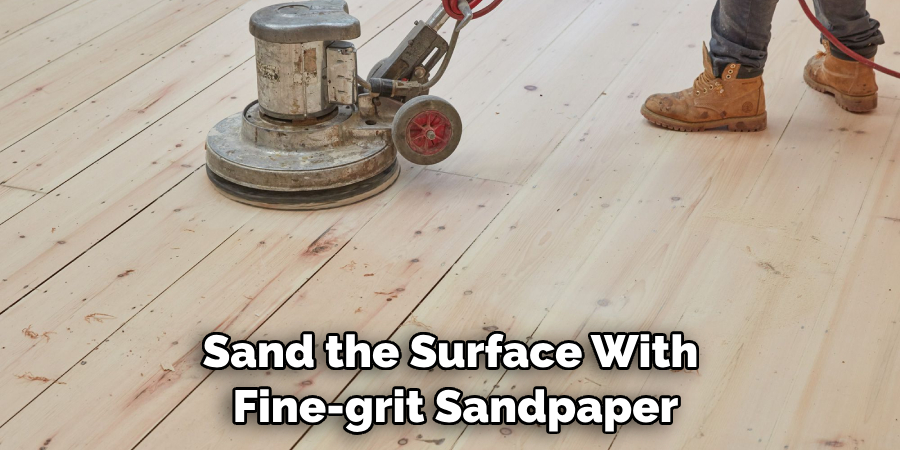
Step 6: Sand Surfaces with Fine Grit Sandpaper
Once your second coat has dried, it’s time to sand the surface with fine-grit sandpaper. This will help smooth out any imperfections that may have occurred during the application process and will give you a nice, even finish. This step is also important in removing any excess polyurethane that may have been left behind.
Make sure to work slowly and carefully as you sand the surface, taking extra care not to sand against the grain. It is also important to keep the area well-ventilated, as the dust can be quite irritating. But don’t worry, once the dust has settled you can start to admire your newly shiny and smooth hardwood floors!
Step 7: Clean off Dust from Sanding
After sanding, use a damp cloth or vacuum to remove any dust from the surfaces. Make sure all of the dust is gone before moving on to the next step! This is an important step in achieving a beautiful and lasting finish. It is also important to note that if any splinters or scratches were created during the sanding process, they will need to be filled in and sanded smoothly before applying the final coat of polyurethane.
This will help to keep your floors looking their best. If you skip this step, the splinters and scratches could show through the finished product. Then all of your hard work will have been for naught!
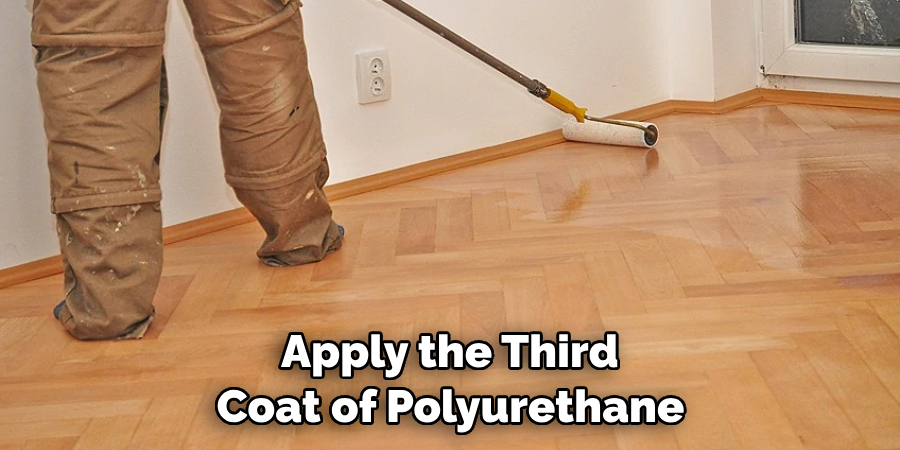
Step 8: Apply the Third Coat of Polyurethane
Once the surface is clean and dust-free, it’s time to apply the third coat of polyurethane. Once again, work slowly and carefully while applying the product so that you don’t create any bubbles or drips. If you find that the polyurethane is not spreading evenly, feel free to use a soft cloth or brush to help spread the product and ensure even coverage.
Allow the final coat to dry completely before moving on to the next step. After the polyurethane has dried, you can start to admire your newly-protected hardwood floors! It’s worth the effort! Remember, if you follow these simple steps and take your time, you can ensure a beautiful finish that will last for years to come.
Step 9: Allow the Third Coat to Dry Completely
Let your third coat of polyurethane dry completely before moving on to step 10. This may take anywhere from eight to ten hours, depending on various environmental conditions. It is important to be patient here, as rushing this step can lead to disastrous results.
But once your third coat has dried completely, you can begin to admire the results of all of your hard work! Although it may seem like a lot of effort, following these steps will help to ensure that your hardwood floors are properly protected for many years to come. You can rest easy knowing that they will last for years without any major issues.
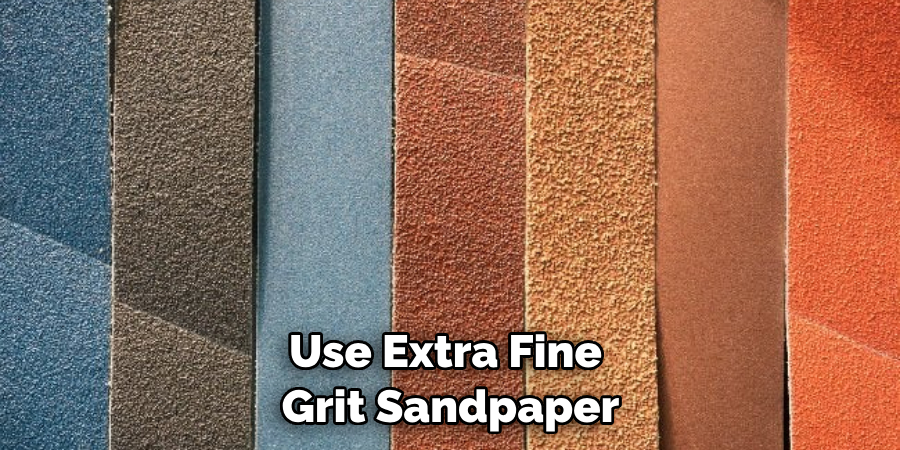
Step 10: Sand Surfaces with Extra Fine Grit Sandpaper (Optional)
If desired, you can use extra fine grit sandpaper to further smooth out any imperfections after your third coat has dried completely. Make sure all of the dust is gone before moving on to the next step!
It’s important to note that this step is completely optional, as the application of three coats of polyurethane should be enough to provide adequate protection and a smooth finish. However, if you would like to achieve a truly flawless finish, some extra sanding may be necessary. This may take some extra time and effort, but the results will be worth it!
Step 11: Clean Surfaces and Vacuum Again
The last step in this process is to clean off any dust that may have accumulated from sanding or vacuuming. Once everything is clean, you can enjoy your beautifully shiny and smooth wood floors! It is important to note that the polyurethane should continue to cure and harden over the next few weeks, so make sure you don’t walk on the floors until it is completely cured.
Otherwise, you may risk damaging its finish. It is also important to remember that applying polyurethane to wood floors is just one of many steps in the process of maintaining and protecting your hardwood floors. Make sure to follow all of the necessary steps in order to ensure that they remain beautiful for many years to come!
We hope this blog post on how to apply polyurethane to wood floors without bubbles has been helpful in teaching you how to apply polyurethane safely and correctly without creating any air bubbles. Following these steps will ensure that you achieve a beautiful finish with long-lasting protection for your hardwood flooring.
Do You Need to Use Professionals?
If you are still feeling unsure about how to apply polyurethane correctly and safely, it may be best to hire a professional for the job. Professional flooring experts have the experience and knowledge needed to ensure that your floors look beautiful and last for years!
How Much Will It Cost?
The cost of the job will depend on the size of your project, as well as any additional services you may need. It is best to get a quote from a professional before committing to any service so that you can determine how much it will cost and if it fits into your budget.
Frequently Asked Questions
Q: Can I Apply Polyurethane Directly to Wood Floors Without a Sealer?
A: It is not recommended to apply polyurethane directly to wood floors without a sealer. This could cause the polyurethane to become discolored and create an uneven finish on your hardwood flooring.
Q: How Long Does It Take for Polyurethane to Dry?
A: The amount of time it takes for polyurethane to dry will depend on the type of product you are using, as well as environmental conditions such as humidity. Generally speaking, it can take anywhere from 6-8 hours per coat.
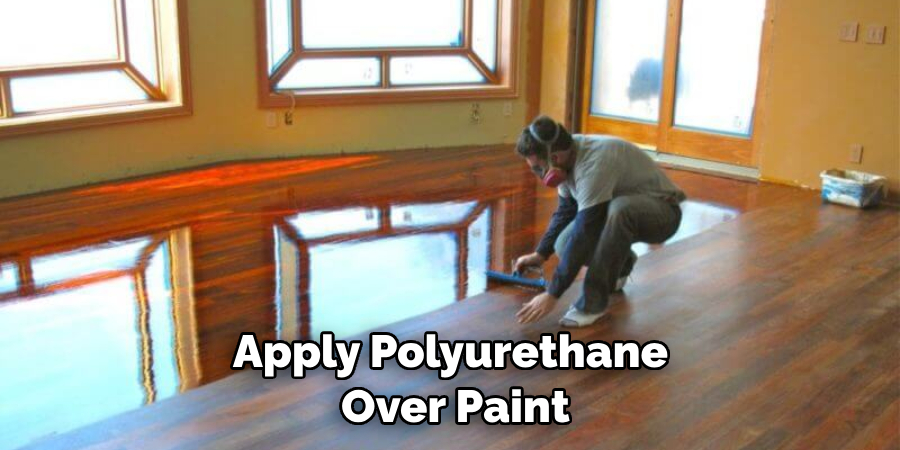
Q: Can I Apply Polyurethane Over Paint?
A: Yes, you can apply polyurethane over paint but it is important to make sure that the paint is completely dry and free of any dirt or debris before applying the polyurethane. You may also need to use a different type of product depending on the type of paint you are using.
Q: How Often Should I Reapply Polyurethane?
A: It is generally recommended to reapply polyurethane every 3-4 years in order to ensure that your wood floors remain protected and look new. Reapplication will also help extend the life of your flooring, saving you time and money in the long run!
Conclusion
In conclusion, applying polyurethane to wood floors without bubbling is a process that can be done on both new and old floors. It’s important to remember to thoroughly clean the floor before starting and make sure to get any dirt out of the seams or joints. Take the time to prepare the surface with light sanding and then apply a thin coat of polyurethane using a quality brush or roller.
Avoid going over areas twice and let it dry for at least 24 hours. After that, lightly sand the surface between coats with fine grit sandpaper, vacuum up any dust, and apply another thin coat of polyurethane.
Taking these steps on how to apply polyurethane to wood floors without bubbles will ensure that you have a great-looking hardwood floor for many years to come! So don’t be intimidated by this project – go ahead and take your time, do your research, ask questions when needed, and start working on your perfect wood floor today!