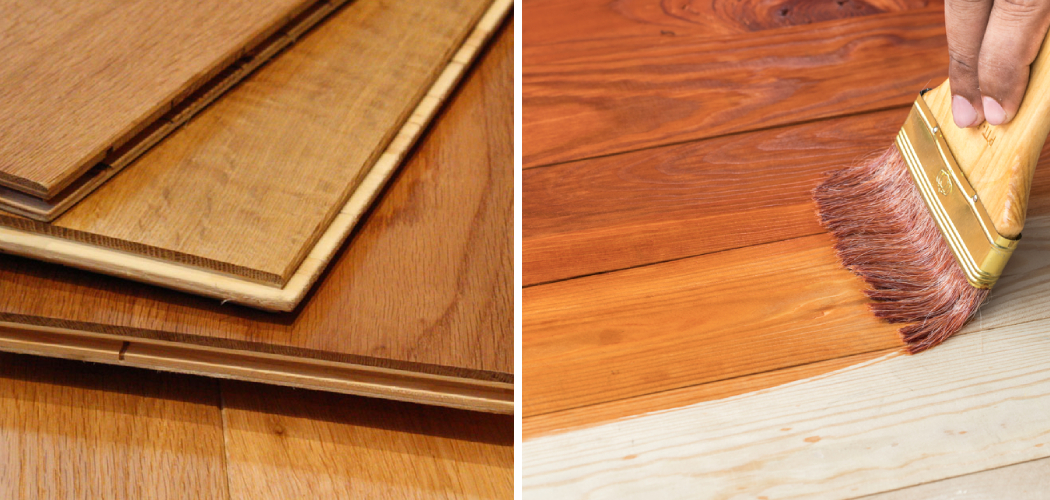
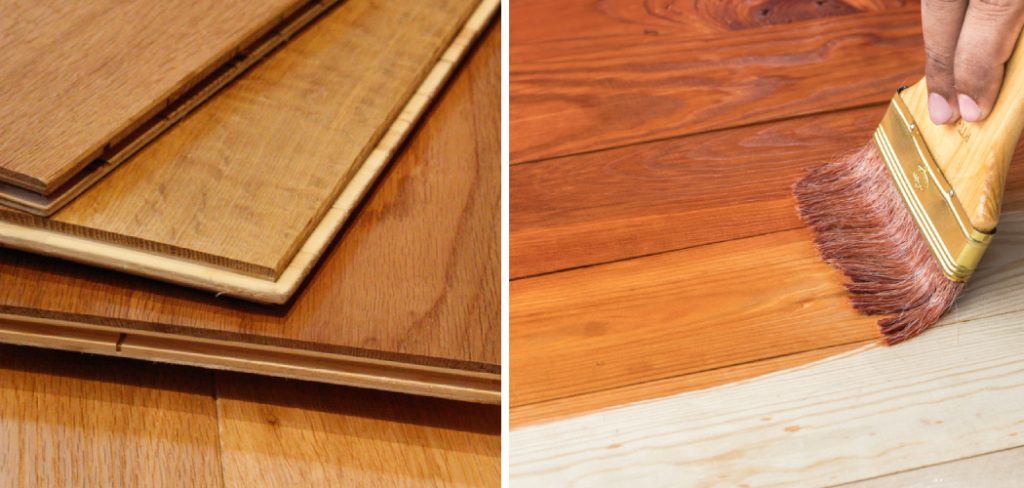
Are your wood floors looking less than lustrous? Do you want to keep them looking their best for years to come? If so, then it’s important that you know how to tell if they are properly sealed against moisture and other damages. Knowing whether or not your wood floor is sealed correctly will help prevent further damage, but more importantly, ensure the longevity of its beauty.
In this blog post on how to tell if wood floor is sealed we’re going to look at the different signs that can indicate whether or not a wooden surface has been treated with sealant—so let’s get started!
Needed Materials
Given below are the materials needed to check if a wood floor is sealed:
- A Damp Sponge
- A Dry Rag or Cloth
- Wood Cleaner
- A Pair of Gloves
- A Drop of Water
- A Flashlight (Optional)
11 Step-by-step Guidelines on How to Tell if Wood Floor is Sealed
Step 1: Prepare the Area
Before starting the examination process, put on a pair of gloves to avoid any direct contact with the cleaning product. Also, use furniture covers and area rugs to protect your floor from potential damage caused by the testing process. It is also important to make sure the floor surface is clean and free of dirt before you begin your inspection.
Step 2: Check for Discoloration
Inspect the floor for any changes in color. Look out for discolored spots, streaks, or patches that may indicate water damage caused by leaks or spills. If you find such signs, it is likely that your wooden floor has not been sealed properly. But be sure to note that natural variations in color may also indicate weathering, aging, or wear and tear.
Step 3: Check for Water Stains
Wood floors are highly susceptible to water damage, so checking for water stains is an important part of the inspection process. Look out for any signs of discoloration or staining caused by moisture seeping through the wood and damaging the sealant. You may also see signs of mildew and mold, which indicate a lack of a proper seal. It is important to note that these signs do not necessarily mean that the floor has not been sealed, as they could also be caused by other factors.
Step 4: Inspect for Cracks
Take a close look at the wood and check for any cracks, chips, or other damage caused by moisture seeping through the unsealed floor. If you find any such signs, it is likely that your wooden floor has not been sealed correctly. You may also want to run a flashlight beam along the edges of the floor to check for subtle signs of water damage. Although this method is not effective in all cases, it can sometimes help to identify unsealed areas.
Step 5: Test the Floor’s Resilience
If you still have doubts, you can test the floor’s resilience by dropping a few drops of water onto it. If the water droplets bead on the surface or spread out quickly, then your wood floors are probably sealed correctly.
However, if the water droplet absorbs into the wood and leaves a dark spot behind—then your wooden floor is likely not sealed properly. It is also important to note that this test should only be done on small sections of the floor, as too much water can cause significant damage to the surface.
Step 6: Take a Look at the Grout
If you have tiles in your home, then take a look at the grout between them. If it looks dirty and discolored, then this could be an indication that moisture is seeping through to the wood beneath and damaging the sealant. But be sure to note that grout discoloration could also be caused by a number of other factors. It is important to inspect the wood beneath the tiles if you are concerned about moisture damage.
Step 7: Test with a Damp Sponge
Once you have inspected the surface and grout, you can use a damp sponge to check for any further signs of moisture. If the wood absorbs the water easily or if it leaves dark spots, then this is an indication that your floor has not been sealed properly. If, however, the water beads on the surface and evaporates quickly—then your wooden floor is likely sealed correctly.
Step 8: Use a Dry Rag or Cloth
Once you have tested the floor with a damp sponge, use a dry rag or cloth to wipe away any excess moisture. This will help determine whether or not your wood floors have been sealed correctly—as water should be repelled and not absorbed into the wood if it is properly sealed. It is also important to remember that this process should only be used on small sections of the floor, as too much water can cause significant damage.
Step 9: Use Wood Cleaner
To ensure the best results, use a wood cleaner to thoroughly clean any dirt and grime from the surface. This will help you determine if there are any discolored patches or streaks caused by inadequate sealing. It is also important to note that this process should only be done on small sections of the floor, as too much water can cause significant damage.
Step 10: Inspect the Edges
Take a look at the edges of your wood floor and check for signs of moisture seeping through. If you find any, then this is an indication that your wooden floor hasn’t been sealed correctly and needs to be resealed as soon as possible. You may also want to run a flashlight beam along the edges of the floor to check for subtle signs of water damage.
Step 11: Use a Flashlight (Optional)
If you want to be extra thorough in your inspection, you can use a flashlight to look for any signs of moisture seeping through the wood floor. This will allow you to identify even the most subtle indications that your wooden floor has not been sealed correctly. Always make sure to use the flashlight on small sections of the floor in order to avoid any potential damage.
Following the 11-step guidelines above on how to tell if wood floor is sealed, you can easily determine whether or not your wood floor is sealed correctly. Not only will you be able to keep your floors looking beautiful for years to come but also protect them from further damage caused by moisture seepage.
Frequently Asked Questions
Q. What Should I Do if I Determine That the Wood Floor Is Not Sealed Correctly?
A. If you find signs that indicate your wooden floor has not been treated with sealant, then it’s important to act quickly and get it resealed as soon as possible. This will prevent further damage caused by moisture seeping through the wood and extend its lifetime.
Q. How Often Should I Check Whether or Not My Wood Floor Is Sealed Correctly?
A. It’s best to inspect the wood floor every few months to ensure that it is properly sealed and protected against moisture damage. Taking such preventive measures will help keep your floors looking beautiful for years to come!
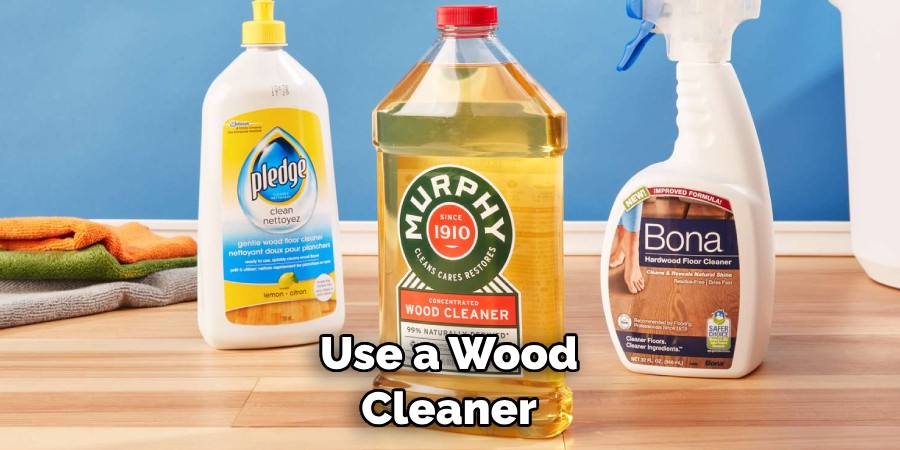
Q. What Should I Use to Clean My Wood Floors?
A. To preserve the beauty of your wood floor and ensure its longevity, it’s important to clean it regularly using a wood cleaner that is specifically designed for this purpose. Regular cleaning will help remove dirt and grime build-up and keep your floors looking as good as new!
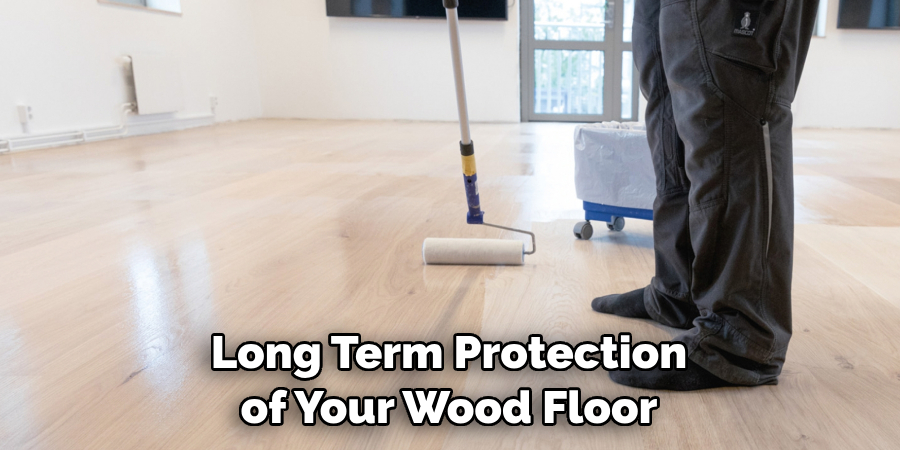
Q. How Can I Protect My Wood Floors From Future Damage?
A. The best way to ensure long-term protection of your wood floor is to keep it sealed properly and clean it regularly using a wood cleaner specifically designed for this purpose. Additionally, using furniture covers and area rugs will help preserve the beauty of the floor and protect it from potential damage caused by the testing process.
By following these simple steps and taking preventive measures, you can easily keep your wood floors looking beautiful for years to come!
Conclusion
Now you’re armed with the knowledge to check if your wood floor is sealed and can better manage wear and tear over the years. By applying these methods, you’ll be able to quickly diagnose any early signs of degradation and help avoid costly repair costs in the future. If however, you’re still not sure what to do next and are fearful of making mistakes along the way, that’s ok too.
A professional floor restorer should be able to evaluate it for you and provide assistance with any relevant maintenance advice needed. As always, make sure to take good care of your hardwood floors because they can easily add up to a substantial investment over time. And if you keep your wood floors properly cared for, they will last a lifetime! Thanks for reading this article on how to tell if wood floor is sealed.