How to stain acacia wood table is a rewarding project that enhances the natural beauty of the wood while providing protection against the elements. Acacia wood is known for its durability and rich, attractive grain patterns, making it a popular choice for furniture.
By applying a stain, you can bring out the vivid hues and unique textures characteristic of acacia while also tailoring the finish to match your specific décor preferences. This guide will walk you through the step-by-step process of preparing, staining, and finishing your acacia wood table to achieve a professional and long-lasting result.

Learning to stain acacia wood effectively is a valuable skill for any DIY enthusiast, whether you’re looking to refresh an existing piece or personalize a new purchase.
What Will You Need?
Before getting started, ensure you have all the necessary tools and materials. Here is a list of items that will come in handy during the staining process:
- Acacia wood table (new or existing)
- Sandpaper (120-grit and 220-grit)
- Tack cloth or lint-free rags
- Plastic drop cloth or old newspapers
- Painter’s tape
- Wood stain of your choice (oil-based or water-based)
- Paintbrushes (2-inch wide for large surfaces, smaller sizes for detailed areas)
- Foam brush or applicator pad
- Protective gloves
- Respirator mask (if using oil-based stain)
- Polyurethane or varnish for sealing (optional)
- Clean cloth or paper towels
Now that you have everything ready, let’s dive into staining your acacia wood table.
10 Easy Steps on How to Stain Acacia Wood Table
Step 1: Prepare the Surface
Proper preparation is key to a successful stain job. Begin by removing any existing finish on the table using sandpaper. For new tables, this step can be skipped.

Using 120-grit sandpaper, sand along the grain of the wood until all previous coating is removed and a smooth surface is achieved. Follow up with 220-grit sandpaper to create an even smoother surface.
After sanding, wipe down the table with a tack cloth or lint-free rag to remove any dust or debris.
Step 2: Protect Surrounding Areas
Before you begin staining, it’s essential to safeguard any areas that might come into contact with the stain accidentally. Start by placing a plastic drop cloth or old newspapers under and around the table to protect the floor and nearby surfaces. This will catch any drips or spills during the staining process. Next, use painter’s tape to cover parts of the table that you want to keep free of stain, such as hardware or specific design elements that contribute to the table’s unique character. Protecting these areas will ensure that your table looks professionally finished once the stain is applied.
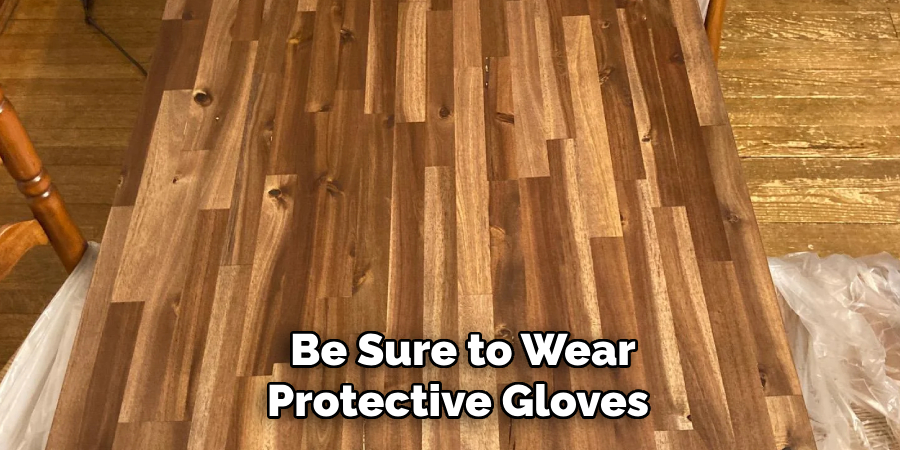
Additionally, be sure to wear protective gloves to keep your hands clean, and consider using a respirator mask if you’re working with an oil-based stain to avoid inhaling any fumes. This level of preparation not only protects your surroundings but also makes the staining process go more smoothly.
Step 3: Apply the Stain
Once your table and surrounding area are adequately prepared, it’s time to apply the stain. Start by stirring the wood stain thoroughly to ensure the color is evenly distributed. Using a foam brush or applicator pad, apply the stain to the acacia wood in the direction of the grain. Be sure to work in small sections to avoid uneven application.

After using the stain, let it penetrate the wood for five to ten minutes, then wipe off the excess with a clean cloth or paper towel. Remember that the longer the stain sits on the wood, the deeper the color will be. If you desire a darker shade, you can apply additional coats following the same process, allowing adequate drying time between each application. Ensure the stain is evenly spread across the surface to prevent streaks or blotches, yielding a smooth, rich finish.
Step 4: Let the Stain Dry
After the stain has been applied and excess wiped away, it’s crucial to allow sufficient drying time before moving on to the next steps. Depending on the type of stain used (oil-based or water-based) and the environmental conditions such as humidity and temperature, complete drying can take anywhere from a few hours to a full day. Refer to the stain manufacturer’s instructions for specific drying times. During this period, avoid touching the table’s surface and ensure the environment is well-ventilated. This will help the stain to cure correctly, resulting in a more durable and even finish.
Step 5: Apply a Sealant
Once the stain is completely dry and you’ve achieved the desired color, it’s time to apply a sealant to protect the wood and enhance the finish. Choose a polyurethane or varnish as your sealant, depending on whether you prefer a glossy, satin, or matte finish. Using a clean paintbrush, apply the sealant in thin, even coats following the direction of the wood grain.
Allow the first coat to dry according to the manufacturer’s instructions, usually for several hours. Lightly sand the surface with fine-grit sandpaper to remove any bubbles or imperfections, and then wipe away dust with a tack cloth. Apply additional coats as needed, generally two to three total, ensuring each coat is thoroughly dry before applying the next. This process will give your acacia wood table maximum durability and a beautiful, professional-looking finish.
Step 6: Inspect and Finish
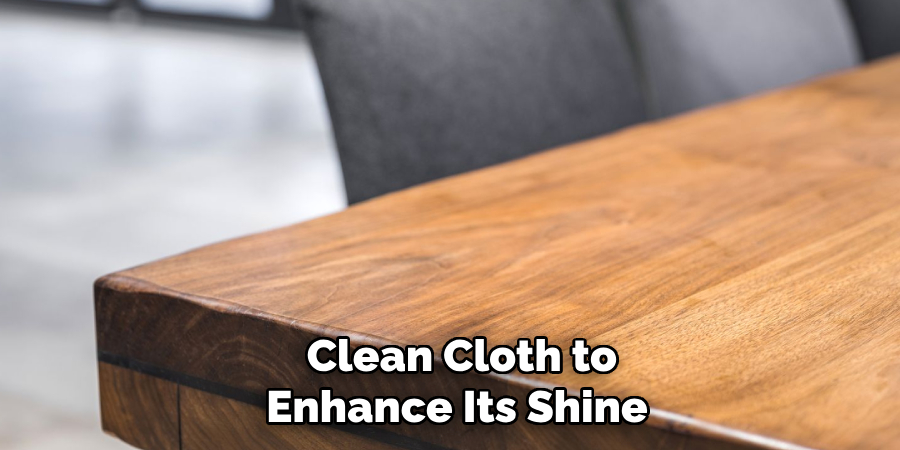
After the final coat of sealant has dried completely, it’s time to inspect the table for any imperfections. Carefully examine the surface for any areas needing touch-ups or additional sanding. If necessary, gently buff these spots with fine-grit sandpaper and apply a small amount of sealant to areas that need it, ensuring a consistent finish. Once the finish is smooth and flawless, remove the painter’s tape and clean up any remaining protective coverings from the workspace. Finally, gently polish the table with a clean cloth to enhance its shine and bring out the beauty of the acacia wood.

Step 7: Cure and Final Touches
With the staining and sealing completed, allowing the table ample time to cure fully is essential. Curing ensures that the finish hardens appropriately and provides maximum protection and durability. Move the table to a location where it can sit undisturbed, free from dust, for at least 24 hours or as the sealant manufacturer recommends. During this period, avoid placing objects on the surface to prevent indentations. Once the curing process is complete, set your table in its designated space, and it’s ready to be used.
Step 8: Maintain the Finish
Regular maintenance is essential to keeping your acacia wood table looking its best. Begin by dusting the table with a soft, lint-free cloth at least once weekly to prevent dust buildup. Consider using a furniture polish specifically designed for wood surfaces to enhance the shine and add a layer of protection. Avoid harsh cleaning agents or abrasive materials, as these can damage the finish over time. Additionally, consider placing coasters or placemats under hot or wet items to prevent heat and moisture damage.
Step 9: Repairing Small Scratches or Dents
Over time, everyday use of your acacia wood table may lead to minor scratches or dents on the surface. To address these, carefully clean the affected area with a damp cloth to remove dust or dirt particles.
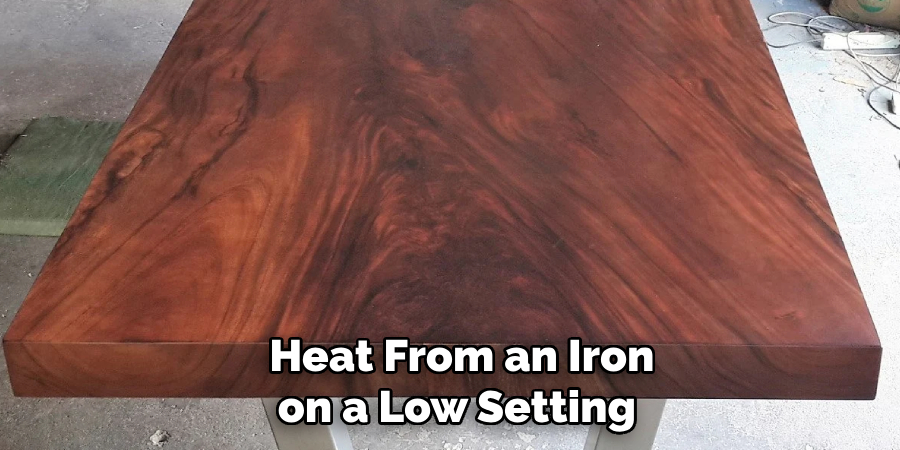
For minor scratches, you can apply a wood touch-up marker or crayon that matches the table’s stain color to fill in the marks. Gently run the marker or crayon along the scratch and blend it with a soft cloth toward the wood grain. For minor dents, use a damp cloth placed over the dent, then gently apply heat from an iron on a low setting. This process allows the wood fibers to swell and minimize the dent’s appearance. After any repairs, give the surface a light polish to restore its natural luster.

Step 10: Long-Term Care
Establish a long-term care routine to ensure the longevity and beauty of your acacia wood table. Keep the table away from direct sunlight and extreme humidity, which can cause the wood to fade or warp over time. Use a humidifier or dehumidifier to maintain a stable environment if necessary. Reapply sealant to maintain protection, typically every few years, depending on wear and exposure. Additionally, consider applying a high-quality wood conditioner annually to nourish the wood and preserve its natural oils.
By following these steps, you can successfully stain and seal your acacia wood table, creating a stunning centerpiece for your home that will last for years.
Conclusion
Staining an acacia wood table involves a blend of attention to detail and patience. The result is a beautifully enhanced piece that showcases the wood’s natural elegance.
By following the outlined steps on how to stain acacia wood table, from careful preparation to the final finish, you ensure that your table is not only visually appealing but also protected and durable. Remember to respect each drying and curing phase and perform regular maintenance to keep your table pristine.
Whether you’re a seasoned woodworker or a novice enthusiast, this guide provides the foundational knowledge to achieve professional results, allowing you to enjoy your stunning acacia table for many years.
