
Have you ever completed a floor staining job only to be disappointed? You’ve put time and effort into preparing your floors, but it looks worse than when you started! Not to worry – there are solutions out there that can help. Whether the stain didn’t take, is blotchy, or you made a mistake in the application, these steps can help fix your bad floor staining job.
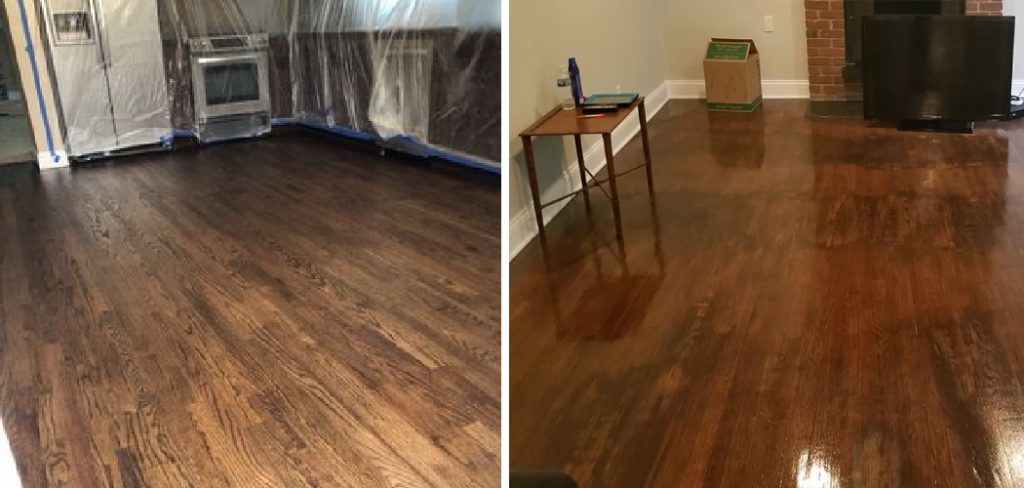
In this blog post, we’ll dive deep into how to fix a bad floor stain job. We’ll discuss ways of fixing any unevenness in color, hiding those spots that are still too light or dark for your liking, and making sure the sealant is applied correctly so that nothing chips away or wears off easily.
So if you’ve been worried about renovating your old hardwood floors or just need tips on getting better results from your current project–keep reading!
What are the Causes of a Bad Floor Stain Job?
A variety of factors can cause a bad floor stain job. Before attempting any repair, it’s important to assess what went wrong in the first place so that you can make sure not to repeat the same mistakes.
For example, an uneven staining job could have been caused by insufficient sanding or lack of pre-treating the wood with a conditioner before staining. Suppose a visible inconsistency exists between different planks and boards within your flooring.
In that case, it may also indicate that some pieces are too dry for proper absorption and need more moisture to even out coloration. Too much stain applied on one area can also be an issue – allowing excess liquid to soak into different sections and create blotchy streaks.
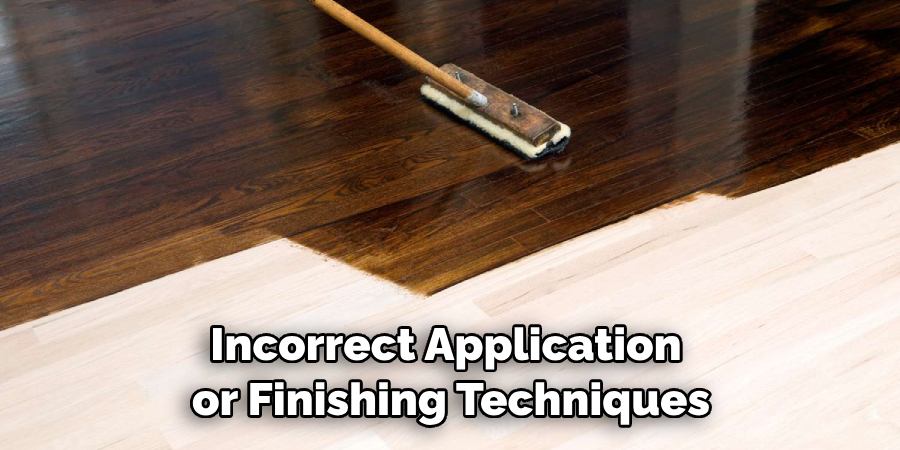
Additionally, a bad floor stain job can happen due to incorrect application or finishing techniques. Over-sanding the wood beyond its finish, using the wrong type of sealant for your floors, and inadequate drying time between coats are all common mistakes that lead to staining issues.
What Will You Need?
Before you can begin fixing your floor stain job, you will need to ensure you have the right materials. Here is a list of things you should gather before starting:
- Sandpaper
- Stain remover/stripper
- A tack cloth or vacuum cleaner
- Wood filler
- Polyurethane sealant and applicator
- Staining cloths
Once you have the necessary items, it’s time to start fixing your bad floor stain job.
10 Easy Steps on How to Fix a Bad Floor Stain Job
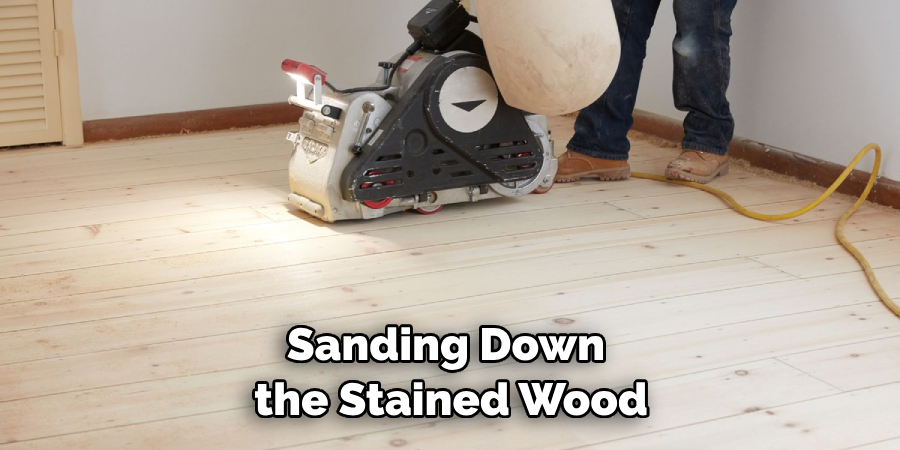
Step 1. Sand the Stained Wood:
Start by sanding down the stained wood using fine-grit paper. This will help remove any existing stain and allow for easier re-staining. As you sand, wipe off dust with a tack cloth or vacuum cleaner.
Step 2. Remove Excess Stain:
If any areas contain too much stain, use a stain remover or stripper to remove the excess product. Work in sections and follow the instructions on the label of your chosen product for precise results. You can also use steel wool to help scrub off any remaining stains.
Step 3. Fill Gaps with Wood Filler:
If there are visible gaps between planks or boards, fill them with wood filler. This will help even out the surface area so it can be stained evenly and effectively. Additionally, sand the wood filler down once it’s dried.
Step 4. Apply New Stain:
Once all other preparations have been made, you can start applying a new layer of stain to the floor. Make sure to work in small sections and allow enough time for each one to dry before moving on to the next one. Another tip to ensure an even color is to start from the edges and work your way toward the center.
Step 5. Sand Again:
Once the stain has completely dried, you may want to sand the floor with very fine-grit paper lightly. This will help ensure the finish is even and consistent across all areas. Remember that you don’t want to sand away all of the stains, just enough to create a smooth surface.
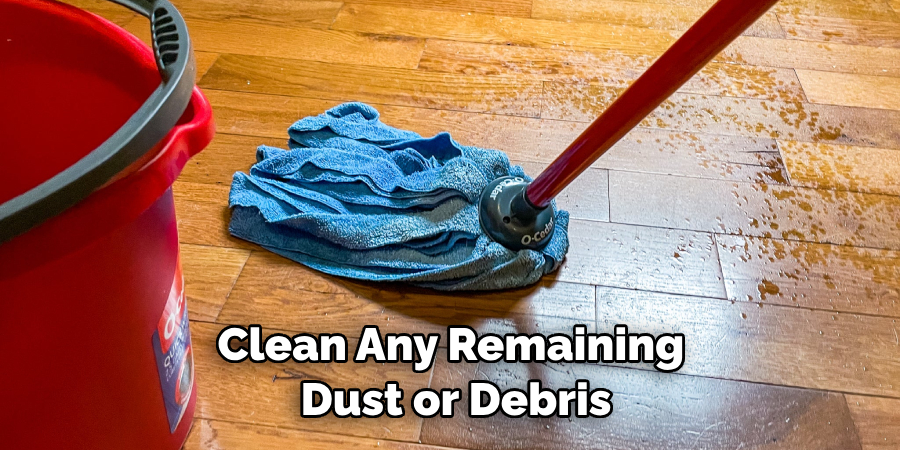
Step 6. Clean the Surface and Prepare for Sealing Coats:
Before applying sealant to your floors, make sure that you clean any remaining dust or debris from the surface with a vacuum cleaner or cloth. If using a water-based sealant, dampen the floor with a damp cloth before beginning. Don’t let the water sit on the wood for too long, which can cause discoloration.
Step 7. Apply First Sealant Coat:
Apply one coat of polyurethane sealant to the entire area, spreading it evenly across each board or plank. Allow this coat to dry completely before moving on to the next step. There should be no visible signs of liquid when it’s dry.
Step 8. Apply Second Sealant Coat:
Apply a second coat of sealant, this time using circular motions to ensure that the product is spread evenly and penetrates into the wood. It is important to ensure all surfaces are covered, and no spots are missed. As with the first coat, wait for this one to dry completely before proceeding.
Step 9. Sand Between Coats:
Once the second coat of sealant has dried, you may want to sand it lightly with a very fine-grit paper to create an even surface. Always wipe off any dust with a cloth before applying additional coats. Keep this up until you’ve reached your desired level of smoothness.
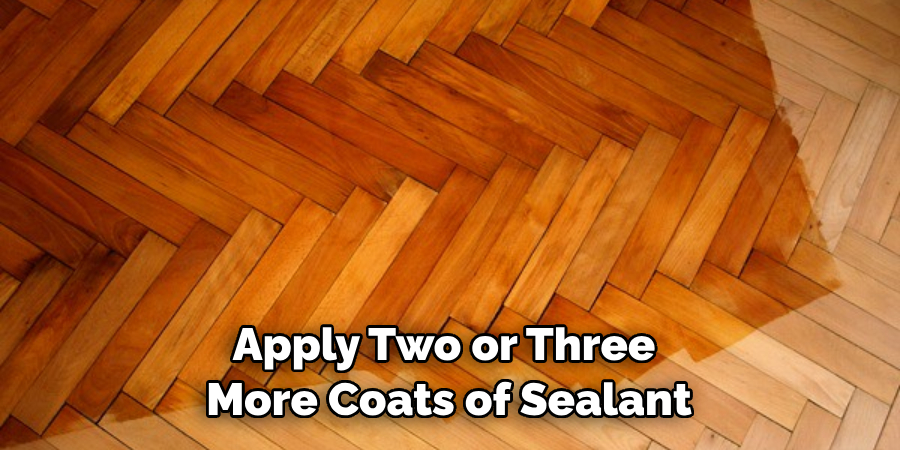
Step 10. Add Final Sealant Coats:
Once everything else has been completed, apply two or three more coats of sealant to achieve the desired level of protection against water and other elements. Allow each layer to dry before applying the next. Remember to sand between each coat (using very fine-grit paper) in order to achieve the best results.
And there you have it – 10 easy steps on how to fix a bad floor stain job! With these simple tips, you can get your floors looking their best in no time.
5 Additional Tips and Tricks
1. To restore the color of a stained floor, use a solvent-based wood cleaner to scrub away the top layer of stain.
2. If you need to remove any discolored areas that weren’t covered by the original stain job, apply a new stain and let it dry for two hours before adding a topcoat.
3. When applying a new coat of stain, use a water-based product rather than an oil-based one as this will create a more even finish.
4. Make sure your floors are completely dry before starting the staining process; otherwise, you may end up with blotches of color that don’t match the rest of your flooring.
5. To prevent future bad stains from occurring, clean up spills immediately and avoid using abrasive cleaners that can damage the finish.
These tips will help you fix a bad floor stain job and bring your floors back to their original beauty. With patience and some elbow grease, you can give your home a fresh makeover in no time!
5 Things You Should Avoid
1. Don’t try to remove the stain yourself without the right tools or knowledge; this could lead to further damage.
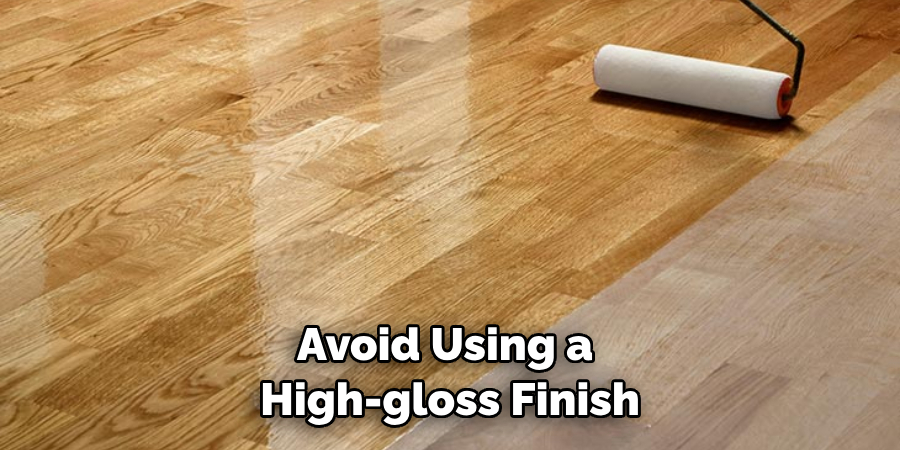
2. Avoid using a high-gloss finish for your flooring, as this can make any discolored areas more noticeable.
3. Take your time with the staining process; even a small mistake can create an uneven finish.
4. If you’re working with a large area of stained wood, avoid attempting to cover it all with one coat of color; instead, use multiple lighter coats for best results.
5. Never ignore spills – no matter how small – and do not track dirt or other particles onto freshly stained floors, which can cause lasting damage.
By following these rules and using the right materials, you can fix a bad floor stain job and restore the beauty of your floors.
Some Frequently Asked Questions
1. What Happens if Stain Doesn’t Work?
If you find that the stain still doesn’t look good after following the steps above, then the best option may be to sand down the floor and start over. Sanding is a challenging process and will require some specialized tools, so if this is a task that is beyond your skill level, it’s best to hire a professional for assistance.
No matter what route you take, make sure you take your time and do the job correctly so you can avoid having to repeat it in the future. With patience and a little bit of know-how, fixing a bad floor stain job is more manageable than it might seem.
2. Can You Reapply Stain?
If you’re looking to refresh the color of your flooring, then yes, it’s possible to reapply a stain. Just keep in mind that the old stain must be completely removed before adding any new layers. If you find this isn’t practical or too labor-intensive, consider using a wood floor cleaner and sealant instead for an easy way to revive the look of your floors without as much effort.
Additionally, make sure that you choose the right type of stain for your flooring and take care to apply it evenly – this will help ensure a successful reapplication. By following these guidelines, you can easily fix a bad floor stain job and restore the beauty of your floors.
3. Why is Your Stain Not Drying?
If your stain isn’t drying correctly, there could be several possible causes. It could be that you’ve applied too much stain or not allowed it to dry properly before coating with a top sealer. Alternatively, your wood may have been too wet when the staining process began, causing the product to never fully dry.
To fix this issue, make sure that you use high-quality materials and follow all instructions carefully. Additionally, take special care to check the moisture level of your flooring before applying any type of stain, and allow plenty of time for the product to fully cure before sealing it in. Doing so will help ensure that your floors stay looking their best for years to come!

4. Can You Stain Over Uneven Stains?
Yes, you can stain over uneven stains. However, it’s important to make sure that the old stain is completely removed before applying a new coat – otherwise, the surface will only look good and could end up with a patchy finish. If necessary, use a wood floor cleaner to help strip away any discoloration, and then sand the area down with medium-grit sandpaper until it’s smooth.
Once your floors have been prepped properly, you can apply a new layer of stain evenly across the entire surface and ensure an even finish when drying. With these steps in mind, fixing a bad floor stain job doesn’t have to be daunting; just take it one step at a time for the best results!
Conclusion
In conclusion, how to fix a bad floor stain job can feel like an immense undertaking. But with the right tools, techniques, and tips outlined above, it’s entirely possible to abolish disappointing stains and return your floor to its former condition.
Whether you opt for hard work on your hands and knees or attractive new floor covering options, be sure to approach the problem systematically; breaking down each step is often the key to finding a successful result.
Above all else, take comfort in the fact that there is always something that can be done about any type of floor staining-related issue. It may take time and perseverance to get the desired outcome, but patience is a virtue when embarking on this kind of project!