
Are you looking for a secure and stylish way to hang your beautiful leaning mirror? Look no further – this blog post on how to secure leaning mirror on dresser will provide an easy-to-follow guide on how to properly secure a leaning mirror onto your dresser. We’ll delve into the best practices of creating a sturdy structure that prevents the mirror from slipping and falling while ensuring that it looks as aesthetically pleasing as possible.

Not only is making sure your leaning mirror is secured incredibly important for safety reasons, but it also makes walking around or simply standing in front of the dresser more enjoyable. Get ready to learn how simple, yet effective, securing your own full-length luxurious leaner mirror can be!
What is Learning Mirror?
A leaning mirror is a type of full-length mirror that’s designed to lean against furniture or walls for stability and support. It can be used to check your outfit before heading out, or simply add some class and beauty to any room. Though it looks simple enough, it’s important to take the necessary steps in making sure that leaning mirrors are securely attached to their dressers.
Leaning mirrors come in many shapes and sizes, so it’s important to select the best size for your dresser before purchasing one. Then, you can begin the steps of attaching them to your chosen piece of furniture.
11 Step-by-step Guidelines on How to Secure Leaning Mirror on Dresser
Step 1: Choose the Wall or Dresser
If you choose to hang the mirror on a wall, ensure its surface is level and firm enough to support the weight of the mirror. It should also be far enough from any furniture or objects so that the mirror won’t be bumped and knocked off.
If you choose to hang it onto a dresser, ensure the legs of the dresser are sturdy and straightened. Make sure there are no gaps between the dresser and the floor and all four feet should rest evenly on the ground.
Step 2: Measure the Mirror
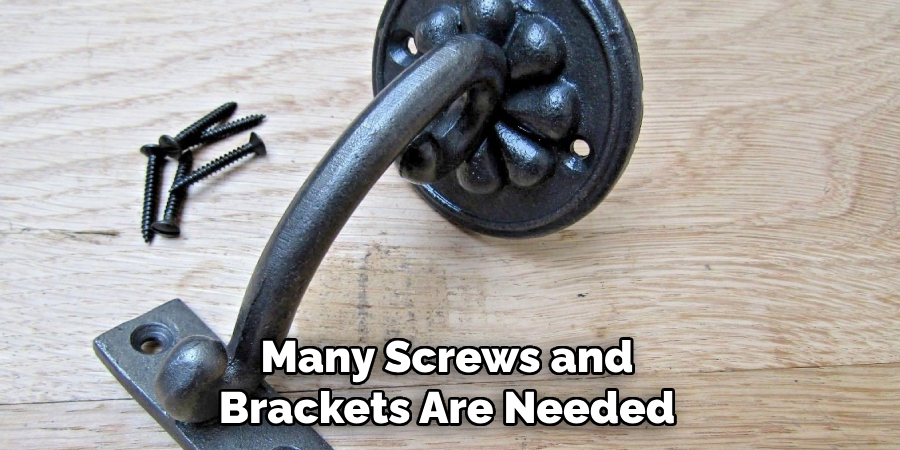
Before you begin to attach the mirror, you need to know its exact dimensions. This will help you determine how many screws and brackets are needed for support. It’s also important to measure the distance between the wall or dresser and the top of the mirror (also known as “overhang”). This will help you determine where to place the screws.
Step 3: Test Fit
Once you have your measurements, it’s time for a test fit. Place the leaning mirror onto the dresser or wall and ensure that it fits comfortably. If the mirror is too large, then you might need to make adjustments or purchase another mirror altogether. If the mirror is too small, you can use a larger piece of wood to increase the space.
Step 4: Mark Where You’ll Place the Screws
Using a pencil, mark where the screws will go on both sides of the dresser (or wall). Be sure to account for the overhang when doing so. For example, if you have a 6-inch overhang, then you’ll want to mark the spots at least 6 inches below that what would be normal. This will ensure that the screws are secure and can support the weight of the mirror.
Step 5: Pre-Drill Holes
Using a drill or pre-drilled holes on either side of the dresser or wall, insert screws into the marked spots. This will create the anchor points for where you’ll attach the brackets. It’s important to make sure the pre-drilled holes are large enough that the screws won’t have difficulty going in.
Step 6: Attach Brackets
Once your pre-drilled holes are ready to go, it’s time to attach the brackets to each side of the dresser or wall. Make sure that the brackets are firmly attached to the screws and are in line with one another. Otherwise, the mirror won’t be able to sit securely. It’s also important that the brackets are strong enough to support the weight of the mirror.
Step 7: Attach Support Bars
Attach support bars onto each side of the leaning mirror, using screws, nuts, and bolts. Ensure that the support bars line up with the attached brackets from Step 6. You will need two people for this process – one to hold the mirror in place while the other tightens the screws. But be sure not to over-tighten the screws as this could potentially damage the mirror.
Step 8: Attach Mirror to Support Bars
Carefully attach the mirror to its support bars, using screws and nuts. Again, this process will require two people – one to hold the mirror in place while the other ensures that it’s firmly attached. This is a key step in securing the mirror, so make sure it’s done properly. It’s also important to remember not to overtighten the screws.
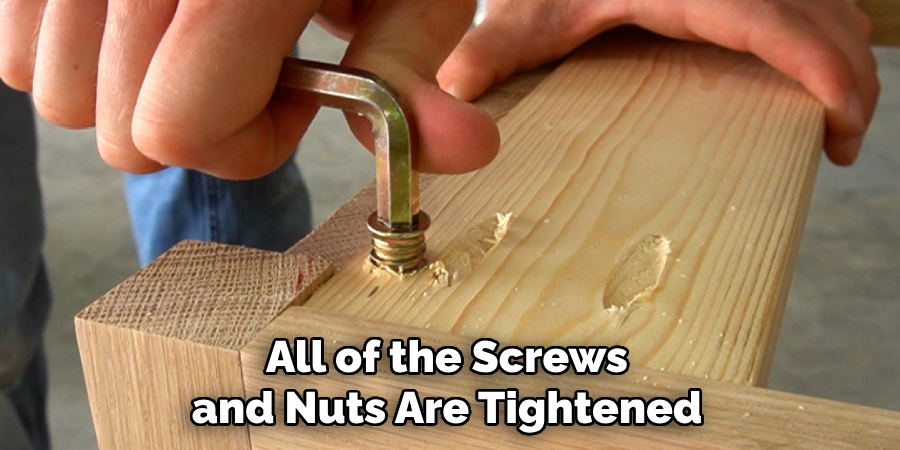
Step 9: Tighten All Screws and Nuts
Once all of the screws have been attached, it’s time to tighten them. Use a screwdriver or wrench to ensure that all of the screws are tight. This will help secure the leaning mirror onto your dresser or wall. But be sure not to over-tighten them as this can damage the mirror.
Step 10: Clean and Polish
Once you’re done securing the leaning mirror, it’s time for a little bit of cleaning and polishing. Use a cloth soaked in warm water and mild detergent to wipe down the frame and support bars. You can also use a glass cleaner to clean the mirror itself and make it look shiny and new.

Step 10: Adjust the Mirror
Once you’ve ensured that all of the screws are tight, it’s time to adjust the leaning mirror. Make sure that the mirror is level and in line with your dresser or wall. If it isn’t, simply adjust the brackets until it is. This will ensure that your leaning mirror is securely attached and won’t wobble. It will also make checking your outfit in the mirror a lot easier.
Step 11: Double Check Everything
Once you’ve adjusted the mirror, it’s important to double-check to make sure that everything is secure. Ensure that all screws and nuts are tightened and in place, while also verifying that the leaning mirror is level. Once you’re completely satisfied with the mirror’s position, you can now move on to admiring your work! Always make sure to check the leaning mirror periodically to ensure it remains safe and secure.
Following these 11 simple steps will ensure that your leaning mirror is securely attached to your dresser or wall. Not only is this an important safety precaution, but it also gives you the confidence of knowing that your beautiful mirror won’t be falling any time soon. With this guide on how to secure leaning mirror on dresser, you can now enjoy a safe and stylish full-length mirror that’s perfect for any room.
Frequently Asked Questions
Q: What Are the Best Materials to Use When Securing a Leaning Mirror?
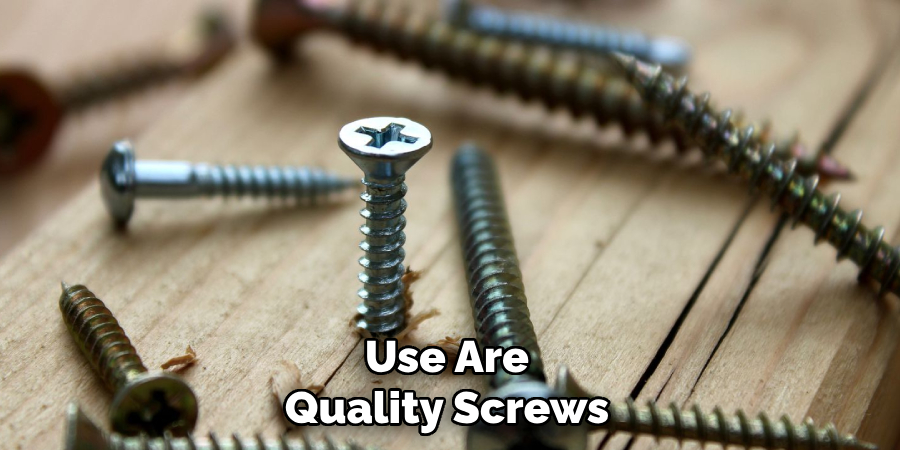
A: The best materials to use are quality screws, nuts, brackets, and support bars. Make sure that the screws are long enough to securely hold the mirror and that all of the other materials are sturdy enough to support its weight.
Q: Are There Different Types of Brackets?
A: Yes! Depending on your dresser or wall’s material, you can choose from a variety of different brackets such as metal, wood, or even plastic. It’s important to make sure that the brackets are compatible with your dresser or wall before making a purchase.
Q: How Often Should I Check That the Leaning Mirror Is Secure?
A: It’s important to check that the leaning mirror is still secure at least once a year. Be sure to tighten all of the screws and nuts if necessary, as well as adjust the brackets if needed. This will help ensure that the mirror is still firmly attached and won’t be falling anytime soon.
Q: What Other Tips Are There for Securing a Leaning Mirror?
A: When attaching a leaning mirror, it’s important to ensure that all of the screws and nuts are tightened. Make sure to place the support bars in line with the dresser or wall as well. Additionally, consider placing furniture pads on each side of your dresser – this will help protect it from any potential damage caused by the mirror. Finally, double check that the leaning mirror is level before you are completely satisfied with its position.
Conclusion
It can be an overwhelming task to secure a leaning mirror onto a dresser, yet with a little perseverance and the right tools one can complete it relatively easily! The process will require patience and some special items like brackets, screws, level, and measuring tape. With all these pieces put together with the directions provided above, you will have successfully secured your leaning mirror to your dresser.
This DIY project may initially seem complex but once done will give you a sense of great accomplishment as well as the benefit of having both security and safety in knowing that your mirror is firmly attached to your dresser.
All in all, when it comes to hanging mirrors on dressers or walls, there are many options out there available for everyone. Fortunately, this blog post outlined one very simple yet effective method to follow! Thanks for reading this article on how to secure leaning mirror on dresser.