
Basements are one of the most important parts of any house. They serve as an extra living space, provide storage, and act as a foundation for the entire structure. However, basements are also prone to moisture problems due to their below-ground location. This is why it is crucial to properly seal basement walls and floor joints.
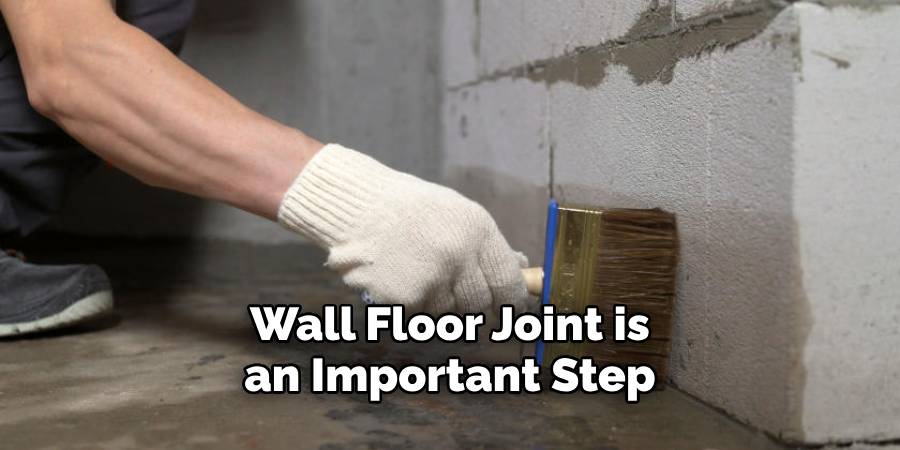
Sealing the basement wall to floor joint is an important step in maintaining a dry and healthy basement. This joint, where the basement wall meets the concrete floor, is a common entry point for water and moisture. If left unsealed, it can lead to mold growth, musty odors, and even structural damage. Read this blog post to learn how to seal basement wall floor joint.
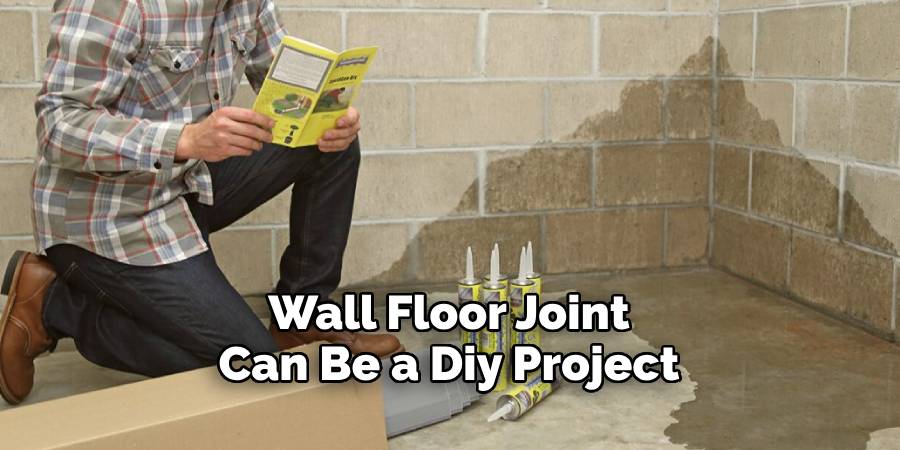
Step-by-step Instructions for How to Seal Basement Wall Floor Joint
Step 1: Inspect the Joint
Before starting the sealing process, it is essential to inspect the joint between the basement wall and floor. Look out for any visible cracks or gaps that might be letting water in.
Step 2: Clean the Area
Using a stiff brush and a vacuum cleaner, clean the joint area thoroughly. Remove any debris, dust, or loose particles present in or around the joint. This step is crucial as any dirt or debris left behind can compromise the effectiveness of the sealant.
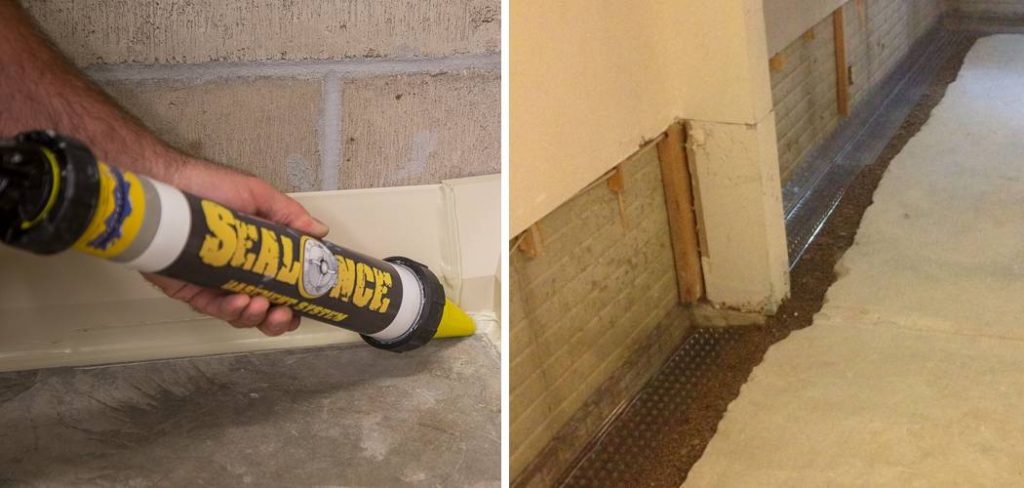
Step 3: Choose the Right Sealant
There are various types of sealants available in the market, such as silicone, polyurethane, and epoxy. Carefully consider your needs and choose the one that best suits your situation. It is advisable to opt for a sealant specifically designed for basement walls and floors.
Step 4: Prepare the Sealant
Follow the manufacturer’s instructions to prepare the sealant. In most cases, you will need to mix two components together before application. Make sure to use gloves and protective eyewear while handling the sealant. Some types of sealants require a primer to be applied before the actual sealant. If your chosen sealant recommends using a primer, make sure to apply it and let it dry completely.
Step 5: Fill the Joint

Using a caulk gun or putty knife, fill the joint with the prepared sealant. Make sure to fill in any cracks and gaps thoroughly. You can use a backer rod for larger and deeper cracks to ensure proper filling. Using a putty knife or your finger, smooth out the sealant along the joint. This step not only helps in creating a neat finish but also ensures that there are no air pockets or gaps left behind.
Step 6: Clean Excess Sealant
While the sealant is still wet, use a damp cloth to wipe away any excess sealant from the joint and surrounding areas. This step will help in achieving a clean and professional-looking result. Follow the manufacturer’s instructions regarding the drying time of the sealant. In most cases, it takes around 24 hours for the sealant to cure completely. Avoid walking on the sealed joint during this time.
After the sealant has cured, inspect the joint again for any signs of water leakage. If you notice any gaps or cracks that were missed, reapply the sealant following the same steps mentioned above.
Tips for How to Seal Basement Wall Floor Joint
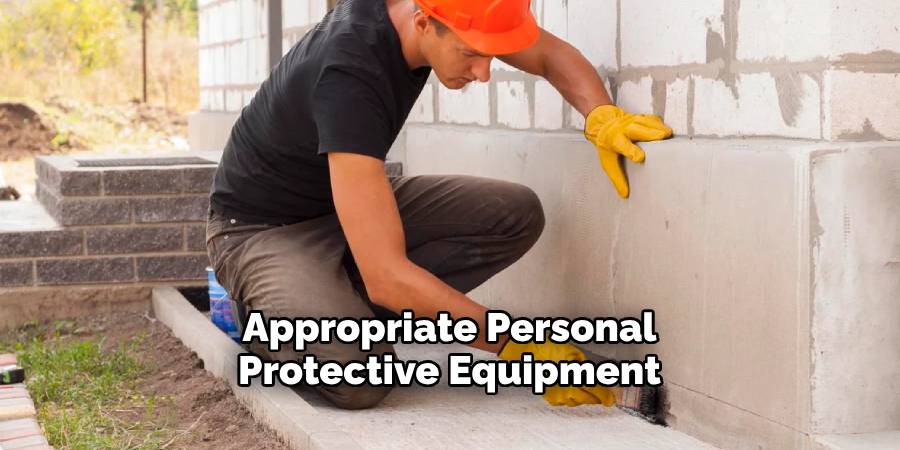
- Before beginning any sealing process, make sure you have the appropriate personal protective equipment (PPE). This includes safety goggles, suitable gloves, and a dust mask to prevent inhalation of harmful vapor or particles.
- Apply the sealant in a well-ventilated area to avoid breathing in fumes and to promote proper curing.
- If using a chemical sealant, carefully read and follow the manufacturer’s instructions for application, as well as any safety precautions or disposal guidelines.
- Take care when working with power tools or sharp objects that may be used during the sealing process to avoid injury. Always use tools properly and follow safety protocols.
- Keep children and pets away from the work area to prevent accidental exposure to chemicals or hazards.
- If you encounter any unexpected problems or difficulties while sealing the basement wall floor joint, do not hesitate to seek professional assistance.
- Once the sealing process is complete, ensure proper ventilation in the basement area until the sealant has fully cured. This will help prevent any potential health hazards from lingering fumes.
How Long Does the Sealant Need to Dry Before It is Fully Sealed?
After sealing the basement wall floor joint, it is important to allow proper drying time before the sealant is fully effective. The exact amount of time needed will depend on the type of sealant used and the conditions in your basement.
In general, most sealants require at least 24 hours to dry completely. However, some may take longer depending on factors such as temperature and humidity levels.
It is important to check the manufacturer’s instructions for specific drying times. During the drying period, it is important to keep the newly sealed area free from any foot traffic or other disturbances. This will ensure that the sealant can properly set and create a strong bond between the wall and floor.
Additionally, it is recommended to avoid any moisture exposure during this time. If your basement has a history of water leaks, it may be best to wait even longer before exposing the sealant to any moisture.
What Are Some Common Mistakes to Avoid When Sealing a Basement Wall Floor Joint?
Sealing a basement wall floor joint is an important step in preventing moisture and water from seeping into your basement. However, if not done properly, it can lead to costly repairs and damage to your property. In order to ensure that the job is done correctly, there are some common mistakes that you should avoid when sealing a basement wall floor joint.
1. Not Properly Cleaning the Area
Before sealing a basement wall floor joint, it is important to make sure that the area is clean and free of any debris. This includes removing any old caulk or sealant from previous attempts at sealing the joint. If the area is not properly cleaned, the new sealant may not adhere correctly and could lead to gaps where water can seep through.
2. Not Using the Right Type of Sealant
There are various types of sealants available for sealing basement wall floor joints, including silicone caulk, polyurethane sealant and hydraulic cement. It is important to use the right type of sealant for your specific needs.
For example, if you have a large gap in your joint, hydraulic cement may be more effective, whereas silicone caulk may be better for smaller cracks. Using the wrong type of sealant can result in an ineffective seal and potential water damage.
3. Improper Application
When applying a sealant to a basement wall floor joint, it is important to follow the instructions carefully. This includes using the correct amount of sealant and properly filling any gaps or cracks in the joint. If the sealant is not applied correctly, it may not provide a complete seal and can result in water leakage.
4. Not Allowing Enough Set Time
Many sealants require a certain amount of time to set or cure before they are fully effective. This information can usually be found on the product packaging. It is important to allow enough set time before testing the seal. Otherwise, you may unknowingly disrupt the seal and have to start the process over.
5. Not Addressing Underlying Issues
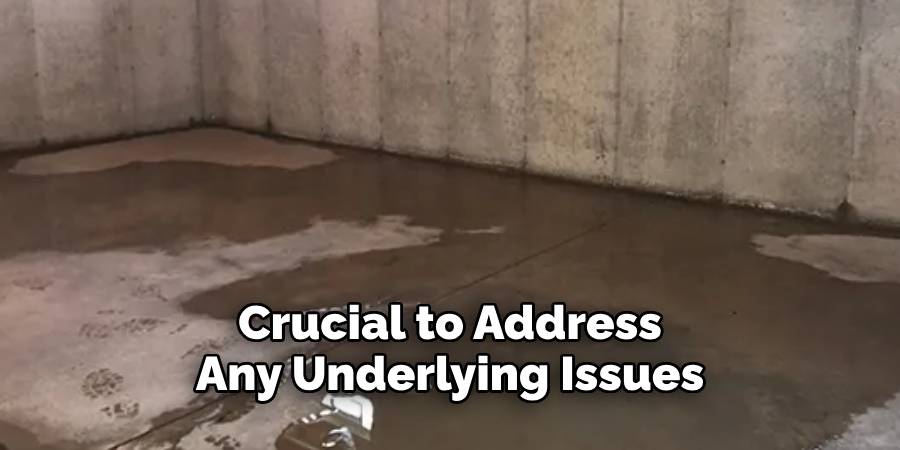
Sealing a basement wall floor joint is important, but it is also crucial to address any underlying issues that could be causing water intrusion in the first place. This could include issues with drainage or grading around your home, as well as cracks or damage in the foundation. Ignoring these issues can lead to continued water problems and potentially more serious damage.
By avoiding these common mistakes, you can ensure that your basement wall floor joint is properly sealed and protected from water intrusion. It is also recommended to regularly inspect and maintain the sealant to ensure its effectiveness over time.
Can You Seal a Basement Wall Floor Joint on Your Own, or Do You Need to Hire a Professional?
Sealing a basement wall floor joint can be a DIY project for those who are comfortable with basic home repairs. However, if you are unsure of your skills or do not have the necessary tools and equipment, it may be best to hire a professional.
A professional will have the expertise and experience to properly seal the joint and address any underlying issues that may be contributing to water intrusion. Additionally, hiring a professional can save you time and potentially costly mistakes in the long run.
If you do decide to seal the basement wall floor joint on your own, be sure to research and understand the proper techniques and materials needed for the job. It is also important to take safety precautions, such as wearing protective gear and working in a well-ventilated area.
Remember, a properly sealed basement wall floor joint can prevent water damage and protect your home’s foundation, so it is important to take the time and effort to do it right.
Conclusion
In conclusion, basement wall floor joints are common causes of water seepage and dampness in basements. Therefore, it is essential to ensure that they are properly sealed. This can be done by following the simple steps outlined above.Firstly, make sure to clean the joint thoroughly using a wire brush and vacuum cleaner.
Secondly, fill any gaps or cracks with hydraulic cement or epoxy injection. Thirdly, apply a waterproofing membrane or sealant over the joint to ensure a watertight barrier. It is also essential to regularly inspect and maintain the sealing of basement wall floor joints.
This will help prevent any future water leaks and protect your basement from moisture damage. I hope this article has been beneficial for learning how to seal basement wall floor joint. Make Sure the precautionary measures are followed chronologically.