
How to run ethernet cable through ceiling might seem daunting; after all, most of us don’t have experience threading cables or even know what gear to buy. But with a few simple tips and tricks, running ethernet cable through your ceilings can be done relatively quickly and easily – no professional help is needed! Whether you’re a tech-savvy handyman or have never touched a cable in your life, this guide will help you get the job done.
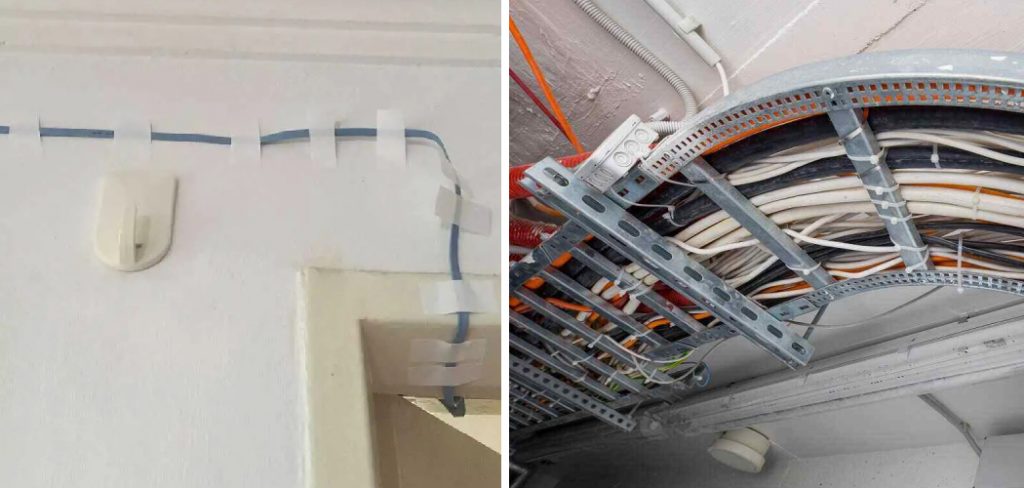
In this blog post, we’ll cover everything you need to know to expertly run an ethernet cable directly from your router upstairs into any room downstairs without having visible cords along walls. We’ll discuss the tool and materials needed as well as step-by-step instructions for every part of a perfect running job.
So if you’re looking for an affordable way to expand your WiFi coverage throughout your home, then keep reading!
What Will You Need?
Before we begin discussing how to run ethernet cable through the ceiling, let’s talk about the materials you will need. This job requires as follows:
- Ethernet Cable
- Fish Tape
- Drill
- Wall Plates
- Drywall Anchors
- Screws
- Wire Cutter
- Pliers
- Protective Eye-wear
- Clips or Staples
Now that you’ve got the materials let’s start running your ethernet cable through the ceiling.
10 Easy Steps on How to Run Ethernet Cable Through Ceiling
Step 1. Measure the Length:
Start by measuring the length of ethernet cable needed to run from the router location upstairs to any room downstairs. Ensure to include several feet of extra wire so you have enough slack for installation. If you make a mistake, don’t worry – you can always cut the wire and use it for something else.
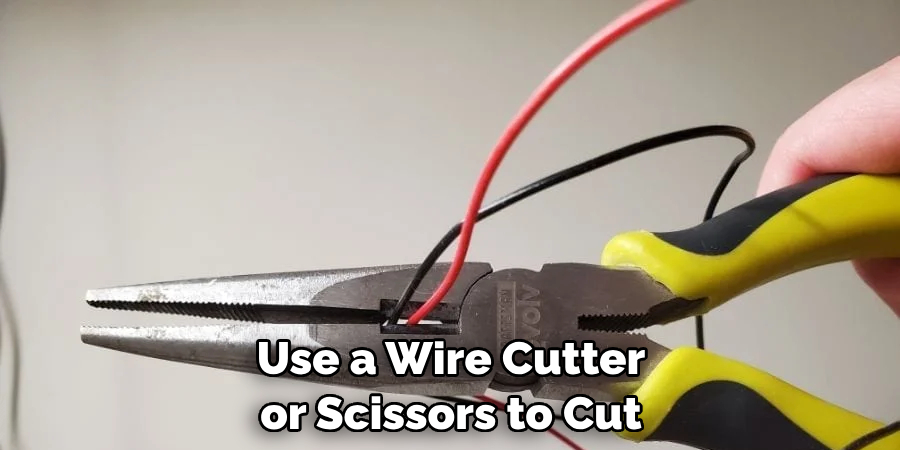
Step 2. Cut the Wire:
Once you know how long your wire needs to be, use a wire cutter or scissors to cut it off from the spool. If you are cutting from a spool, be sure to leave several inches of extra wire on each end for future use. This extra wire can come in handy if you ever need to extend the length of your ethernet cable.
Step 3. Connect the Cable Ends:
With one end of your wire cut off and ready, attach an RJ45 plug to both sides of the Ethernet cable. This is important as it will help keep dust and other foreign particles out of the connection points when feeding through walls or ceilings. You can use a crimp tool or an RJ45 plug to accomplish this.
Step 4. Use Fish Tape:
You will need fish tape to start running your Ethernet cable through the ceiling. This special tool helps maneuver wire through tight and hard-to-reach places. Unspool the fish tape from its enclosure and carefully thread it into the wall or ceiling where your ethernet cable needs to go.
Step 5. Attach Ethernet Cable onto Fish Tape:
Once your fish tape has been inserted into the wall or ceiling, attach one end of your Ethernet cable to the middle of it using some electrical tape or clips provided with your purchase for extra security. Pull out any slack as needed until all excess wire has been removed from sight.
Step 6. Pull Through:
Now that you’ve secured one end of your Ethernet cable to the fish tape use a pliers to pull the cable through the wall or ceiling carefully. Ensure you pull from the correct end and only at the speed necessary for a safe installation. Don’t pull too fast, as this can cause damage to the ethernet cable.
Step 7. Connect Wall Plate:
Once your Ethernet cable has been pulled through, it’s time to connect your wall plate. To do this, remove any excess slack before securing the cable onto your wall plate using the screws provided with your purchase. Make sure all connections are tight and secure before moving on to the next step.
Step 8. Drill Holes & Mount Plate:
After connecting your wall plate, drill two small holes into the drywall and insert two anchors for extra support when mounting your wall plate in place. Now mount your wall plate using the screws provided with your purchase. Try to keep the wall plate as close to the ceiling as possible for a neat and tidy installation.

Step 9. Connect Cable to Router:
The last step is connecting your Ethernet cable to your router upstairs and verifying that it’s working properly. To do this, plug one end of the cable into the back of your router and then log into your router settings page to confirm that the connection is active and functioning correctly. Just make sure you plug your cable’s correct end into the router.
Step 10. Test & Enjoy:
Once everything is connected properly, you can test your internet connection and enjoy a strong signal throughout your home! Remember, if something doesn’t seem right, double-check all connections and make sure you’ve installed everything correctly.
And there you have it – run ethernet cable through the ceiling in 10 easy steps! With these tips and tricks, anyone can run ethernet cables through ceilings quickly and easily.
5 Additional Tips and Tricks
- When running an Ethernet cable through the ceiling, measuring precisely and accurately is important. You don’t want to run the cable too short or too long.
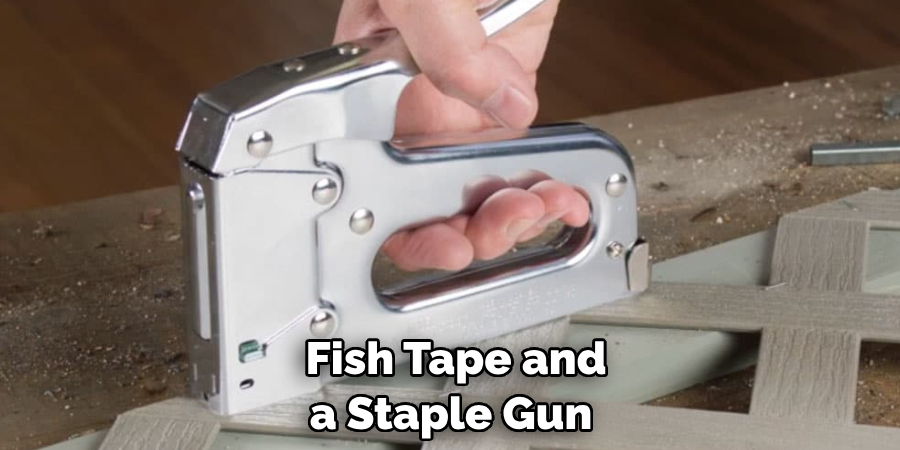
- Ensure you have the tools on hand, such as fish tape and a staple gun, to secure the cable in place.
- When running the cable through multiple ceilings, be mindful of existing electrical wiring and plumbing that may get in your way.
- Check local building codes to ensure your installation is up to code before applying power to your Ethernet network.
- If possible, use professional-grade tools to ensure a clean and sturdy installation for maximum performance and safety. This will also help protect sensitive components from potential damage due to improper handling or accidental drops while maneuvering through tight spaces in the ceiling cavity.
With these tips and tricks, you can easily run Ethernet cables through your ceiling with minimal effort and hassle. With the right tools and a little bit of patience, you can quickly get your network up and running in no time!
6 Things You Should Avoid
- Avoid running the Ethernet cable too close to other electrical wires, as this could cause interference and disruption in your network.
- Be mindful when stapling your Ethernet cable in place. If stapled too closely together, there could be a risk of short-circuiting or fraying.
- Don’t pull the Ethernet cable too tight when running it through your ceiling; this can cause permanent damage and reduce performance.
- Avoid using any makeshift tools to run the cable through your ceiling, as they may not be strong enough to support the weight of the cables and could break during installation.
- Lastly, avoid running Ethernet cables over long distances, as this will increase latency and reduce overall performance. Make sure you connect each point with multiple shorter sections rather than one long cable section for best results.
- Don’t forget to take measurements before starting the installation to ensure that your cable length is just right and won’t be too short or too long.
By following these tips and tricks, you can easily run an Ethernet cable through your ceiling and get your network up and running quickly. With a little bit of patience and the right tools, you’ll have your high-speed connection in no time!
Is Wi-Fi Faster Than Ethernet?
The answer to this question depends on the situation. Generally speaking, Ethernet is usually faster than Wifi because it’s a wired connection and therefore has a more stable connection with less latency.
However, Wifi can be faster in certain scenarios, such as when transferring large files over short distances or having access to an 802.11ac router that can provide speeds up to 5Gbps.
Ultimately, both Ethernet and Wifi are viable options for providing high-speed internet, depending on your needs and environment. It is best to test both solutions under similar conditions to compare performance before deciding what best fits your needs. Good luck!
How Can I Increase Ethernet Speed?
To increase the speed of your Ethernet connection, you can try a few different methods. The first is to check the Ethernet cable itself and replace it if necessary.
A good quality CAT 5e or better cable will ensure maximum performance.
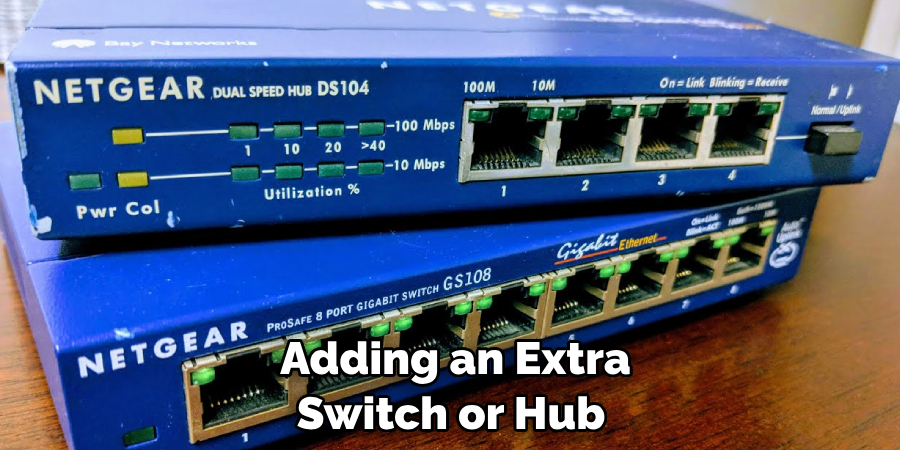
You may also want to consider adding an extra switch or hub to create more bandwidth for larger transfers or connections requiring high speeds. Connect your computer directly to your router using an Ethernet cable instead of relying on Wifi for improved performance.
Lastly, update your router and modem firmware to help provide faster load speeds and reduce latency when transferring data over the network. With these tips and tricks, you’ll have no problem increasing the speed of your Ethernet connection!
Conclusion
By following these steps on how to run ethernet cable through ceiling, running the Ethernet cable through your ceiling should be smooth. Before you start, make sure to get the appropriate Ethernet cables and materials to do the job properly. Properly connecting them to the ceiling will ensure that it’s set up for long-term use. That being said, if you feel like your experience is limited in this area, don’t hesitate to call in an expert!
It gives peace of mind knowing that your network is secure and correctly installed, and they also have specific tools and experience that can save time and money in the long run! Ultimately, setting up a home network via ethernet cables no longer needs to be daunting.
Armed with knowledge and sufficient supplies, anyone can easily complete this project.