Repairing peeling veneer on particle board cabinets is a practical and cost-effective way to restore their appearance and functionality without the need for a complete replacement. Veneer, a thin layer of wood or laminate, is often used to give particle board cabinets a high-quality finish. Over time, exposure to moisture, heat, and daily wear can cause the veneer to lift or peel, detracting from the cabinet’s aesthetic appeal and structural integrity.

Addressing this issue involves several careful steps to ensure a seamless and durable repair. Begin by thoroughly cleaning the affected area to remove any dust or debris. Next, use an adhesive to reattach the peeling veneer, ensuring it is firmly pressed back into place. In cases where the veneer is damaged or missing, replacing the section with a new piece may be necessary. Sanding the edges and applying a finish that matches the existing veneer will help blend the repair.
This guide will provide detailed instructions and tips for how to repair peeling veneer on particle board cabinets, restoring their beauty and prolonging their lifespan. Whether you are dealing with minor lifting or significant damage, these techniques will help you achieve professional-looking results with minimal effort.
10 Methods How to Repair Peeling Veneer on Particle Board Cabinets
1. Clean and Inspect the Surface
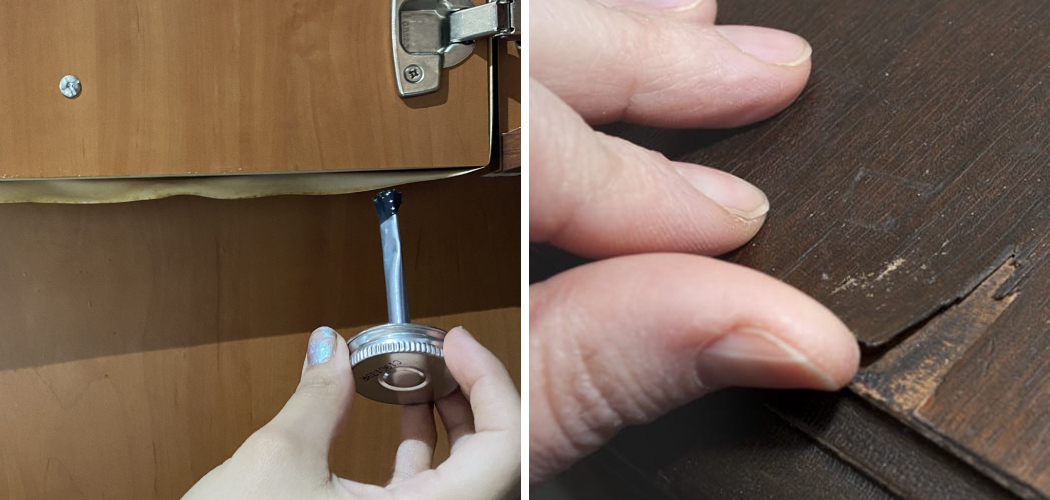
Before beginning any repairs, it’s essential to clean and inspect the surface of the cabinets thoroughly. Use a mild detergent mixed with water to remove any dirt, grease, or dust. This ensures that the repair materials adhere properly. After cleaning, carefully inspect the veneer to identify all the areas that are peeling or damaged. Note any loose or bubbling sections that need attention. This initial step helps you assess the extent of the damage and plan the necessary repairs.
2. Re-glue Loose Veneer
For minor peeling, re-gluing the veneer can be an effective solution. Carefully lift the peeling veneer using a putty knife, being cautious not to cause further damage. Apply a thin layer of wood glue or contact cement to both the particle board and the underside of the veneer. Press the veneer back into place and smooth out any bubbles. Use clamps or heavy objects to hold the veneer down while the glue dries. Follow the glue manufacturer’s drying instructions. This method is ideal for small areas where the veneer is still intact but has come loose.

3. Use Veneer Tape
Veneer tape can be used to repair small areas of peeling veneer or edge banding. Cut a piece of veneer tape slightly larger than the damaged area. Apply a thin layer of wood glue to the particle board and press the veneer tape into place, ensuring it adheres securely. Use a roller or a smooth object to press down the tape and remove any air bubbles. Trim any excess tape with a sharp utility knife. Veneer tape provides a quick and efficient way to repair small areas without the need for extensive sanding or refinishing.
4. Fill Gaps with Wood Filler
If the veneer has peeled away completely and left gaps or holes, wood filler can be used to fill these areas. Choose a wood filler that matches the color of your cabinets. Apply the filler to the damaged area using a putty knife, pressing it into the gaps and smoothing the surface. Allow the filler to dry completely according to the manufacturer’s instructions. Once dry, sand the filled area with fine-grit sandpaper (around 220 grit) to achieve a smooth finish. This method is useful for larger areas of damage where re-gluing is not sufficient.
5. Sand and Refinish
In cases where the veneer is extensively damaged, sanding and refinishing the surface may be necessary. Use a medium-grit sandpaper (around 120-150 grit) to remove the remaining veneer and smooth out the particle board surface. Be sure to sand evenly to avoid creating low spots. After sanding, wipe the surface with a tack cloth to remove any dust. Apply a new layer of veneer or paint the particle board to match the rest of the cabinet. This method is more labor-intensive but provides a fresh, uniform surface for extensive repairs.
6. Apply New Veneer
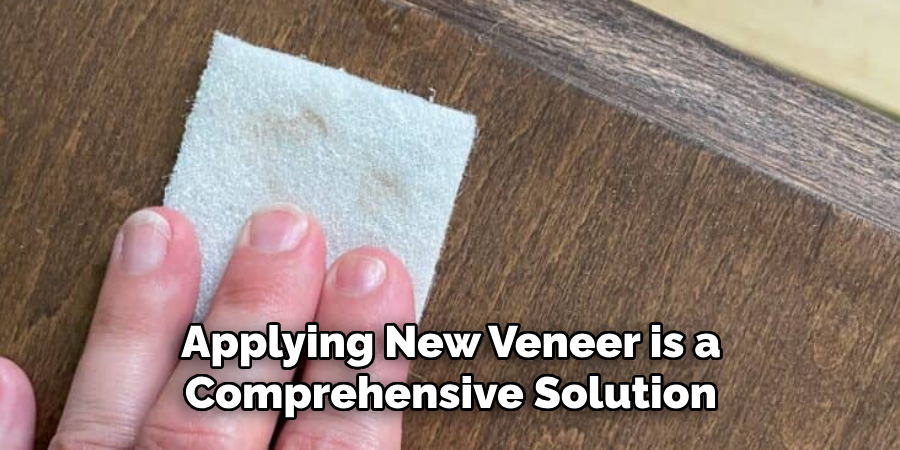
If the existing veneer is too damaged to repair, applying new veneer can give your cabinets a fresh look. Measure the area to be covered and cut a piece of veneer slightly larger than the dimensions. Apply a layer of contact cement to both the particle board and the back of the new veneer. Allow the cement to become tacky according to the manufacturer’s instructions. Carefully position the veneer on the particle board and press it down firmly. Use a roller or a smooth object to remove any air bubbles. Trim any excess veneer with a sharp utility knife and sand the edges for a smooth finish. Applying new veneer is a comprehensive solution for severely damaged areas.
7. Use Iron-on Veneer Patches
Iron-on veneer patches offer a convenient way to repair small areas of peeling veneer. These patches come with a heat-activated adhesive backing. Cut the patch to the desired size and position it over the damaged area. Use a household iron set to medium heat to press the patch in place. The heat activates the adhesive, bonding the patch to the particle board. Allow the patch to cool, then sand the edges lightly to blend it with the surrounding veneer. This method is quick and easy, making it ideal for minor repairs.
8. Repair Edges with Edge Banding
Peeling or damaged edges can be repaired using edge banding. Edge banding is available in various materials and colors to match your cabinets. Measure the length of the damaged edge and cut a piece of edge banding to size. Apply a layer of contact cement to both the particle board edge and the back of the edge banding.
Allow the cement to become tacky, then press the edge banding into place. Use a roller or a smooth object to ensure a secure bond. Trim any excess banding with a utility knife and sand the edges for a smooth finish. This method restores the appearance and protects the edges from further damage.
9. Paint Over Damaged Veneer
If the veneer is extensively damaged or you want to change the appearance of your cabinets, painting over the damaged veneer is an option. Start by sanding the surface with medium-grit sandpaper (around 120-150 grit) to smooth out the damaged areas and create a rough surface for the paint to adhere to. Clean the surface with a tack cloth to remove dust.
Apply a primer designed for use on particle board or laminate surfaces. Once the primer is dry, apply at least two coats of paint, allowing each coat to dry completely before applying the next. This method provides a fresh, new look and conceals extensive veneer damage.
10. Replace Damaged Sections
For severe damage where the veneer and particle board are compromised, replacing the damaged sections may be necessary. Measure the damaged area and cut a new piece of particle board to match. Remove the damaged section using a saw, being careful to cut straight edges.
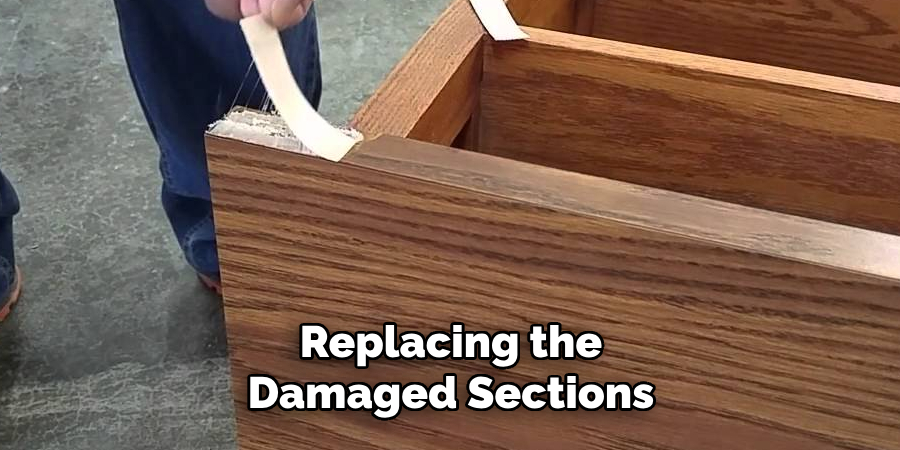
Attach the new piece of particle board using wood glue and clamps. Once the glue is dry, sand the edges to blend with the surrounding surface. Apply a new layer of veneer or paint the repaired area to match the rest of the cabinet. This method is more labor-intensive but provides a permanent solution for extensive damage.
Things to Consider When Repairing Particle Board Cabinets
When undertaking repairs on particle board cabinets, there are several important factors to consider to ensure a successful and long-lasting outcome:
Condition of the Veneer and Particle Board: Assess the extent of the damage to both the veneer and the particle board underneath. Minor damages can often be fixed with simple methods like using veneer tape or filler, whereas extensive damage may require more labor-intensive solutions such as sanding, refinishing, or replacing sections.
Matching Colors and Materials: To maintain a uniform appearance, choose materials such as veneer, edge banding, or wood filler that closely match the existing finish of your cabinets. This can help the repairs blend seamlessly with the rest of the surface.
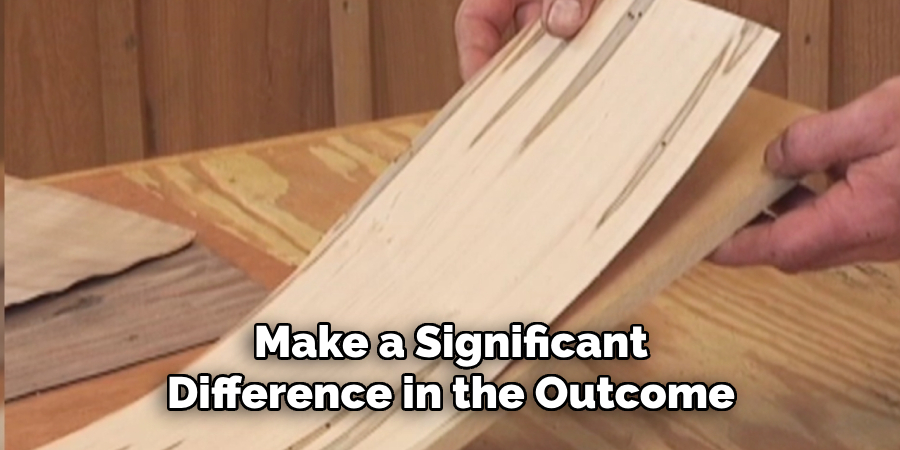
Tools and Supplies: Make sure you have all necessary tools and supplies ready before starting the repair process. This could include sandpaper, wood glue, veneers, edge banding, putty knives, and paints, among others. High-quality materials and tools can make a significant difference in the outcome.
Ventilation and Safety Precautions: When working with adhesives, fillers, paints, and other chemicals, ensure that the area is well-ventilated. Use protective gear such as gloves, masks, and safety goggles to protect yourself from fumes and dust.
Conclusion
Repairing peeling veneer on particle board cabinets requires careful preparation and the right techniques to achieve a durable and aesthetically pleasing result. The ten methods outlined—cleaning and inspecting the surface, re-gluing loose veneer, using veneer tape, filling gaps with wood filler, sanding and refinishing, applying new veneer, using iron-on veneer patches, repairing edges with edge banding, painting over damaged veneer, and replacing damaged sections—offer comprehensive solutions for various levels of veneer damage.
Thanks for reading, and we hope this has given you some inspiration on how to repair peeling veneer on particle board cabinets!