
Welcome to our blog! No matter where you live or what type of home you have, chances are you’ve experienced the frustration of air bubbles appearing in your water pipes. The sound of sputtering faucets and fluctuating water pressure can be annoying and a potential sign of more significant issues within your plumbing system.

Whether it’s a result of old pipes, recent repairs, or changes in the surrounding environment, having air inside your water pipes is a common problem many homeowners face.
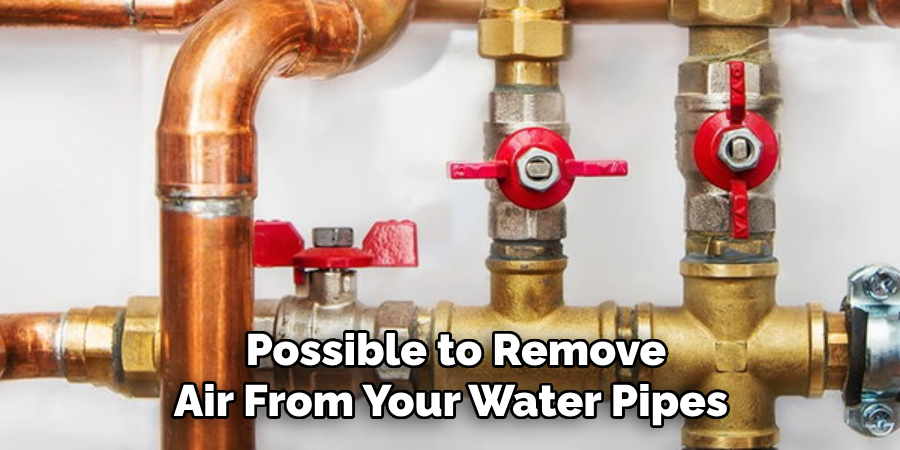
But fear not, as we have prepared an informative guide on how to remove air inside water pipes and restore smooth and consistent flow throughout your home’s plumbing system. So sit back, relax, and get ready to tackle this issue head-on with our expert tips!
Necessary Items
Before diving into the methods of removing air from water pipes, let’s first look at the items you’ll need to have. These items will ensure you are well-equipped to tackle potential issues and make the process as smooth as possible.
- A bucket or a large container
- A towel or cloth
- A wrench
- A plunger
- A hose
- Teflon tape
10 Steps on How to Remove Air Inside Water Pipes
Step 1: Locate the Air Source
The first step in removing air from your water pipes is to locate the source of the air. This could be a faulty faucet, a line leak, or recent plumbing repairs that may have introduced philosophy into the system.
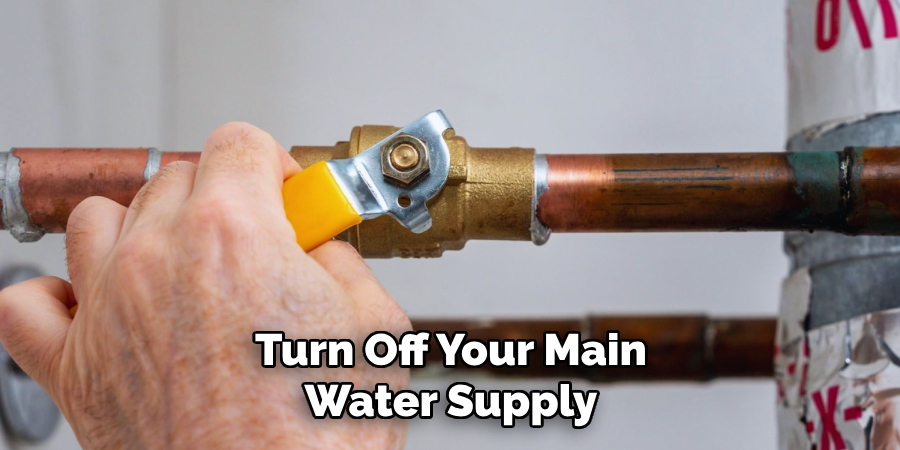
Step 2: Turn Off Your Water Supply
Before attempting to remove air from your water pipes, turning off your home’s main water supply is crucial. This will prevent potential accidents and ensure that no additional air is being introduced into the system.
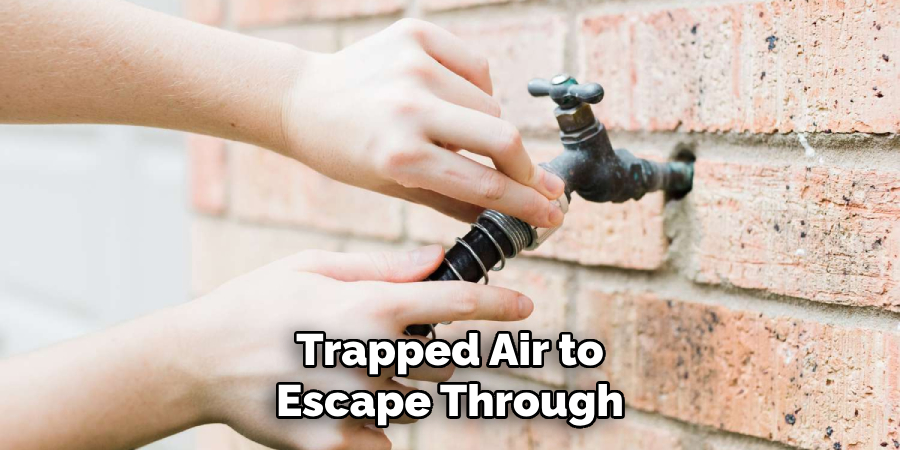
Step 3: Open All Faucets
Next, go around your home and open all faucets, including showerheads, bathtub spouts, and outdoor hose bibs. This will allow any trapped air to escape through the open taps.
Step 4: Close the Faucets
After a few minutes, close all the faucets opened in the previous step.
Step 5: Locate the Highest Faucet
To remove air from your water pipes, you must start at the highest faucet in your home. This could be a second-floor bathroom or a utility sink located in the basement.
Step 6: Turn on the Highest Faucet
Turn on the highest faucet entirely, including both hot and cold water. This will allow any trapped air to escape through the open faucet.
Step 7: Wait for the Water to Flow Smoothly
As the water flows, you may hear gurgling sounds or air bubbles escaping from the faucet. This is normal and indicates that air is being released from your pipes. Once the water flows smoothly without sputtering or fluctuating pressure, move on to the next step.
Step 8: Repeat with Lower Faucets
Now that the highest faucet has been cleared of air, you can move on to lower faucets in your home. Repeat turning on each faucet fully and waiting for the water to flow smoothly before moving on to the next.
Step 9: Check Water Pressure
After completing all faucets in your home, turn on your shower and check the water pressure. Repeat the process if it seems low or there are still signs of air in the pipes.
Step 10: Turn On the Main Water Supply
Finally, once you are satisfied with your home’s water flow and pressure, turn back on your main water supply. Your pipes should now be free of air and operating smoothly.
Removing air from your water pipes may seem daunting, but it can be done quickly and efficiently with the right tools and knowledge. Remember to turn off your main water supply before beginning, open all faucets in your home, and start at the highest faucet. Following these steps, you can say goodbye to sputtering taps and hello to consistent water flow throughout your home.
8 Things to Avoid
1. Neglecting to Turn Off the Main Water Supply
As mentioned earlier, turning off your main water supply is crucial before attempting to remove air from your pipes. Please do so to avoid accidents or to introduce more air into the system.
2. Attempting to Remove Air Without Proper Tools
To effectively remove air from your water pipes, you will need a pair of pliers and a container to catch any excess water. Using improper tools could result in damage to your pipes or even injury.
3. Ignoring the Source of Air
If you do not address the air source in your pipes, the issue will likely persist, and you will have to repeat the process multiple times. Be sure to locate and fix any leaks or faulty faucets.
4. Rushing the Process
Removing air from your water pipes takes time and requires patience to eliminate all air bubbles. Rushing the process may result in incomplete air removal and continued water flow problems.
5. Using Excessive Force
While turning faucets on entirely is essential, be careful not to use excessive force, as this could cause damage to your pipes or fixtures. Use only enough pressure to open the faucet fully.
6. Not Checking Water Pressure After Completion
After completing the process, it’s essential to check the water pressure to ensure all air has been removed from the pipes. If there are still signs of air, repeat the steps for a more thorough removal.
7. Neglecting Regular Maintenance
To prevent the build-up of air in your pipes, it’s essential to maintain your plumbing system regularly. This includes fixing leaks or faulty fixtures and having a professional inspecting your lines for potential issues.
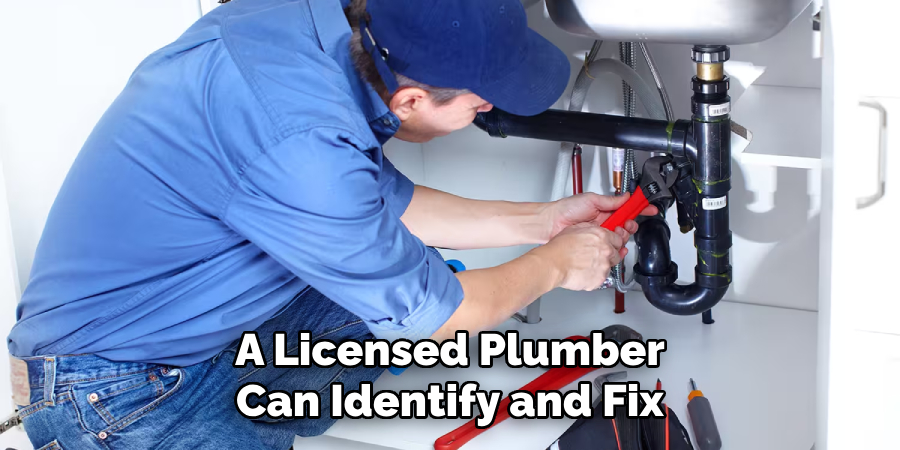
8. Not Seeking Professional Help
If you are unsure how to remove air from your water pipes or if the problem persists after multiple attempts, it may be time to seek professional help. A licensed plumber can identify and fix any underlying issues causing the air in your pipes.
Removing air from your water pipes is an essential maintenance task that can improve your plumbing system’s overall function and efficiency. By following these ten steps and avoiding common mistakes, you can ensure that your pipes are free of air and provide consistent water flow throughout your home. Remember to maintain your system and seek professional help if needed regularly.
Frequently Asked Questions
Why is There Air in My Water Pipes?
Air can enter your water pipes through various means, such as leaks, repairs, or changes in pressure within the plumbing system. It is essential to locate and address the air source to prevent future problems.
Can Air in Water Pipes Cause Damage?
Air in water pipes can cause water flow and pressure issues, but it is not likely to cause significant damage. However, if left unchecked, air in pipes can lead to more significant problems, such as leaks or burst pipes. It’s essential to remove air from your lines to avoid potential damage.
How Often Should I Check for Air in My Water Pipes?
Checking for air in your water pipes once or twice a year is good, especially after plumbing repairs. Regular maintenance can also help prevent the build-up of air in your pipes.
What Should I Do if the Water Pressure is Still Low After Removing Air from Pipes?
If the water pressure is still low after following the steps to remove air from your pipes, it may be a sign of a more significant issue. It’s best to seek professional help to identify and fix any underlying problems with your plumbing system.
Is There an Alternative Method to Remove Air from Water Pipes?
There are alternative methods, such as using a garden hose or turning on multiple faucets at once, but the steps listed above are the most effective and recommended way to remove air from water pipes. Always turn off your main water supply before attempting to remove air.
Is It Safe to Remove Air from My Water Pipes Myself?
While it is possible to remove air from your water pipes yourself, taking the necessary precautions and having a basic understanding of plumbing is essential. If you are unsure or uncomfortable with the process, it is best to seek professional help.
What if I Can’t Get Rid of All the Air in My Water Pipes?
If the problem persists or you cannot remove all the air from your water pipes, it’s best to seek professional help. There may be an underlying issue causing the air in your pipes that requires a plumber’s expertise to fix.
Overall, regularly maintaining and checking your plumbing system can prevent the build-up of air in your water pipes and ensure a smooth and steady water flow. So, follow these steps and avoid common mistakes to remove air from your water pipes effectively.
Conclusion
Removing air from your water pipes may seem like a daunting task, but with the right tools and steps on how to remove air inside water pipes, it can quickly be done at home. Remember to always turn off your main water supply before starting the process and to remain patient throughout. If you encounter any difficulties, seek the help of a professional plumber to ensure your pipes are functioning correctly.
With these tips, you can keep your plumbing system free of air and enjoy consistent water flow throughout your home. So next time you hear that tell-tale sputtering sound, use these steps to remove air from your water pipes and get back to enjoying clear, smooth water.