
Are you looking to renovate your home and want to know how to remove vinyl floor from concrete? Or your vinyl floors have seen better days, and you’re ready for an upgrade. Removing vinyl floors from concrete is a relatively simple task that can make a big difference in the overall look of your space.
If you want to upgrade your vinyl flooring and want a plan to remove it from concrete, look no further. Removing old vinyl is an arduous process requiring special techniques and some elbow grease, but with the right approach, it can be accomplished quickly and painlessly.
We’re here to provide step-by-step instructions on removing vinyl floors from concrete to install your new flooring faster than ever. Keep reading to learn more!
What Will You Need?
Before we dive into removing vinyl floors, you’ll want to ensure you have all the necessary tools and materials. Here’s what you’ll need:
- Utility knife
- Pry bar or scraper
- Heat gun or hair dryer
- Floor adhesive remover (optional)
- Safety gear (gloves, eye protection)
Once you’ve gathered all your supplies, it’s time to get started!
10 Easy Steps on How to Remove Vinyl Floor From Concrete
Step 1: Prepare the Area
Before removing the vinyl floor from the concrete, it’s important to prepare the area. Start by removing any furniture or obstacles that may be in the way. You’ll also want to cover any nearby walls and baseboards with plastic sheeting to protect them from debris or damage.
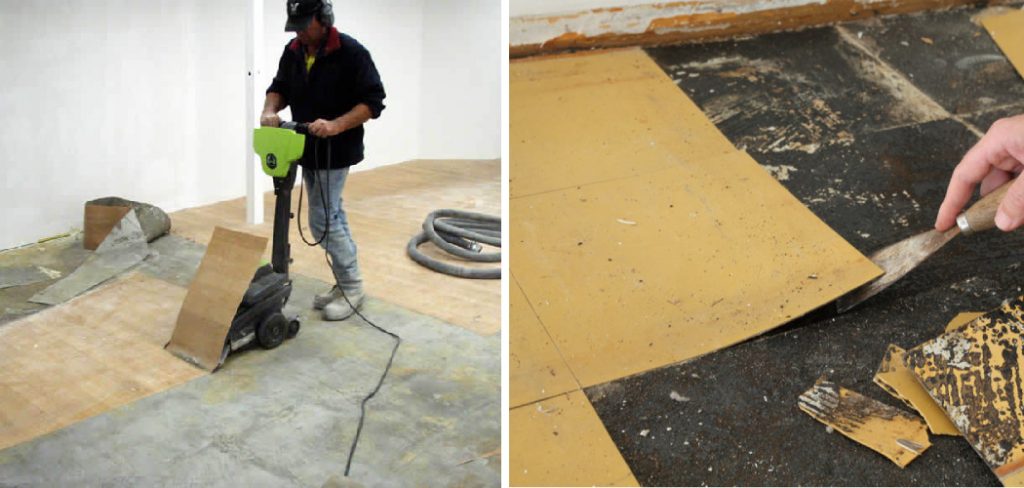
Step 2: Start Peeling Off the Vinyl
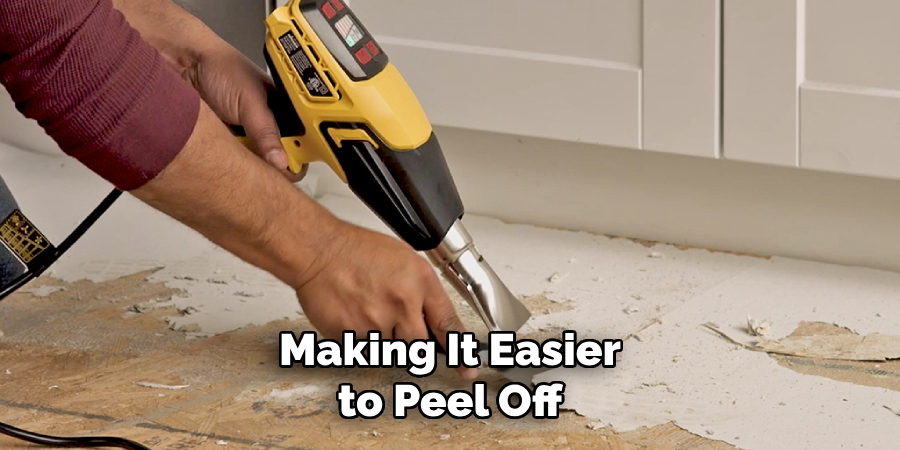
Start at a corner of the room where the vinyl meets the wall. Use your utility knife to cut a small section of the vinyl gently. Once you’ve made an incision, try to lift the vinyl using a scraper or pry bar. If the vinyl is hard to lift, you can use a heat gun or hair dryer to warm up the adhesive underneath, making it easier to peel off. Remember to work in small sections, gradually peeling off the vinyl from the concrete floor.
Step 3: Continue Removing the Vinyl
After successfully removing the first vinyl section, continue the process across the rest of the floor. Make sure to keep the heat gun or hair dryer moving to avoid overheating any single area. As you work, use the scraper or pry bar to lift the vinyl and scrape off as much adhesive as possible. Be patient and persistent; old adhesive can be stubborn and require repeated heating and scraping to remove fully.
Step 4: Remove the Adhesive
Once all the vinyl has been removed, you’ll have an adhesive layer on your concrete floor. If the adhesive is still soft and pliable, you can use a scraper to remove it. However, if it’s hardened or difficult to scrape off, you may need a chemical adhesive remover. Follow the instructions on your chosen product to ensure the safe and effective removal of the adhesive.
Step 5: Clean and Prepare the Floor
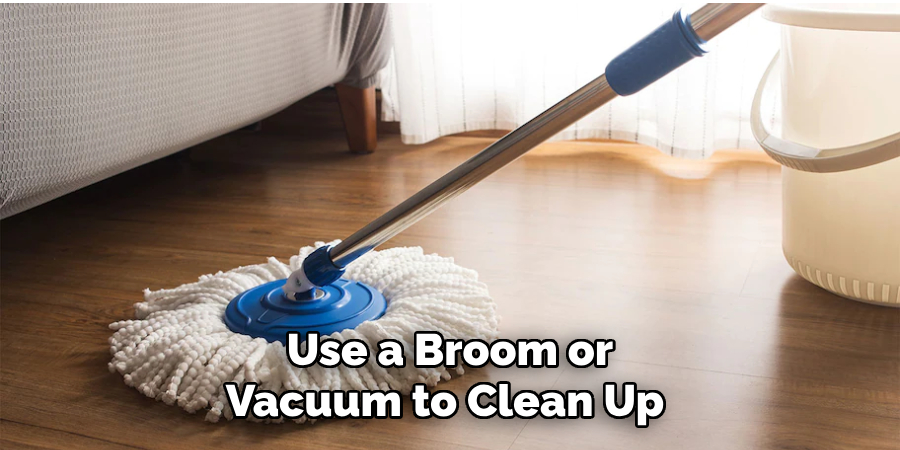
After all the vinyl and adhesive have been removed, use a broom or vacuum to clean up any debris. Then, wash your concrete floor well with warm water and soap. It’s important to remove any remaining adhesive residue, as it could interfere with the adhesion of your new flooring.
Step 6: Let the Floor Dry
Once the floor is thoroughly cleaned, it’s crucial to let it dry completely before installing your new flooring. You can speed up the drying process by using fans or a dehumidifier. Ensure the floor is free of any moisture or dampness, as it can negatively impact the adhesion of the new floor or even cause mold and mildew growth.
Step 7: Check for Damage
After the floor is completely dry, it’s time to inspect the concrete for any damage that might have occurred during the removal process. Look for cracks, holes, or unevenness in the concrete. If you notice any, these will need to be filled or leveled before installing new flooring. Following the manufacturer’s instructions, you can use a concrete repair mix for small cracks and holes. You may need to consult a professional for larger issues or extensive damage.
Step 8: Apply Primer
Once the concrete floor is repaired and smooth, it’s time to prepare it for the new flooring. Apply a concrete primer to the surface to ensure a strong bond between the concrete and the new floor adhesive. This primer can be applied with a paint roller and should be left to dry for the time specified by the manufacturer.
Step 9: Install New Flooring
Now that your concrete floor is prepared, you can proceed with installing your new flooring. Ensure you follow the manufacturer’s instructions for the best results. Depending on the type of flooring you’ve chosen, this may involve applying adhesive, laying down the new material, cutting it to fit, and pressing it into place.
Step 10: Enjoy Your Newly Renovated Space
Once the new flooring is installed, all that’s left is to enjoy your renovated space! With the old vinyl removed and a fresh new floor in place, your room will have a completely new look and feel. Remember to maintain your new flooring according to the manufacturer’s instructions to ensure its longevity and keep it looking great.

By following these ten easy steps, you know how to remove vinyl floors from concrete. With the right tools and techniques, this home improvement project can be easily completed, leaving you with a beautiful new floor to enjoy for years to come.
5 Additional Tips and Tricks
- Test Your Flooring for Asbestos: Before removing your vinyl floor, it is crucial to test for asbestos, especially if your flooring was installed before 1980. If it tests positive, contact a professional asbestos removal company.
- Use a Heat Gun: A heat gun can help loosen the adhesive beneath the vinyl floor. Once the adhesive is heated, it becomes easier to scrape off the vinyl.
- Stay Ventilated: Ensure you keep the area well-ventilated during the removal process. This helps to disperse any harmful fumes generated from the adhesive or the vinyl itself.
- Invest in a Good Scraper: A good scraper is a valuable tool for removing vinyl flooring from concrete. It will make the job easier and quicker.
- Clean Up Thoroughly: After removing the vinyl, clean the concrete thoroughly. Any leftover adhesive can interfere with the installation of the new floor. Using a floor grinder or adhesive remover can help with this task.
With these additional tips and tricks, you can confidently remove the vinyl floor from your concrete surface.
5 Things You Should Avoid
- Avoid Rushing the Process: Patience is key when removing vinyl flooring from concrete. Rushing can lead to unnecessary damage to your concrete or incomplete removal of the vinyl or adhesive.
- Make Sure to Take Safety Measures: Always use gloves and safety glasses during the process and ensure adequate ventilation. Asbestos and other harmful substances can present health risks.
- Avoid Using the Wrong Tools: Using inappropriate tools can damage your concrete floor and make the task more difficult. Stick to recommended tools like a heat gun and a high-quality scraper.
- Make Sure to Leave Adhesive Residue Behind: Neglecting to remove adhesive residue thoroughly can cause problems when installing new flooring. Make sure the concrete is completely clean before proceeding.
- Don’t Dispose of Vinyl Improperly: Vinyl flooring can contain harmful substances. Ensure you dispose of it according to local regulations and recycling options.
Avoiding these pitfalls will help ensure a smooth, safe, and successful vinyl flooring removal.
Will Acetone Remove Vinyl?
Acetone is a common solvent that can be used to remove vinyl flooring from concrete. However, it should be used with caution as it is highly flammable and can release harmful fumes. Using acetone in a well-ventilated area while wearing proper protective gear is recommended. Test on a small area first before using it on the entire floor.
Additionally, acetone may not be effective in removing all types of vinyl adhesives. Following the manufacturer’s instructions or seeking professional assistance for safe and efficient removal is always best.
Overall, acetone can be an effective solution for removing vinyl flooring, but it should be used carefully and as a last resort if other methods are unsuccessful. If you are unsure about using acetone or encounter any difficulties, consult a professional.
Conclusion
In conclusion, how to remove vinyl floor from concrete is a challenging task, but with the right materials and tools, you can accomplish it. It requires patience, energy, and strength to peel off the layers of vinyl sheet flooring. Additionally, renting equipment like power scrapers or a heat gun is highly recommended to make the job easier.
Finally, ensure that when vinyl flooring is disposed of, it’s done under local waste regulations for disposal of hazardous materials. By putting in the extra effort and research into removing your old vinyl floor properly, you will be doing yourself and the environment a favor. With these simple steps in mind, your job should go as smoothly as possible!
Now, it’s up to you to take these tips to heart and begin your project today!