Removing a shower drain cover with screws may seem like a daunting task, but with the right approach, it can be a straightforward process. Whether you’re looking to clean the drain or replace the cover with a new one, understanding the steps involved can save you time and frustration.

In this article, we’ll provide you with a comprehensive guide on how to remove shower drain cover with screws. From gathering the necessary tools to safely accessing and unscrewing the cover, we’ll walk you through each step to ensure a successful removal process.
With our detailed instructions and helpful tips, you’ll be able to tackle this task confidently and efficiently, allowing you to maintain your shower drain with ease.
Importance of Maintaining a Clean Shower Drain
Maintaining a clean shower drain is crucial for several reasons. Firstly, a clean drain reduces the risk of clogs, which can lead to water backing up and potentially damaging your bathroom floor.
Over time, hair, soap scum, and other debris can accumulate in the drain, impeding the flow of water and causing unpleasant odours. By regularly cleaning your shower drain, you can prevent these blockages and ensure a smooth drainage system. Additionally, a well-maintained drain can extend the lifespan of your plumbing, saving you money on costly repairs or replacements.
Moreover, keeping your drain clean promotes a more hygienic bathroom environment, reducing the proliferation of mould and bacteria. Overall, regular maintenance of your shower drain is essential to avoid inconvenience, maintain plumbing health, and ensure a sanitary living space.
Identifying the Type of Shower Drain Cover
Before you begin the process of removing your shower drain cover, it’s important to identify the type of cover you have. There are several types of shower drain covers, and each requires a slightly different approach for removal. The most common types include screw-in covers, snap-in covers, and lift-and-turn covers.
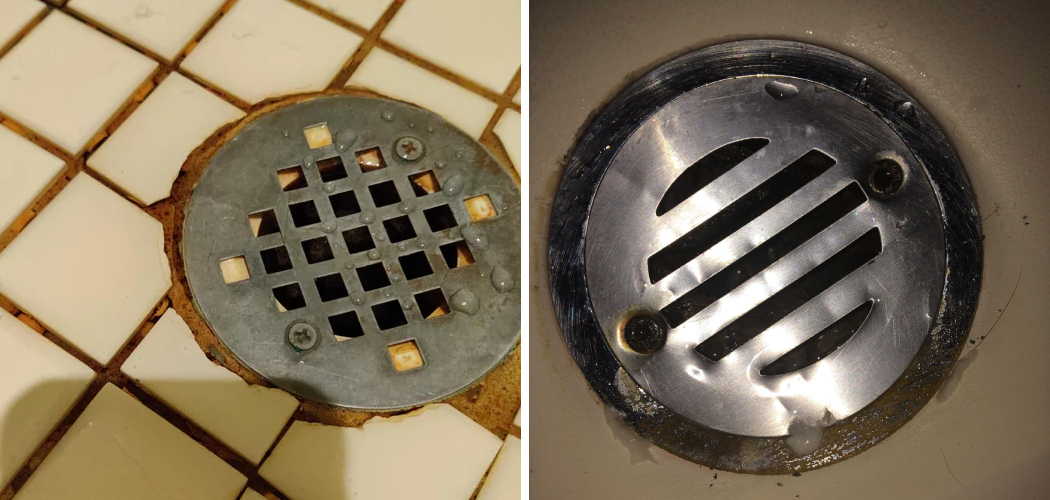
Screw-In Covers
Screw-in covers are secured to the drain with screws, making them one of the more straightforward types to remove as long as you have the appropriate screwdriver. You’ll typically find either Phillips or flathead screws on these covers. Once you’ve determined the type of screws, simply unscrew them to lift off the cover.
Snap-In Covers
Snap-in covers, also known as pressure-fit covers, do not have any visible screws. These covers are held in place by tension and can usually be removed by carefully prying them up with a flathead screwdriver or a similar tool. Be gentle to avoid damaging the cover or the surrounding shower floor.
Lift-and-Turn Covers
Lift-and-turn covers are commonly found on bathtub drains but can occasionally be used in showers as well. These covers can be identified by a small knob in the center that you twist to open and close the drain. To remove this type of cover, you usually need to unscrew the knob and then lift the cover off.
By correctly identifying the type of shower drain cover you have, you can ensure that you use the proper technique and tools for its removal, making the process simpler and more efficient.
Types of Shower Drain Covers
Understanding the different types of shower drain covers can aid in their removal and maintenance. Here are the most common types of shower drain covers you may encounter:
Toe-Touch Covers
Toe-touch covers, also known as foot lock or push-pull covers, are simple to operate and are often used in bathtubs as well as showers. These covers can be opened or closed by pressing them with your foot. To remove a toe-touch cover, you typically need to unscrew the top of the cover, often revealing a post underneath that needs to be unscrewed as well.
Flip-It Covers
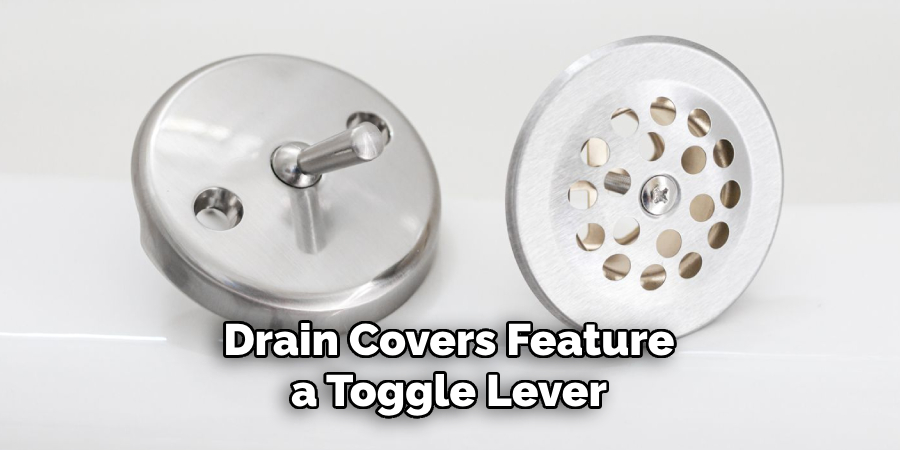
Flip-it drain covers feature a toggle lever to open and close the drain. These covers are easy to install and remove without the need for tools, making them convenient for regular maintenance. You simply flip the lever to release the cover and pull it out of the drain.
Grid Covers
Grid covers, or mesh drain covers, are designed to trap hair and debris before they enter the drain. These covers usually sit over the drain opening and can be easily lifted off for cleaning. Some grid covers may have a post that fits into the drain to keep them secured, and they can be pulled up without the need for tools.
Pop-Up Covers
Pop-up covers are commonly found in both showers and bathtubs. These covers are connected to a lever or knob that lifts or lowers the cover to open or close the drain. To remove a pop-up cover, you may need to disengage the mechanism that connects it to the lever, which sometimes involves unscrewing a pivot rod underneath the drain.
Hidden Screw Covers
Hidden screw covers resemble snap-in covers but are secured with hidden screws located underneath the cover. To remove these, you usually need to locate the hidden screws, which are accessible by rotating or prying the cover in a specific manner, revealing the screws for easy removal with a screwdriver.
Familiarizing yourself with these various types of shower drain covers ensures you can efficiently and correctly approach their removal, cleaning, or replacement. Each type has specific nuances that, when understood, can simplify your shower drain maintenance routine significantly.
Common Shower Drain Cover Designs
When it comes to shower drain covers, design plays a crucial role in both functionality and aesthetic appeal. Here are some common shower drain cover designs you might encounter:
Circular Covers
Circular covers are one of the most common shower drain cover designs. Their round shape fits seamlessly with most standard drain openings. These covers often feature grid patterns or perforations, allowing water to drain efficiently while trapping larger debris.
Square Covers
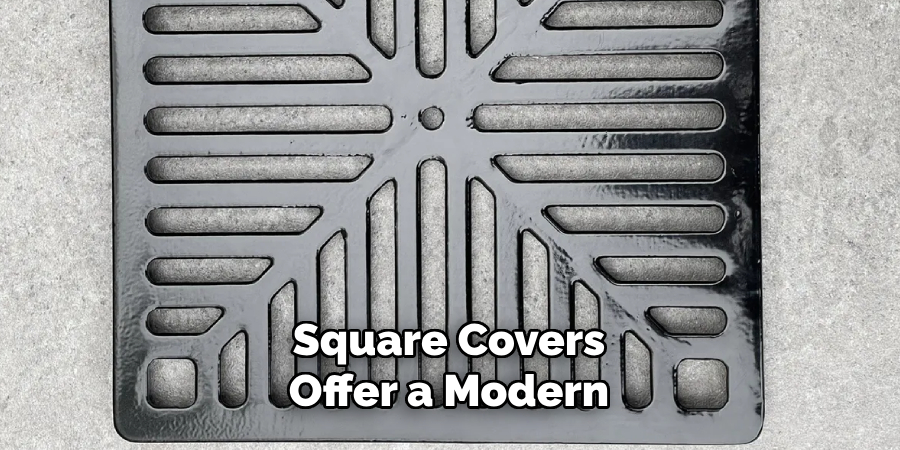
Square covers offer a modern and sleek appearance. They provide a tight fit and are often used in contemporary bathroom designs. The grid pattern on square covers varies, ranging from classic crisscross designs to more intricate geometric patterns.
Linear or Channel Covers
Linear or channel drain covers are rectangular and span the length of the shower floor. These covers are ideal for creating a minimalist look and are particularly popular in walk-in showers. They provide efficient drainage by allowing water to flow into a long, narrow channel.
Tile-In Covers
Tile-in covers are designed to blend seamlessly with the shower floor by accommodating a piece of the same tile used in the surrounding area. This creates a nearly invisible drain cover, providing a cohesive and uninterrupted look to the shower floor.
Decorative Covers
Decorative drain covers come in various artistic designs and finishes, such as polished chrome, brushed nickel, or bronze. These covers not only perform their functional role but also add a unique decorative element to the shower, enhancing the overall aesthetic of the bathroom.
Adjustable Covers
Adjustable covers are versatile designs that can be modified to fit different drain sizes and configurations. They often come with interchangeable components or adjustable elements to ensure a snug fit, making them convenient for various installation scenarios.
By understanding these common shower drain cover designs, you can choose the one that best matches your bathroom’s style and functional needs, while also ensuring efficient drainage and easier maintenance.
Benefits of Screw-In Covers and Their Secure Fit
Screw-in covers offer several advantages that make them a popular choice for many homeowners seeking durability and reliability. One of the primary benefits of screw-in covers is their secure fit.
Unlike other types of covers that may simply sit on top of the drain, screw-in covers are fastened with screws, ensuring they remain firmly in place. This secure attachment minimizes the risk of the cover becoming dislodged or lifted, which is particularly beneficial in high-traffic areas where the shower is used frequently.
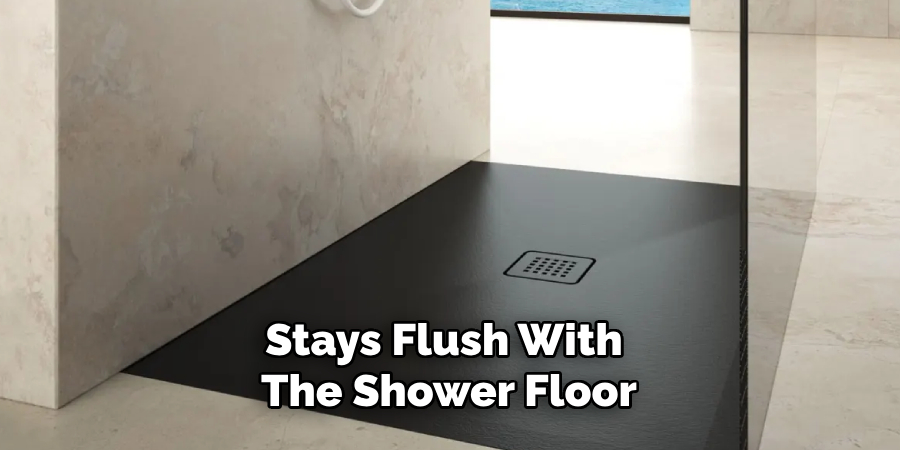
Another advantage of screw-in covers is their ability to effectively prevent unwanted debris from entering the drain. The secure fit ensures that the cover stays flush with the shower floor, which helps trap larger particles like hair and soap scum, reducing the likelihood of clogs. This can be especially useful in households with multiple members, where debris accumulation is more common.
Moreover, screw-in covers are often made of durable materials such as stainless steel or brass, providing long-lasting protection and resistance to corrosion. Their robust construction ensures that they can withstand daily use and exposure to water and cleaning products without wearing down or breaking.
This longevity makes screw-in covers a cost-effective solution in the long run, as they require fewer replacements compared to other types of drain covers.
In summary, the benefits of screw-in covers extend beyond their secure fit. They offer superior stability, effective debris prevention, and durability, making them an excellent choice for maintaining a clean and efficient shower drain system.
10 Methods How to Remove Shower Drain Cover with Screws
1. Gather Necessary Tools and Materials
Before starting, gather all the tools and materials you’ll need:
- Screwdriver (Phillips or flathead, depending on the screw type)
- Gloves (optional, for protection)
- Towels or rags (to catch water and debris)
Having everything prepared beforehand will streamline the removal process and prevent any unnecessary delays.
2. Identify the Type of Screw
Examine the screws securing the shower drain cover to determine their type. Most shower drain covers are held in place with Phillips head screws, but some may require a flathead screwdriver. Knowing the type of screw will help you select the appropriate screwdriver for removal.
3. Remove the Screws
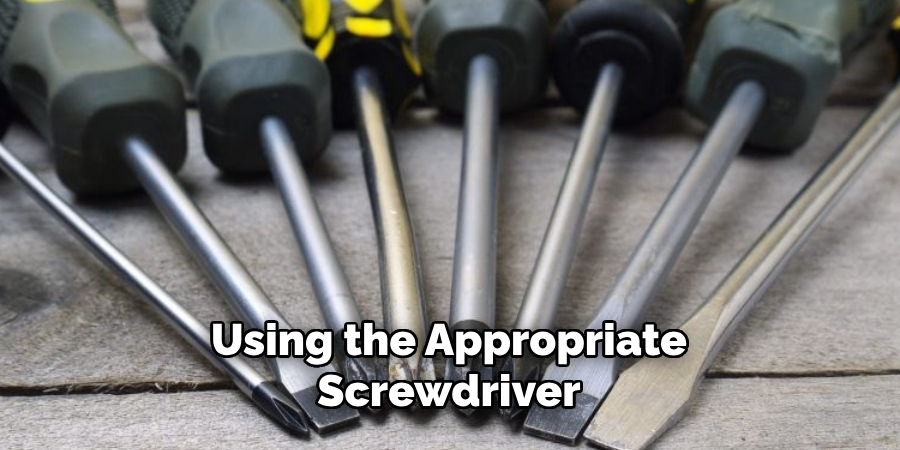
Using the appropriate screwdriver, carefully loosen and remove each screw securing the drain cover. Turn the screws counterclockwise to loosen them, then lift them out of the screw holes. Place the screws in a safe location where they won’t get lost.
4. Lift the Drain Cover
Once the screws are removed, gently lift the drain cover upwards to release it from the drain opening. Be cautious when lifting to avoid damaging the cover or scratching the surrounding surface. If the cover is stuck or difficult to lift, use a flathead screwdriver to gently pry it loose.
5. Inspect the Drain Opening
With the drain cover removed, take a moment to inspect the drain opening for any debris or buildup. Use a flashlight to illuminate the area and check for any clogs or obstructions that may be impeding drainage. Clear away any visible debris using gloved hands or a small brush.
6. Clean the Drain Cover
While the drain cover is removed, take the opportunity to clean it thoroughly. Use warm, soapy water and a scrub brush to remove any dirt, grime, or soap scum buildup from the cover. Rinse it thoroughly with clean water and dry it with a towel before reinstalling.
7. Inspect the Screws and Screw Holes
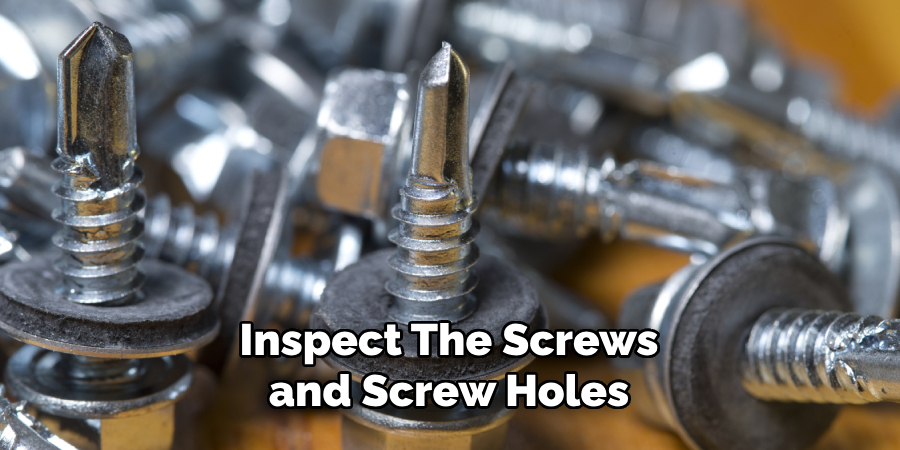
Before reinstalling the drain cover, inspect the screws and screw holes for any damage or wear. Replace any damaged screws with new ones, and clean out the screw holes to ensure a secure fit. This step is essential for preventing future issues with the drain cover.
8. Reposition the Drain Cover
Once the drain cover and screws are cleaned and inspected, carefully position the cover over the drain opening. Ensure that it is aligned properly and sits flush against the surrounding surface. If necessary, adjust the position of the cover to achieve a snug fit.
9. Secure the Drain Cover with Screws
With the drain cover properly positioned, insert the screws into the screw holes and tighten them securely using the screwdriver. Turn the screws clockwise to tighten them, taking care not to over-tighten and strip the threads. Ensure that the drain cover is securely fastened in place.
10. Test for Proper Functionality
After reinstalling the drain cover, test the shower to ensure that it is functioning properly. Turn on the water and check for any leaks around the drain cover. Also, observe the drainage to ensure that water flows freely without any obstructions. If everything looks and functions as it should, you’ve successfully removed and replaced the shower drain cover with screws.
Things to Consider When Removing a Shower Drain Cover
Before embarking on the process of removing a shower drain cover, there are several important factors to take into consideration to ensure a smooth and hassle-free experience.

- Safety Precautions: Always prioritize safety by wearing protective gloves to avoid injuries and using towels or rags to catch any water or debris that might spill during the removal process.
- Type of Shower Drain Cover: Identify the type of drain cover installed in your shower. Different covers may require specific tools and methods for removal, so knowing whether you have a screw-in, snap-in, or another type of cover will help you prepare adequately.
- Tools Required: Ensure you have the correct tools on hand. A screwdriver that matches the type of screws in your drain cover is crucial. Additionally, having a flashlight, pliers, and a small brush may come in handy for thorough inspection and cleaning.
- Water Supply: Consider turning off the water supply to the shower to prevent any accidental spills or leaks during the process. This step is especially important if you anticipate encountering any difficulties that might extend the removal process.
- Condition of the Drain and Screws: Inspect the condition of the drain and screws before starting. Rusty or corroded screws may require additional time and care to remove, and a damaged drain may need further attention once the cover is off.
- Potential Obstacles: Be prepared for potential obstacles such as stubborn screws or covers that are difficult to lift. Having additional tools like penetrating oil or a rubber mallet can help in loosening particularly resistant parts.
- Post-Removal Inspection: Plan to inspect and clean the drain thoroughly once the cover is removed. This is a perfect opportunity to clear away any debris, hair, or soap scum that has accumulated, which can improve drainage and prevent future clogs.
- Reinstallation: Consider the ease of reinstallation. Ensure that you have all necessary items, including replacement screws if needed, and that you understand the reinstallation process to secure the cover properly.
By keeping these considerations in mind, you can ensure a more efficient and effective process when removing and replacing your shower drain cover.
Conclusion
In conclusion, mastering the removal of a shower drain cover with screws is a valuable skill for any homeowner or DIY enthusiast. By following the steps outlined in this guide, you can confidently tackle this maintenance task and ensure your shower drain remains clean and functional.
From identifying the type of drain cover and gathering the necessary tools to carefully removing the screws and cleaning the drain area, each step is essential for a successful outcome.
Regular maintenance of your shower drain not only prevents clogs and buildup but also promotes proper drainage and prevents water damage. Thanks for reading, and we hope this has given you some inspiration on how to remove shower drain cover with screws!