Scratches on the floor may be the last thing you want, whether at home or in an office. Not only do they take away from the appearance of your space, but they also make floors more vulnerable to further damage and wear over time.
If you have installed Luxury Vinyl Plank (LVP) flooring and notice scratches starting to form, don’t stress! We’ve got your back with a how-to guide on how to remove scratches from LVP flooring without breaking a sweat.
In this post, we’ll go through all the steps necessary for getting rid of those pesky scuffs effectively—from cleaning up any dust or dirt build-up before beginning to a few clever tricks that will get gone even through blemishes faster than ever before. With simple preparation and supplies, your LVP will look as good as new!
What Will You Need?
Before we start, gathering all the necessary supplies for this DIY project is important. Here’s what you’ll need:
- Microfiber cloth or soft sponge
- Mild soap or LVP cleaner
- Baking soda
- Water
- Fine grit sandpaper (optional)
- LVP repair kit (optional)
Once you have all of these items ready, it’s time to begin the process of removing scratches from your LVP flooring.
10 Easy Steps on How to Remove Scratches From LVP Flooring
Step 1: Clean the Area
The first step is to clean the area where the scratch is located. Use a microfiber cloth or soft sponge with mild soap or LVP cleaner to remove any surface dirt or debris. This will ensure that no additional particles are trapped in the scratch during the repair process.
Step 2: Prepare a Baking Soda Solution
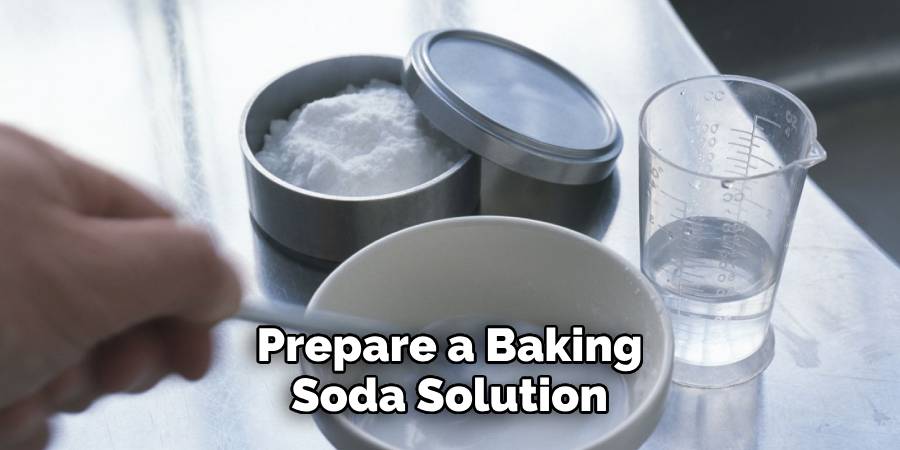
After cleaning the area, prepare a baking soda solution that will help diminish the scratches’ visibility. Mix a small amount of baking soda with water until it becomes a thick paste. The baking soda’s mild abrasive property will aid in buffing out the scratches without causing additional damage to your LVP flooring.
Step 3: Apply the Baking Soda Solution
Next, gently apply the baking soda solution to the scratched area using your cloth or sponge. Be sure to spread the paste evenly over the scratch and let it sit for a few minutes. The baking soda will work its magic, helping to reduce the appearance of the scratch on your LVP flooring.
Step 4: Wipe Away the Baking Soda
After letting the baking soda solution sit on the scratch for a few minutes, gently wipe it away with a clean, damp cloth or sponge. Make sure to remove all of the baking soda from the floor. Don’t be alarmed if the scratch is still visible; it may take a few applications to see results.
Step 5: Repeat the Process
If the scratch is still visible after the first application, don’t worry. Repeat steps 2 through 4, applying the baking soda solution, letting it sit, and then wiping it away until the scratch is less noticeable. This might require patience and several rounds, but the scratch should begin to fade each time the process is repeated.
Step 6: Use a Repair Kit
If the scratch remains stubbornly visible, consider using an LVP repair kit. These kits come with various tools and solutions designed specifically to handle deep scratches in LVP flooring. Follow the instructions provided in the kit for the best results. Make sure to select a repair kit that matches the color and pattern of your LVP flooring to maintain its original look.
Step 7: Sand the Area
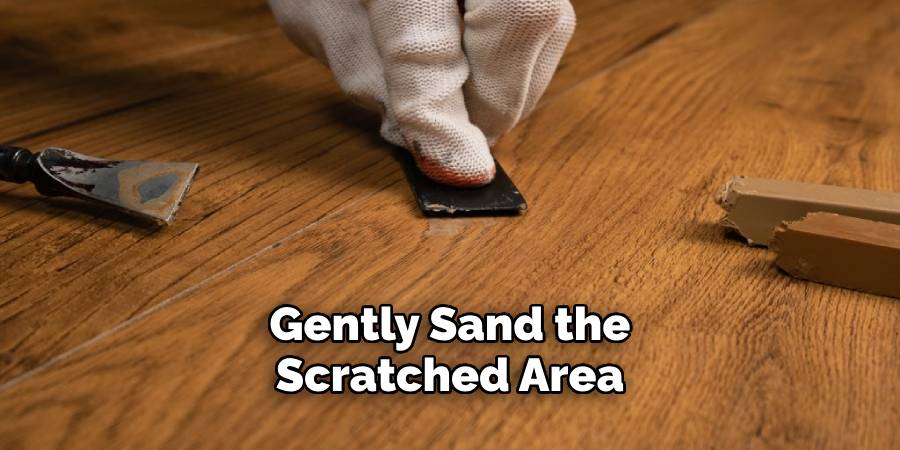
If the scratch is particularly deep, it may be necessary to use fine-grit sandpaper. However, this should be your last resort as it could damage the flooring further if not done correctly. If you choose to go this route, gently sand the scratched area. Make sure to use a very fine grit to avoid creating more scratches. Always follow the grain of the flooring to maintain a seamless appearance.
Step 8: Clean the Area Again
After sanding, there will be dust and particles that need to be cleaned up. Use a dry microfiber cloth to wipe away any dust from the area. You can also use a vacuum cleaner with a soft brush attachment, but make sure to use it on a low setting to avoid causing further damage.
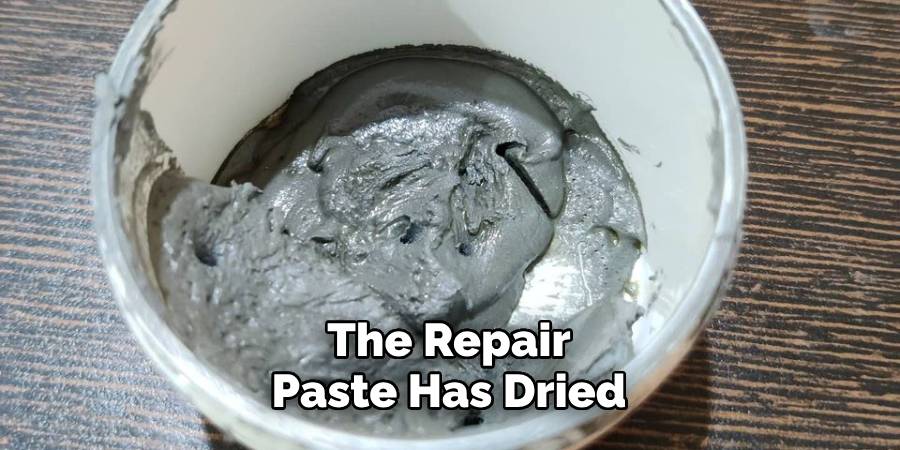
Step 9: Apply the Repair Paste
If your LVP repair kit comes with a repair paste, now is the time to use it. Apply the paste according to the kit’s instructions, ensuring it gets into the scratch and levels with the floor’s surface. This paste usually dries clear and will help blend the scratch into the surrounding flooring.
Step 10: Buff and Polish
Once the repair paste has dried, use a soft cloth to buff the area and restore shine. If your repair kit includes a polish, apply it as indicated in the kit’s instructions. This final step will help your floor look as good as new, with no trace of the previous scratch.
With these ten simple steps, you can easily remove scratches from your LVP flooring without replacing any planks. Remember to clean and maintain your floors regularly to prevent future scratches and preserve the beauty of your LVP flooring for years to come.
5 Additional Tips and Tricks
- Use a Scratch Repair Kit: These kits are specifically designed to fix scratches on LVP flooring. They usually include fillers, colorants, and a top coat to seal the repair. Make sure to follow the instructions closely for effective results.
- Try the Heat Method: Gently apply some heat on the scratched area with a hair dryer, being careful not to overheat the surface. This helps the vinyl to regain its original shape and hide the scratch.
- Apply a Floor Sealer: A good-quality floor sealer can fill in the scratches and make them less visible. Always check the sealer compatibility with your flooring type before applying.
- Replace the Damaged Plank: If the scratch is too deep and other methods don’t work, you may have to replace the entire plank. Always keep some extra planks from your original LVP flooring for such scenarios.
- Prevent Further Scratches: Use furniture pads under heavy items, trim pet nails, and avoid wearing shoes with sharp heels inside the house to help prevent future scratches on your LVP flooring.
With these tips and tricks, you can easily remove scratches from your LVP flooring and keep it looking as good as new.
6 Things You Should Avoid
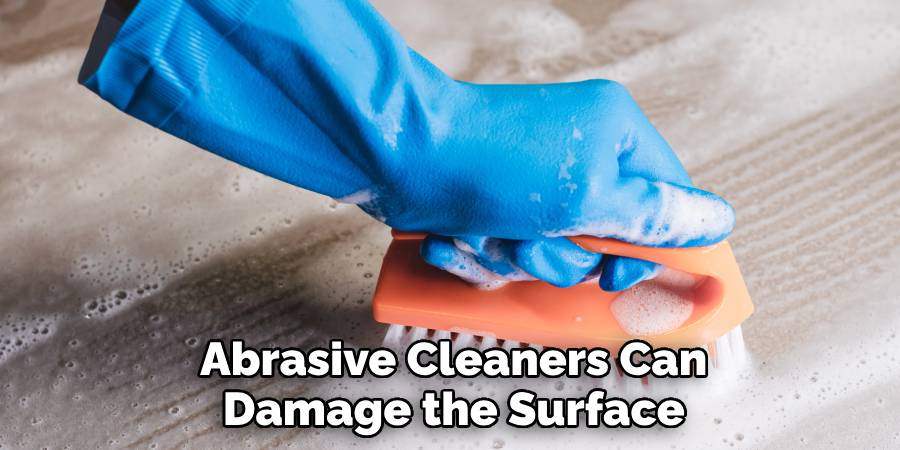
- Avoid Using Abrasive Cleaners or Tools: Abrasive cleaners can damage the surface of your LVP flooring, worsening the scratches or creating new ones. Similarly, avoid using abrasive tools such as steel wool or sandpaper.
- Steer Clear of Wax-Based Products: Wax-based products can leave a residue on LVP flooring, causing it to appear dull over time. They can also make future repairs more difficult.
- Don’t Drag Furniture: Dragging furniture across your LVP floor can result in deep scratches. Always lift and move items or use furniture pads underneath when moving them.
- Avoid Harsh Chemicals: Avoid using products that contain bleach, ammonia, or other harsh chemicals, as they can strip the protective coating on your LVP flooring, leading to more scratches and damage.
- Never Use Excessive Water: When cleaning your floors, avoid using excessive water, as it can seep into the cracks and seams, causing the planks to swell or warp. Always use a damp mop and dry the floor immediately after cleaning.
- Do Not Ignore Scratches: While some scratches on LVP flooring may be minor and easily fixable, addressing them as soon as possible is important. Ignoring scratches can lead to further damage and make repairs more difficult in the future.
By avoiding these common mistakes, you can help keep your LVP flooring in top condition and minimize the risk of scratches.
Does Vinegar Damage LVP?
While vinegar can be a great natural cleaner for many surfaces, it is not recommended for use on LVP flooring. The acidic nature of vinegar can cause damage to the protective layer of your LVP flooring and potentially lead to scratches and discoloration. It’s best to stick to gentle cleaners specifically designed for vinyl floors.
In addition, it’s important to regularly sweep and vacuum your LVP flooring to remove any dirt or debris that can potentially scratch the surface. Proper maintenance and care can keep your LVP flooring looking beautiful for years.
What is the Best Natural Cleaner for Vinyl Plank Floors?
If you prefer using natural cleaners for your LVP flooring, a few safe and effective options exist. One of the best choices is warm water and mild dish soap. This gentle solution can help remove dirt and grime without causing damage to your floors.
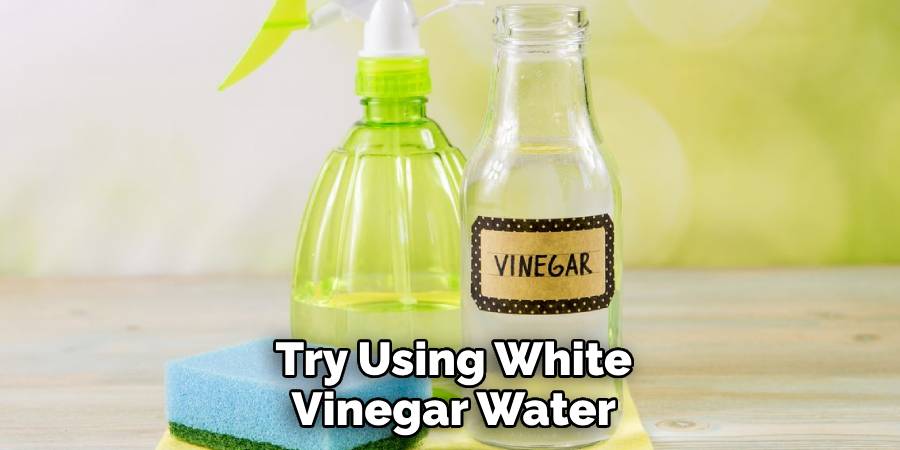
You can also try using white vinegar, water, and a few drops of essential oil for a natural and fragrant cleaning solution. Always test any cleaner on a small, inconspicuous area before using it on the floor.
Regularly sweeping and mopping with a gentle cleaner can help prevent the build-up of dirt and debris that can cause scratches on your LVP flooring. With the right care, you can keep your floors looking shiny and scratch-free for years to come.
Overall, by following these tips and avoiding common mistakes, you can easily remove scratches from your LVP flooring and maintain its beauty for years to come. Remember always to read and follow the instructions for any products or methods used on your LVP flooring to ensure safe and effective results.
As with any type of flooring, scratches can happen on LVP flooring over time. But with the right techniques and tools, you can easily remove them and keep your floors looking as good as new.
Conclusion
Overall, removing scratches from LVP flooring does not have to be a difficult task. You can easily fix most of these issues using the correct products and methods. Of course, if you feel that your scratch is more severe than those covered in this blog post, contact a professional for assistance.
Hopefully, this guide has provided you with valuable information on how to remove scratches from LVP flooring and avoid common mistakes that can cause damage.
With the right tools and knowledge, you can delight in your beautiful flooring again. So why wait any longer? Gather up your supplies and get started fixing those annoying scratches today! Your floor will thank you for it.