
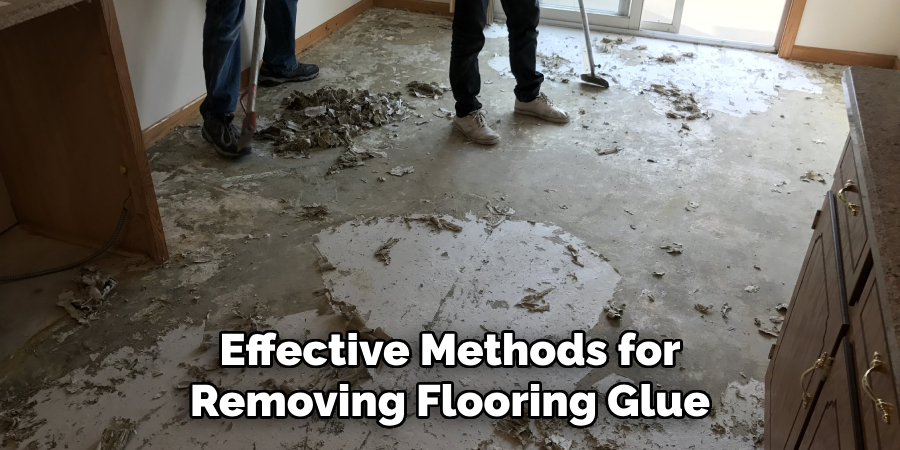
Removing flooring glue can be a daunting task, but with the right tools and techniques, it can be easily accomplished. Whether you are renovating your home or just looking to change up the flooring in a room, knowing how to remove old flooring glue is an important skill to have.

In this guide, we will go over the steps and methods for how to remove flooring glue, as well as some tips and tricks to make the process easier. If you have been struggling to remove flooring glue, read on to learn how to do it effectively.
The Different Types of Flooring Glue
There are several types of flooring glue, each with its unique properties and challenges when it comes to removal. The type of glue used will depend on the type of flooring you have, so it’s important to identify the type of glue before beginning the removal process. Here are some common types of flooring glue:
1. Carpet Adhesive: This is a strong, water-based glue used for installing carpets. It can be difficult to remove, especially if it has been on the floor for a long time.
2. Vinyl Adhesive: This is a solvent-based glue used for vinyl flooring and is quite strong and durable. It can be challenging to remove, but with the right methods, it can be done effectively.
3. Tile Adhesive: This is a strong, cement-based adhesive used for ceramic or porcelain tiles. It can be quite difficult to remove and may require some specialized tools.
4. Wood Flooring Glue: This is a water-resistant glue used for installing wood flooring. It is typically quite strong and can be challenging to remove if it has fully cured.
Tools and Materials You Will Need to Remove Flooring Glue
- Protective gear (gloves, goggles, mask)
- Floor scraper or putty knife
- Heat gun or hairdryer
- Adhesive remover solution
- Hot water
- Bucket or spray bottle
- Scrub brush
- Sandpaper or floor sander (if necessary)
10 Best Ways on How to Remove Flooring Glue
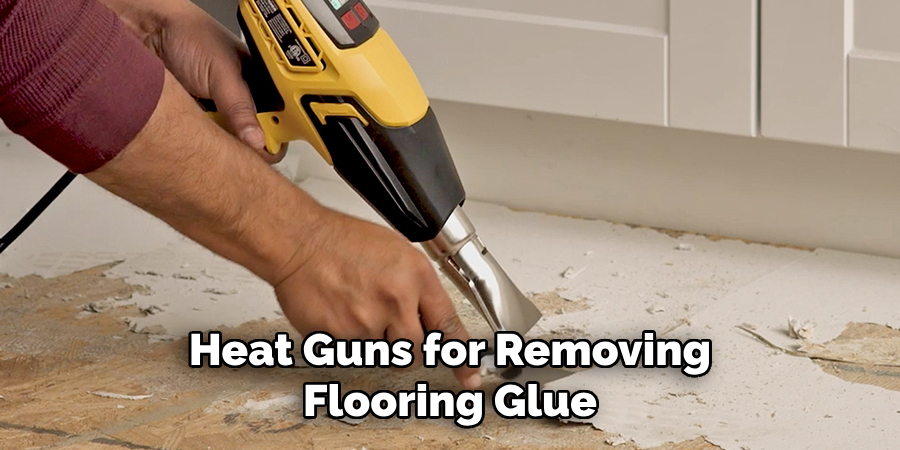
1. Try Using Heat:
Using heat is one of the most effective methods for removing flooring glue. This works particularly well for vinyl and carpet adhesive. Simply use a heat gun or hairdryer on a low setting to warm up the glue, making it easier to scrape off. This method also helps to soften the glue, making it less sticky and easier to remove. If you do not have a heat gun or hairdryer, you can also pour hot water over the glue to achieve the same effect.
2. Use an Adhesive Remover Solution:
An adhesive remover solution is designed specifically for removing flooring glue and can be found at most hardware stores. These solutions break down the chemical bonds in the glue, making it easier to remove. Follow the instructions on the product for best results. Using a solution can also help to minimize any damage or staining to the underlying flooring.
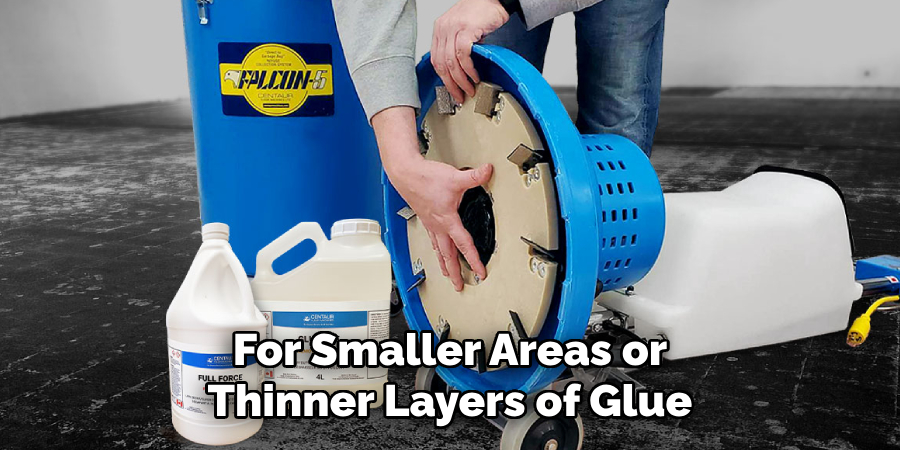
3. Try Scraping with a Floor Scraper or Putty Knife:
If your adhesive is not too stubborn, you may be able to scrape it off using a floor scraper or putty knife. Make sure to wear protective gloves and goggles as the process can be messy and potentially dangerous. Start at one corner of the room and work your way across, applying firm pressure as you scrape. This method is best for smaller areas or thin layers of glue.
4. Soak the Glue with Hot Water:
For water-based adhesives, soaking the glue in hot water can help to loosen its grip and make it easier to remove. Pour hot water over the affected area and let it sit for a few minutes before scraping off the softened glue. You can also use a spray bottle to apply hot water more precisely. This method may need to be repeated several times for tougher adhesives.
5. Apply an Organic Solvent:
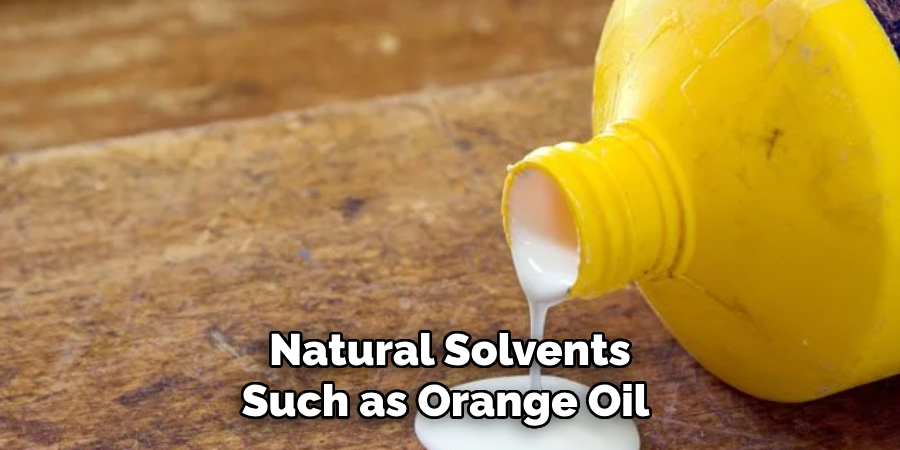
Natural solvents such as orange oil or soy-based products can also be effective in removing flooring glue. These solvents work by breaking down the adhesive bonds, making it easier to scrape off. Make sure to follow the instructions on the product and use protective gear when handling solvents. If you are looking for a more environmentally friendly option, this method is worth considering.
6. Use Dry Ice:
This may sound unusual, but dry ice can be an effective way to remove stubborn flooring glue. Simply place small pieces of dry ice on the glue and let it sit for a few minutes. The extremely cold temperature will make the glue brittle and easier to scrape off. Make sure to use protective gear when handling dry ice and handle it with caution.
7. Try Sanding:
If all else fails, sanding may be necessary to remove the remaining glue. Use a floor sander or an orbital sander with fine-grit sandpaper to sand away the glue residue. Make sure to wear a mask during this process to avoid inhaling any dust particles. Sanding may be time-consuming and messy, so it is best to use this method as a last resort.
8. Use a Chemical Stripper:
If the adhesive remover solution does not work, you can try using a chemical stripper specifically designed for flooring glue removal. Make sure to follow the instructions on the product carefully and use protective gear. Chemical strippers can be harsh, so it is important to take precautions and protect yourself while using them. Using a chemical stripper may also require multiple applications to fully remove the glue.
9. Try Using a Steam Cleaner:
For smaller areas or thinner layers of glue, a steam cleaner can be an effective and environmentally friendly way to remove flooring glue. The heat from the steam helps to soften the adhesive, making it easier to scrape off. Make sure to use protective gear when handling hot steam and follow the instructions on your specific steam cleaner for best results.
10. Hire a Professional:
If all else fails or the glue residue is too stubborn to remove on your own, it may be best to hire a professional. They will have the necessary tools and expertise to safely and effectively remove the flooring glue without damaging your floors. This may be a more expensive option, but it can save you time and potential damage to your flooring in the long run.
Following these tips and methods can help you successfully remove flooring glue without causing too much hassle or damage. Remember to always wear protective gear and take appropriate precautions when handling any chemicals or tools. With patience and the right tools, you can achieve a clean and smooth surface for your new flooring installation. Happy renovating!
Additional Tips and Tricks to Remove Flooring Glue
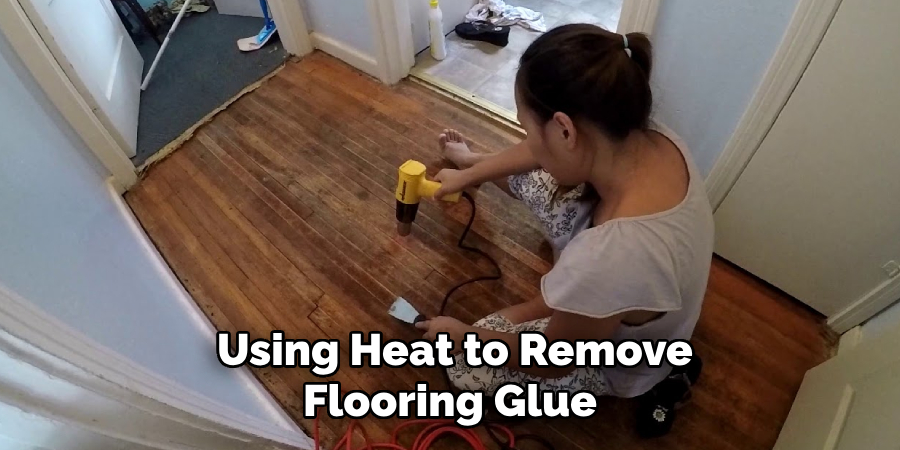
1. If using heat to remove flooring glue, make sure to keep the temperature of the heat gun or iron at a low setting. High temperatures can cause damage to the floor and release toxic fumes.
2. If using a chemical adhesive remover, always follow the instructions carefully and wear protective gear such as gloves and a mask to avoid skin irritation or inhalation of harmful chemicals.
3 . For stubborn glue residue, try using a scraper with a sharp blade to gently scrape off the remaining adhesive. Be careful not to scratch or damage the floor in the process.
4. A natural alternative to chemical adhesive removers is using white vinegar. Simply soak a cloth in vinegar and place it over the glue residue for a few minutes before scraping it off.
5. If dealing with a large area of flooring, consider renting a floor buffer with an abrasive pad attachment. This can help speed up the process and make it more efficient.
6. When removing glue from hardwood floors, be cautious not to use water or any liquid as it can cause the wood to swell and potentially ruin the floor.
7. If using a solvent-based adhesive remover, remember to dispose of the product properly according to local regulations.
8. After removing all the glue residue, clean the floor thoroughly with warm soapy water to remove any remaining residue and ensure a smooth surface.
9. If the flooring glue is extremely old and difficult to remove, consider hiring a professional to avoid causing damage to the floor.
10. Lastly, always be patient and take breaks if needed when removing flooring glue. It can be a time-consuming and tedious process, but with proper techniques and tools, you can achieve a successful removal without damaging your floors.
Following these additional tips and tricks can make the process of removing flooring glue more efficient and safe. Remember to always take precautions and be gentle with your floors, especially when dealing with delicate materials such as hardwood. With the right techniques, you can achieve a clean and smooth surface ready for new flooring in no time.
Things You Should Consider to Remove Flooring Glue
1. Understand the Type of Glue Used:
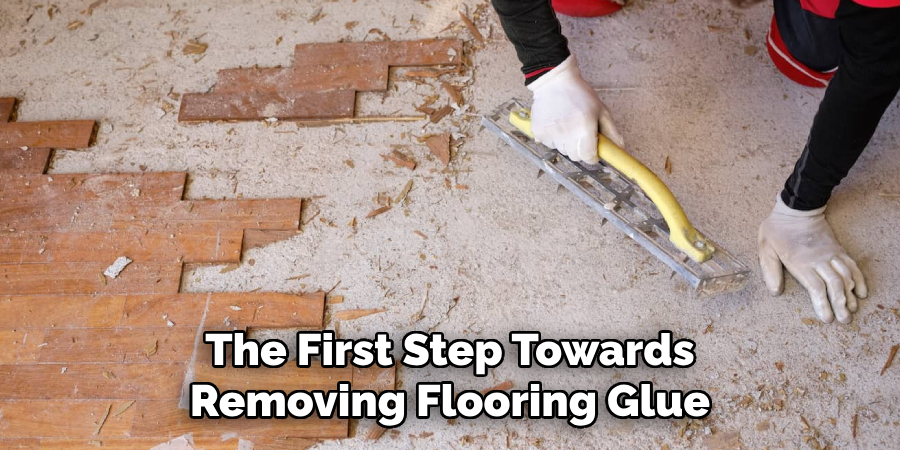
The first step towards removing flooring glue is to understand what type of glue was used for installation. This is important because different types of glue require different removal methods. For instance, a water-based adhesive will require a different approach compared to an oil-based adhesive. If you are unsure about the type of glue used, consult a professional or do some research to determine the best removal method.
2. Gather Necessary Tools and Materials:
Removing flooring glue can be a messy and time-consuming process, so it’s important to gather all the necessary tools and materials before starting. This may include a scraper, adhesive remover, hot water, gloves, safety goggles, and a sturdy sponge or scrub brush. Having everything you need on hand will make the process much smoother and efficient.
3. Clean the Area:
Before attempting to remove any glue, it’s important to clean the area around the flooring. This will help prevent any dirt or debris from getting into the adhesive and making it harder to remove. Use a broom or vacuum cleaner to remove any loose dust and debris from the floor surface. You can also use a mild soap solution to clean the area and remove any dirt or grime.
4. Test a Small Area:
Before diving into removing the entire flooring glue, it’s best to test a small area first to see which method works best. This will also give you an idea of how much time and effort will be required for the whole process. It’s important to note that some removal methods may damage certain types of flooring, so always test on a small inconspicuous area first.
5. Try Mechanical Methods:
If the glue is stubborn and difficult to remove, you may need to try mechanical methods such as scraping or sanding. This involves using a scraper or sander to physically remove the adhesive from the floor surface. However, this method can be time-consuming and may require a lot of effort, so it’s best to use it as a last resort.
6. Use Chemical Adhesive Removers:
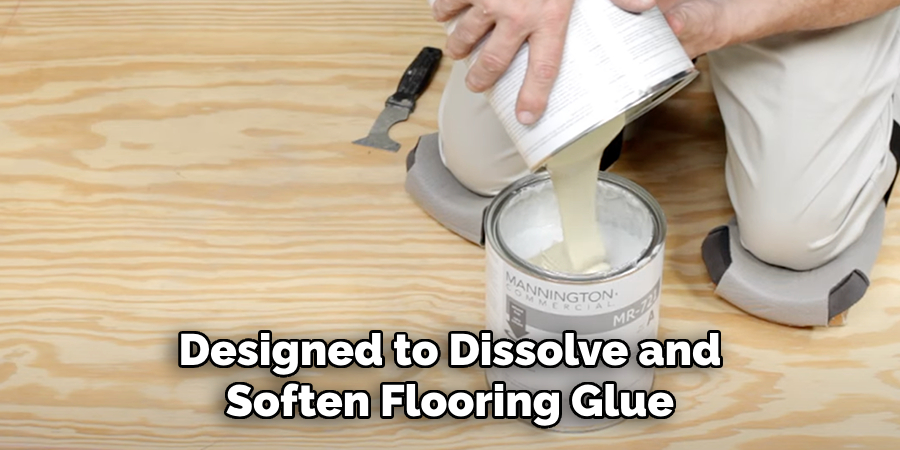
Chemical adhesive removers are specifically designed to dissolve and soften flooring glue, making it easier to remove. These products can be found at most hardware or home improvement stores and come in different forms such as liquid or gel. It’s important to carefully follow the instructions and safety precautions when using these products, as they can be harmful if not used properly.
7. Consider Hiring a Professional:
Removing flooring glue can be a challenging and time-consuming task, especially if you have little experience or knowledge in this area. If the process seems overwhelming or you are unsure about how to safely remove the glue, it’s best to hire a professional. They have the necessary tools and expertise to efficiently remove the adhesive without causing any damage to your flooring.
Following these considerations will help you effectively remove flooring glue without causing damage to your floor surface. Remember to always take precautions and test a small area first before attempting the entire removal process. With the right tools and methods, you can have a clean and smooth floor in no time!
Safety Precautions Need to Be Followed for Removing Flooring Glue
1. First and foremost, it is important to ensure that the room where you are removing flooring glue is well-ventilated. This will help prevent inhaling any harmful fumes from solvents or other chemicals that may be used in the process.
2. Wear protective gear such as gloves, safety glasses, and a dust mask to avoid direct contact with the glue and its vapors. It is also recommended to wear old clothing that covers your skin.
3. Before starting the removal process, make sure to read and follow the instructions on the label of any chemical product you plan to use. This will help ensure safe handling and avoid potential hazards.
4. Keep all pets and children out of the room where you are working. They may accidentally come in contact with the glue or its residue and can be harmed.
5. In case of skin contact with the glue or any chemical product, immediately wash the affected area with soap and water. If irritation occurs, seek medical attention.
6. It is important to have a fire extinguisher nearby as some solvents used for removing flooring glue are flammable. Keep it in an easily accessible location and make sure you know how to use it.
7. To avoid any accidental spillage or splashing of the glue remover, cover all nearby furniture and objects with a plastic sheet or drop cloth.
8. When using tools such as scrapers or heat guns for removing flooring glue, be cautious and follow the safety instructions provided by the manufacturer.
Following these safety precautions will help ensure a safe and successful removal of flooring glue. Additionally, it is always recommended to consult a professional if you are unsure about the process or feel uncomfortable handling any chemicals or tools. Proper safety measures should always be taken when dealing with potentially hazardous substances. Remember to also properly dispose of any chemical products and used materials after completing the removal process.
Frequently Asked Questions
How Do I Remove Flooring Glue From Concrete?
To remove flooring glue from concrete, you can use a scraper or putty knife to chip away at the hardened glue. Alternatively, you can use a chemical adhesive remover specifically designed for concrete surfaces.
It’s important to follow the instructions on the product carefully and wear protective gear, as some of these products can be harsh. Once the glue is removed, you can use a concrete grinder or sander to smooth out any remaining residue.
Can I Use Vinegar to Remove Flooring Glue?
Vinegar is a popular natural cleaning solution for many household tasks, but it may not be effective for removing flooring glue. While vinegar can help loosen some types of adhesives, it may not be strong enough to break down the tough bonds in flooring glue. It’s best to use a commercial adhesive remover or consult with a professional if you’re unsure about the best method for your specific type of flooring glue.
Is Sanding the Best Method for Removing Flooring Glue?
Sanding can be an effective method for removing flooring glue, but it may not always be the best option. It’s important to consider the type of flooring material and adhesive used before deciding on sanding.

Sanding can be time-consuming and labor-intensive, so it may not be the most practical solution for large areas or delicate flooring materials. Additionally, sanding can create a lot of dust and debris, so it’s important to take the necessary precautions to protect yourself and your surroundings.
Conclusion
Knowing how to remove flooring glue effectively can save you time and effort in your home renovation projects. Whether you choose to use a scraper, chemical adhesive remover, or sanding method, always prioritize safety and carefully follow instructions to achieve the best results.
If you’re unsure about which method to use for your specific type of flooring glue, consult with a professional for expert advice. With the right tools and techniques, you can successfully remove flooring glue and prepare your surface for a new and improved look. Remember to always test the method on a small, inconspicuous area first before applying it to the entire surface. Good luck with your flooring glue removal!