Are you trying to fix a broken ceiling light fixture and noticed no visible screws or fasteners to remove the cover? Don’t worry! You’re definitely not alone. It can be tricky to figure out how to remove ceiling light cover no screws without any apparent means of access.
However, with some careful attention and good old-fashioned problem-solving skills, you can easily take down the surface and repair your lighting fixture in no time. In this blog post, we’ll walk you through exactly how to remove your ceiling light cover when there aren’t any screws used for attachment. Get ready – it’s time to embark on an almost screwless journey!
Step by Step Guidelines on How to Remove Ceiling Light Cover No Screws
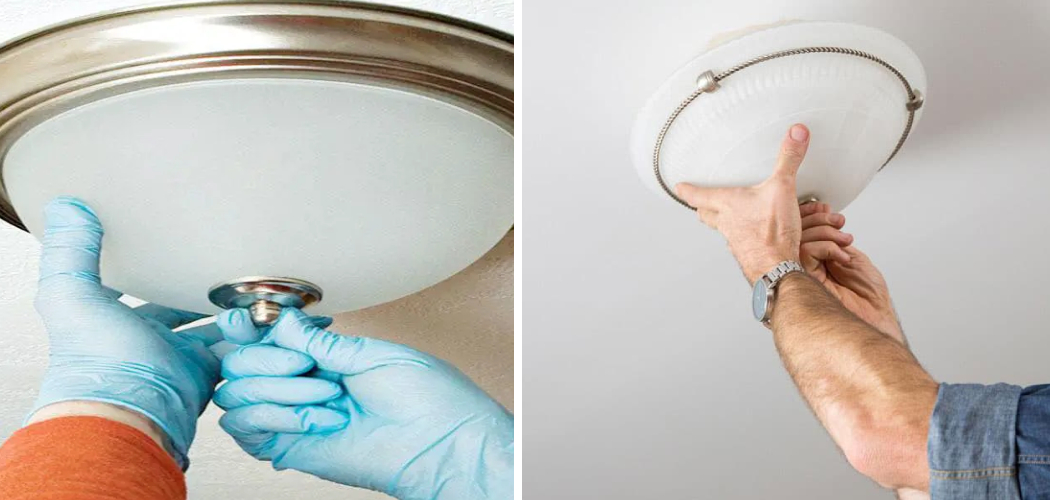
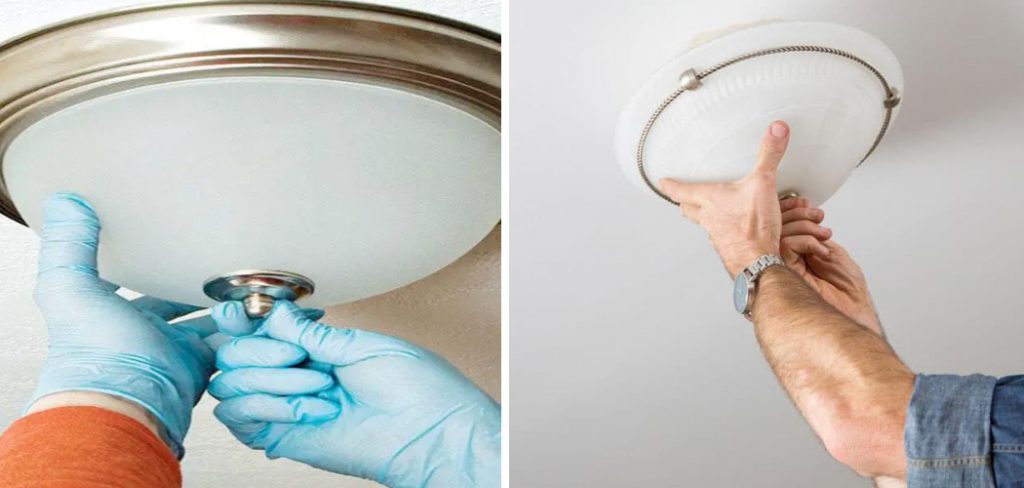
Step 1: Identify How Exactly Your Cover is Attached:
Inspect the fixture carefully and identify if there are any hidden screws that could be used to remove the cover. If you spot any, simply unscrew them using a screwdriver or nut driver. Otherwise, check for spring clips, bayonet-style clips, or other fasteners that could be holding the lamp cover in place. Identifying the type of fasteners used is key to figuring out how to remove your ceiling light cover.
Step 2: Release the Fasteners Holding the Cover in Place:
If you’ve identified spring clips, bayonet-style clips, or other fastener types, use a flathead screwdriver or similar tool to carefully pry them apart and release the cover. If you’re dealing with a bayonet-style clip, remember to rotate the glass shade slightly before lifting it off. While removing the cover, try to keep it steady and avoid jerking motions that could damage the light fixtures.

Step 3: Replace or Repair Your Light Fixture:
Once you’ve successfully removed the cover from your ceiling light fixture, you’re free to repair or replace the broken parts. Make sure your new part is compatible with the existing wiring and secure it in place according to manufacturer instructions. Once everything is set, simply reattach the cover and you should be good to go!
And that’s how to remove the ceiling light cover with no screws. With a little bit of know-how and some patience, you can easily take down your old ceiling light fixtures and replace them with new ones. All the best!
Additional Tips and Tricks to Remove Ceiling Light Cover No Screws
- Try using a flathead screwdriver to gently pry off the cover. Take care not to damage the light fixture or wall with the screwdriver.
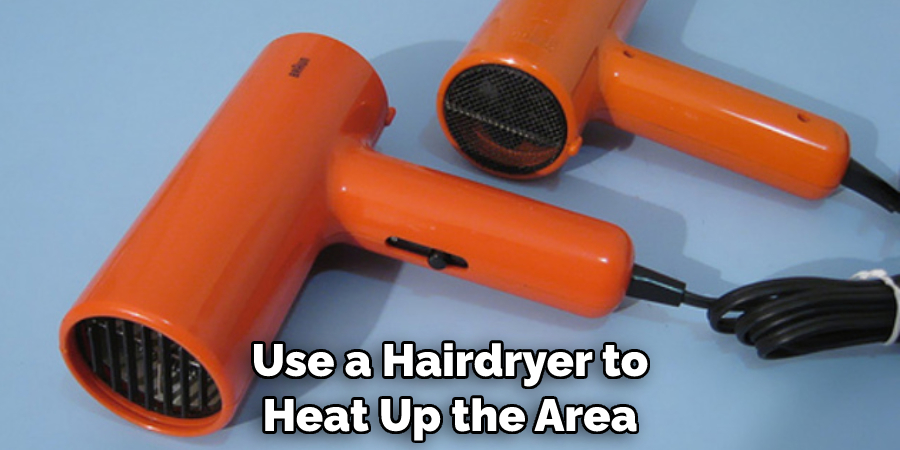
- If the cover is stuck, you can use a hairdryer to heat up the area around it and soften any adhesive that may be preventing removal. Be sure to keep the hairdryer moving and not leave it in one spot for too long.
- If the light cover is held in place by a few nails, you can use a pair of pliers or a hammer and nail remover tool to remove them.
- If all else fails, you may need to consult an electrician or professional to safely remove the ceiling light cover. They will be able to tell you what type of fastener is holding it in place and how best to remove it without damaging anything else in the process. Once they are done, you can then install a new one if desired.
- Don’t forget to turn off the power before attempting to remove any ceiling light covers. It’s better to be safe than sorry when dealing with electricity. Be sure to properly dispose of old fixtures and replace them with ones that meet safety standards. This will help ensure your family’s safety as well as prevent any accidental fires or electrocutions in the home.
By following these tips, you can safely remove your ceiling light covers with no screws and bring a new look to your space. With the right tools and proper care, you should be able to complete this task easily and without any issues. Good luck!
Things You Should Consider to Remove Ceiling Light Cover No Screws
- Check the type of light fixture. There are several types of ceiling lights, such as recessed lighting, flush mount lighting, pendant lighting, and track lighting. Depending on the type of light fixture, you may need to use a different technique for removing the cover.
- Inspect the light cover for any hidden screws. It is possible that the manufacturer may have used hidden screws to secure the light cover in place. If so, use a flashlight to identify the hidden screws and then remove them with an appropriate screwdriver.
- Look for clips on the edges of the ceiling light cover. Some ceiling light covers may have clips on the side that can be used to easily remove the cover.
- Check if the light cover is held in place by pins or springs. If so, you may need to use a special tool or needle nose pliers to release the pins or springs and then carefully lift off the cover.
- Consider the use of a suction cup adapter. If there is no visible method for removing the ceiling light cover, you can use a suction cup adapter to help loosen it and then remove it from the fixture.
- Make sure that you have all of the necessary safety equipment before attempting to remove your ceiling light cover. For instance, always wear protective eyewear to protect your eyes from any flying debris, and never attempt to remove a ceiling light fixture without unplugging the power source first.
By following these considerations, you will be able to easily and safely remove your ceiling light cover without the need for screws. Removing a ceiling light cover can be an easy job if done correctly and with the right tools and safety equipment.
Precautions Need to Follow for Removing Ceiling Light Cover No Screws
- Always make sure the power is off before attempting to remove a ceiling light cover that does not have screws. It is best to double-check by turning off the breaker at your circuit box, or unplugging the lamp if it has a plug.
- Make sure you are steady on a ladder and use caution when reaching up to the ceiling. It is best to have a friend or family member nearby in case you need help.
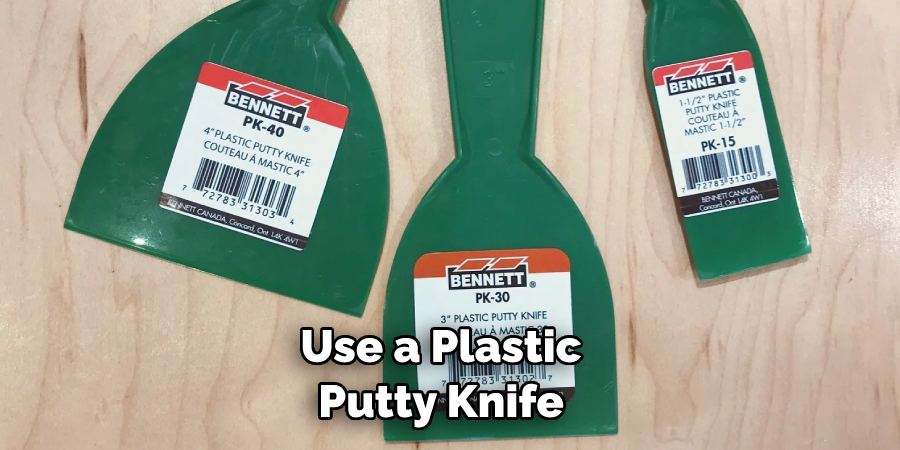
- If the light cover is glued on, be sure to use a plastic putty knife or other non-metal tool as metal can scratch and ruin paint and finishes on the light cover.
- Be careful not to force the light cover off. Use gentle pressure when prying it away from the ceiling, and if it does not come loose, check for hidden screws or other securing mechanisms.
- When replacing a new light cover that does not have screws, use glue or adhesive made specifically for this purpose to ensure that your new light cover stays securely in place.
By following these safety precautions, you can remove a ceiling light cover with no screws with confidence. With the right tools and knowledge of the process, it should be an easy job. So don’t wait any longer—go ahead and update your ceiling lights! Happy renovating!
Frequently Asked Questions
What Tools Will I Need To Remove a Ceiling Light Cover Without Screws?
Typically, you will only need your hands and a few simple tools. Most ceiling light covers without screws can be removed by gently pulling the cover down or pushing it up until it pops off. If the cover is still stuck, then you may need a flathead screwdriver or a putty knife to pry it off.
Do I Need To Replace My Ceiling Light Cover if It Has No Screws?
No, you do not necessarily need to replace the ceiling light cover if it has no screws. You can simply remove the cover and clean it with a damp cloth. However, if the cover is severely damaged or has cracks, then it would be advisable to replace it.
How Do I Put My Ceiling Light Cover Back On Without Screws?
To put your ceiling light cover back on without screws, start by lining up the grooves of the cover and base into a straight line. Then, gently press the cover back onto the base until it clicks into place. If you find that the cover is still loose, then try using some painter’s tape to secure it in place.
Can I Replace a Ceiling Light Cover Without Screws?
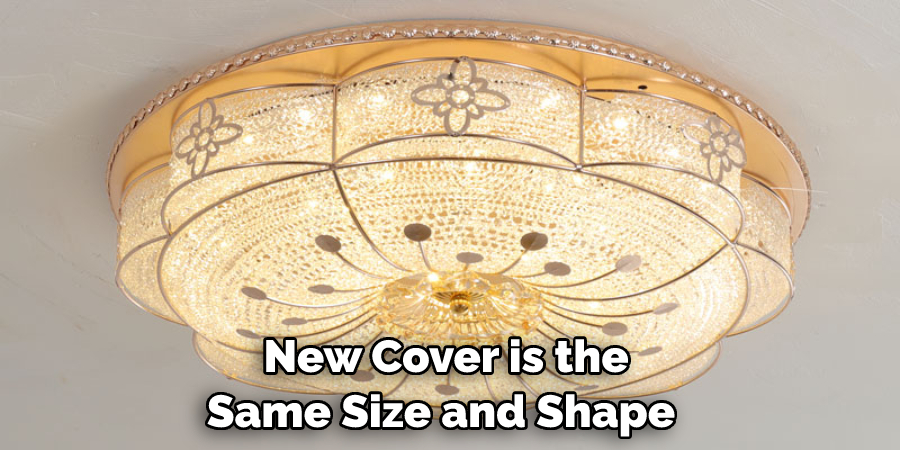
Yes, you can easily replace a ceiling light cover without screws. First, make sure that the new cover is the same size and shape as your old one. Then, simply line up the grooves of the cover and base into a straight line before pressing it into place until it clicks into place. If you find that the cover is still loose, then try using some painter’s tape to secure it in place.
Conclusion
With the above outlined you can learn how to remove ceiling light cover no screws. Utilizing the simple tools mentioned, you can easily take off your existing ceiling light cover and replace it with a new one in no time.
Furthermore, if you find that the new cover is loose, then use some painter’s tape to secure it in place. With this easy-to-follow guide, you can make sure that your ceiling light cover is securely installed and looks great.