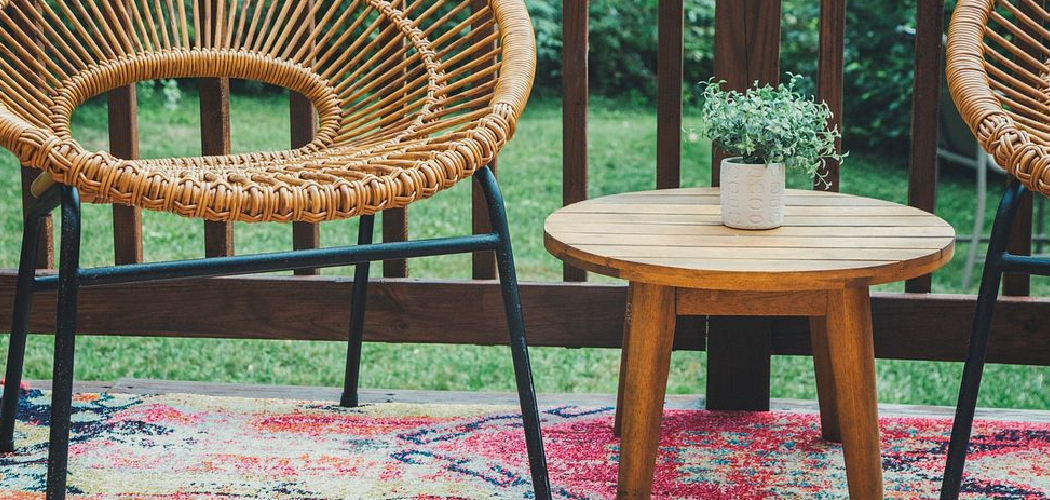
Rattan furniture has long been celebrated for its blend of durability and aesthetic charm, making it a popular choice for both indoor and outdoor settings. The natural texture and flexibility of rattan offer a rustic elegance that fits a variety of décor styles. However, over time, exposure to the elements and regular use can lead to wear and tear, diminishing its appeal.
Knowing how to refinish rattan furniture is crucial to restoring its original beauty and prolonging its lifespan. Refinishing rattan involves several steps: assessing the condition, gathering necessary materials, cleaning, repairing any damage, sanding, applying primer and paint or stain, and finally, adding a protective finish.
This comprehensive approach ensures the furniture looks revitalized and is protected against future damage, allowing you to enjoy its charm for many more years.
Assessing the Condition of the Rattan Furniture
Inspecting for Damage
Begin by closely examining the rattan furniture for any visible signs of damage. Look for broken strands, loose bindings, and structural issues requiring attention. Pay special attention to areas that experience the most wear, such as armrests, seat cushions, and joints. Identifying these problems early on is essential to determine the extent of the refinishing needed and to ensure a successful restoration process.
Cleaning the Furniture
Next, cleaning the furniture thoroughly is essential to remove dust, dirt, and debris. This step helps to get a clear view of the rattan’s condition and to identify any hidden damage.
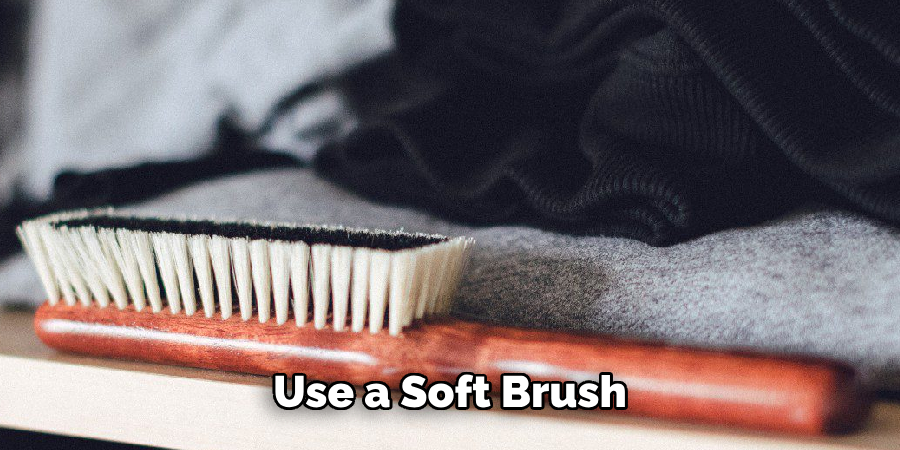
Use a soft brush or cloth to gently wipe away loose dirt. For stubborn grime, mix a mild detergent with water and use a soft-bristled brush to scrub the surface gently. Rinse with clean water and dry the furniture completely before proceeding with further assessment.
Determining the Extent of Refinishing Needed
After cleaning, take a second look at the condition of the rattan. Decide whether a simple clean and polish or a full refinish is necessary. For minor wear and minor aesthetic issues, a thorough cleaning followed by a polish might be enough to restore the furniture’s appearance.
However, if there are extensive damages, such as multiple broken strands or significant structural problems, a complete refinishing process, including sanding, painting, or staining, and applying a protective finish, will be required to bring the rattan back to its original glory.
Gathering Necessary Materials and Tools
List of Materials
- Mild detergent or soap
- Soft brush or cloth
- Sandpaper (fine and medium grit)
- Primer (if painting)
- Paint or varnish (suitable for rattan)
- Brushes or spray gun
- Protective finish (clear lacquer or polyurethane)
- Repair materials (rattan reed, binding cane, wood glue)
Importance of Choosing the Right Materials
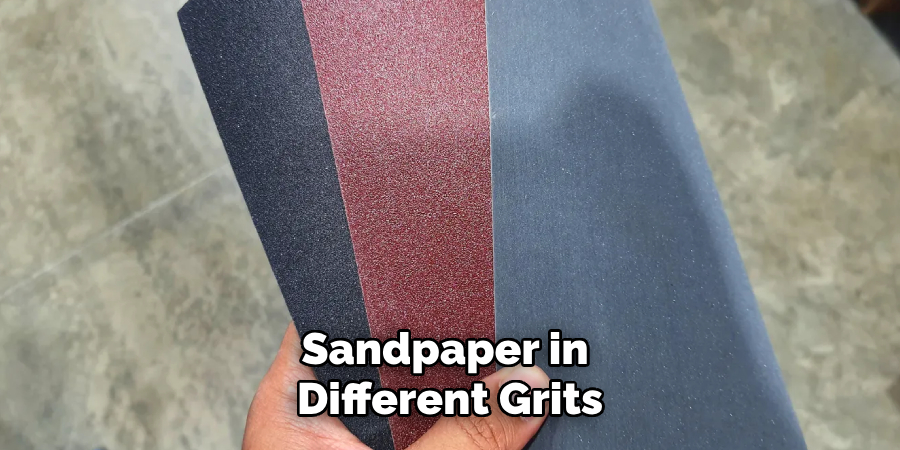
Selecting the appropriate materials and tools is crucial for achieving a successful and long-lasting refinishing job on your rattan furniture. Each item on the materials list plays a specific role in refinishing. A mild detergent and a soft brush are essential for the initial cleaning phase, helping to remove accumulated dirt and grime without damaging the delicate rattan fibers. Sandpaper in different grits is necessary for smoothing out the surface and preparing it for primer, paint, or stain application.
Using a primer ensures that the paint adheres properly to the rattan, providing a solid and even base for the final color. When it comes to choosing between paint or varnish, it’s important to select products specifically designed for rattan to avoid peeling or flaking over time. Brushes or a spray gun can help achieve a smooth and even finish, while the protective finish is vital for sealing the rattan, ensuring durability and resistance to environmental factors.
Lastly, having repair materials like rattan reed, binding cane, and wood glue on hand allows you to tackle any structural issues, ensuring that your refinished piece is not only beautiful but also sturdy and functional.
Cleaning the Rattan Furniture
Step-by-Step Instructions for Cleaning
- Mixing a Mild Detergent with Water:
Start by preparing a cleaning solution. Mix a mild detergent or soap with warm water in a bucket. Ensure the solution is not overly soapy to prevent leaving a residue on the rattan.
- Using a Soft Brush or Cloth to Gently Scrub the Rattan:
Dip a soft brush or cloth into the soapy solution and gently scrub the surface of the rattan furniture. Pay extra attention to the crevices and intricate patterns where dirt tends to accumulate. Avoid using harsh brushes or abrasive tools that could damage the delicate fibers.
- Rinsing with Clean Water and Wiping Down to Remove Soap Residue:
Once the furniture has been thoroughly scrubbed, rinse it with clean water to remove any soap residue. Use a cloth dampened with clean water to wipe down the rattan carefully. This step is crucial to prevent any leftover detergent from causing discoloration or stickiness.
- Allowing the Furniture to Dry Completely Before Proceeding:
After rinsing, allow the rattan furniture to dry completely. Depending on the humidity and temperature, this can take several hours to a full day. Ensure the furniture is placed in a well-ventilated area, away from direct sunlight, to prevent warping or fading.

Tips for Deep Cleaning Stubborn Stains or Mold
- Using a Mixture of Bleach and Water for Mold:
For stubborn mold or mildew, mix one bleach with four water parts. Apply this solution to the affected areas using a sponge or soft cloth. Gently scrub the moldy spots and rinse thoroughly with clean water afterward.
- Gently Scrubbing with a Toothbrush for Hard-to-Reach Areas:
Use a toothbrush dipped in the cleaning solution to reach tight corners and intricate patterns that larger brushes or cloths cannot effectively clean. This ensures that every part of the rattan is free from dirt, grime, and mold, leaving your furniture spotless and ready for the refinishing process.
How to Refinish Rattan Furniture: Repairing Damaged Rattans
Identifying Common Repairs Needed
- Fixing Broken Strands: Broken strands are a common issue with rattan furniture. To replace damaged pieces, you will need rattan reed and wood glue. Carefully remove the broken strand and measure the gap to ensure accurate replacements.
- Tightening Loose Bindings: Loose bindings can compromise the integrity of your furniture. Re-wrapping and gluing loose bindings will help restore stability. Begin by carefully unwrapping the loose bindings, then rewrap them tightly, applying a small amount of wood glue to secure them in place.
- Reinforcing Joints: Over time, rattan furniture joints can weaken. To reinforce these joints, apply wood glue to the affected areas and clamp them until they are completely dry. This ensures a stable and durable connection.

Step-by-Step Instructions for Making Repairs
Cutting Replacement Rattan to Size:
Measure the length and diameter of the broken rattan strand and cut a replacement piece from your rattan reed. Ensure the new strand matches the original in size to maintain the furniture’s aesthetics and structure.
Applying Glue and Fitting New Pieces into Place:
Apply wood glue to the ends of the replacement rattan strand. Carefully insert the new piece into the original strand’s gap. Make sure it fits snugly and aligns with the surrounding strands for a seamless appearance.
Using Clamps or Weights to Hold Repairs Until the Glue Sets:
Once the new pieces are in place, use clamps or weights to hold them securely until the glue sets. This is crucial to ensure the replacement strands bond well with the existing structure. Allow the glue to fully cure as per the manufacturer’s recommendations before using the furniture.
How to Refinish Rattan Furniture: Sanding and Preparing the Surface
Importance of Sanding to Create a Smooth Surface for Refinishing
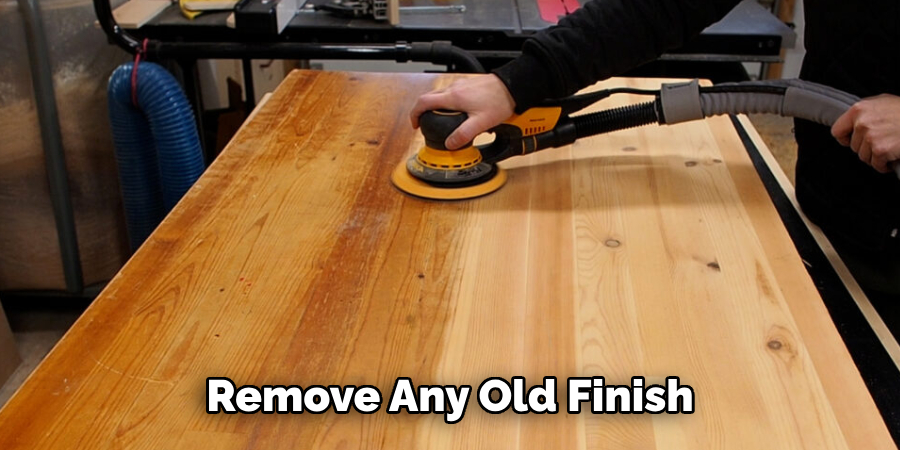
Sanding is a critical step in the refinishing process of rattan furniture, as it helps create a smooth and even surface, ensuring that the primer, paint, or stain adheres better. Proper sanding removes any old finish, rough spots, and imperfections, resulting in a polished look that enhances the overall appeal of the furniture.
Step-by-Step Instructions for Sanding
Using Medium-Grit Sandpaper to Remove Old Finish and Smooth Rough Areas:
Start with medium-grit sandpaper (around 120-grit) to remove the old finish and smooth out any rough spots on the rattan furniture. Work gently to avoid damaging the delicate rattan fibers. Sand along the grain of the rattan, paying close attention to areas where the old finish is more prominent.
Following Up with Fine-Grit Sandpaper for a Smooth Finish:
Once most of the old finish is removed and the surface is even, switch to fine-grit sandpaper (around 220 grit) to further smooth the surface. This step will remove any remaining roughness and prepare the rattan for the application of primer or paint. Sand lightly to avoid removing too much material and compromising the structure of the furniture.
Wiping Down the Furniture with a Damp Cloth to Remove Sanding Dust:
After sanding, thoroughly wipe down the entire piece of furniture with a damp cloth to remove all sanding dust. This step is crucial as any residual dust can interfere with the primer, paint, or stain adhesion. Allow the furniture to dry completely before proceeding to the next step in the refinishing process.
Tips for Sanding Delicate Areas and Avoiding Damage to the Rattan
Using a Light Touch on Intricate Patterns and Curves:
Rattan furniture often features intricate patterns and curves that can easily be damaged if sanded too aggressively. Use a light touch and small, gentle motions when sanding these areas to preserve the details and avoid compromising the rattan fibers.
Utilizing Sanding Blocks or Sponges for Better Control:
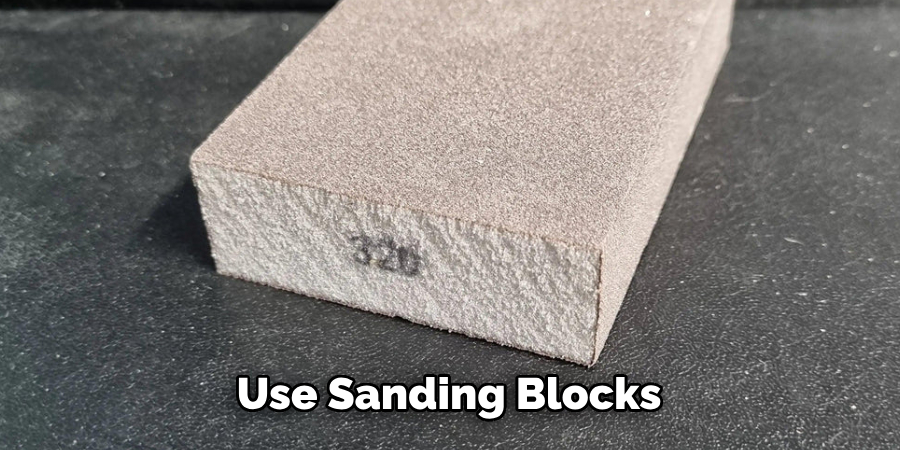
Consider using sanding blocks or sponges for better control and even pressure distribution. These tools conform to the shape of the rattan surfaces and help avoid accidental gouging or uneven sanding. This approach ensures a more consistent and professional finish on the delicate rattan material.
Applying Primer and Paint or Stain
Choosing Between Paint or Stain Depending on the Desired Finish
- Paint: Paint provides a solid color and is an excellent option for covering imperfections in rattan furniture. It allows for a wide range of color choices, enabling you to match your furniture to your decor scheme precisely. Paint can also add a layer of protection to the rattan, making it more durable.
- Stain: Stain enhances the natural look of the rattan by allowing the texture and pattern to remain visible. It penetrates the material, offering a more subtle color transformation while protecting the fibers. Staining is ideal if you want to maintain a natural or rustic aesthetic.
Step-by-Step Instructions for Applying Primer and Paint
- Begin by selecting a primer specifically designed for rattan or similar woven materials. Use a brush to apply a thin, even coat of primer to the entire furniture surface. This step ensures that the paint adheres properly and provides a durable finish. Allow the primer to dry completely according to the manufacturer’s instructions.
- Using a Brush or Spray Gun to Apply Paint Evenly, Allowing Each Coat to Dry Before Applying the Next:
- Choose a high-quality paint suitable for use on rattan. Apply the first thin coat of paint evenly across the furniture using a brush or spray gun. Take care to cover all areas, including the intricate patterns and curves. Allow this coat to dry fully before applying the next one.
- Applying Multiple Thin Coats for an Even Finish:
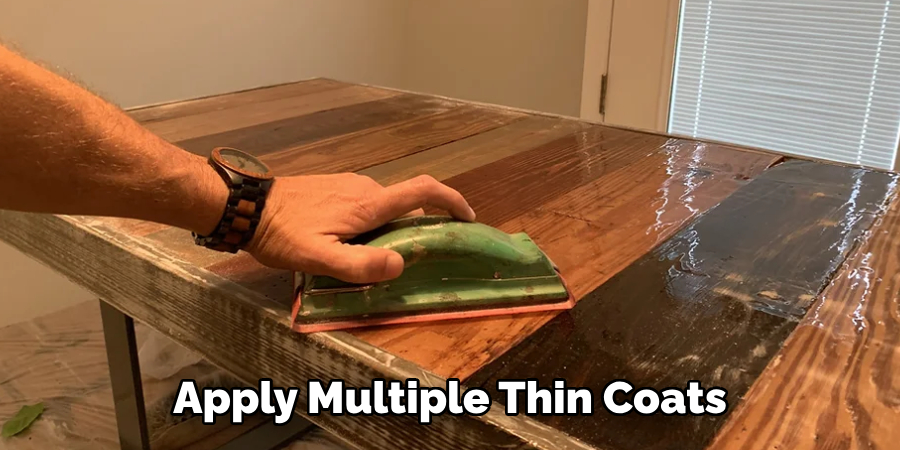
- For the best results, apply multiple thin coats of paint rather than a single thick one. This approach helps achieve a smoother, more even finish. Ensure each coat is dry before applying the next layer, and continue this process until the desired coverage and color depth are achieved.
- Step-by-Step Instructions for Applying Stain
- Using a Brush or Cloth to Apply Stain, Following the Grain of the Rattan:
- Select a stain designed for rattan or similar materials. Use a brush or cloth to apply the stain, following the grain of the rattan fibers. This technique helps achieve a uniform application and enhances the material’s natural beauty.
- Wiping Off Excess Stain and Allowing It to Dry Completely:
- After applying the stain, promptly wipe off any excess with a clean cloth. This step prevents uneven coloring and ensures a smooth finish. Allow the stain to dry completely according to the manufacturer’s guidelines before proceeding.
- Applying Additional Coats if a Deeper Color is Desired:
- If you prefer a darker or more saturated color, apply additional coats of stain. Ensure each coat is fully dry before applying the next. Repeat the process until the desired color depth is achieved. This approach lets you customize the finish while maintaining the natural look of the rattan.
Applying a Protective Finish
Importance of Sealing the Rattan to Protect the Finish and Enhance Durability
Sealing the rattan furniture is a crucial step to ensure the longevity and durability of the finish. A protective finish shields the rattan from environmental factors such as moisture, sunlight, and wear and tear, helping to maintain its appearance and structural integrity over time. By applying a high-quality protective finish, you can significantly extend the life of your rattan furniture and preserve its beauty.
Step-by-Step Instructions for Applying a Protective Finish
- Choosing a Clear Lacquer or Polyurethane Suitable for Rattan: Select a clear lacquer or polyurethane designed for rattan or similar materials. These products provide a durable, transparent layer that can protect the rattan without obscuring its natural beauty or color.
- Applying the Finish with a Brush or Spray Gun in Thin, Even Coats:
- Apply the protective finish in thin, even coats using a brush or spray gun. This method ensures a smooth and uniform application, reducing the risk of drips and brush marks.
- Allowing Each Coat to Dry Completely Before Applying the Next:
- After applying a coat, allow it to dry completely according to the manufacturer’s instructions. Patience is key to achieving a durable and long-lasting finish.
- Lightly Sanding Between Coats if Needed for a Smooth Finish:
- If necessary, lightly sand the surface between coats using fine-grit sandpaper. This step helps to create a perfectly smooth finish and improves adhesion between layers.
- Tips for Maintaining the Protective Finish Over Time
- Regularly dust the rattan furniture with a soft cloth to prevent dirt buildup.
- Avoid exposing the furniture to extreme moisture or direct sunlight for prolonged periods.
- Reapply the protective finish every couple of years or as needed to maintain its effectiveness and appearance.
Regular Maintenance and Care
Tips for Maintaining Rattan Furniture after Refinishing
- Regular Dusting and Cleaning: Regularly dust your rattan furniture with a soft cloth to prevent dirt buildup. For thorough cleaning, use a mild soap solution and gently wipe the surface with a damp cloth, then dry it thoroughly to avoid moisture damage.
- Avoiding Exposure to Extreme Temperatures and Moisture: Ensure the rattan furniture is not exposed to extreme temperatures or excessive moisture. Prolonged exposure to high humidity or direct sunlight can weaken the material and cause discoloration.
- Using Cushions or Pads: Place cushions or pads on high-use areas to distribute weight evenly and prevent excessive wear. This measure helps preserve the furniture’s finish and comfort.
- Importance of Periodic Touch-Ups and Inspections: Regularly inspect your rattan furniture for any signs of wear or damage and perform touch-ups as necessary. Addressing minor issues promptly can prevent more significant problems, ensuring that the furniture remains in excellent condition and retains its aesthetic appeal over time.
Conclusion
Refinishing rattan furniture is a rewarding process that breathes new life into cherished pieces, enhancing both their beauty and longevity. Each step, from cleaning and repairing to staining, painting, and sealing, is essential to achieving a stunning and durable finish.
By following the detailed guide on how to refinish rattan furniture, you ensure that every phase contributes to the project’s overall success. Embrace this refinishing journey to revive your rattan furniture and extend its usability for years to come. Regular maintenance, such as dusting, cleaning, and periodic touch-ups, will help preserve the meticulous work you’ve put in.
Equipped with these insights and practical tips, you can confidently undertake the refinishing project and enjoy the timeless elegance of beautifully restored rattan furniture in your home.
