Adding the timeless beauty of hardwood flooring to your space is an excellent way to enhance its elegance and warmth. However, when faced with a concrete subfloor, you may wonder how to put hardwood floor on concrete effectively.

The good news is that with the right methods and techniques, it is indeed possible to achieve a stunning hardwood floor installation on concrete. In this article, we will guide you through a comprehensive set of methods to help you navigate the process of how to put hardwood floor on concrete.
From evaluating and preparing the concrete subfloor to selecting the appropriate hardwood flooring type and ensuring proper acclimation, these methods will equip you with the knowledge and skills needed to create a seamless and durable hardwood floor. So, let’s delve into the world of hardwood flooring and learn how to transform your concrete space into a captivating haven of natural beauty.
Preparing Your Concrete Surface for Hardwood Installation
Before installing hardwood on concrete, it is important to prepare the surface properly. The first step is to clean and level the surface. Any debris, dirt, or dust should be removed, and any unevenness should be addressed. Next, any cracks or holes in the concrete should be filled in to ensure a smooth surface for the hardwood to be installed on. Finally, a moisture barrier should be applied to prevent moisture from seeping up through the concrete and damaging the hardwood.
Choosing the Right Type of Hardwood for Your Concrete Floor
When it comes to choosing the type of hardwood for your concrete floor, there are a few important factors to keep in mind. One of the most popular options is engineered hardwood, which is designed to be more resistant to moisture than traditional solid hardwood. This makes it a great choice for concrete floors, which can be prone to moisture issues.

Additionally, engineered hardwood can be installed as a floating floor, which means it can be laid directly over the concrete without the need for a subfloor. Another option for concrete floors is solid hardwood, which can also be installed over concrete. However, this type of flooring requires a glue-down installation, which can be more time-consuming and challenging than a floating floor installation.
Understanding Moisture and Its Impact on Hardwood Installation
Moisture can cause serious damage to hardwood flooring if it is not properly addressed. If the moisture content of the concrete is too high, it can cause the hardwood to warp, buckle, or even rot over time. This can lead to costly repairs and replacements. To prevent this from happening, it is important to conduct moisture testing before installation. Moisture readings should be taken at various points on the concrete surface to ensure accuracy.
If high moisture levels are detected, steps should be taken to address the issue before installation. This may include using a moisture barrier or installing a dehumidifier to reduce moisture levels. It is important to follow manufacturer guidelines and industry standards when addressing moisture issues to ensure the longevity and durability of the hardwood flooring.
Tools and Materials You’ll Need for a Successful Installation
In order to successfully install hardwood flooring on concrete, a diverse range of tools and materials will be required. These may include a moisture meter, saw, adhesive, underlayment, and other essential items. It is crucial to ensure that all necessary tools and materials are readily available prior to commencing the installation process. In the event that any of the required tools are not readily available, they can be either rented or purchased from a reputable hardware store.
10 Methods How to Put Hardwood Floor on Concrete
Method 1: Evaluate the Concrete Subfloor
Inspect the concrete subfloor for any cracks, moisture issues, or unevenness. Address any necessary repairs and ensure the surface is clean, dry, and level. This will provide a solid foundation for the hardwood flooring.
Method 2: Test for Moisture
Perform a moisture test on the concrete subfloor to determine if it is suitable for hardwood installation. Excessive moisture can damage the wood, so it’s essential to ensure the subfloor’s moisture levels meet the manufacturer’s recommendations.
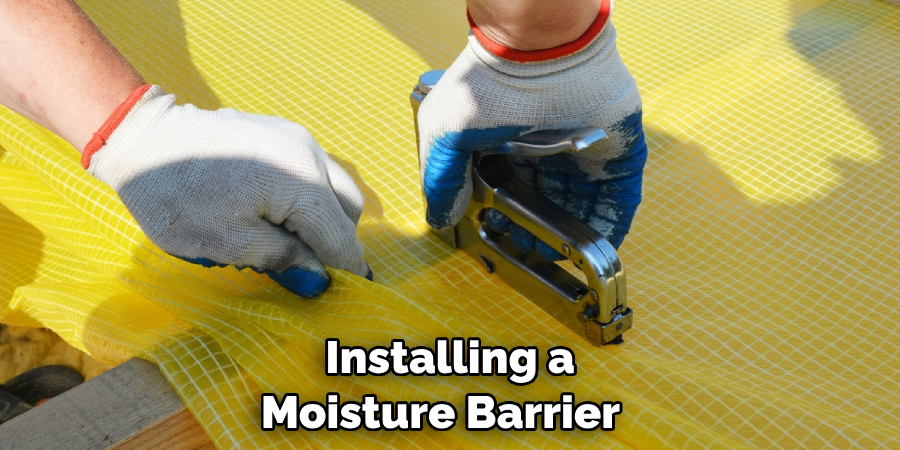
Method 3: Install a Vapor Barrier
To protect the hardwood flooring from moisture, install a vapor barrier over the concrete subfloor. This barrier prevents moisture from seeping into the wood, safeguarding its integrity and longevity.
Method 4: Choose the Right Hardwood Flooring Type
Select an appropriate hardwood flooring type for installation on concrete. Engineered hardwood flooring is commonly recommended due to its stability and resistance to moisture. Consult with flooring professionals or manufacturers for specific product recommendations.
Method 5: Acclimate the Hardwood Flooring
Allow the hardwood flooring to acclimate to the room’s temperature and humidity for the recommended duration. This step helps the wood adjust to its new environment, minimizing the risk of expansion or contraction after installation.
Method 6: Install a Moisture Barrier Underlayment
For added protection against moisture, consider installing a moisture barrier underlayment between the concrete subfloor and the hardwood flooring. This provides an extra layer of defense against potential moisture-related issues.
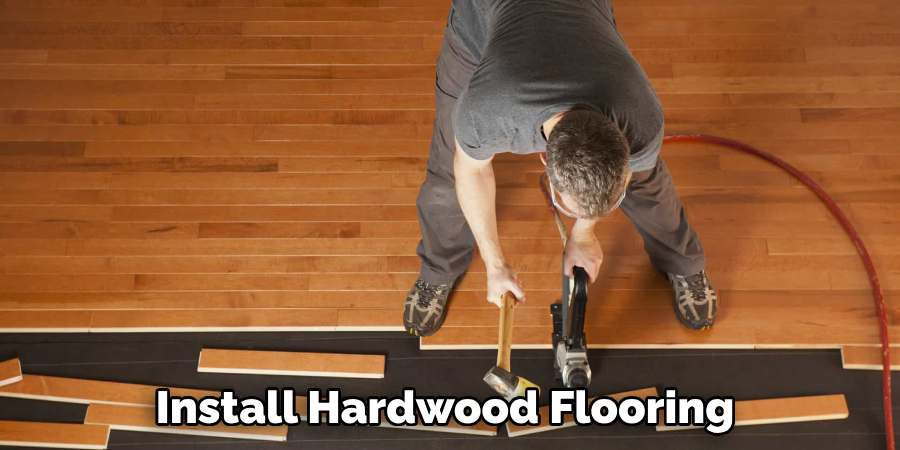
Method 7: Install the Hardwood Flooring
Follow the manufacturer’s instructions for the chosen installation method. Common techniques include glue-down, nail-down, or floating installations. Adhere to the proper spacing and staggering guidelines to ensure a visually appealing and structurally sound floor.
Method 8: Use the Recommended Adhesive or Fasteners
If using the glue-down method, choose a high-quality adhesive recommended by the flooring manufacturer. For nail-down installations, use the appropriate flooring nails or cleats. Adhering to the recommended materials ensures a secure and long-lasting bond.
Method 9: Finishing and Transition Installation
Once the hardwood flooring is installed, finish it according to your desired aesthetic. This may include staining, sealing, or applying a protective finish to enhance the wood’s natural beauty and provide durability. Install transition pieces, such as thresholds or reducers, where the hardwood flooring meets other flooring surfaces.
Method 10: Regular Maintenance and Care
Maintain the hardwood floor’s beauty and longevity by implementing a regular cleaning and maintenance routine. Follow the manufacturer’s guidelines for cleaning products and methods. Protect the floor from scratches and dents by using felt pads on furniture legs and taking precautions against excessive moisture.
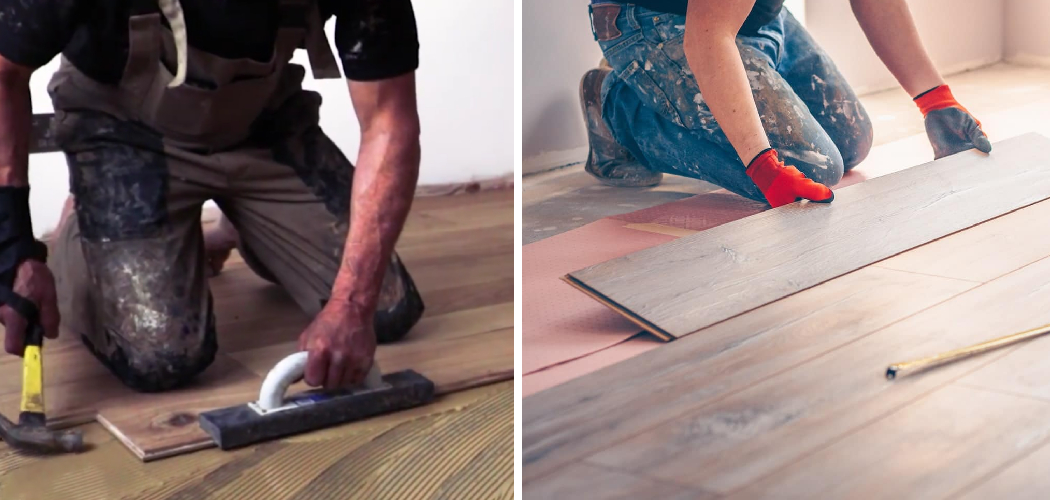
Techniques for Laying Your Hardwood Planks on Concrete
When it comes to laying hardwood on concrete, there are two main techniques that are commonly used. The first is glue-down installation, which involves applying a special adhesive directly onto the concrete surface and then placing the hardwood planks on top. This technique is typically used for solid hardwood flooring and provides a very secure and stable installation.
However, it can be more difficult to remove or replace individual planks if necessary. The second technique is floating installation, which involves laying an underlayment over the concrete surface and then placing the hardwood planks on top of that. This technique is often used for engineered hardwood flooring and provides a more flexible installation that can be easier to remove or replace if needed.
How to Deal with Uneven Concrete Surfaces During Installation
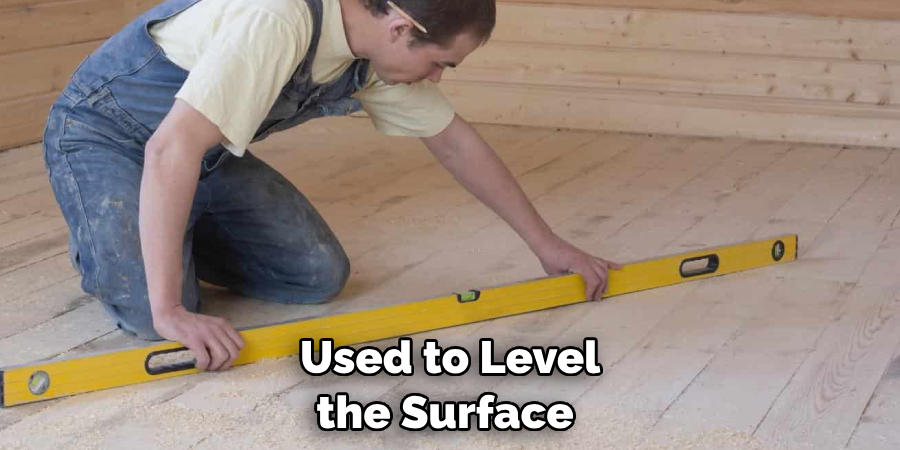
When installing hardwood flooring, it is important to have a level surface to ensure that the flooring will be stable and not prone to damage. However, uneven concrete surfaces can pose a challenge when it comes to achieving a level surface.
There are several techniques that can be used to level the surface, including grinding down high spots and filling in low spots with self-leveling compounds. Self-leveling compounds are specially designed to flow into low areas and create a smooth, level surface.
It is important to follow the manufacturer’s instructions carefully when using these compounds, as they can be tricky to work with. In extreme cases of unevenness, it may be necessary to install a subfloor or use shims to create a level surface.
Finishing Touches: Sanding, Staining, and Sealing Your Hardwood Floor
Sanding the hardwood floor is an important step in the installation process as it smooths out any rough spots or imperfections in the wood. The sanding process can be done using a variety of equipment, including a drum sander, edger, and buffer. It is important to use the right sandpaper grit for each stage of sanding to achieve a smooth and even finish.
Choosing the right stain color is also an important decision when finishing a hardwood floor. There are many different colors and shades available, ranging from light to dark, and it is important to choose a color that complements the overall design of the room. Testing different stain colors on a small section of the floor can help determine the best option. After staining, it is important to apply a protective sealant to the hardwood floor.
The sealant helps to protect the wood from scratches, spills, and other damage. There are several types of sealants available, including polyurethane, oil-based, and water-based options. Each type has its own benefits and drawbacks, so it is important to choose the right one for your specific needs.
Maintaining Your Hardwood Floor on Concrete: Dos and Don’ts
Hardwood floors on concrete are a popular choice for homeowners due to their durability and aesthetic appeal. However, to maintain their longevity and beauty, it is important to follow some tips for cleaning and maintaining them.
Firstly, it is essential to sweep or vacuum the floor regularly to remove dirt and debris that can scratch the surface. Additionally, it is recommended to use a damp mop with a mild cleaning solution specifically designed for hardwood floors. Avoid using harsh chemicals or excessive water, as this can damage the wood.
Another important aspect of maintaining your hardwood floor on concrete is to protect it from scratches and dents. This can be achieved by placing protective pads under furniture legs and avoiding wearing high heels or shoes with sharp heels on the floor.
Troubleshooting Common Problems During Hardwood Installation on Concrete
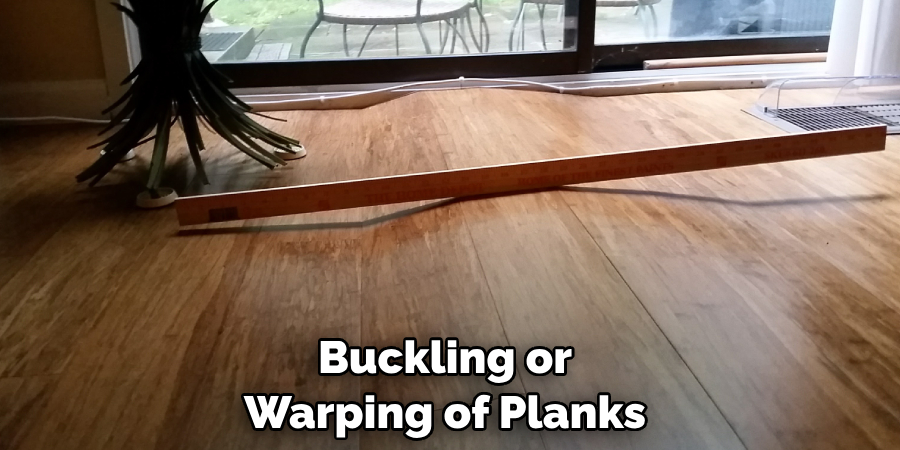
Buckling or warping of planks can occur due to changes in humidity or moisture levels. To prevent this, it is important to acclimate the hardwood to the room’s environment before installation and use a moisture barrier between the concrete and the hardwood.
Gaps between planks can be caused by improper installation or not leaving enough space for expansion. To fix this, remove the affected planks and reinstall them with the correct spacing. Scratches and dents can be prevented by using furniture pads and avoiding dragging heavy objects across the floor.
Conclusion
Installing hardwood floors on concrete can be a challenging task, but with the right tools, materials, and techniques, it can be done successfully. By following the tips and tricks outlined in this post, you can achieve a professional-looking finish and enjoy the beauty and durability of hardwood floors for years to come.
Hopefully, this article gave you some helpful tips about how to put hardwood floor on concrete successfully, so now that you have the proper knowledge on how to get the job done, why not give it a try today?