Epoxy is a popular flooring option for both residential and commercial spaces due to its durability, resistance to chemicals, and easy maintenance. However, one of the most critical factors in achieving a successful epoxy application is proper floor preparation. Without proper preparation, the epoxy coating may not adhere correctly, leading to bubbling, peeling, and other issues.
Proper floor preparation involves a series of steps to ensure that the surface is clean, smooth, and free of any contaminants that may interfere with the adhesion of the epoxy coating. In this article, we will discuss how to prep a floor for epoxy the importance of floor preparation for epoxy application, the risks of skipping this step, the benefits of proper preparation, the different types of preparation techniques, and the steps involved in achieving a smooth and durable epoxy coating.
The Risks of Skipping Floor Preparation in Epoxy Application
Skipping floor preparation can be a costly mistake. Not only can it lead to poor adhesion and bubbling, but it can also result in a shorter lifespan for the epoxy coating. The surface must be thoroughly cleaned and prepared to ensure that the epoxy adheres correctly.
This involves removing any existing coatings, repairing any cracks or holes, and thoroughly cleaning the surface to remove any dirt, oil, or grease. Failure to do so can result in a subpar finish that may not last as long as it should. In addition, if the surface is not properly prepared, it can also lead to unevenness in the coating, which can be unsightly and difficult to fix. Therefore, it is essential to take the time to properly prepare the surface before applying an epoxy coating.
The Benefits of Proper Floor Preparation for Epoxy Application
Before applying an epoxy coating, it is important to ensure that the surface is properly cleaned and prepared. This involves removing any dirt, dust, or debris from the surface and ensuring that it is completely dry. Any cracks or holes in the surface should be filled and sanded down to create a smooth and even surface.
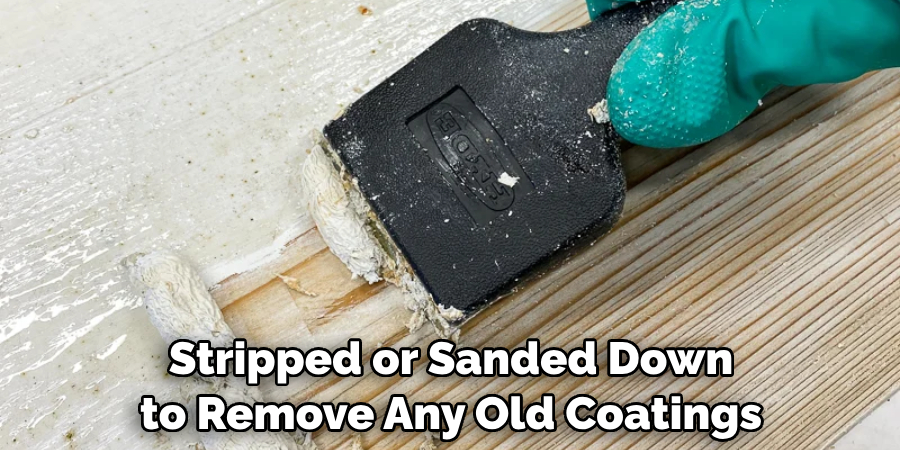
If the surface has been previously coated, it may need to be stripped or sanded down to remove any old coatings or adhesives. Proper floor preparation is essential for achieving a durable and long-lasting epoxy coating. When the surface is properly cleaned and prepared, the epoxy coating will adhere correctly, leading to a more durable and long-lasting finish.
This means that the coating will be less likely to peel or chip over time, even in high-traffic areas. In addition to improving the durability of the coating, proper preparation can also improve its appearance.
The Different Types of Floor Preparation Techniques for Epoxy Application
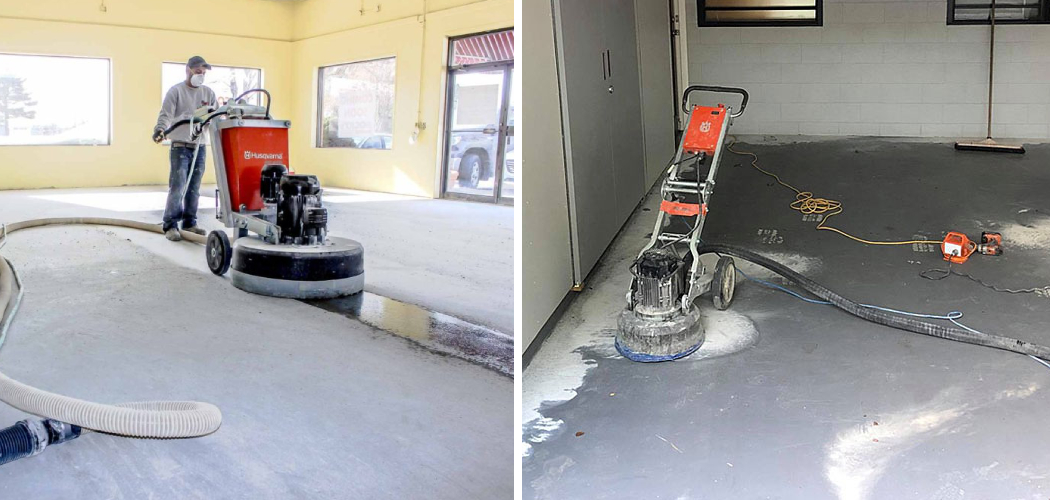
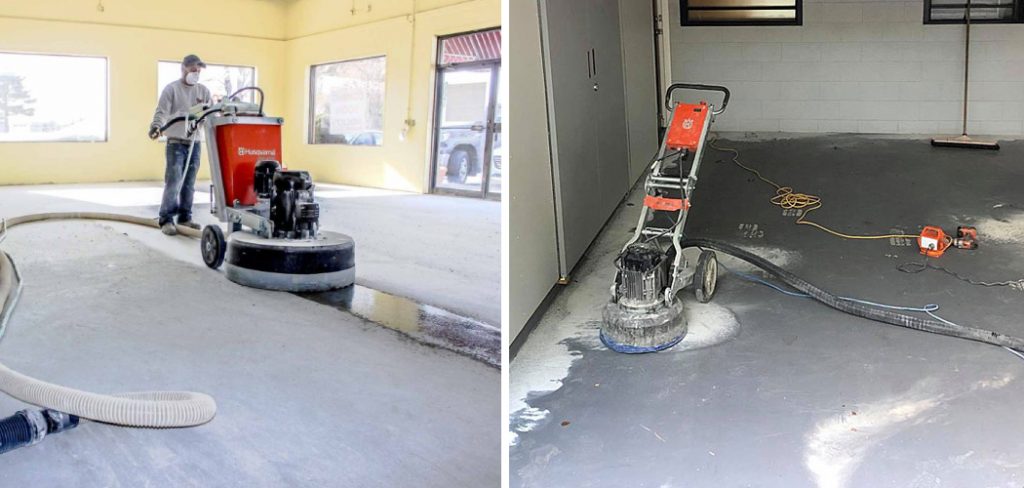
There are several different types of floor preparation techniques that can be used for epoxy application, including shot blasting, diamond grinding, and acid etching. Shot blasting involves using a machine to blast the surface with small steel balls, which removes any contaminants and creates a rough surface for the epoxy to adhere to.
Diamond grinding involves using a machine with diamond-tipped blades to grind the surface, creating a smooth and even surface for the epoxy coating. Acid etching involves using an acid solution to etch the surface, creating a rough surface for the epoxy to adhere to.
Each technique has its pros and cons. Shot blasting is effective at removing contaminants and creating a rough surface, but it can be noisy and messy. Diamond grinding is effective at creating a smooth and even surface, but it can be time-consuming and expensive. Acid etching is effective at creating a rough surface, but it can be hazardous to work with and may not be suitable for all surfaces.
How to Assess the Condition of Your Floor Before Epoxy Application
Before applying epoxy, it’s essential to assess the condition of your floor to determine if any repairs or preparation are needed. Some things to look for include cracks, moisture issues, and any existing coatings or sealers. If there are any cracks or other damage, these will need to be repaired before applying epoxy. Additionally, if there are any moisture issues, these will need to be addressed before applying epoxy, as moisture can interfere with the adhesion of the coating.
The Tools and Equipment Needed for Proper Floor Preparation for Epoxy Application
Proper floor preparation is essential for achieving a smooth and durable surface for any type of flooring installation. This process involves removing any existing coatings, adhesives, or contaminants from the concrete surface to ensure proper adhesion of the new flooring material.
The choice of preparation technique depends on the condition of the existing floor and the type of flooring material to be installed.
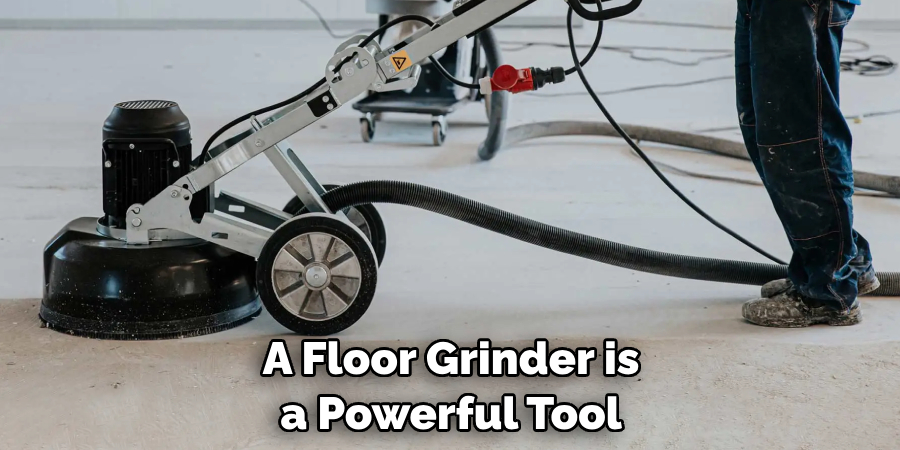
A floor grinder is a powerful tool that uses diamond blades to grind away the top layer of the concrete surface, creating a rough texture that promotes adhesion. Shot blasting is another technique that uses steel shot to blast away the surface layer, leaving a clean and textured surface.
10 Methods How to Prep a Floor for Epoxy
Method 1: Assess the Floor Condition
Start by assessing the condition of the floor to identify any cracks, stains, or imperfections that need attention. This evaluation will guide you in determining the necessary repairs and preparations.
Method 2: Clear the Floor Space
Remove any furniture, equipment, or obstacles from the floor area to create an open and accessible workspace. This step will allow you to thoroughly clean and prepare the entire surface.
Method 3: Repair Cracks and Damage
Fill in cracks, divots, or damaged areas of the floor using an epoxy crack filler or a suitable patching compound. Follow the manufacturer’s instructions for proper application and curing time.
Method 4: Clean the Surface
Thoroughly clean the floor surface to remove dirt, dust, grease, and any other contaminants. Use a degreaser or a specialized floor cleaner to ensure a pristine surface for optimal epoxy adhesion.
Method 5: Etch or Grind the Floor
To promote better adhesion, etch the floor surface using an acid etching solution or mechanically grind the surface. This step helps remove any existing coatings, opens up the pores of the concrete, and enhances the epoxy’s bond.
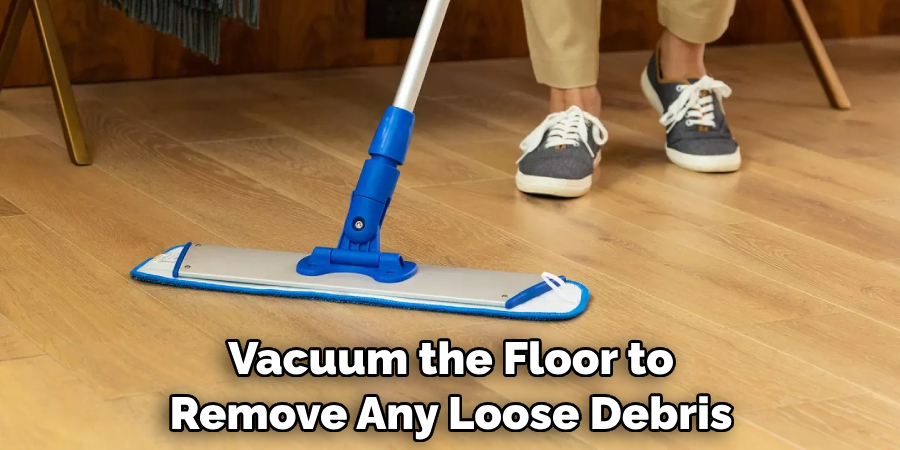
Method 6: Vacuum and Remove Dust
After etching or grinding, vacuum the floor to remove any loose debris, dust, or particles. Ensure the surface is clean and free from any residue before proceeding to the next step.
Method 7: Tape Off and Protect Adjacent Surfaces
If there are any areas you wish to protect from epoxy application, such as walls or baseboards, use painter’s tape to create a barrier. Cover nearby surfaces with plastic or drop cloths to prevent accidental spills or splatters.
Method 8: Mix and Apply Primer (If Required)
Some epoxy systems may require the application of a primer before the main epoxy coating. Follow the manufacturer’s instructions to mix and apply the primer evenly across the floor surface. Allow sufficient drying time as recommended.
Method 9: Mix and Apply Epoxy Coating
Prepare the epoxy coating by combining the resin and hardener according to the manufacturer’s instructions. Use a roller or a brush to apply the epoxy evenly onto the floor surface. Work in small sections to ensure proper coverage.
Method 10: Follow Curing and Finishing Instructions
After applying the epoxy coating, follow the recommended curing time provided by the manufacturer. Avoid foot traffic or placing any objects on the floor until the epoxy has fully cured. Additionally, consider applying a topcoat or a clear sealer for added protection and a glossy finish.
Common Mistakes to Avoid in Floor Preparation for Epoxy Application
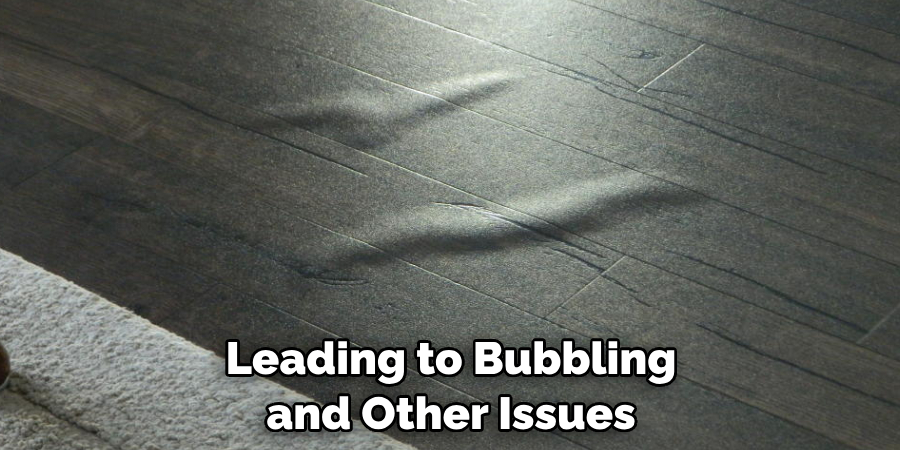
Floor preparation is a crucial step in ensuring a successful epoxy coating application. One of the most common mistakes that people make is not allowing enough time for the surface to dry before applying the epoxy coating.
This can be a costly mistake as moisture can interfere with the adhesion of the coating, leading to bubbling and other issues. It is important to ensure that the surface is completely dry before applying the epoxy coating. Additionally, not properly cleaning the surface or repairing any damage can also lead to poor adhesion and other issues.
Tips for Achieving a Smooth and Durable Epoxy Coating with Proper Floor Preparation
When it comes to achieving a high-quality epoxy coating, there are a few key factors to keep in mind. One of the most important is the use of a primer. A primer helps to create a smooth and even surface for the epoxy to adhere to, which can help to prevent bubbles, cracks, and other imperfections from forming. Without a primer, the epoxy may not bond properly to the surface, leading to a weaker and less durable finish.
Conclusion
Proper floor preparation is essential for achieving a successful epoxy application. Skipping this step can lead to poor adhesion, bubbling, and other issues that can compromise the durability and longevity of the coating.
By following the steps outlined in this article and using the proper tools and equipment, it’s possible to achieve a smooth and durable epoxy coating that will last for years to come. Thanks for reading our blog post on how to prep a floor for epoxy! We hope you found it helpful and informative.