
Linoleum floors are a popular choice for many homeowners due to their durability, affordability, and ease of maintenance. When it comes to home renovation, painting your linoleum floors is a great way to give them a fresh new look without breaking the bank.
Whether you’re tired of your outdated flooring or looking for an affordable alternative to installing new flooring, painting your linoleum floors can be a fun and rewarding DIY project.
However, over time, the once vibrant patterns and colors of linoleum floors can fade or become outdated. If you’re looking to update your linoleum floors without breaking the bank, painting them is a great option. In this guide on how to paint linoleum floors, we’ll go through the step-by-step process of painting them to transform them into a beautiful and modern addition to your home.
Necessary Items
Before you get started, it’s important to gather all the necessary items and tools that you will need for this project. Here is a list of essentials:
- Paint primer
- Paint roller
- Paintbrushes (various sizes)
- Painter’s tape
- Sandpaper or floor sander
- TSP cleaner (trisodium phosphate)
- Chalk paint or oil-based porch and floor paint
- Polyurethane sealant (optional)
- Drop cloths or plastic sheeting to protect surrounding areas
It’s important to note that when it comes to choosing the type of paint for your linoleum floors, there are two main options: chalk paint and oil-based porch and floor paint. Chalk paint is a popular choice for its ease of use and ability to adhere to most surfaces without the need for sanding or priming.
8 Things to Know Before You Start
1) Choosing the Right Paint
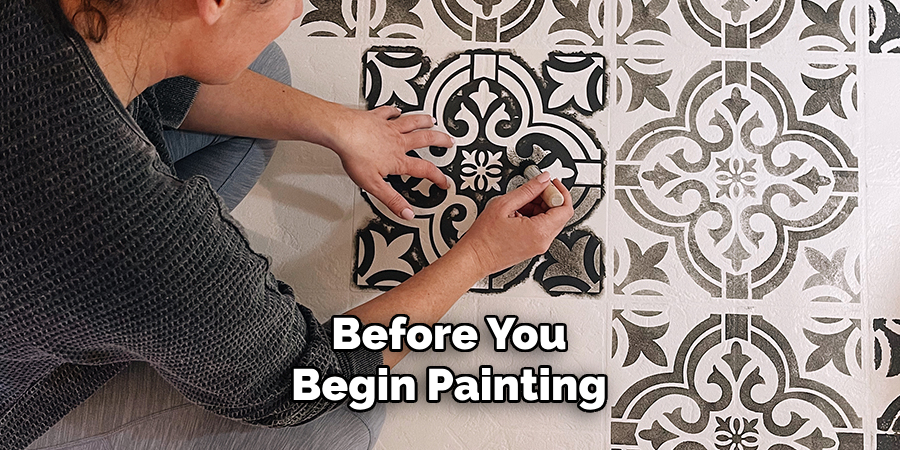
Before you begin painting, it’s essential to choose the right type of paint for your linoleum floors. As mentioned earlier, chalk paint and oil-based porch and floor paint are both excellent options. However, if you have high-traffic areas or pets in your home, it’s recommended to use an oil-based porch and floor paint as it is more durable and long-lasting.
2) Preparing the Floor
Properly preparing your linoleum floors is crucial for a successful paint job. This includes cleaning, sanding, and priming the floors. Cleaning with TSP cleaner will remove any dirt, grime, or wax build-up on the surface of the bed. Sanding is necessary to create a rough surface for the paint to adhere to, especially if you are using a glossy finish.
3) Choosing the Right Color
When choosing a color for your linoleum floors, consider your home’s overall aesthetic and design. Neutral colors such as white, gray, or beige can make a room feel larger and brighter, while bolder colors can add character and personality to a space.
It’s also important to consider the color of your walls and furniture, as well as any patterns or designs on your linoleum floors that need to be incorporated into the overall design.
4) Applying Painter’s Tape
To achieve clean and crisp edges, it’s recommended to use painter’s tape along the baseboards and any other areas you do not want to get paint on. Make sure to press down firmly on the tape to prevent any stain from seeping through.
5) Choosing the Right Tools
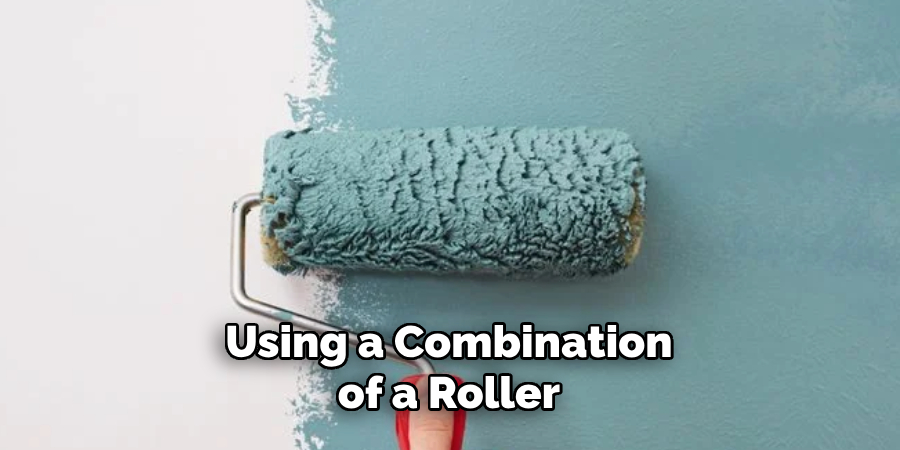
Using a combination of a roller and paintbrushes will give you the best results when painting linoleum floors. A roller covers large areas quickly, while paintbrushes are better for getting into corners and around trim. It’s also essential to use high-quality tools to ensure a smooth and even application of paint.
6) Proper Ventilation
When painting, it’s crucial to have proper ventilation in the room. Open windows and doors or use fans to circulate fresh air. This will not only help with the fumes from the paint but also aid in drying time.
7) Multiple Coats
Multiple coats may be needed for full coverage, depending on the color and type of paint you choose. It’s essential to allow each coat to dry completely before applying another layer. This will ensure a smooth and even finish.
8) Sealing the Floors
For added protection and durability, it’s recommended to seal your painted linoleum floors with a polyurethane sealant. This will help prevent scratches and scuffs, as well as make the floors easier to clean and maintain.
Painting your linoleum floors is a budget-friendly way to update your home’s flooring without the hassle and cost of installing new floors. By following these tips and steps on how to paint linoleum floors, you can transform your outdated or worn linoleum floors into a beautiful and modern addition to your home.
Remember to prepare the beds properly, choose the right paint and tools, and allow for proper drying time to ensure a successful paint job. With a little bit of effort and creativity, you can achieve stunning results that will make you fall in love with your linoleum floors all over again.
10 Steps on How to Paint Linoleum Floors
Step 1: Clear the Room
Start by removing all furniture and objects from the room, and cover any permanent fixtures or appliances with drop cloths or plastic sheeting to protect them from paint splatters. If there are any floor vents, cover them with painter’s tape to prevent paint from getting inside.
Step 2: Clean the Floors
Using TSP cleaner and warm water, thoroughly clean the linoleum floors to remove any dirt, grime, or wax build-up. Rinse with clean water and allow the feet to dry completely. While they are drying, you can work on the next step.

Step 3: Sand the Floors
Using sandpaper or a floor sander, lightly sand the surface of the floors to create a rougher texture for better paint adhesion. Be sure to remove any debris or dust after sanding. And don’t worry; the scratches from sanding will not be visible once you apply paint.
Step 4: Apply Primer
Using a paint roller, apply a coat of primer to the entire floor. This will help the paint adhere better and provide a smooth base for your chosen color. Allow the primer to dry completely before moving on to the next step.
Step 5: Prepare the Paint
If you are using chalk paint, you can skip this step as it does not require any preparation. However, if you are using oil-based porch and floor paint, make sure to stir the paint thoroughly before applying. But be careful not to create bubbles while stirring.
Step 6: Cut in the Edges
Using a high-quality paintbrush, cut in along the edges of the room and around any fixtures or trim. This will make it easier when using a roller later on. Other options for cutting in include using painter’s tape or a small paint sprayer.
Step 7: Roll the Paint
Using a paint roller, apply an even coat of paint to the floor. Start at one corner and work your way towards an exit, making sure to overlap each roll to avoid leaving streaks. It’s recommended to use long, smooth strokes for best results.
Step 8: Allow to Dry
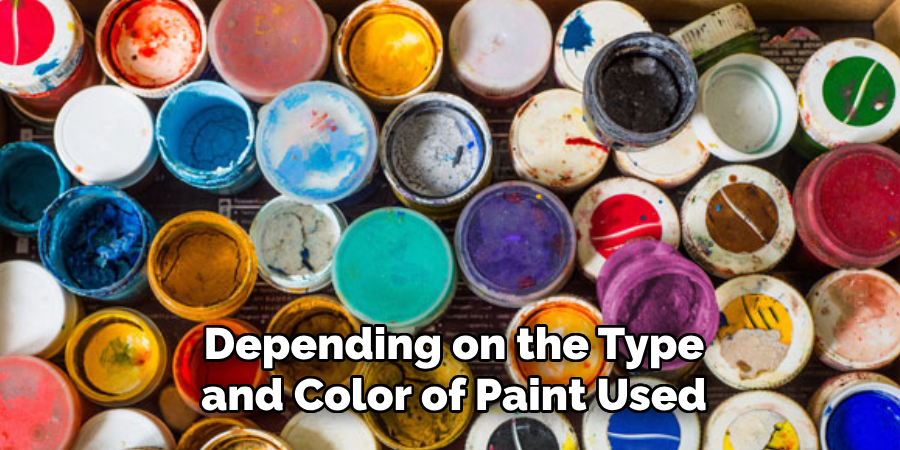
Depending on the type and color of paint used, it may take anywhere from a few hours to a full day for the first coat of paint to dry completely. Be sure to follow the manufacturer’s instructions for drying time before applying another coat.
Step 9: Apply Additional Coats
After the first coat has dried, you may need to apply additional coats for full coverage. Again, make sure to follow the manufacturer’s instructions for drying time between coats. If using a different color for the second coat, make sure to clean and dry the paint roller before applying.
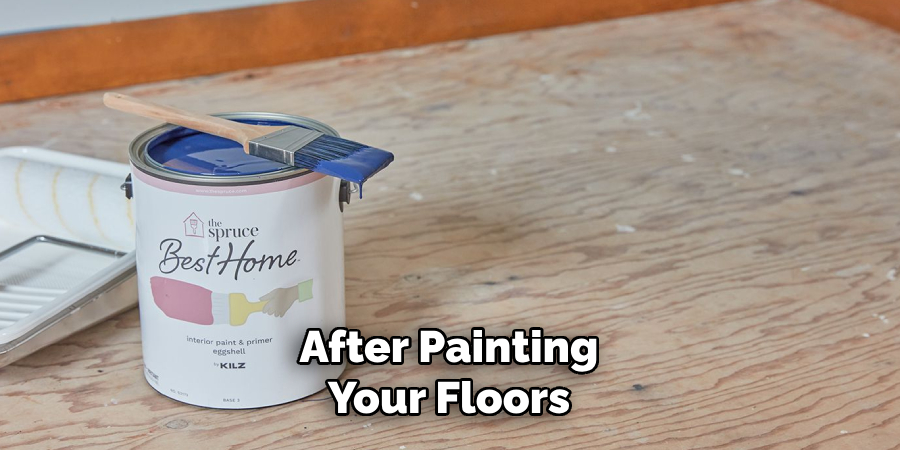
Step 10: Seal the Floors
Once all coats of paint have dried, it’s recommended to seal the floors with a polyurethane sealant. This will provide extra protection and durability for your painted linoleum floors. Allow the glue to dry completely before moving furniture back into the room.
Congratulations, you have successfully painted your linoleum floors! With proper preparation and the right tools, you can achieve a beautiful and long-lasting finish that will give your home a fresh new look. Feel free to get creative with colors and patterns to add character and personality to your space.
Enjoy your newly painted floors and the money you saved by not having to install new ones! Let your creativity and DIY skills shine as you tackle more projects around the house, and never be afraid to try something new.
8 Things to Avoid When Painting Linoleum Floors
Now that you know the steps on how to paint linoleum floors to paint your linoleum floors successfully, it’s essential to also be aware of some common mistakes and pitfalls to avoid. Here are eight things to keep in mind while painting your linoleum floors:
1) Skipping Surface Preparation
Properly preparing your floors is crucial for a successful paint job. Skipping steps like cleaning, sanding, and priming can lead to poor adhesion and a less durable finish.
2) Not Using the Right Tools
Using low-quality tools or the wrong type of paint can result in an uneven finish, streaks, or brush marks on your floors. Invest in high-quality brushes and rollers designed explicitly for floor painting to achieve the best results.
3) Rushing Between Coats
It’s essential to allow each coat of paint to dry completely before applying another one. Rushing this step can lead to a messy, uneven finish and may require additional coats to fix. If in doubt, always follow the manufacturer’s instructions for drying time.
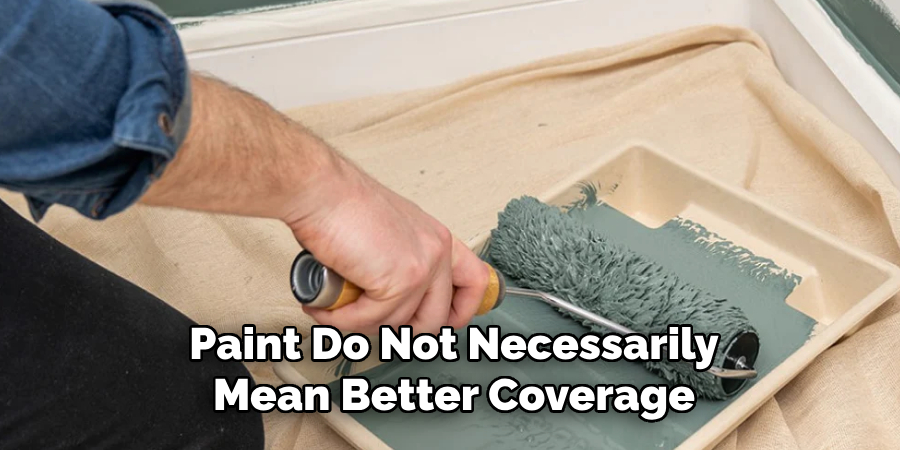
4) Applying Too-Thick Coats
Thicker coats of paint do not necessarily mean better coverage. In fact, applying too much paint at once can cause drips, bubbles, and an uneven finish. It’s best to apply multiple thin coats for a smoother and more durable finish.
5) Not Protecting Surrounding Areas
Accidents can happen while painting, so it’s essential to protect surrounding areas and fixtures from paint splatters. Use drop cloths, plastic sheeting, or painter’s tape to cover furniture, appliances, and walls.
6) Using the Wrong Type of Paint
Using the wrong type of paint for linoleum floors can lead to a poor finish and may not hold up well over time. Choose a high-quality, durable color specifically designed for use on floors.
7) Not Sealing the Floors
After painting your linoleum floors, it’s important to seal them with a polyurethane coating for added protection and durability. Skipping this step can result in premature wear and damage to your newly painted floors.
8) Not Allowing Enough Drying Time
It’s crucial to allow enough time for each coat of paint to dry completely before moving furniture back into the room. Rushing this step can result in smudges, scratches, or other imperfections on your freshly painted floors.
Now that you know what to avoid, you can confidently tackle your linoleum floor painting project and achieve professional-looking results. Remember to take your time, follow the steps carefully, and don’t be afraid to ask for help if needed.
Happy painting! So go ahead, give your old linoleum floors a new lease on life with a fresh coat of paint, and transform your space without breaking the bank.
8 Additional Tips for Painting Linoleum Floors
In addition to the eight things to avoid, here are some extra tips to keep in mind while painting your linoleum floors:
1) Test Paint Colors First
Before committing to a color, it’s always a good idea to test it first on a small, inconspicuous area of your floor. This will help you determine if the color is right for your space and if it will adhere well to your linoleum.
2) Use a Primer
Using a primer can help improve adhesion and ensure a smoother finish. It’s essential when painting over heavily patterned or glossy linoleum. And remember to let the primer dry completely before applying paint.
3) Mix Paint Thoroughly
To avoid streaks and inconsistent color, be sure to mix your paint thoroughly before starting. This will help distribute any settling pigments and ensure a more even finish. But be careful not to overmix, as this can introduce air bubbles into the paint.
4) Consider a Stencil
For an added touch of design and creativity, consider using a stencil on your painted floors. This can add depth and dimension to your space and allow you to incorporate different colors or patterns. While this requires more time and effort, the result can be stunning.
5) Don’t Forget Touch-Ups
After painting your floors, it’s essential to keep some extra paint on hand for touch-ups or repairs. This is especially useful for high-traffic areas that may experience wear and tear over time. If stored properly, the color should last for future touch-ups.
6) Allow for Proper Ventilation
When painting your floors, it’s essential to have proper ventilation in the room. Open windows or use fans to circulate fresh air and avoid breathing in fumes from the paint and sealant. If possible, wear a mask as an extra precaution.
7) Protect Your Knees
Painting floors can be hard on your knees, so be sure to use knee pads or a cushioned mat to protect them. This will make the process more comfortable and ensure you can quickly move around while painting.
8) Clean Up Properly
After completing your floor painting project, it’s essential to clean up properly. Wipe down any spills or drips on surrounding surfaces and properly dispose of used paint cans and materials. This will help keep your space clean and safe for future use.
FFrequently Asked Questions
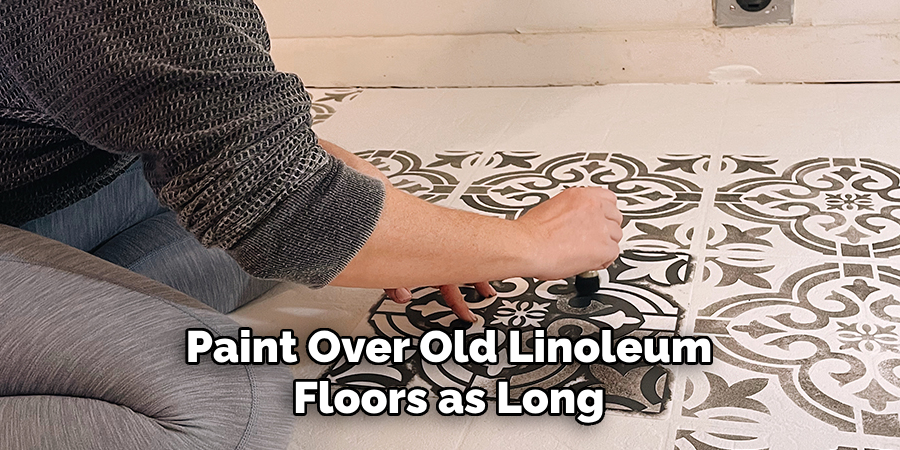
Can I Paint Over Old Linoleum?
Yes, you can paint over old linoleum floors as long as they are in good condition. Be sure to clean and prime the surface before painting correctly. In some cases, you may need to sand the surface for better adhesion lightly.
How Long Will Painted Linoleum Floors Last?
With proper preparation and maintenance, painted linoleum floors can last for several years. However, heavy foot traffic or improper care can cause wear and tear over time. To extend the life of your painted floors, be sure to use a durable paint and properly seal the surface.
Can I Use Any Type of Paint on Linoleum Floors?
No, it’s essential to use a high-quality, durable paint specifically designed for use on floors. Using regular wall paint may not adhere well or hold up over time on linoleum surfaces. Be sure to read the label and choose a color that is suitable for use on floors.
Do I Need to Use a Primer?
Using a primer is highly recommended, especially when painting over heavily patterned or glossy linoleum. This will help improve adhesion and ensure a smoother finish. However, if your linoleum is in good condition and has a matte finish, you may be able to skip the primer step.
How Do I Clean Painted Linoleum Floors?
To clean painted linoleum floors, simply use a damp mop or cloth with mild soap and water. Avoid using harsh chemicals or abrasive cleaners, as they can damage the paint and sealant. Additionally, be sure to wipe up any spills or messes promptly to avoid staining and damaging the paint.
And remember, regular maintenance and cleaning can help extend the life of your painted floors. So there you have it – everything you need to know about painting linoleum floors and how to avoid common mistakes. Now it’s time to put these tips into action and give your floors a fresh, new look!
Conclusion
In this guide, we covered some common mistakes to avoid when painting your linoleum floors and provided some helpful tips to ensure a successful project. Remember to take your time, properly prepare the surface, use the right tools and materials, and have fun with it! By following these steps on how to paint linoleum floors, you can transform your old linoleum floors into a beautiful and budget-friendly update for your space.
By keeping these additional tips in mind, you can ensure a smooth and successful linoleum floor painting experience. With proper preparation, the right tools, and some creativity, you can transform your floors into a beautiful focal point in your home. So go ahead and give it a try – you may be surprised at the amazing results! Remember to have fun and enjoy the process of giving new life to your linoleum floors.