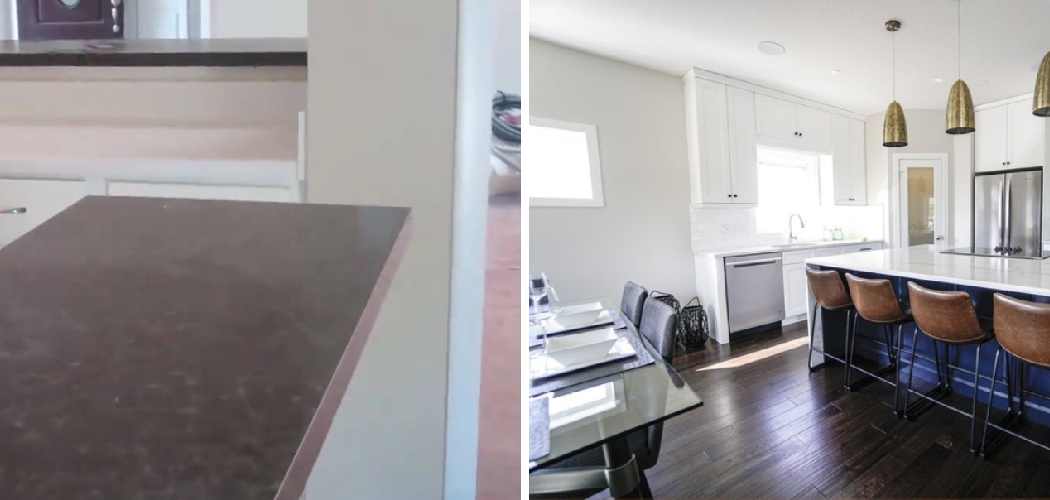
Corian countertops are a popular choice in many households due to their durability and appealing aesthetics. Made from a blend of acrylic polymer and alumina trihydrate, these countertops are known for being both long-lasting and easy to maintain.

However, over time, even the most enduring surfaces may require an update. Whether you want to refresh the look of your kitchen, cover signs of wear and tear, or change the color to match a new decor, painting your Corian countertop can be a cost-effective solution. This guide will walk you through the essential steps on how to paint Corian countertops. We’ll cover the entire process from preparation—where the surface is cleaned and sanded—to the actual painting and finally, applying a finish to seal your work. You can achieve a stunning, professional-looking result with the right materials and techniques.
Materials and Tools Needed
Materials:
- Primer (specifically for non-porous surfaces)
- High-quality acrylic paint or epoxy-based paint
- Clear polyurethane sealer or epoxy resin
Tools:
- Sandpaper (220-grit and 320-grit)
- Tack cloth
- Paintbrushes
- Foam rollers
- Painter’s tape
- Drop cloths
Safety Gear:
- Gloves
- Mask
- Safety glasses
How to Paint Corian Countertops: Preparation
Cleaning the Surface
Importance: Ensuring the surface is free from grease, dirt, and residues is crucial for achieving a smooth, long-lasting finish. Any contaminants left on the countertop can hinder the adhesion of the primer and paint, leading to peeling or chipping over time.
Steps: Start by thoroughly cleaning the surface with a degreaser or mild soap mixed with water. Apply the cleaning solution with a sponge or cloth, ensuring you scrub away all grease, dirt, and residues. Pay extra attention to areas around the sink and stovetop where grease tends to accumulate. Once cleaned, rinse the countertop with clean water to remove any soap or degreaser residue. Finally, let the surface dry completely before moving to the next step.
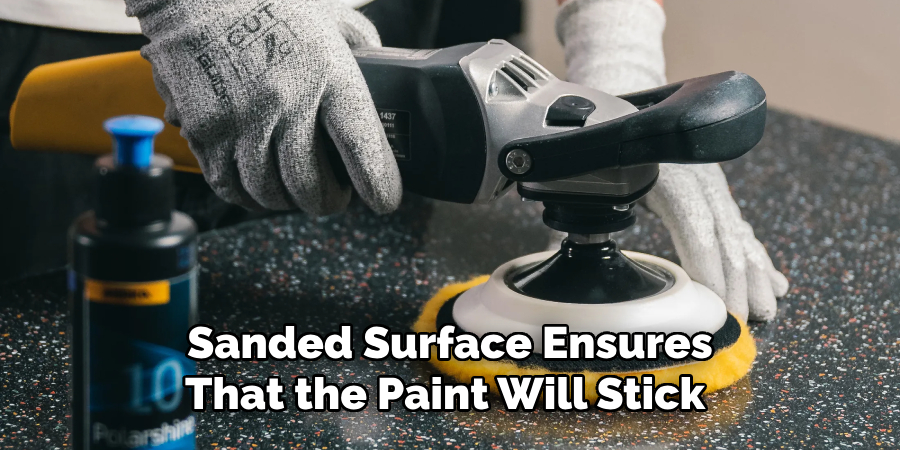
Sanding
Purpose: The main goal of sanding is to create a rough texture on the Corian surface, which will help the primer adhere better. A properly sanded surface ensures that the paint will stick more effectively, providing a durable and smooth finish.
Technique: Begin sanding the surface with 220-grit sandpaper. Use a circular motion to sand the entire countertop evenly. This coarser grit helps to remove any gloss or shine. After the initial sanding, switch to 320-grit sandpaper to achieve a finer finish. Continue sanding in circular motions to ensure an even texture. Once you’re done, wipe down the surface with a tack cloth to remove all dust particles, which could otherwise interfere with the primer’s adhesion.
Masking and Protecting Surroundings
Before you start painting, protect the areas around the countertop to avoid unwanted splatters or drips. Use painter’s tape to cover the edges, sinks, and any other areas that you don’t want to be painted. Ensuring that the tape is applied securely will help you achieve clean lines and protect other surfaces from accidental paint application. Additionally, drop cloths should be laid down to protect the floors and surrounding surfaces. This step not only keeps your workspace tidy but also makes post-painting cleanup much easier.
Priming the Countertop
Choosing the Right Primer
Type
When selecting a primer for your Corian countertop, it’s crucial to choose one explicitly designed for non-porous surfaces. Primers suitable for non-porous materials like Corian ensure optimal adhesion, which is the foundation for a lasting paint job.
Benefits
Using the correct primer is vital as it ensures the paint adheres properly to the countertop, preventing issues like peeling and chipping over time. A high-quality primer forms a strong bond between the surface and the paint, significantly extending the lifespan of your newly painted countertop and providing a smooth, even finish.
Application Process
Technique
Begin by pouring a small amount of primer into a paint tray. Use a foam roller to apply the primer evenly across the larger surface areas of the countertop. The foam roller helps to avoid streaks and provides a smooth application. For edges and corners, use a high-quality paintbrush to ensure consistent coverage and to reach all the nooks and crannies that the roller might miss.
Number of Coats
Depending on the primer’s coverage and the manufacturer’s instructions, you may need to apply one to two coats of primer. The first coat should be thin, serving as a bond coat. If a second coat is necessary, ensure the first layer is completely dry before applying another. This approach not only provides better coverage but also enhances the durability of the paint.
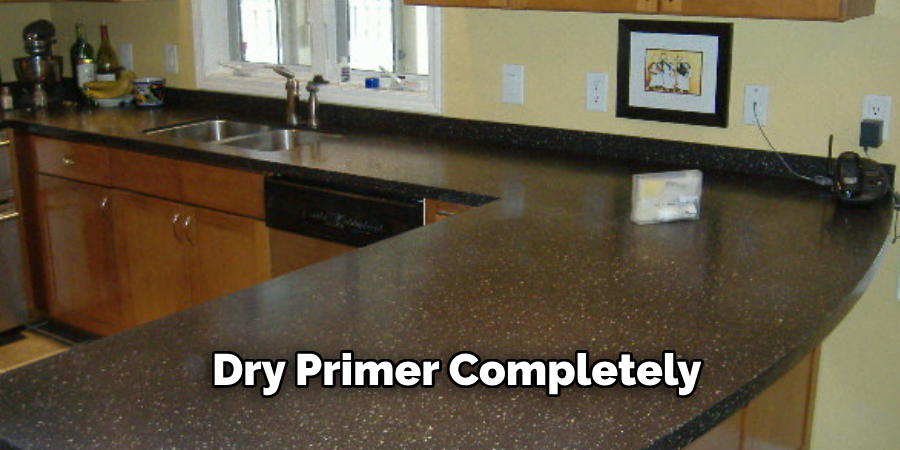
Drying Time
Allow the primer to dry completely as per the manufacturer’s instructions, which typically recommend a 24-hour drying period. Ensuring that the primer is fully dry is essential for achieving the best possible adhesion and finish. Impatience at this stage can jeopardize the entire project, so allocating enough time for proper drying is important.
Painting the Countertop
Selecting the Paint
Type
Selecting the right type of paint is essential for painting a Corian countertop, achieving durability and moisture resistance. High-quality acrylic paint or epoxy-based paint is highly recommended for this purpose. These types of paint are known for their robustness and ability to withstand the daily wear and tear that countertops endure.
Color
Choosing the right color for your countertop is equally important to ensure it complements your kitchen décor. Whether you opt for a neutral hue to blend seamlessly with your existing design or a bold color to make a statement, ensure that the chosen paint color aligns with the overall aesthetic of your kitchen.
Painting Technique
First Coat
Begin by pouring a small amount of your chosen paint into a paint tray. Use a foam roller to apply a thin, even coat of paint over the larger surface areas of the countertop. Foam rollers provide a smooth and streak-free application. Use a high-quality paintbrush for the edges and corners to ensure thorough and consistent coverage.
Drying
After applying the first coat, allow it to dry completely. This drying process usually takes about 4-6 hours, depending on the room’s temperature and humidity. It’s crucial to avoid using the countertop during this time to ensure the drying process is uninterrupted.
Additional Coats
Once the first coat is dry, assess the coverage and determine if additional coats are necessary. Typically, 2-3 coats of paint are required for a uniform and durable finish. Apply each additional coat in the same manner—using a foam roller for large areas and a brush for edges—ensuring that each layer is thin and even. Allow each coat to dry completely before applying the next; the drying time will again be around 4-6 hours per coat.
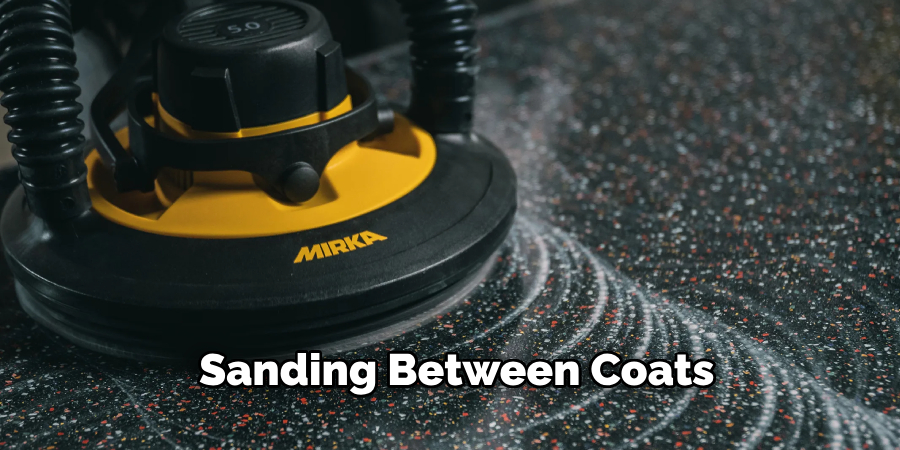
Sanding Between Coats
To achieve a smooth, professional-looking finish, it’s important to lightly sand the surface between coats. Use 320-grit sandpaper to gently sand the painted surface, focusing on removing any imperfections or brush strokes. After sanding, clean the dust particles using a tack cloth. This step ensures that each subsequent coat adheres well and contributes to a sleek final appearance.
By following these steps meticulously, you’re well on your way to transforming your Corian countertop with a fresh, new look that enhances the beauty and functionality of your kitchen.
Sealing the Countertop
Importance of Sealing
Sealing the countertop is a crucial step to ensure the longevity and durability of your newly painted surface.
Protection
Applying a sealer acts as a protective barrier that seals the paint, adding an extra layer of durability. It significantly helps in preventing scratches, stains, and general wear and tear. Moreover, a sealed surface is much easier to clean, making regular maintenance a hassle-free task.
Gloss
A sealer can enhance the visual appeal of your countertop by providing different finishes such as glossy or matte. Depending on your preference, you can choose a sealer that complements the aesthetic of your kitchen, whether you prefer a shiny, reflective surface or a subdued, matte look.
Choosing the Sealer
Options
When it comes to selecting a suitable sealer for a Corian countertop, there are generally two main options: clear polyurethane sealer or epoxy resin.
Considerations
Epoxy resin is renowned for its robustness. It offers a higher level of durability and imparts a thicker protective layer compared to polyurethane. While polyurethane provides excellent protection and is easier to apply, epoxy resin is often favored for areas that undergo extreme conditions due to its resilience.
Application Process
Technique
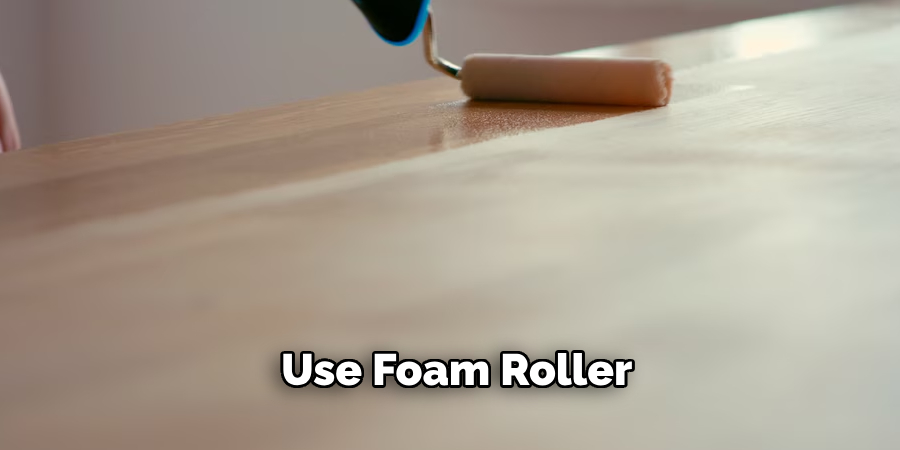
To apply the sealer, pour a small quantity into a paint tray and use a foam roller or high-quality brush to ensure even coverage. A foam roller is particularly effective for large surface areas, avoiding streaks and providing a smooth application. For edges and corners, a brush can help achieve a consistent finish.
Number of Coats
Apply 2-3 coats of sealer, depending on the level of protection you desire. Each coat should be thin and even. Allow each coat to dry completely as per the manufacturer’s instructions before applying the next. This will ensure each layer bonds well and contributes to the overall durability of the finish.
Curing Time
After applying the final coat, it’s crucial to allow the sealer to cure completely. For polyurethane sealers, this typically takes about 72 hours. Epoxy sealers may require a longer curing time, often specified by the manufacturer. Ensuring that the final coat is fully cured before using the countertop will guarantee a durable and long-lasting finish, keeping your kitchen looking pristine and well-maintained.
Conclusion
Recapping the key steps on how to paint Corian countertops, the process begins with thorough preparation. This includes cleaning, sanding, and priming the surface to ensure a smooth base for paint adherence. Next, the primer is applied to ensure the paint bonds effectively with the countertop. The painting stage involves selecting the appropriate type and color of paint, applying multiple thin coats, and allowing sufficient drying time between each layer. Sanding between coats is essential to achieve a professional finish. Finally, sealing the countertop with a durable sealer such as polyurethane or epoxy resin adds a protective layer that extends the longevity of the finish.
This project has significant transformative potential, breathing new life into your kitchen while offering substantial cost savings compared to replacing the countertop. Remember, patience throughout the process and meticulous preparation are critical to achieving the best results. Embrace the journey, and your effort will be rewarded with a beautiful, durable countertop.