
If you’re considering giving your basement a facelift, one of the best places to start is with the ceiling. Painting your basement ceiling can be a simple and affordable way to turn an outdated or dull area into something attractive and inviting. To achieve success, it’s important to take some time in planning for this project by understanding the necessary steps involved.
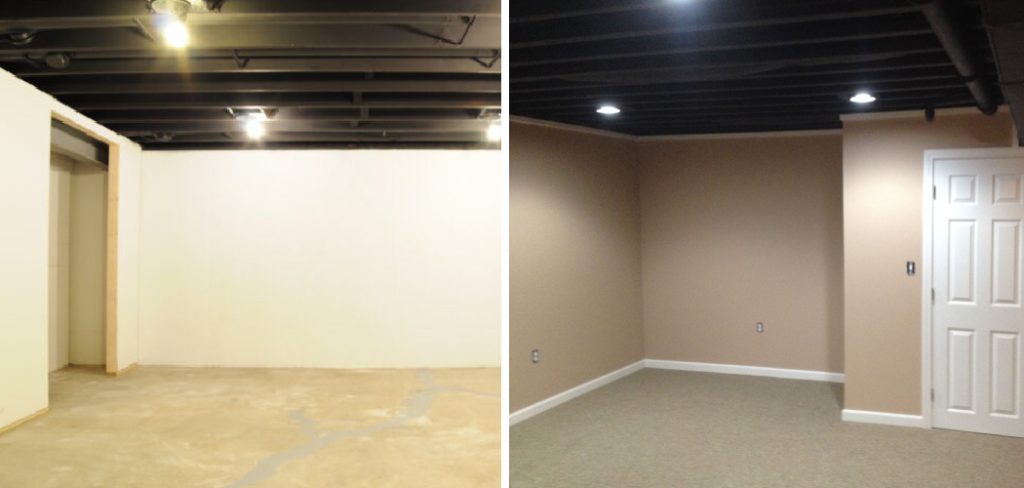
In this blog post, we’ll discuss everything you need to know about how to paint basement ceiling and what materials are needed for the job.
Tools and Materials You Will Need to Paint Basement Ceiling
- Ladder
- Drop cloths or plastic sheeting
- Painter’s tape
- High-quality, mildew-resistant paint in the color of your choice
- Paint brushes and rollers
- Primer (if painting over bare wood) and sealant (if painting over concrete)
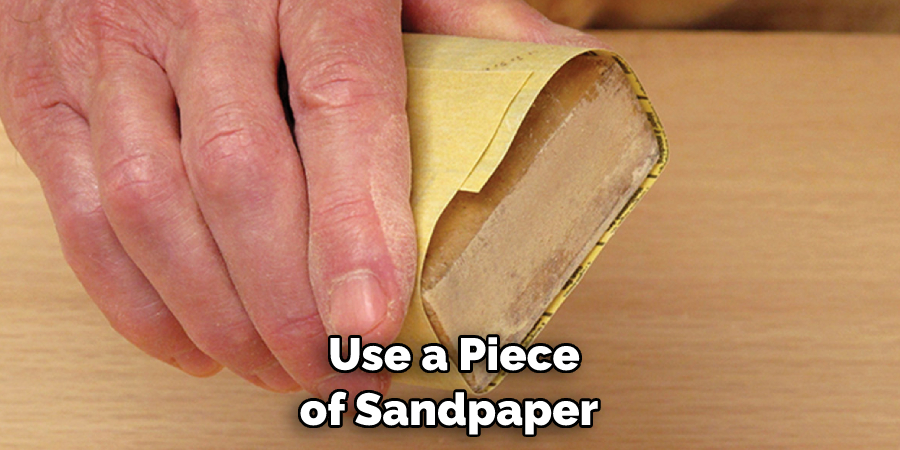
- Sandpaper (if painting over bare wood)
Step-by-Step Guidelines on How to Paint Basement Ceiling
Step 1: Prepare the Room
Before you begin painting, it’s important to make sure that the room is adequately prepped. Start by removing any furniture or debris from the area so you can easily access all surfaces of your ceiling. Once this is done, cover the floor and walls with drop cloths or plastic sheeting. This will help protect them from splatters and spills.
Step 2: Prep the Ceiling
If you’re painting over bare wood, use a piece of sandpaper or a wire brush to lightly sand the surface and remove any dust or debris. If you’re painting over concrete, use an applicator such as a trowel or putty knife to apply a sealant. This will help ensure that the paint adheres properly and won’t peel off in large chunks over time. Preparing the surface is an essential step to ensure the success of your painting project.
Step 3: Tape It Off
Once the ceiling is prepped, use painter’s tape to cover any areas you don’t want to be painted such as light fixtures, outlets, and windows. Make sure the edges of the tape are secure so that you don’t get paint on these surfaces. If you’re painting over a textured ceiling, skip this step.
Step 4: Apply Primer and Paint
Start by applying a coat of primer to the surface of your ceiling. Once the primer is dry, apply at least two coats of paint in the color of your choice. To ensure an even finish, use a roller or brush to apply the paint in long, smooth strokes. While applying paint, make sure not to overload your brush or roller in order to avoid drips and runs.
Step 5: Clean Up
Once you’re done painting, remove the painter’s tape carefully and discard it along with the drop cloths or plastic sheeting. Once everything is taken care of, inspect the ceiling for any missed spots that need to be touched up.
Following these steps can help you achieve a professional-looking finish on your basement ceiling. With some patience and preparation, painting your basement ceiling can be an easy and rewarding project that will make the area look great for years to come! Good luck and happy painting!
Additional Tips and Tricks to Paint Basement Ceiling
- Make sure to wear a dust mask and gloves when painting the ceiling. This will help protect you from any hazardous particles that may be in the air.
- It’s important to seal any cracks or crevices in the ceiling before starting to paint. This can be done with caulk or spackling paste, which will help the paint to adhere better.
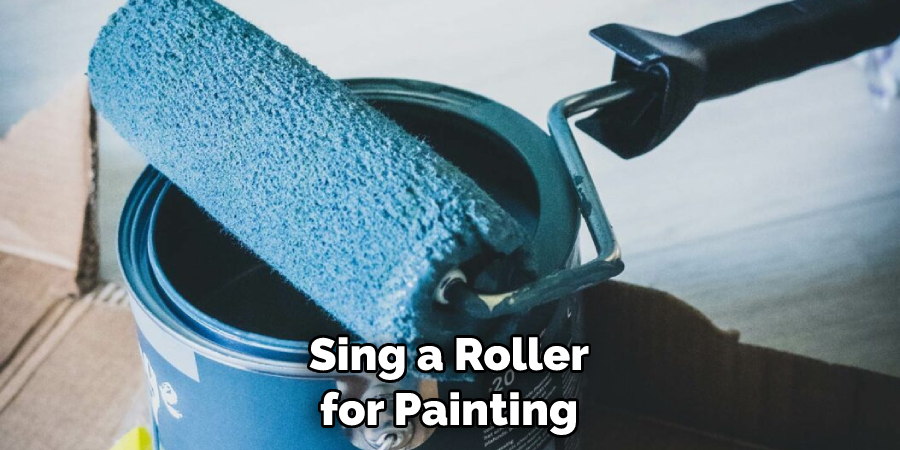
- If you plan on using a roller for painting, it’s best to use one with a long handle so that you can reach higher areas of the ceiling without having to climb up onto a ladder.
- Be sure to use quality paint in order to achieve good coverage and durability over time.
- If possible, try to paint the ceiling in one day so that you avoid having to break up the job into multiple days, which can lead to inconsistencies in color and texture.
- Always use a primer before applying your final coat of paint; this will help ensure that the paint adheres evenly and that it lasts longer.
- Consider using a paint sprayer, which will allow you to apply paint quickly and evenly without having to use a roller or brush.
- When you’re finished, make sure to clean your tools so that they are ready for the next time you need them. This includes brushes as well as rollers. Also, dispose of any leftover paint in an appropriate manner.
- When you’re done with the project, it’s important to properly ventilate the area by opening windows and running fans to ensure that all fumes have left the space. This will help prevent potential respiratory issues from occurring.
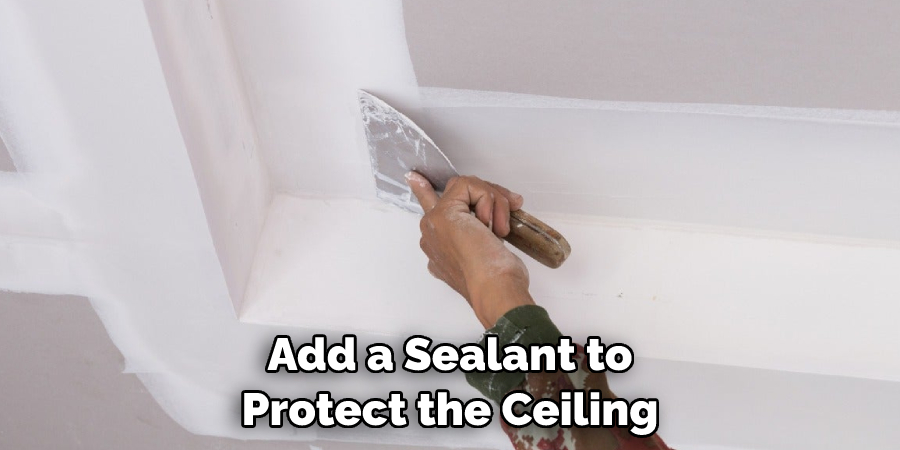
- Once your basement ceiling is painted, you can seal it off with a sealant to protect against moisture and provide an extra layer of protection. This will help preserve the paint job and make it last longer.
Good luck! With these tips, you’ll be able to achieve beautiful results when painting your basement ceiling. Have fun!
Things You Should Consider to Paint Basement Ceiling
- Do a thorough inspection of the ceiling to make sure there are no cracks, holes, or other imperfections that may need to be addressed before painting.
- Make sure you have all the necessary tools and supplies on hand before starting the job so that you won’t have to run out of more materials during the project.
- Consider the type of paint and finish that you want to use based on the purpose of the basement, such as a bedroom or storage area.
- Take into account how much light is available in the basement since this will influence the color that you choose for your paint job.
- Lastly, be sure to read and follow all the instructions on your paint can precisely so that you achieve the best results.
When painting a basement ceiling, it’s important to take into account all of these factors in order to create a successful final product. With some patience and preparation, you’ll be able to transform your basement ceiling into something beautiful!
Precautions Need to Follow for Painting Basement Ceiling
- Ensure that the basement ceiling is dry and free from moisture. Moisture can cause bubbling in paint, peeling, and other issues. Make sure to seal any cracks or holes in the ceiling to prevent further moisture damage before painting.
- Wear protective gear while painting your basement ceiling including a face mask, safety glasses, and gloves. This will protect you from paint fumes and splatters.
- Clean the basement ceiling thoroughly before painting. Use a mild detergent to remove dirt, dust, and other debris that may have built up on the surface over time.
- Apply a primer coat of paint to the basement ceiling to ensure even coverage and better adhesion of the paint.
- Use a brush or roller to apply paint to the ceiling in thin, even coats. Allow ample time for each coat to dry before applying another one.
- Start from the farthest corner when painting your basement ceiling and move outward toward the door for best results.
- Once all coats of paint are applied, add a sealant to protect the ceiling from dust and dirt buildup in the future.
Following these precautions will ensure that your basement ceiling is painted correctly and looks great for years to come. With a few simple steps, you can easily transform your basement into an inviting and attractive space. Good luck!
Frequently Asked Questions
What Type of Paint Should I Use for My Basement Ceiling?
You should use water-resistant, mildew-resistant, and mold-resistant paint. Latex or oil-based paints are good options. The sheen you choose depends on the look you want; flat or satin finishes work well for a basement ceiling.
Do I Need a Primer?
Yes, it is best to use a primer when painting your basement ceiling. This will help the paint adhere better and create an even foundation for the top coat of paint. It will also provide extra protection against mold and mildew growth in your basement.
Should I Choose a Primer and Paint with the Same Finish?
No, you should choose a different finish for your primer then your top coat of paint. A flat or eggshell finish primer will provide the best protection against mold and mildew in damp basements. Your top coat should be either a flat or satin finish to help hide imperfections on your ceiling.
What Is the Best Way to Paint a Basement Ceiling?
The best way to paint a basement ceiling is to use a roller. Start by priming any bare or stained surfaces with a flat or eggshell finish primer. Allow the primer to dry before beginning the top coat of paint. Use either a brush or roller to apply the paint in a thin, even layer. Allow each coat of paint to dry before adding additional coats. Be sure to use mildew-resistant and mold-resistant paint in your basement ceiling to protect against any potential growth.
Do I Need Protective Gear When Painting?
Yes, it is best to wear protective gear when painting a basement ceiling. This includes goggles, gloves, and masks. It is also important to open windows or use fans to provide good ventilation in the room while you are painting. Make sure all pets and children are out of the area for their safety during the project.
Conclusion
Hopefully, Now you have enough knowledge on how to paint basement ceiling. Remember to use water-resistant, mildew-resistant, and mold-resistant paint for your basement ceiling. Priming the surface with a flat or eggshell finish primer is important to create an even foundation for the top coat of paint.
To ensure safety while painting, be sure to wear protective gear such as goggles, gloves, and masks. Open windows or use fans for ventilation and keep all pets and children away from the area. Good luck with your project!