
When it comes to storing items, organization is key to a smooth and hassle-free experience. Properly labeling boxes for storage is an essential step in maintaining order and making it easier to locate specific items when needed.
Whether you’re storing items in a self-storage unit, attic, basement, or even just in your garage, clear and accurate labels can save you time and effort in the long run. In this article, we will explore the importance of How to Label Boxes for Storage and provide you with valuable tips and techniques to ensure effective labeling.
From choosing the right labeling materials to using a systematic approach, we’ll guide you through the process of labeling boxes to maximize efficiency and maintain well-organized storage space. By following these guidelines, you can say goodbye to rummaging through endless boxes and hello to a elegant storage system.
Importance of Proper Box Labeling
Proper box labeling is essential for successful storage. With clear labels, you can easily identify the contents of each box and quickly locate items without rummaging through multiple boxes. Improperly labeled boxes may lead to confusion, misplacement of items, and wasted time in searching for what you need.
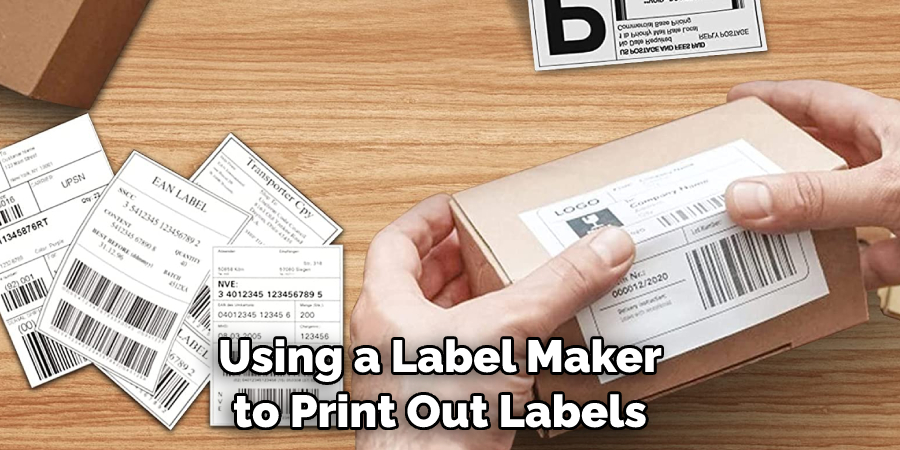
Using a label maker to print out labels or writing directly on the box with a permanent marker are two of the most common ways to label your storage boxes. When labeling, be sure to include information such as what items are in the box, where they belong, and any other important details that will help you find them again. It’s also a good idea to number all your boxes and keep a list of the contents for each box. This will make it easier to quickly reference which box you need for a specific item when retrieving items from storage.
Labeling your boxes can also ensure that nothing gets misplaced or forgotten about in storage. By labeling all of the boxes, you can easily identify what is inside and see what needs to be taken out for use. Labeling your boxes can help keep your stored items organized and make it easier to find things when needed.
Benefits of Organized Storage
Organizing the storage of items in boxes has many benefits. It can save time and money, improve efficiency, and reduce clutter. Labeling each box properly can help you quickly find what you need when needed. Labeling boxes also help to keep items organized and prevents confusion or misplacement of contents. Additionally, it is much easier to move boxes if they are labeled correctly and know which one contains what item.
Labeling boxes for storage can also help with inventory management in businesses and warehouses. Labeling the boxes with a description of their contents can help to quickly find items when needed, as well as easily keep track of what is in which box. This can save time and reduce the chance of missing or lost items.
Finally, labeling boxes for storage can be beneficial when donating or selling items. Knowing exactly what is in each box will make it easier to price, and market donated items appropriately, making it more likely that someone will purchase them or donate them to those who need them most. Having everything organized ahead of time also saves time when packing up for an estate sale or donation event.
10 Methods How to Label Boxes for Storage
Method 1: Use Descriptive Labels
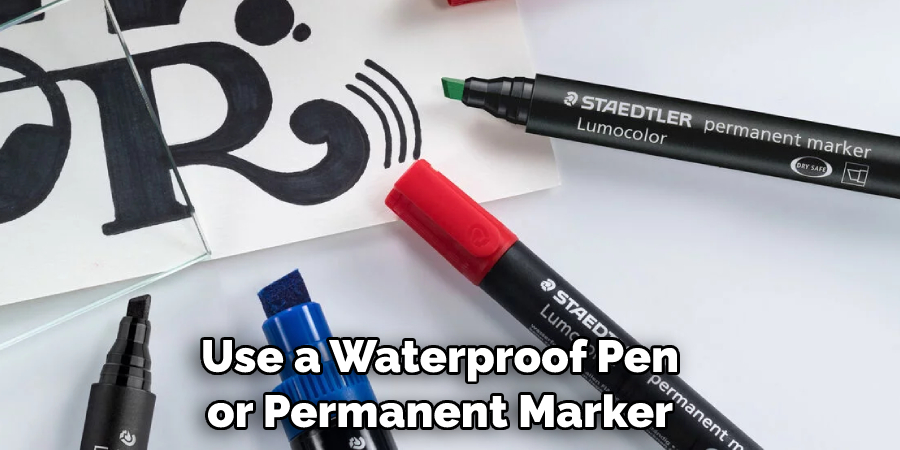
When labeling boxes for storage, one effective method is to use descriptive labels. Clearly write or print a brief description of the contents on the label, such as “Kitchen Utensils” or “Winter Clothes.”
This method allows for easy identification of the box’s contents without the need to open it. To ensure the information is still legible after long-term storage, use a waterproof pen or permanent marker.
Method 2: Utilize Color Coding
Color coding is an efficient way to label boxes for storage. Assign specific colors to different categories or rooms. For example, use blue for kitchen items, green for garden tools, or red for holiday decorations.
By quickly identifying the color, you can locate the box you need more easily. You can also use color coding to label boxes with similar contents. For example, use multiple colors — such as blue, yellow and green — for family members’ clothing items.
Method 3: Numbering System
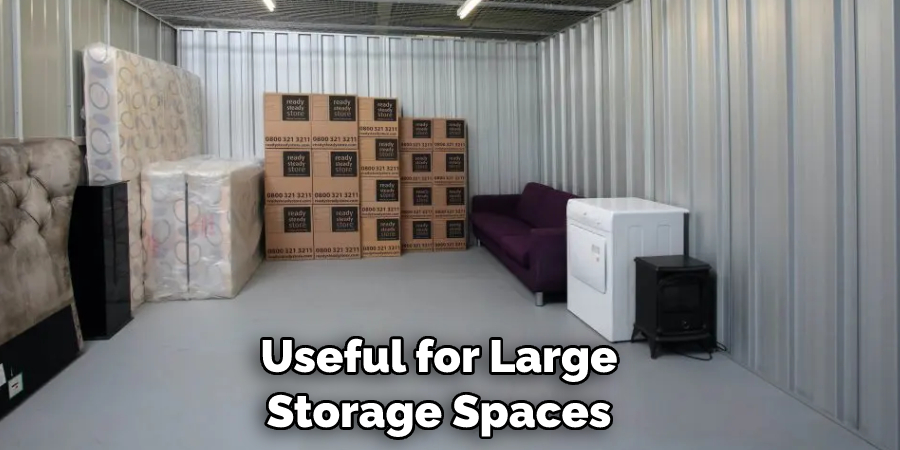
Implementing a numbering system can be helpful when dealing with numerous boxes. Assign a unique number to each box, and create an inventory list indicating the corresponding contents. You can then label the boxes with their respective numbers for easy reference.
This method is especially useful for large storage spaces and to help save time. It also promotes organization and helps you keep track of items that are difficult to label with words. Make sure to update the inventory list whenever you add or remove boxes from storage.
Method 4: Label on Multiple Sides
To enhance visibility, label the boxes on multiple sides. This way, no matter how the boxes are stacked or arranged, you can still see the labels and quickly identify the contents. Use a permanent marker or adhesive labels for durability.
When labeling, include the contents of the box as well as a general description. For example, if you are storing clothes in a box, you can label it “Clothes: Winter Coats.” This helps you to quickly distinguish the box from any other boxes that might contain winter coats.
Method 5: Prioritize Frequently Accessed Items
Consider labeling boxes based on the priority of access. If there are items you anticipate needing more often, label their boxes accordingly. Use phrases like “High Priority” or “Frequently Used” to ensure they are easily identifiable and accessible when needed.
By designating a specific area for these items, you can quickly locate them in the event of an emergency. Additionally, this can help prevent having to search through multiple boxes to find what you need. However, be mindful of the items you designate as high priority, as this could lead to a cluttered storage area.
Method 6: Include Handling Instructions
For fragile or delicate items, it’s crucial to include handling instructions on the labels. Indicate which side should be kept upright, if the box is heavy or needs special care, or if it contains fragile objects. Clear instructions will help prevent damage during storage and transport.
Make sure to use large, legible fonts and clearly visible labels. Additionally, don’t forget to mark any hazardous materials with a warning label that meets the requirements of your local regulations. This will ensure that everyone who comes into contact with the box knows how to safely handle and store it.
Method 7: Categorize by Room or Area
When organizing storage, label boxes based on the room or area where the items belong. For instance, label boxes as “Living Room,” “Bedroom,” or “Basement.” This method graceful the process of finding specific items when you need to retrieve them later.
It is also useful for organizing items within the box. For example, a “Living Room” box can be further divided into smaller boxes labeled with specific items like “Books,” “Vases,” or “Decorative Pillows.” This type of organization makes it easier to quickly locate the item you need without having to sift through the entire box.
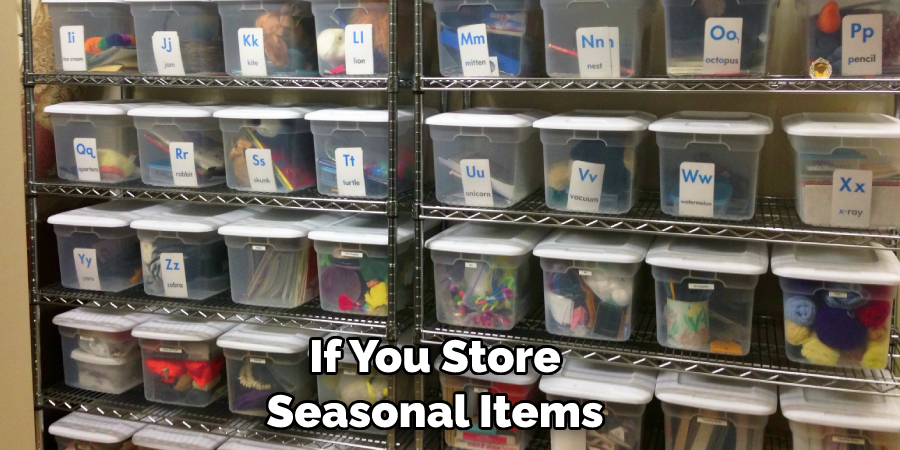
Method 8: Label Seasonal Items
If you store seasonal items, such as holiday decorations or summer gear, label the boxes accordingly. Use labels like “Winter Clothing” or “Christmas Decorations” to easily identify and locate these boxes when the corresponding season arrives. This will help you find exactly what you need, when you need it.
Additionally, if you are utilizing a storage facility for these items, labeling the boxes can make it easier for you to find and access them when it is time to retrieve them. Although it may be tedious to label these boxes, it will save you time in the long run by helping you quickly find items when they are needed.
Method 9: Include Inventory Lists
Create an inventory list that details the contents of each box, and attach a copy to the outside or inside of the box. The list can be as detailed as necessary, specifying individual items or broader categories. This method enables you to quickly determine the contents of a box without having to open it.
If the list includes categories or an itemized inventory, it can provide a more comprehensive overview of all the items in storage. Additionally, attaching copies of the inventory list to multiple boxes can help ensure that you always have a record of what is in storage, even if one box is misplaced or destroyed.
Method 10: Consider Transparent Bins or Label Holders
For a more visual approach, consider using transparent storage bins or label holders. Transparent bins allow you to see the contents without opening them, while label holders provide a clear space to insert labels that can be easily swapped or updated as needed.
Both of these options can help you quickly and easily organize items in storage. For the most efficient labeling, write your labels with permanent markers on both the bin and the label holder. This way, you can easily identify what is inside without having to look through multiple labels.
Conclusion
Labeling boxes for storage may seem intimidating, but with the right preparation and tools, your items can stay safe and organized. By breaking down the job into smaller parts, such as sorting and categorizing, labeling, and moving your goods to a dry and accessible area, the task will be much simpler.
Most importantly, don’t get overwhelmed with sorting through all of your items. It’s a time-consuming process that pays off in the long run – so be patient with yourself! Hopefully, these tips have been helpful in understanding how to label boxes for storage and organizing them accordingly. Now that you know how simple it is, go ahead and start boxing up those belongings!